Notch
Use your browser's Print (Ctrl/Cmd + P) and choose Save as PDF. This page works offline once you've opened it with a signal.
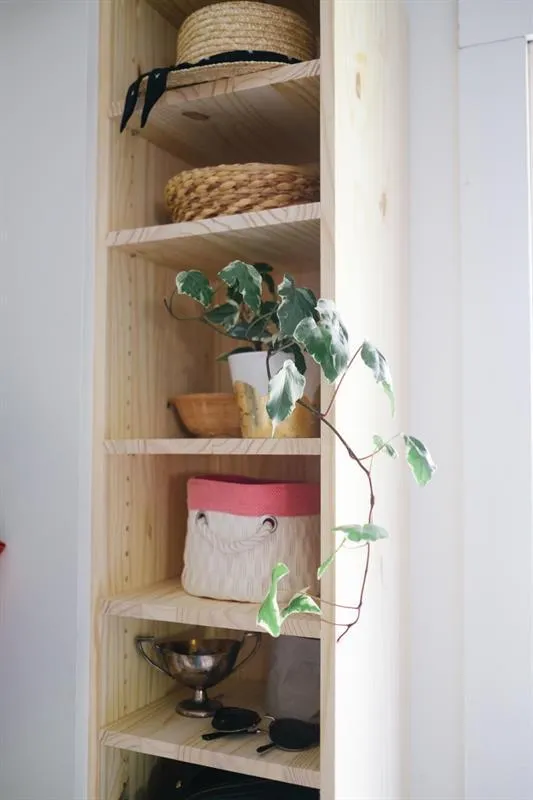
Floating Adjustable Shelves
How to build a shelf that can be hung at any height or used on the floor with adjustable shelves using the Kreg Shelf Pin Jig
- Difficulty
- Beginner
- Time
- 1.8–3.5 hours
- Cost
- $$
Cut list
| Part | Qty | T × W × L | Material | ✓ |
|---|---|---|---|---|
| Sides | 3 | 3/4" × 11" × 48" | — | ☐ |
| Top & bottom | 2 | 3/4" × 10" × 11" | — | ☐ |
| Shelves | 5 | 3/4" × 10" × 11" | — | ☐ |
Materials
| Item | Qty | ✓ |
|---|---|---|
| Board, 1x12 96" | 3 board | ☐ |
| Shelf pins | 20 each | ☐ |
| Wood screws | 8 each | ☐ |
| 120 grit sandpaper | 1 each | ☐ |
| 1 1/4" Kreg pocket hole screws | 40 each | ☐ |
Overall cost: $$. Lumber varies by region, species, and season, so we give a band rather than a figure.
Tools
- Drill / Driver
- Impact Driver
- Pocket Hole Jig
- Bar / Pipe Clamps — optional
- Tape Measure — optional
Instructions
1. Cut pieces
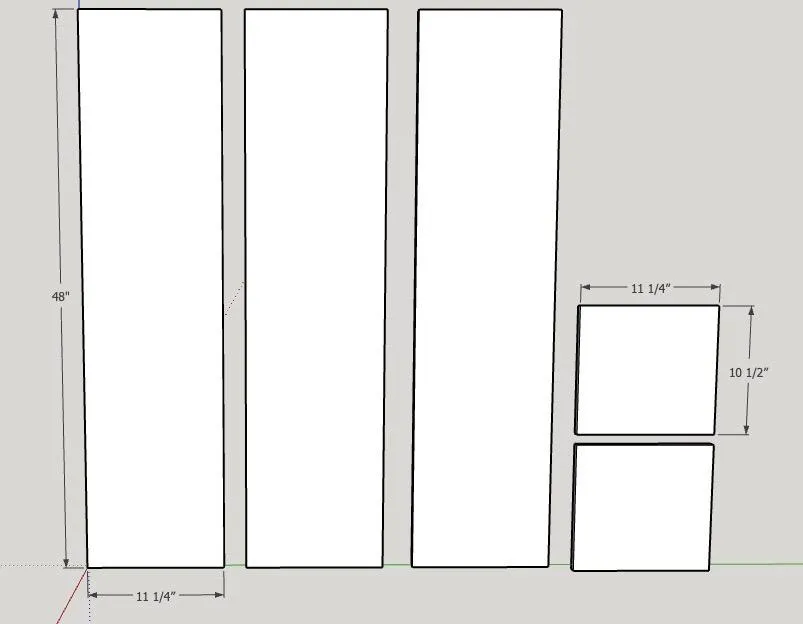
Using 1x12 lumber of choice (actual size 3/4" x 11 1/4"), cut 3 pieces into 4' lengths and 2 pieces into 11 1/4" x 10 1/2" Also cut as many shelves as you'd like at 11 1/4" x 10 1/2"
2. Pocket holes and shelf pin holes
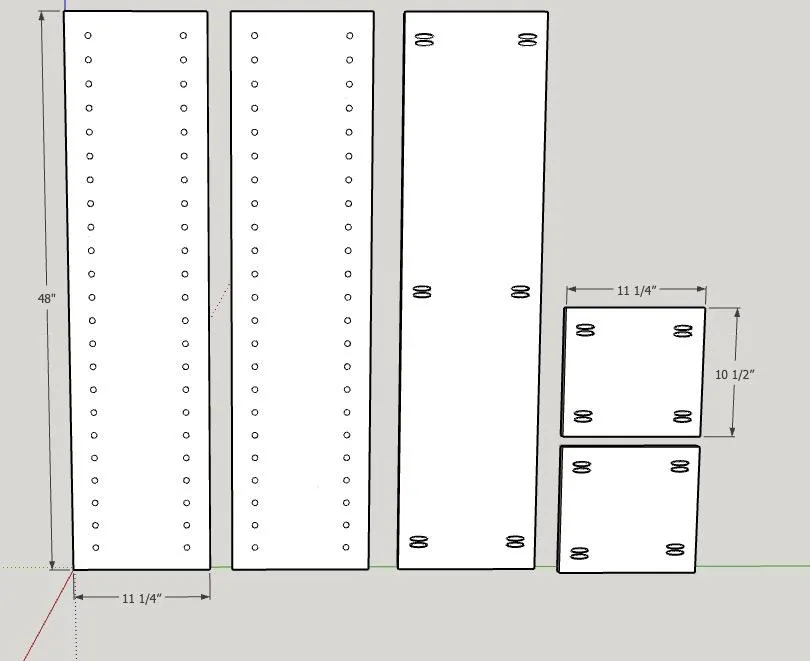
Add 12 pocket holes to one of the 4' pieces and 8 pocket holes to each of the 10 1/2" pieces, then add shelf pin holes to the other two 4' pieces.
3. Attach sides
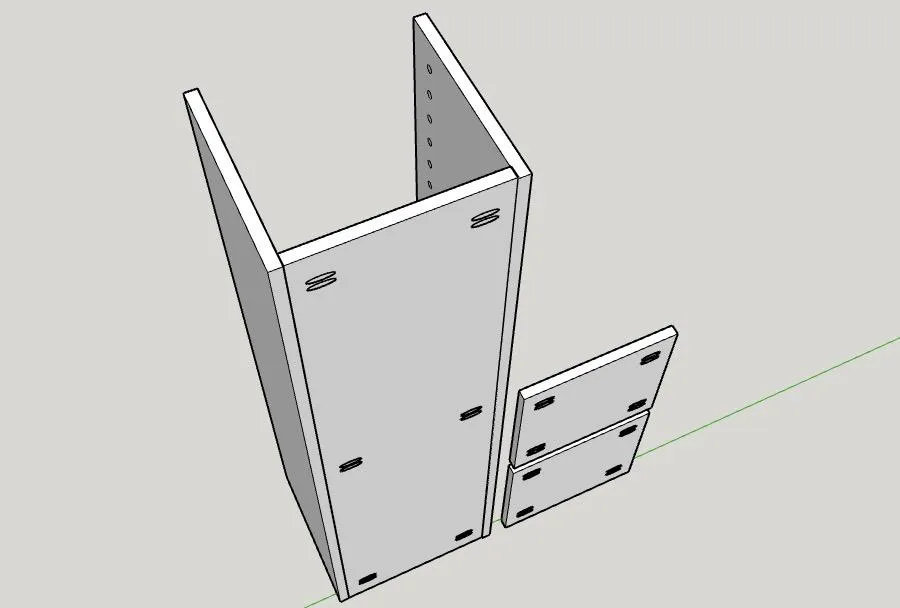
Attach the two 4' sides of the shelf using the pocket holes, keeping holes on the back of the shelf.
4. Attach top and bottom
Using pocket holes, attach the top and bottom pieces, ensuring pocket holes remain on the outside.
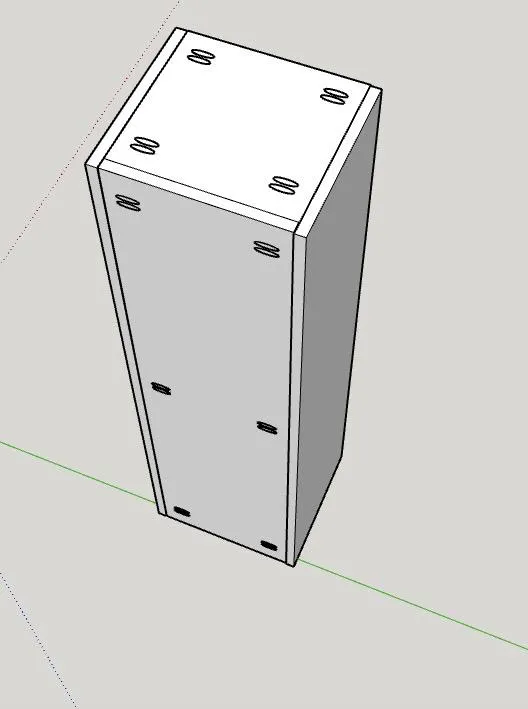
5. Add shelves
Using shelf pins, attach shelving wherever you'd like and enjoy your new storage system!