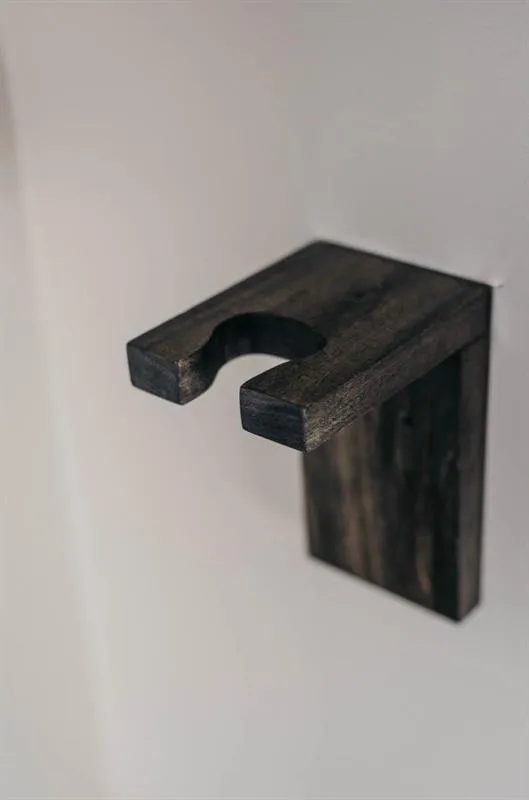
Notch
Use your browser's Print (Ctrl/Cmd + P) and choose Save as PDF. This page works offline once you've opened it with a signal.
Wall Mount Guitar Holder
This simple wall mount guitar holder is perfect for displaying your guitars without taking up floor space.
- Difficulty
- Beginner
- Time
- 2.3–4.3 hours
- Cost
- $
Cut list
| Part | Qty | T × W × L | Material | ✓ |
|---|---|---|---|---|
| Wall Mount | 1 | 3/4" × 3" × 5" | — | ☐ |
| Guitar Holder | 1 | 3/4" × 3" × 4" | — | ☐ |
Materials
| Item | Qty | ✓ |
|---|---|---|
| Board, 1x4 12" | 1 board | ☐ |
| Pocket Screws 1 1/4" | 2 each | ☐ |
| 2" Black Screws for Mounting | 2 each | ☐ |
| Ebony Stain | 1 each | ☐ |
| Satin Clear Coat | 1 each | ☐ |
Overall cost: $. Lumber varies by region, species, and season, so we give a band rather than a figure.
Tools
- Drill / Driver
- Miter Saw
- Pocket Hole Jig
- Scroll Saw
Instructions
1. Plans
These plans illustrate the sizing and cuts for each piece in the holder.
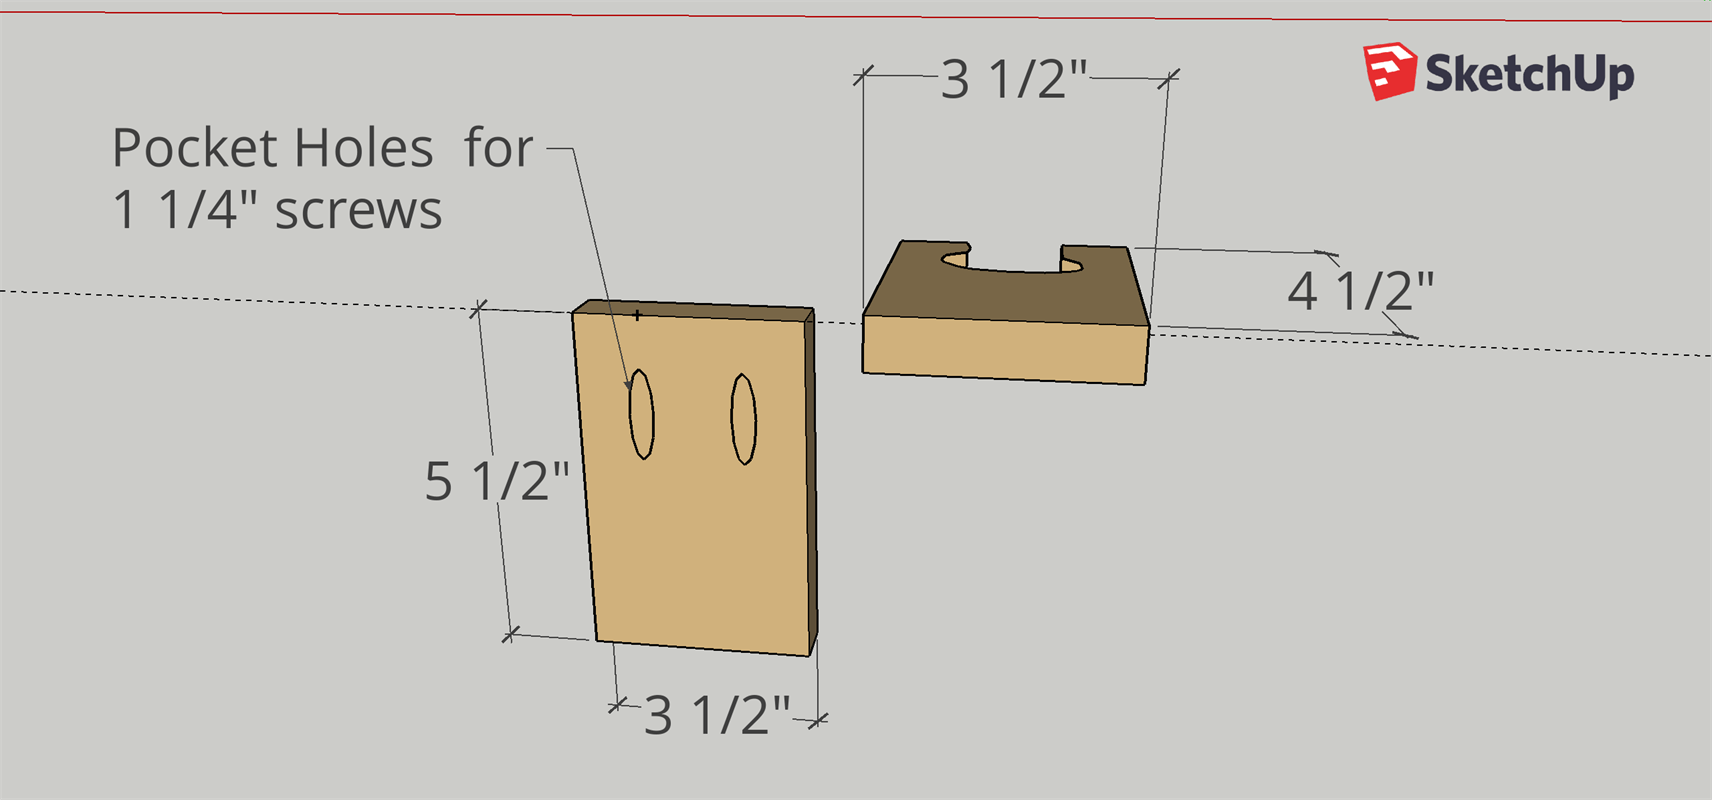
2. Cut Wood
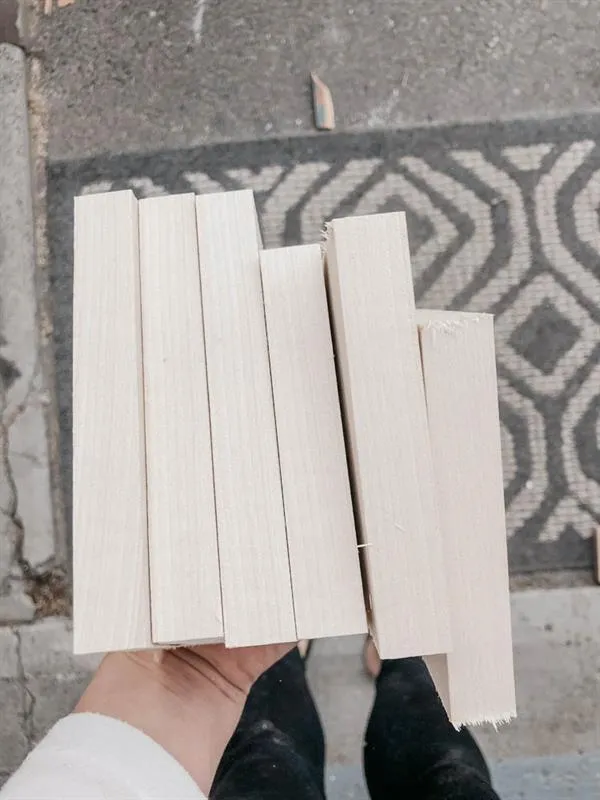
Cut the board (I used maple) into two pieces, one 5 1/2" and one 4 1/2"
3. Drill Pocket Holes
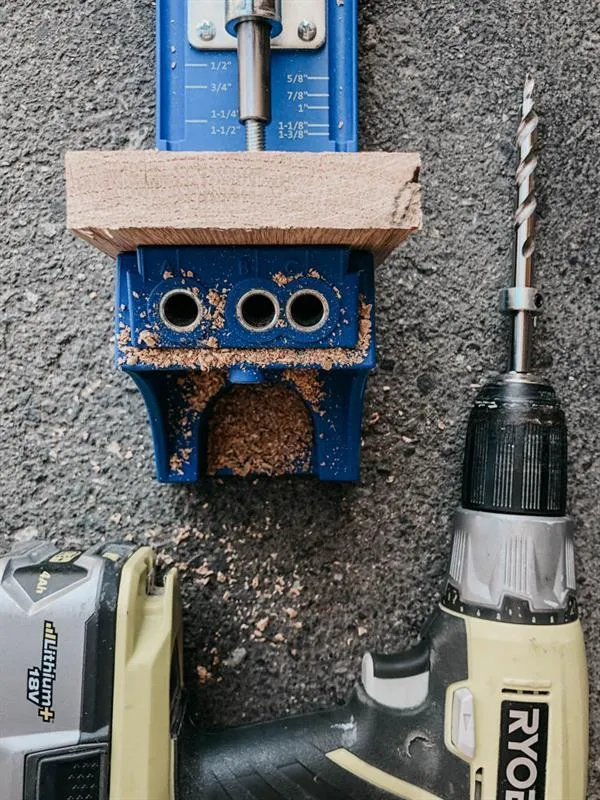
Drill two pocket holes according to Kreg Jig directions in the longer piece of wood as shown in plans.
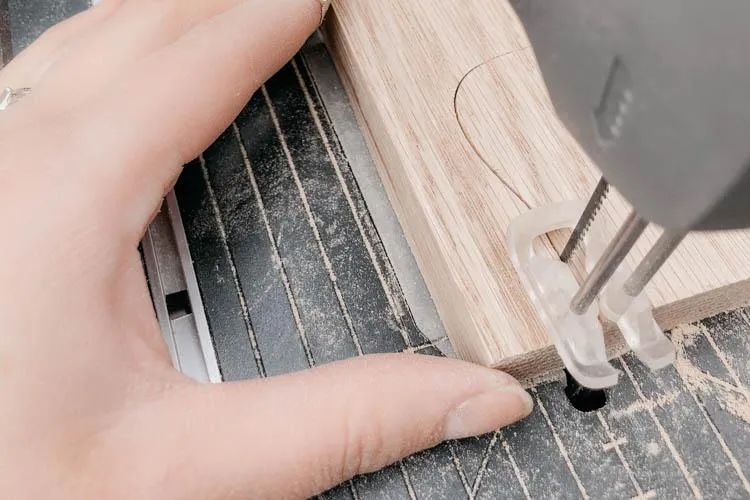
4. Cut Guitar Neck Hold
Use a jigsaw or scroll saw to cut a space for your guitar neck. Cut according to the size of your guitar, making it no larger than the bottom of the headstock.
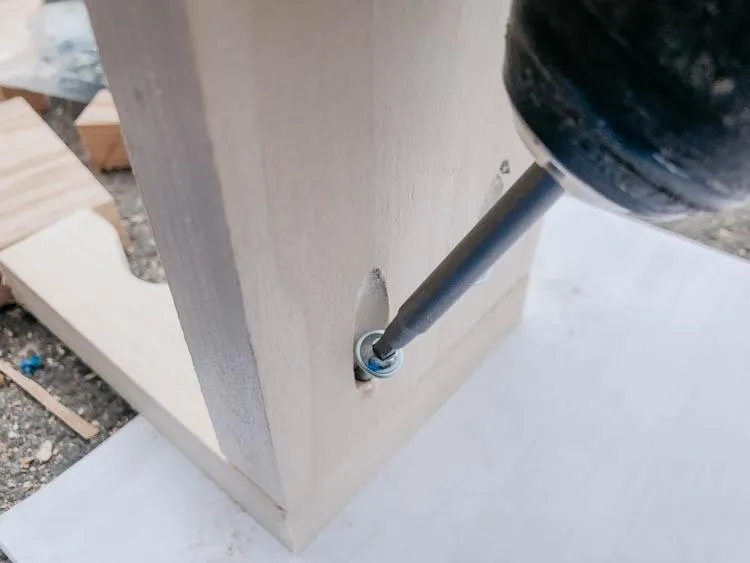
5. Attach Wood Pieces
Use the pocket hole screws and attach the two pieces of wood as shown.
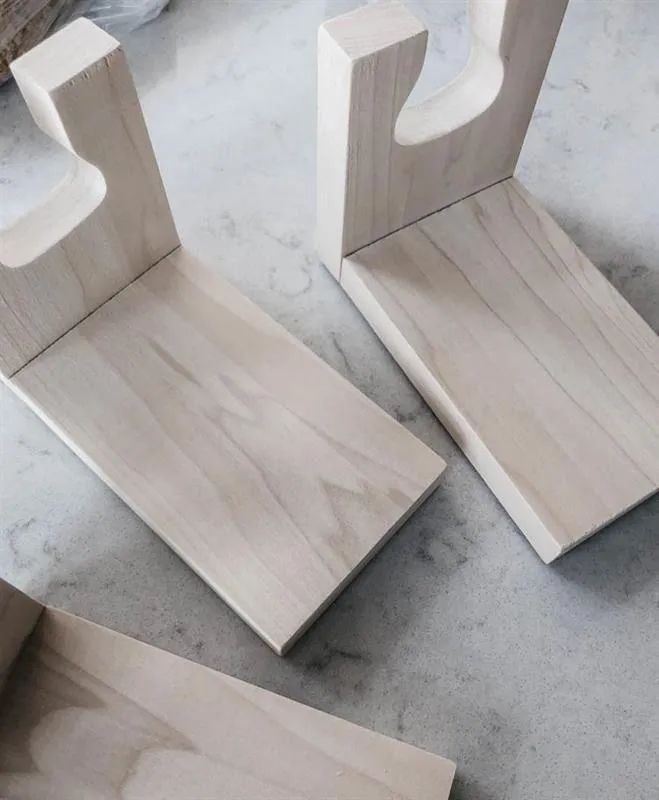
6. Sand, Stain, Seal
Sand, stain and seal your guitar holders. I used Ebony stain and a satin poly.
7. Mount to wall
Using wall anchors if necessary, sink two screws through the top half of the wall mount into the wall.