 Notch
Use your browser's Print (Ctrl/Cmd + P) and choose Save as PDF. This page works offline once you've opened it with a signal.
Stockings Holder
With Christmas around the corner, it’s about time to start decorating.
- Difficulty
- Easy
- Time
- 3–5.5 hours
- Cost
- $
Cut list
| Part | Qty | T × W × L | Material | ✓ |
|---|---|---|---|---|
| Mantel Base | 1 | 3/4" × 5" × 40" | — | ☐ |
| Hook Piece 1 | 3 | 3/4" × 2" × 6" | — | ☐ |
| Hook Piece 2 | 3 | 3/4" × 1" × 3" | — | ☐ |
| Hook Piece 3 | 3 | 3/4" × 1" × 1" | — | ☐ |
Materials
| Item | Qty | ✓ |
|---|---|---|
| Board, 1x6 72" | 1 board | ☐ |
| 1 1/4" Kreg Pocket Screws | 12 each | ☐ |
| Stain | 1 each | ☐ |
Overall cost: $. Lumber varies by region, species, and season, so we give a band rather than a figure.
Tools
- Drill / Driver
- Miter Saw
- Pocket Hole Jig
- Random Orbit Sander
- Router
- Table Saw
Instructions
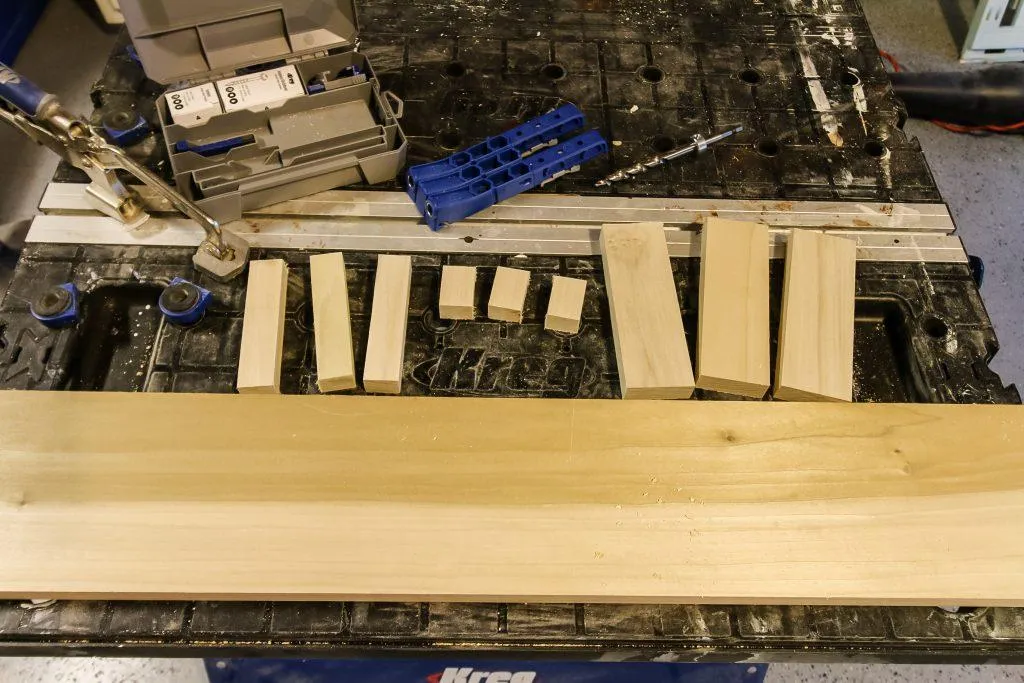
1. Make All Cuts
Make all the cuts according to the cut list.
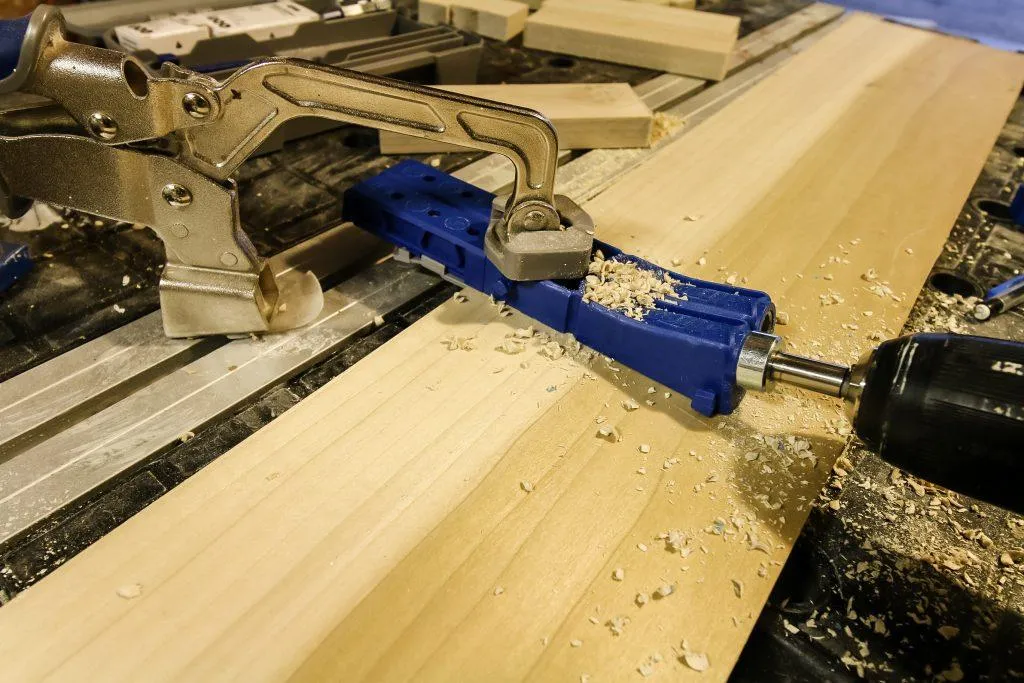
2. Add Pocket Holes to Mantel Base
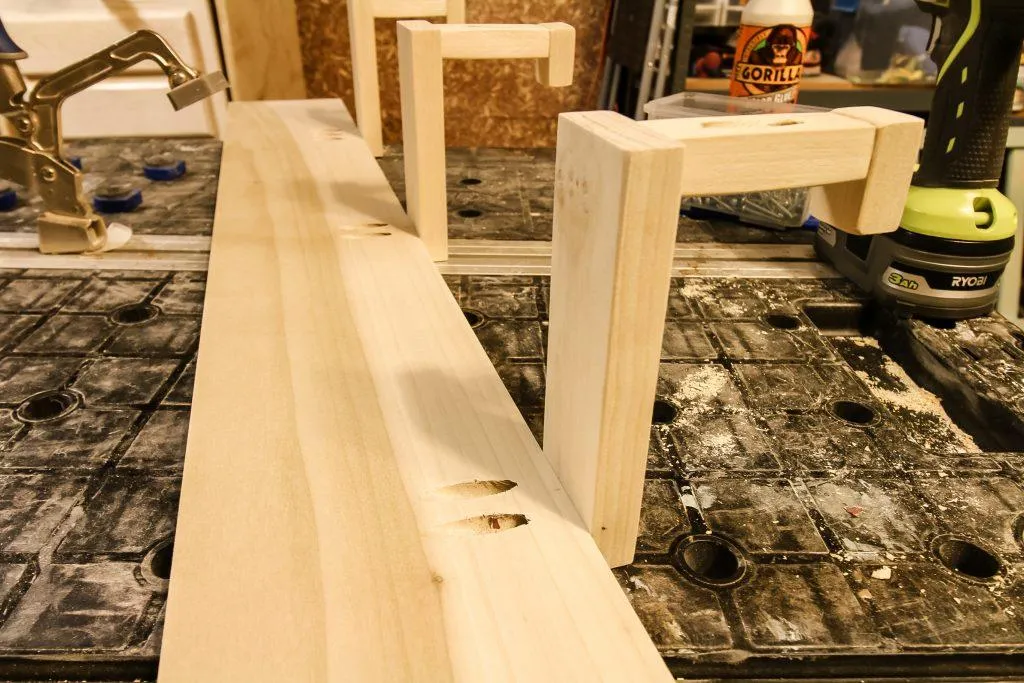
Add two pocket holes on the Mantel Base in three locations: 20" (center of board) and 8" in from either side.
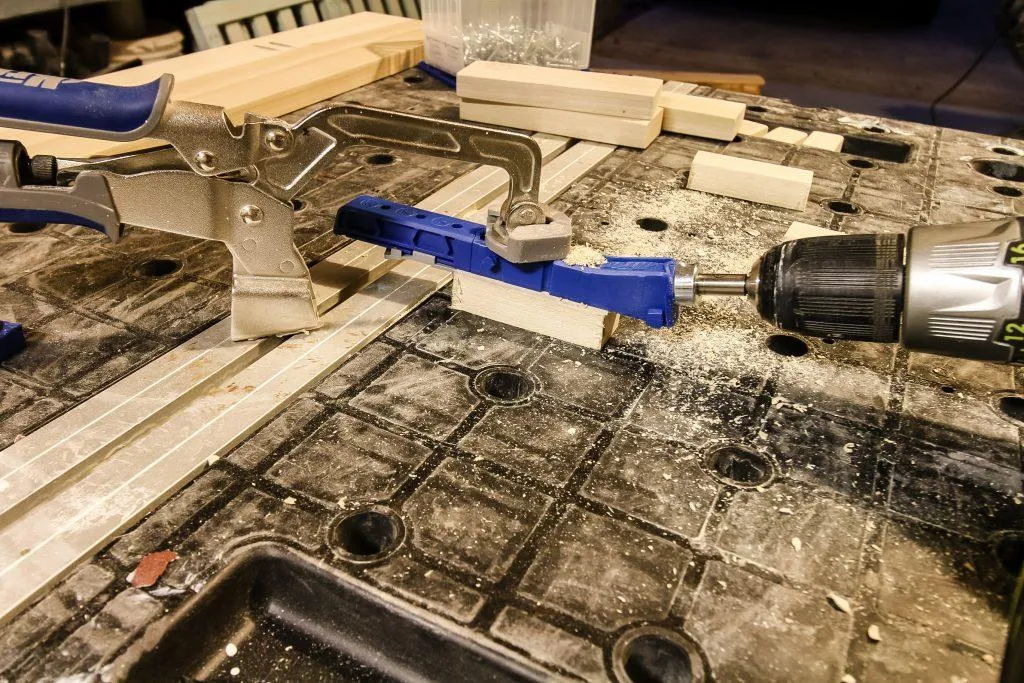
3. Add Pocket Holes to Hook Piece 2
Add a single pocket hole going in both directions of Hook Piece 2.
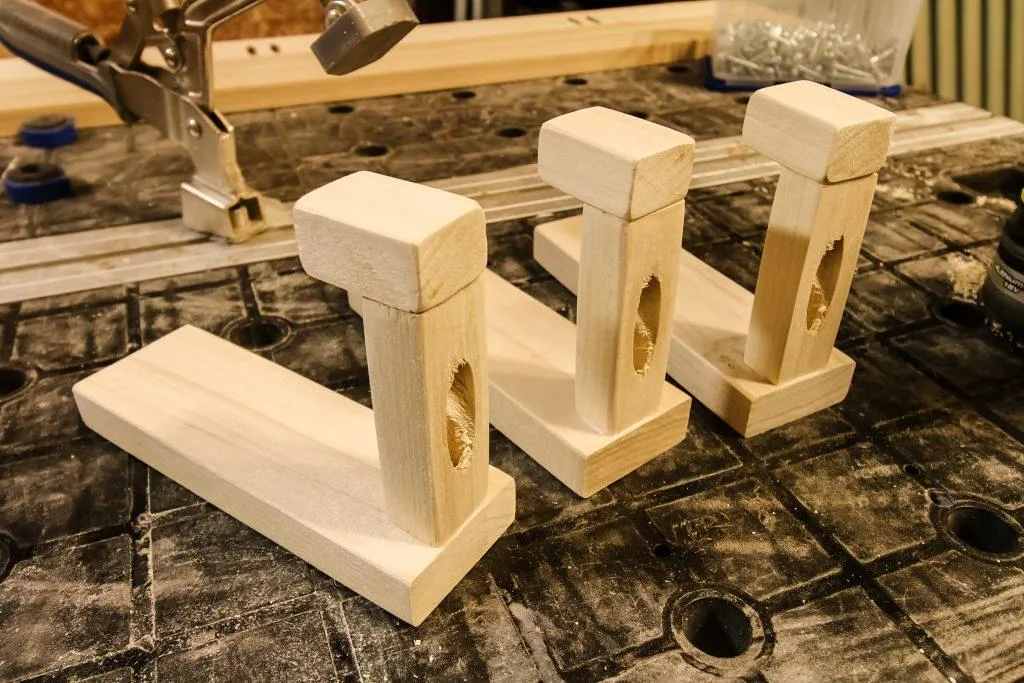
4. Build Hooks
Build the three hooks. Use the two pocket holes to attach Hook Piece 2 to the base of Hook Piece 1 and Hook Piece 3.
5. Attach Hooks
Attach the hooks to the outside of the Mantel Base where you drilled the pocket holes.
6. Router the Edge
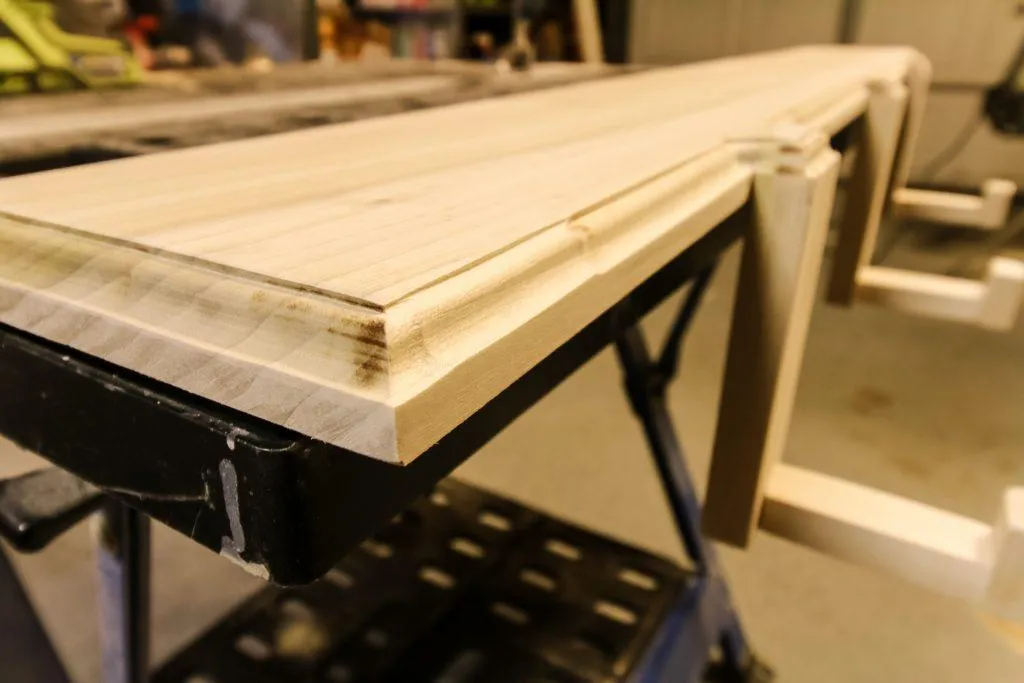
Use a palm router around the edge of the Mantel Base, going over the top of the hooks. This will help make it look like one piece of wood.
7. Stain the Wood
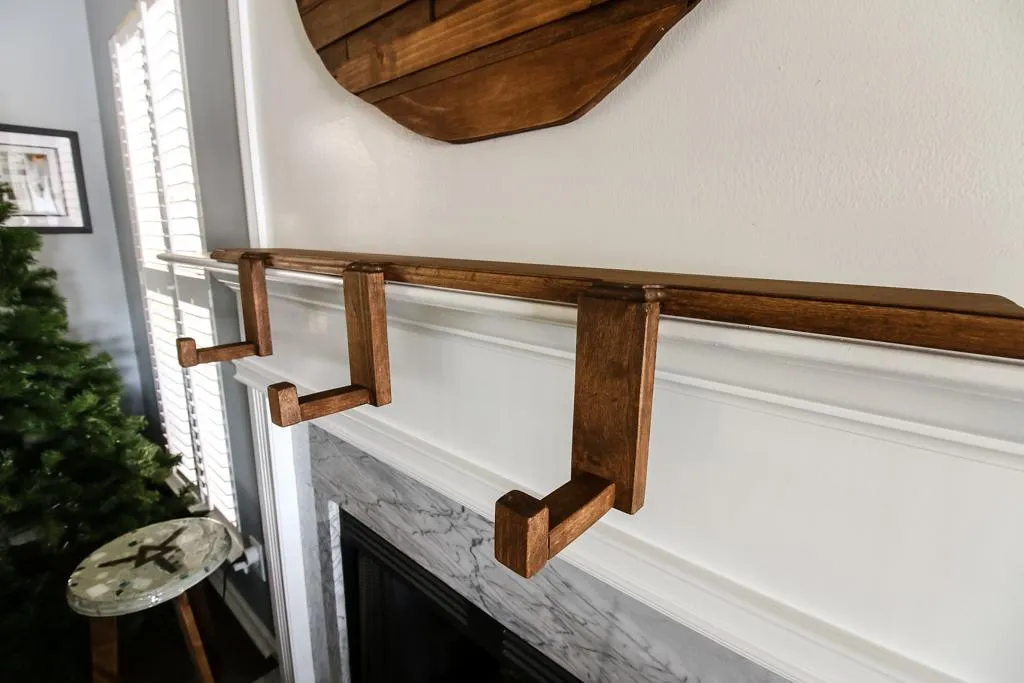
Choose a nice wood stain to match your decor.
8. Hang Your Stockings
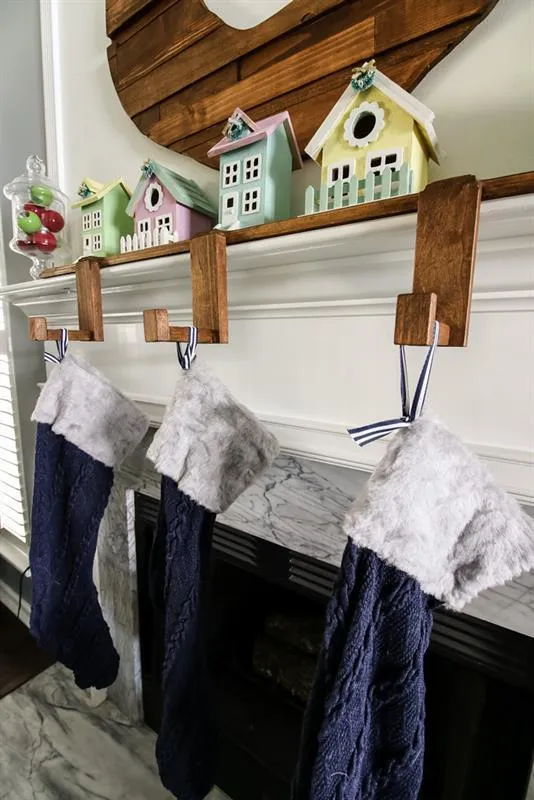
Santa is coming! Hang your stockings on this beautiful stockings holder and make sure to put out a plate of cookies and a cup of milk!
9. Visit www.CharlestonCrafted.com
Check out www.CharlestonCrafted.com for more great holiday projects like these!