Notch
Use your browser's Print (Ctrl/Cmd + P) and choose Save as PDF. This page works offline once you've opened it with a signal.
Side Table with Wireless Charger
This sturdy side table with a built in wireless charger is the perfect addition to your living area.
- Difficulty
- Intermediate
- Time
- 4.8–9 hours
- Cost
- $$
Cut list
| Part | Qty | T × W × L | Material | ✓ |
|---|---|---|---|---|
| Top | 1 | 3" × 10" × 24" | — | ☐ |
| Legs | 2 | 3" × 7" × 21" | — | ☐ |
| Top Support | 1 | 1 1/2" × 3" × 15" | — | ☐ |
| Center Support | 1 | 3" × 3" × 15" | — | ☐ |
Materials
| Item | Qty | ✓ |
|---|---|---|
| Boards, 3/4” x 1' x 6' | 4 board | ☐ |
| Box of 1 1/4" Kreg Pocket Hole Screws (see tools list) | 1 each | ☐ |
| 80, 120, 220 grit sandpaper | 1 each | ☐ |
| Wood glue | 1 each | ☐ |
| Stain | 1 each | ☐ |
| Wireless charger | 1 each | ☐ |
| Double sided tale | 1 each | ☐ |
Overall cost: $$. Lumber varies by region, species, and season, so we give a band rather than a figure.
Tools
- Drill / Driver
- Jigsaw
- Miter Saw
- Pocket Hole Jig
- Random Orbit Sander
- Router
- Bar / Pipe Clamps — optional
Instructions
1. Step One
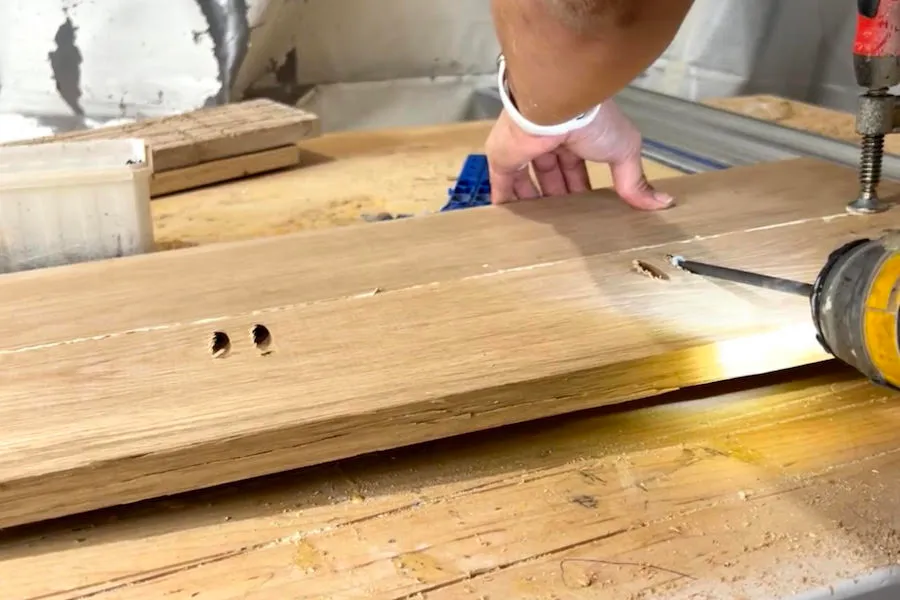
- Cut the top boards about 2” longer than you need.
- Set your Pocket hole jig to 3/4” and the stop collar on the drill bit to 3/4”.
- Drill pocket holes on the backside of the boards, then glue and join them together using 1 1/4” pocket hole screws.
2. Step Two
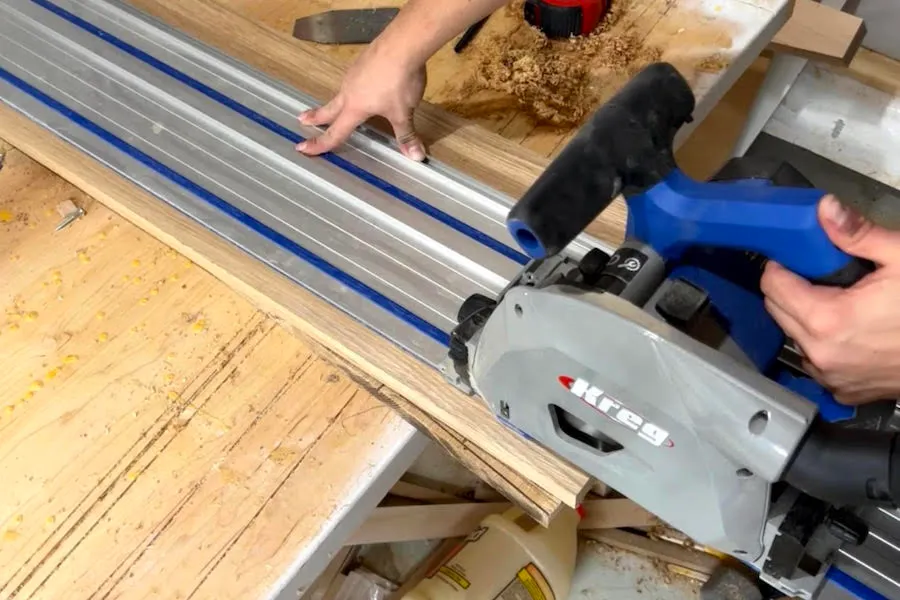
Cut the top to size with the Kreg Jig Track saw.
3. Step Three
Cut the legs about 2” longer than you need. Pocket hole and glue them together like you did the top.
4. Step Four
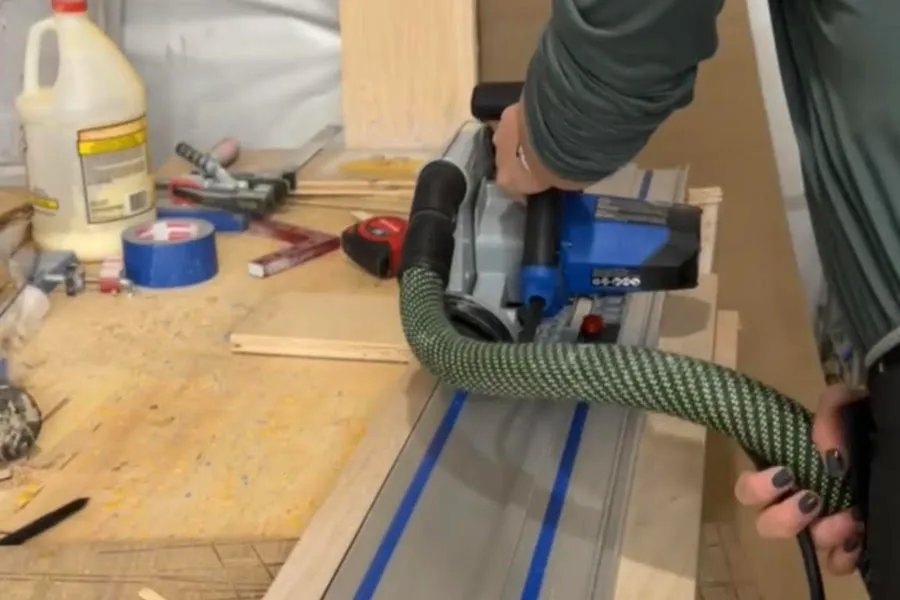
Cut the legs to size with the Kreg Jig Track saw.
5. Step Five
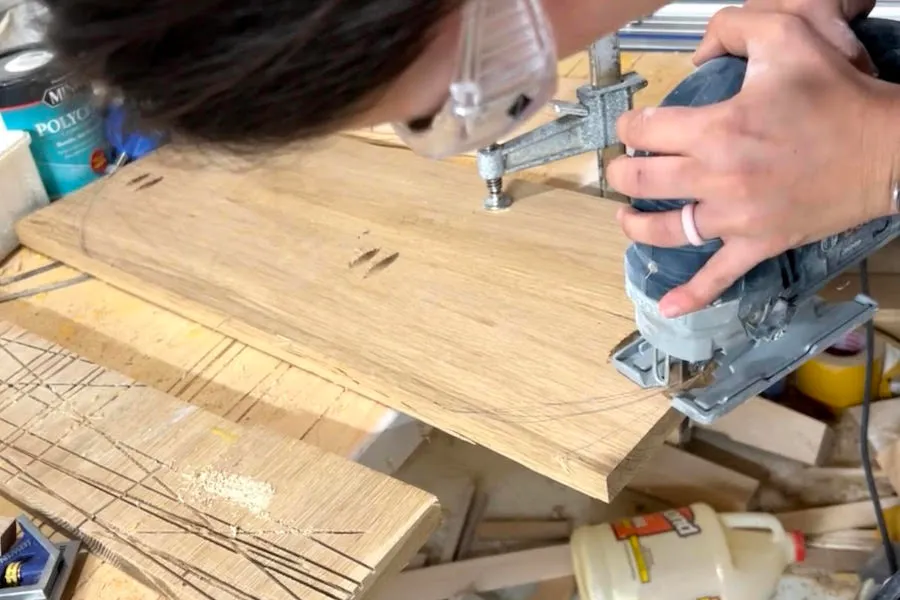
Using a template such as a bowl or a cup, trace it on both sides of the top. This will be the template for your oval shape. Cut out the shape with a jigsaw.
6. Step Six
Repeat this same process on the legs.
7. Step Seven
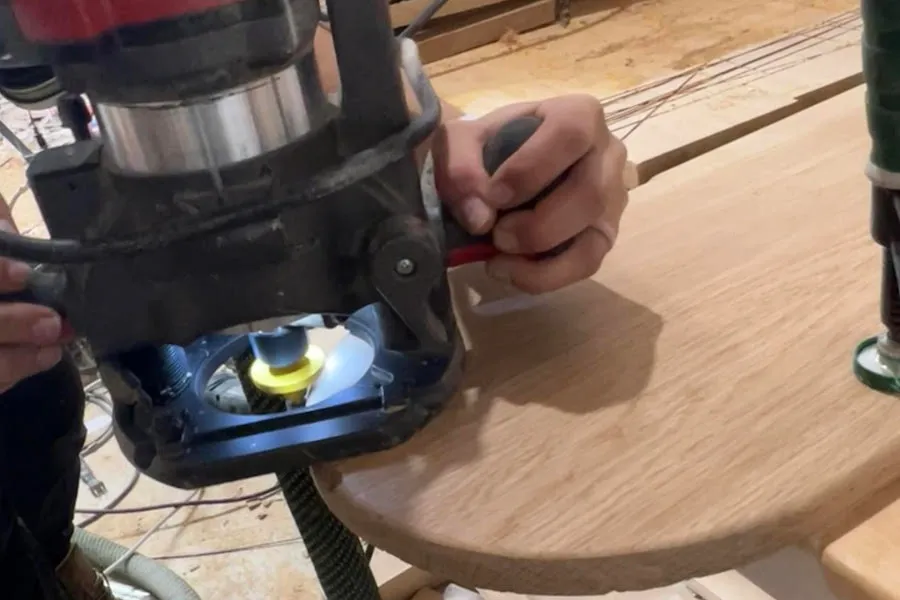
Optional step: Use 1/4” roundover bit to roundover all sides of the top and legs.
8. Step Eight
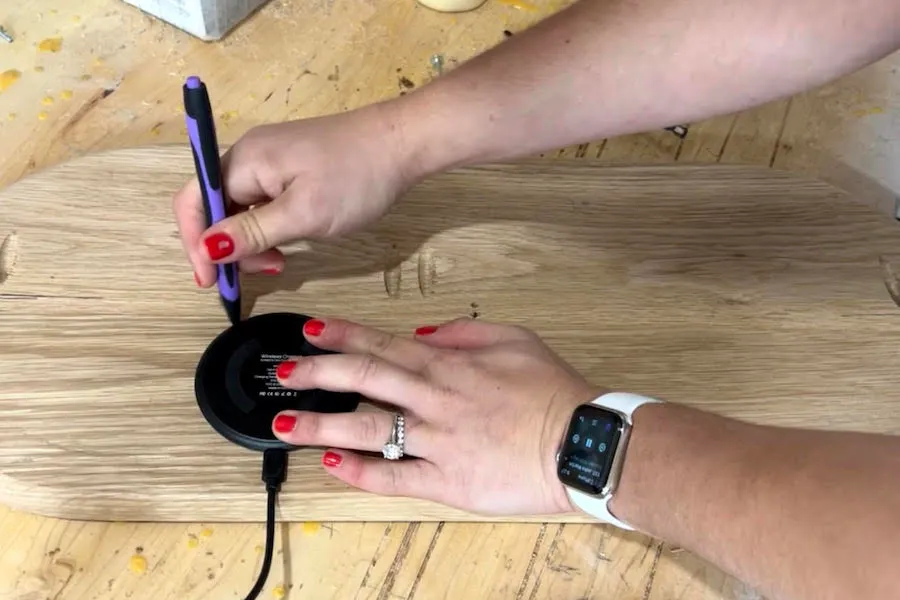
- Trace the shape of the wireless charger on the underside of the table top.
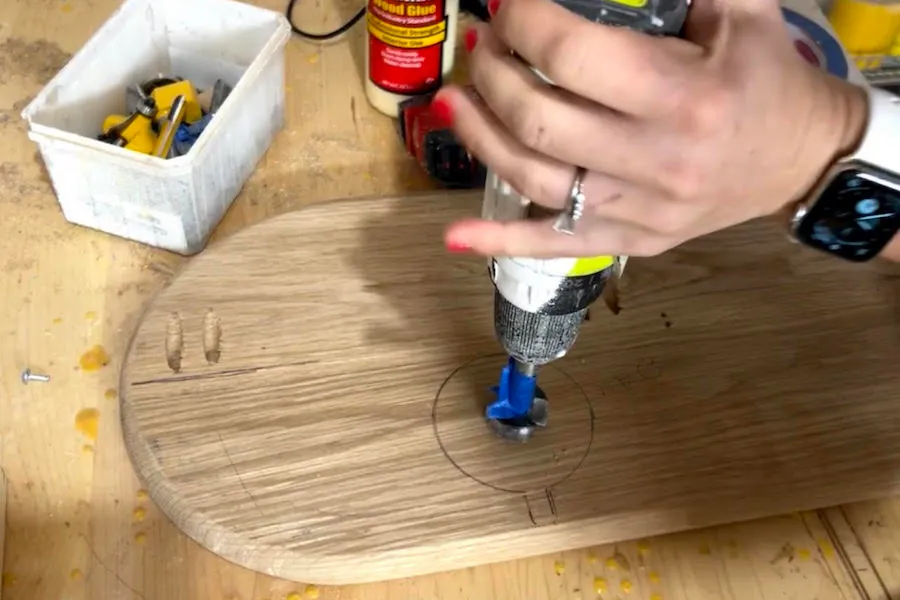
- Mark 1/2” depth on the forstner bit using tape.
- Drill in the center until you reach the tape.
9. Step Nine
With your router and upcut spiral bit, make shallow passes until you reach the same depth as the bottom of the hole you made with the forstner bit.
10. step Ten
Using double sided tape, push your wireless charger into the hole you made. Make sure to test to see if your phone charges.
11. Step Eleven
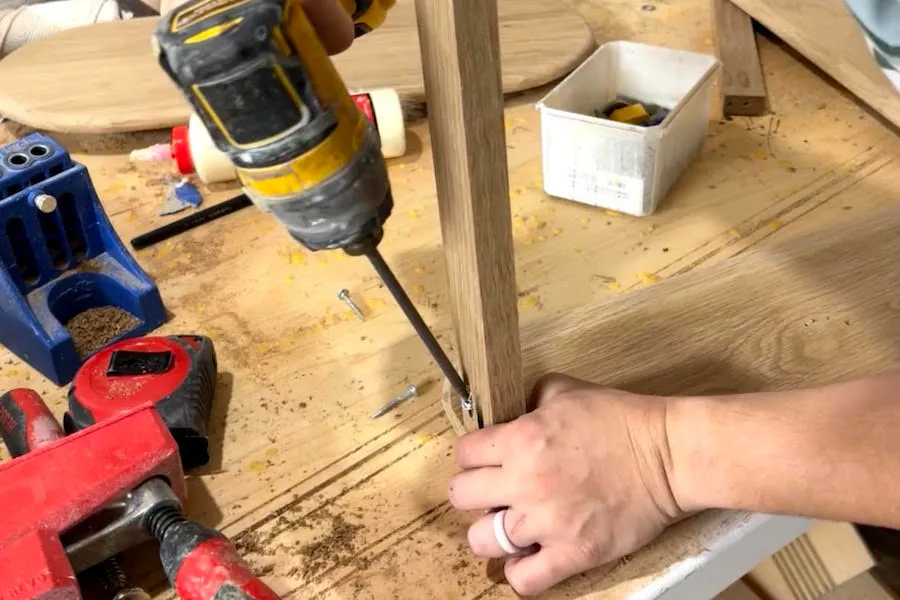
Attach the top support between the two oval shapes you made for the legs using pocket holes and screws.
12. Step Twelve
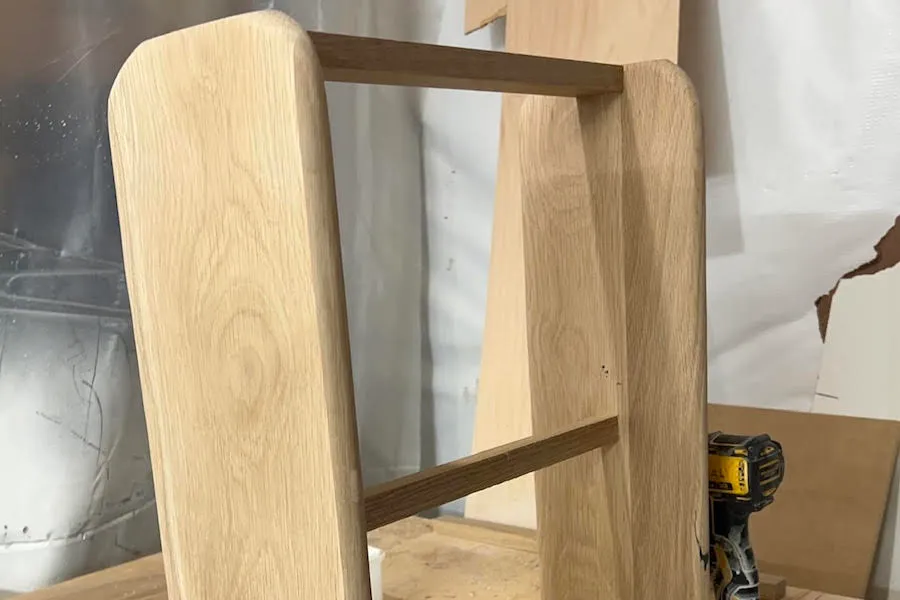
Attach the middle support about 10” up from the bottom of the legs using pocket holes and screws.
13. Step Thirteen
Sand, stain and you have a brand new table!