Notch
Use your browser's Print (Ctrl/Cmd + P) and choose Save as PDF. This page works offline once you've opened it with a signal.
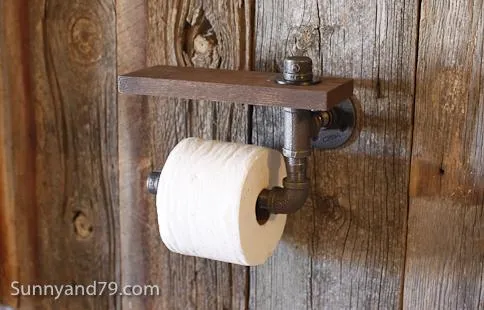
Rustic Scrap Wood and Pipe Toilet Paper Holder
Hi there!
- Difficulty
- Easy
- Time
- 3–5.8 hours
- Cost
- $$
Cut list
| Part | Qty | T × W × L | Material | ✓ |
|---|---|---|---|---|
| Shelf | 1 | 1" × 4" × 9" | — | ☐ |
Materials
| Item | Qty | ✓ |
|---|---|---|
| Board, 1x4 Scrap | 1 board | ☐ |
| 1/2" x 6" Steel Pipe Nipple | 1 each | ☐ |
| 1/2" Floor Flange | 1 each | ☐ |
| 1/2" Connector Nipples | 3 each | ☐ |
| 1/2" Elbow | 1 each | ☐ |
| 1/2" Tee | 1 each | ☐ |
| 1/2" End Caps | 2 each | ☐ |
| 3/4" Washers | 2 each | ☐ |
Overall cost: $$. Lumber varies by region, species, and season, so we give a band rather than a figure.
Tools
- Drill / Driver
- Miter Saw
- Bar / Pipe Clamps — optional
- Tape Measure — optional
Instructions
1. Gather Supplies
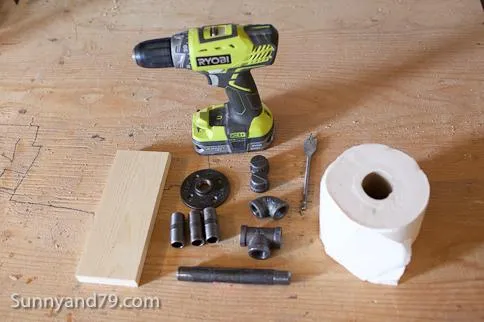
Gather up your supplies :) Don't forget the 2 washers that aren't pictured.
2. Clamp and drill hole in scrap wood
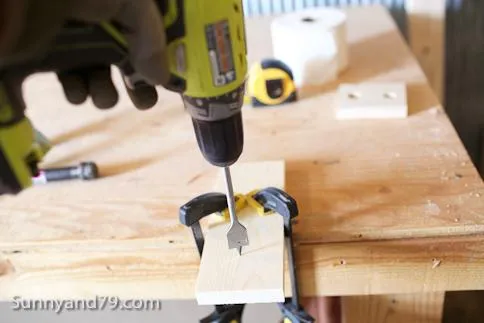
Using a 3/4" Spade Bit, drill a hole in your scrap piece of wood centered 2" from one end. I like to drill the hole about 3/4 of the way through, then flip the wood and finish on the other side for a cleaner hole :)
3. Sand and Stain Wood
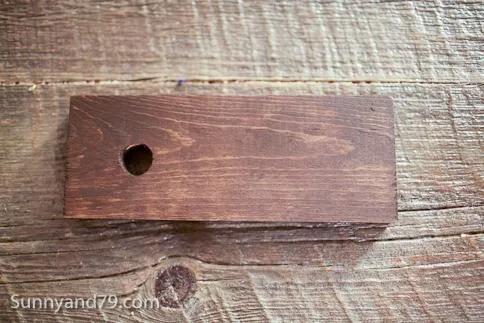
Go ahead and sand and stain your wood, and set aside.
4. Assemble Pipe
Now, take one of your washers and place on the bottom thread of one of the small nipples.
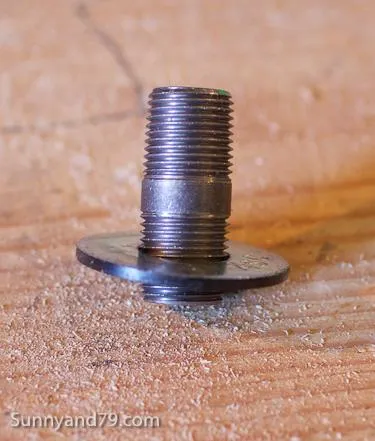
5. Assembly, cont.
Then screw that into one end of your tee.
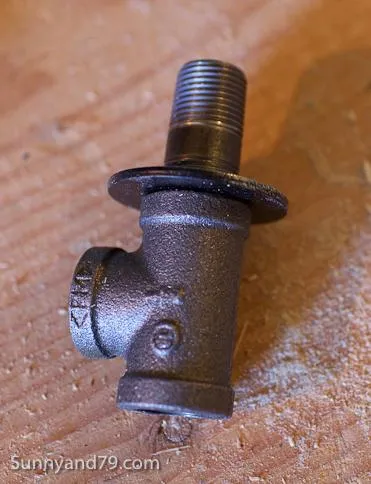
6. Cont.
Now add another nipple on the side of your tee along with the floor flange.
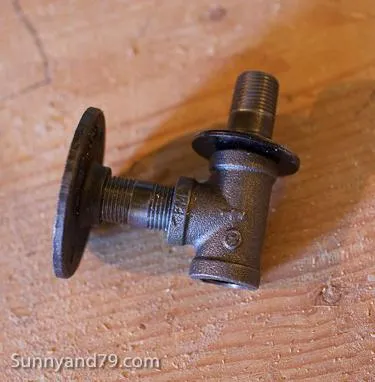
7. Pipe, cont.
Then add your final short nipple, along with your elbow, 6" nipple, and an end cap.
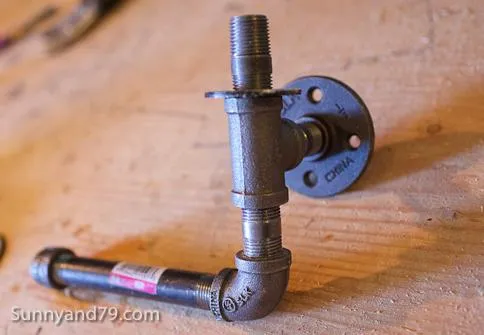
8. Final assembly
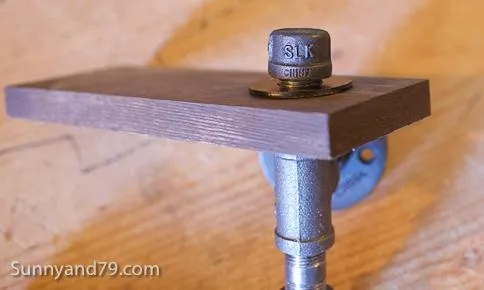
Now, slide your 1x4 onto the top nipple over the washer. Add the other washer over the wood, and finish with the second end cap.
9. Tighten up
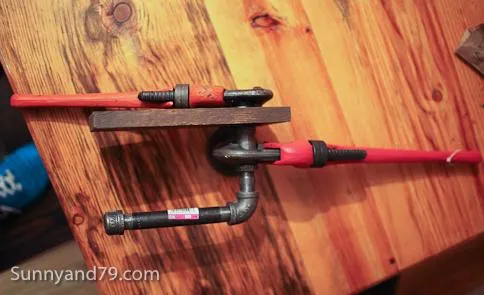
Use 2 pipe wrenches to tighten everything up, making sure the bottom long nipple and shelf are facing the direction you'd like :)
10. Install
All finished! Now, go ahead and install. It's best if you can screw at least 2 of the holes of the floor flange into a stud in the wall. Thanks for checking out this project! Hope yours turns out great!