 Notch
- Difficulty
- Easy
- Time
- 3–5.8 hours
- Cost
- $$
About this build
Hi there! Here’s a super simple and essential project that anyone can do! I love nothing better than DIY, so when our TP holder was on the fritz I decided to build something 🙂 This one even has a shelf for your cell phone!
Tools
Essential
- Drill / Driver
- Miter Saw
Optional / nice to have
- Bar / Pipe Clamps
- Tape Measure
Materials
| Item | Qty |
|---|---|
| Board, 1x4 Scrap | 1 board |
| 1/2" x 6" Steel Pipe Nipple | 1 each |
| 1/2" Floor Flange | 1 each |
| 1/2" Connector Nipples | 3 each |
| 1/2" Elbow | 1 each |
| 1/2" Tee | 1 each |
| 1/2" End Caps | 2 each |
| 3/4" Washers | 2 each |
Overall cost: $$. Lumber prices vary by region, species, and season, so we give a band rather than a figure we would only be pretending to know.
Cut list
| Part | Qty | T × W × L |
|---|---|---|
| Shelf | 1 | 1" × 4" × 9" |
What to buy
Buy 1 board at 8 ft.
1" × 4"
1 board
Assumes 8 ft stock, a 1/8" saw kerf, and buying each part at its own width. Change the board size or kerf on the full board plan →
Instructions
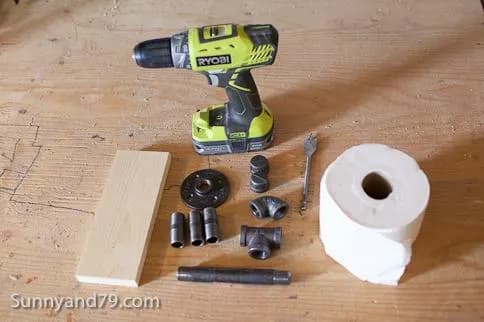
1Gather Supplies
Gather up your supplies :) Don't forget the 2 washers that aren't pictured.
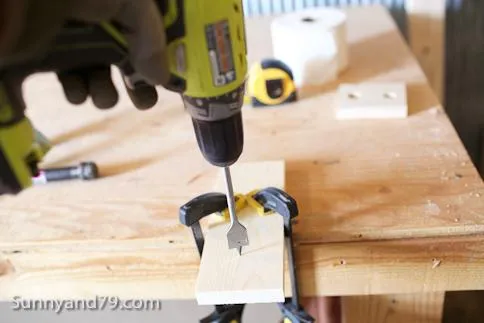
2Clamp and drill hole in scrap wood
Using a 3/4" Spade Bit, drill a hole in your scrap piece of wood centered 2" from one end. I like to drill the hole about 3/4 of the way through, then flip the wood and finish on the other side for a cleaner hole :)
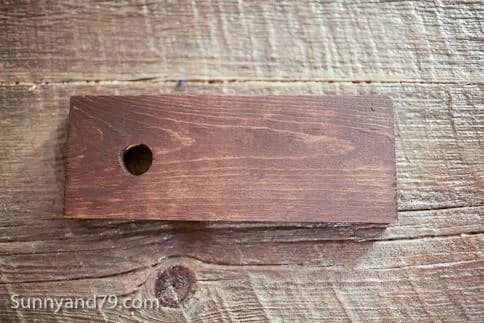
3Sand and Stain Wood
Go ahead and sand and stain your wood, and set aside.
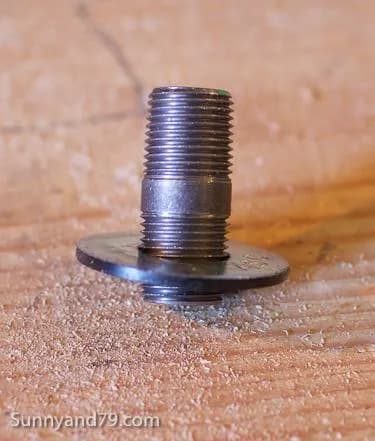
4Assemble Pipe
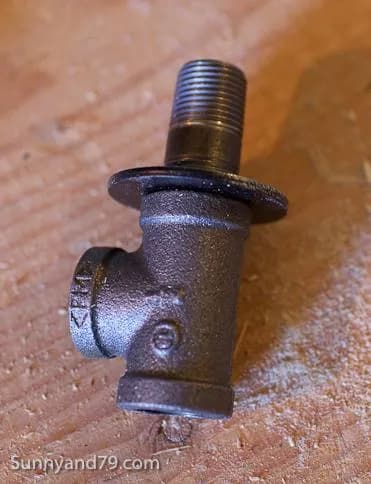
Now, take one of your washers and place on the bottom thread of one of the small nipples.
5Assembly, cont.
Then screw that into one end of your tee.
6Cont.
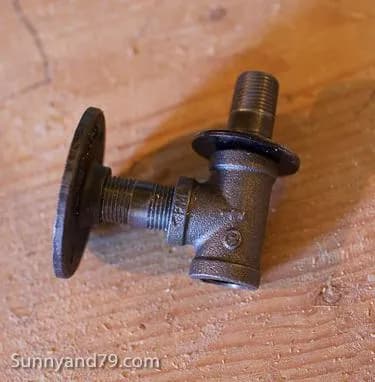
Now add another nipple on the side of your tee along with the floor flange.
7Pipe, cont.
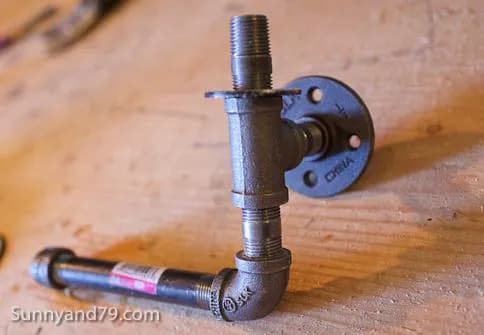
Then add your final short nipple, along with your elbow, 6" nipple, and an end cap.
8Final assembly
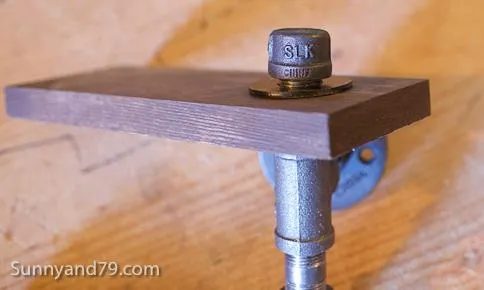
Now, slide your 1x4 onto the top nipple over the washer. Add the other washer over the wood, and finish with the second end cap.
9Tighten up
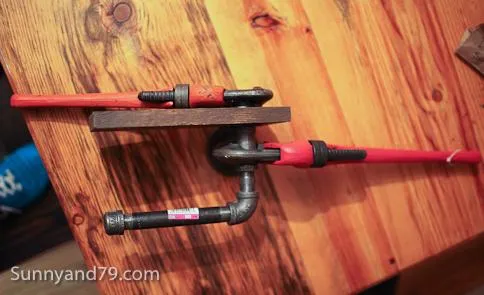
Use 2 pipe wrenches to tighten everything up, making sure the bottom long nipple and shelf are facing the direction you'd like :)
10Install
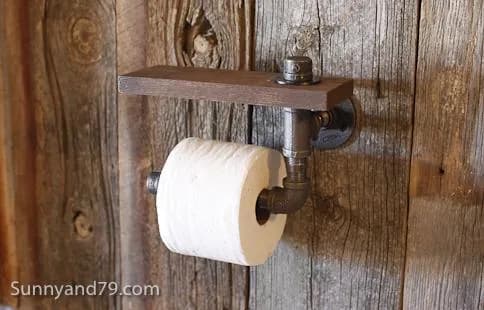
All finished! Now, go ahead and install. It's best if you can screw at least 2 of the holes of the floor flange into a stud in the wall. Thanks for checking out this project! Hope yours turns out great!
Tags
- Bathroom
- Beginner
Reviews & builds
No reviews yet
Sign in to review this plan or share your build.
No reviews yet. Be the first to build this.