Notch
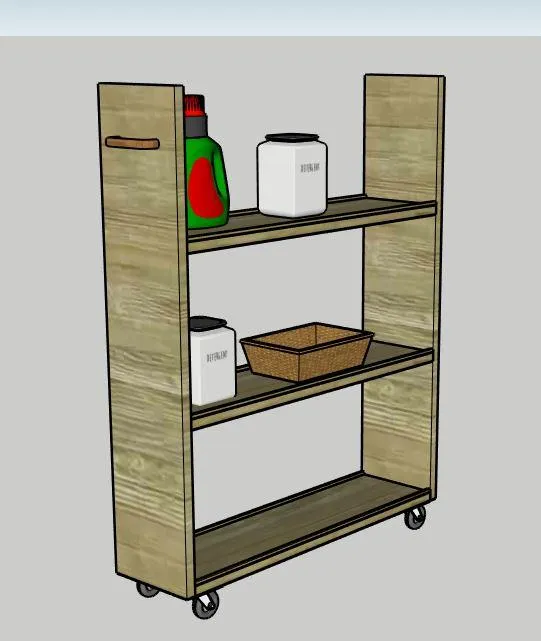
Rolling Laundry Cart
Step-by-step build — 6 steps. Also available as a print sheet.
1Attach Bottom Shelf
Drill pocket holes in the short ends of each of the shelves. Attach one shelf to the ends of the front and back flush with the bottom edge.
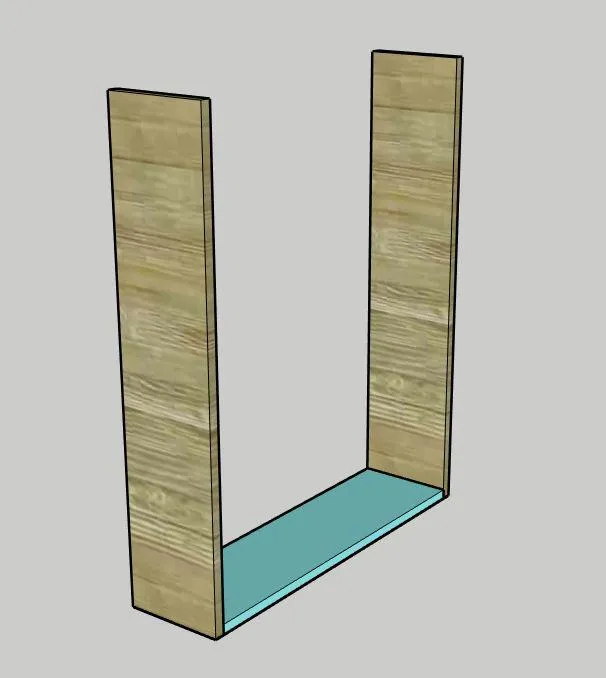
2Attach Shelves
Attach the other two shelves the same way with 11" of space in between.
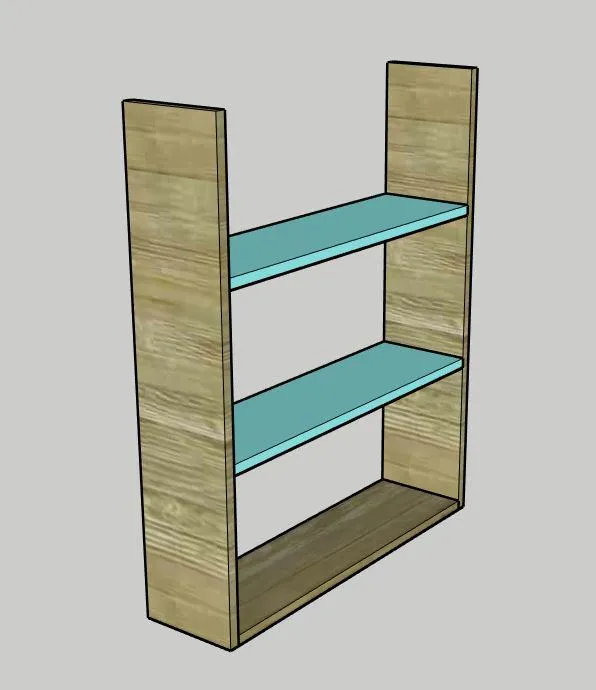
3Attach Trim
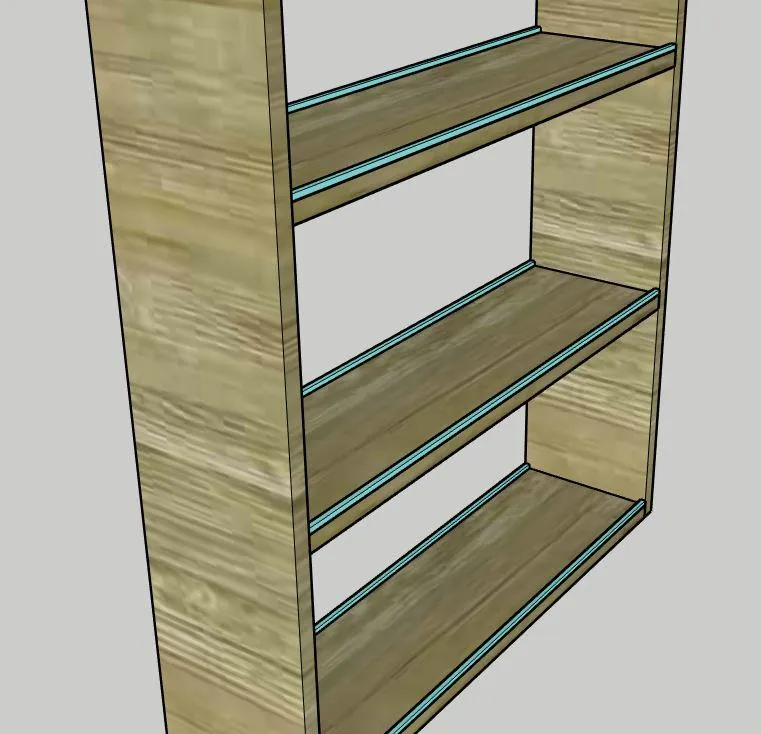
Attach the trim pieces on the outside edge of the top of each shelf using wood glue and clamps.
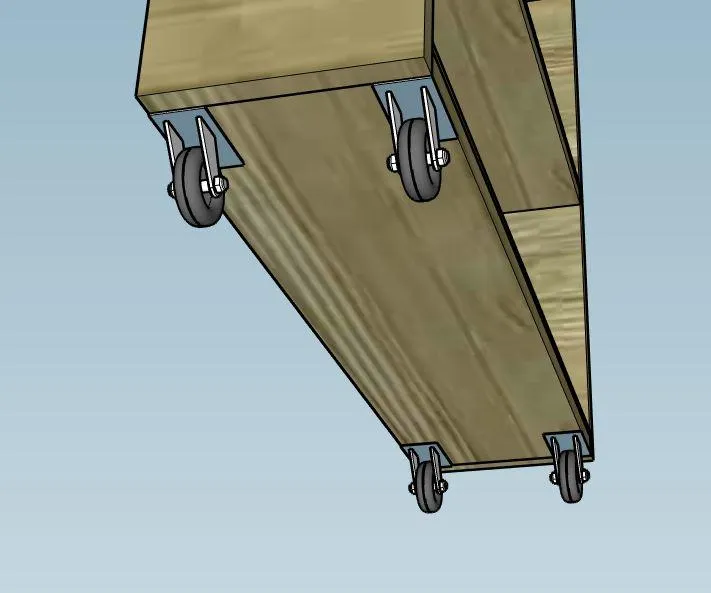
4Attach Casters
Attach the casters onto the underside of the bottom shelf. We attached ours to the end.
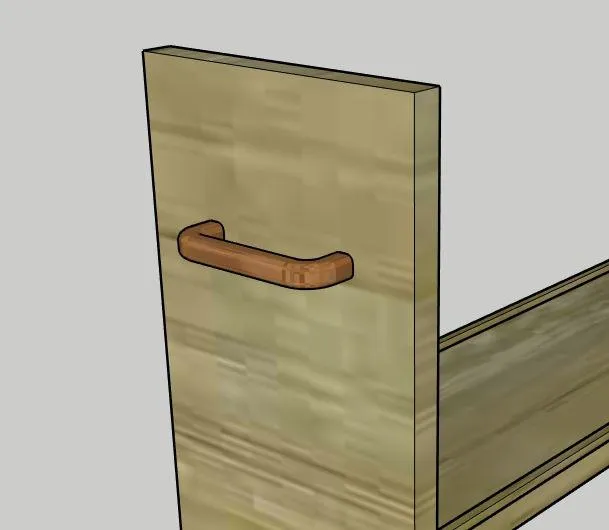
5Attach Handle
Attach the handle approximately 5" down from the top of the front.
6Enjoy!
Enjoy your handiwork and tag @CharlestonCrafted on Instagram with a picture!