 Notch
NotchUse your browser's Print (Ctrl/Cmd + P) and choose Save as PDF. This page works offline once you've opened it with a signal.
Pottery Barn Inspired TV Stand
This vintage style media console is inspired by the Pottery Barn Printer’s TV stand.
- Difficulty
- Advanced
- Time
- 6.8–13 hours
- Cost
- $$$
Cut list
| Part | Qty | T × W × L | Material | ✓ |
|---|---|---|---|---|
| Sides | 2 | 3/4" × 15 1/2" × 33" | — | ☐ |
| Bottom & Middle Shelf | 2 | 3/4" × 15 1/2" × 48" | — | ☐ |
| Top | 1 | 3/4" × 16" × 50" | — | ☐ |
| Middle Inserts | 2 | 3/4" × 15 1/2" × 23" | — | ☐ |
| Small inside shelves | 3 | 3/4" × 14 1/2" × 15" | — | ☐ |
| Large door boards | 4 | 3/4" × 7 1/4" × 15 1/2" | — | ☐ |
| Small door boards | 2 | 3/4" × 5 1/2" × 15 1/2" | — | ☐ |
| Faux drawer spacers | 4 | 3/4" × 1 1/2" × 15 1/2" | — | ☐ |
| Bottom support | 1 | 3/4" × 2 1/2" × 48" | — | ☐ |
| Bottom trim piece | 1 | 3/4" × 3 1/2" × 16" | — | ☐ |
| Shelf braces | 6 | 3/4" × 2 1/2" × 13" | — | ☐ |
Materials
| Item | Qty | ✓ |
|---|---|---|
| Plywood, 3/4" Thick Full Sheet | 1 board | ☐ |
| Board, 1x3 96" | 1 board | ☐ |
| Board, 1x4 72" | 1 board | ☐ |
| Backer Board, 1/4" Thick Full Sheet | 1 board | ☐ |
| 3/4" Roll at 25 ft. Veneer Tape | 1 each | ☐ |
| Pulls of knobs of choice | 6 each | ☐ |
| Euro Hinges | 4 each | ☐ |
| Box of Kreg 1 1/4" Pocket Hole Screws | 1 each | ☐ |
| Paint or stain of choice | 1 each | ☐ |
| 120 grit sand paper | 1 each | ☐ |
| Pack 2" Finishing nails | 1 each | ☐ |
| Magnetic Catch for the doors | 2 each | ☐ |
Overall cost: $$$. Lumber varies by region, species, and season, so we give a band rather than a figure.
Tools
- Brad Nailer
- Circular Saw
- Jigsaw
- Miter Saw
- Pocket Hole Jig
- Random Orbit Sander
- Table Saw
- Bar / Pipe Clamps — optional
- Tape Measure — optional
Instructions
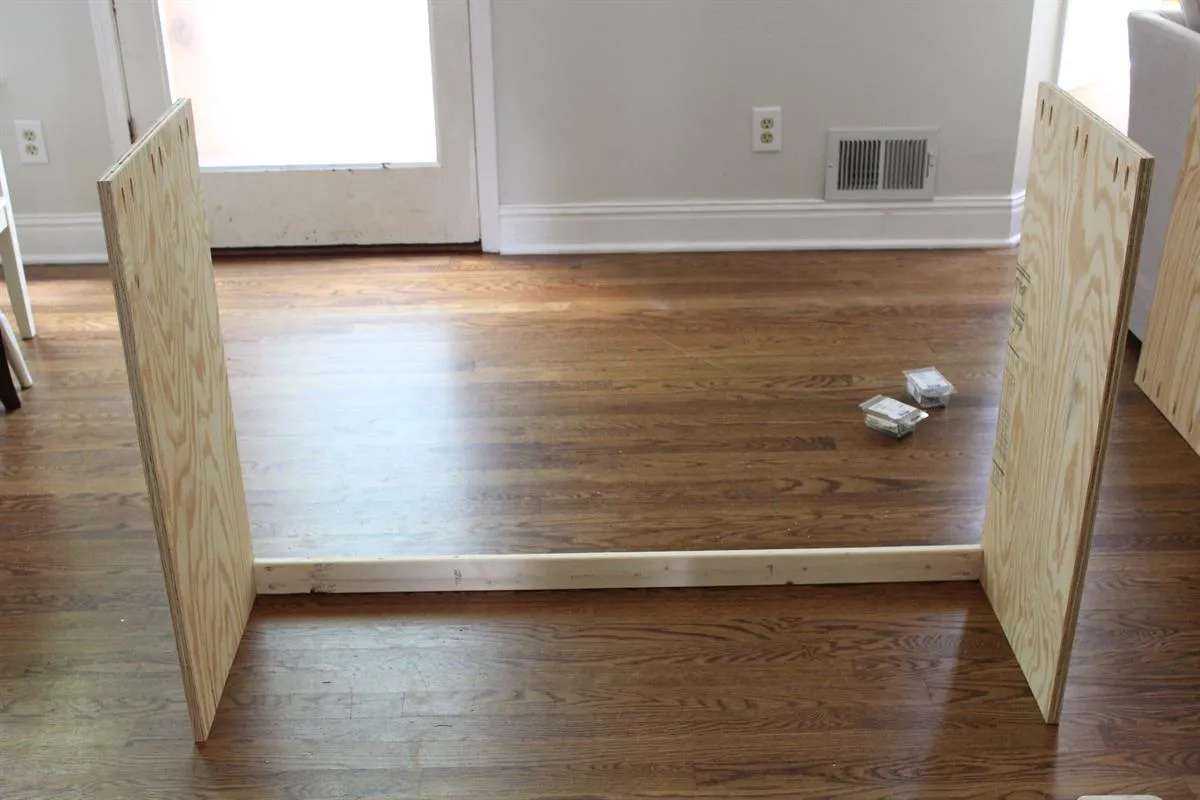
1. Attaching the sides
Attach both of your sides to the 1x3/bottom support using 1 1/4" pocket holes screws.
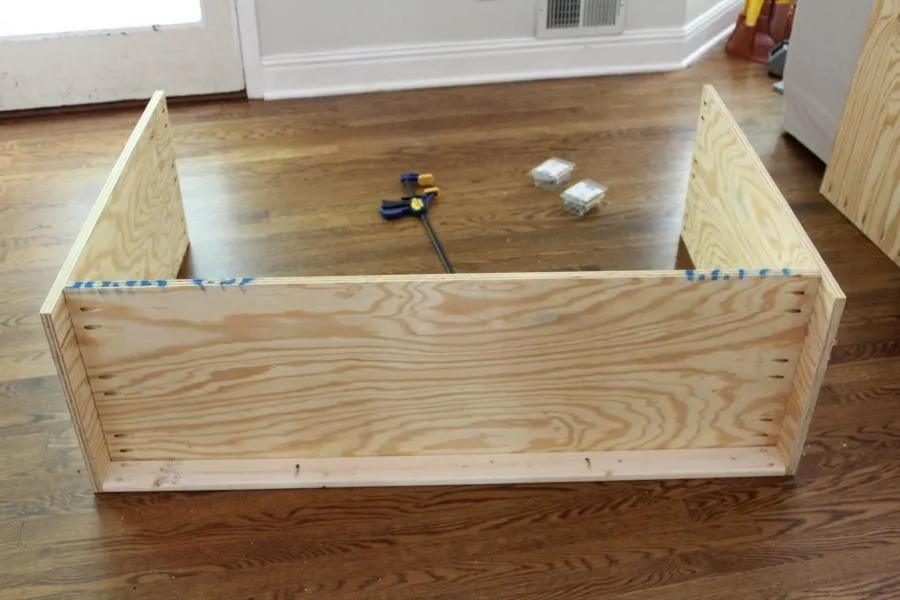
2. Placing the bottom shelf
Attach the bottom shelf to the two sides, making sure it's flush on the front and sides. Use 1 1/4" pocket hole screws.
3. Attach the top
Attach the top of your console using 1 1/4" pocket hole screws. The back should be flush. The sides and the front should over hang 3/4".
4. Attach the top shelf
- Attach the top shelf using the same method as the bottom shelf and top.
- Space the top shelf 23 3/8" from the Bottom Shelf. This way you should have enough space for your doors with an 1/8" gap around the doors.
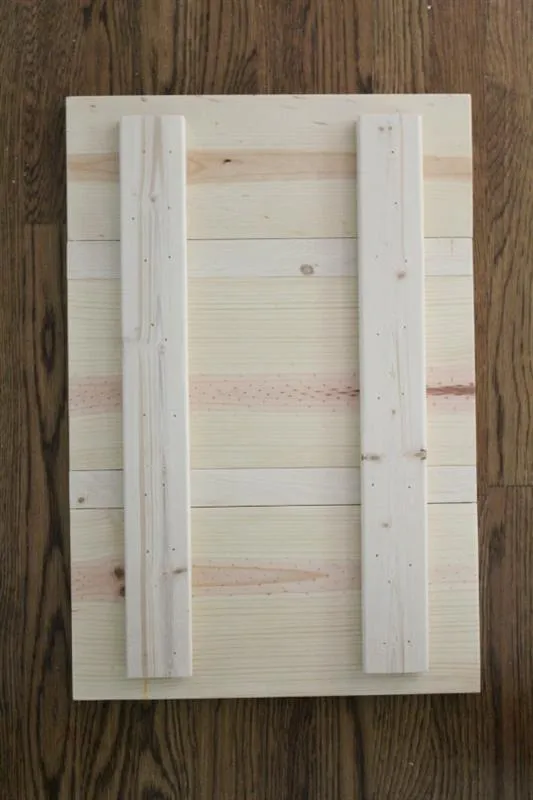
5. Building the doors
Lay two 1x8" boards cut to 15.5" long and a 1x6" board cut to 15.5" above them with 1x2"s cut to 15.5" long in between each board to create your "drawer like" cabinet doors. Glue and nail 2 - 1x3" to the back of the planked boards to hold your door together.
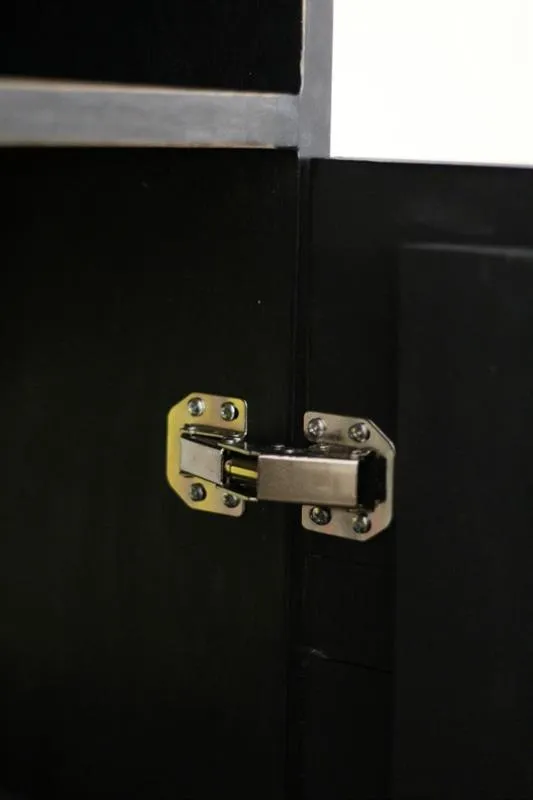
6. Attaching the doors
Attach the cabinet doors to the sides using euro hinges. Make sure to leave an even gap around the sides of the doors.
7. Inclosing the cabinets
Install your side inserts using 1 1/4" pocket hole screws. Make sure to line up against the cabinet door with just a small gap so that the door closes completely. Repeat this step on the other side as well. The Kreg clamp comes in really handy for this step. It's very important to keep your sides level and flush.
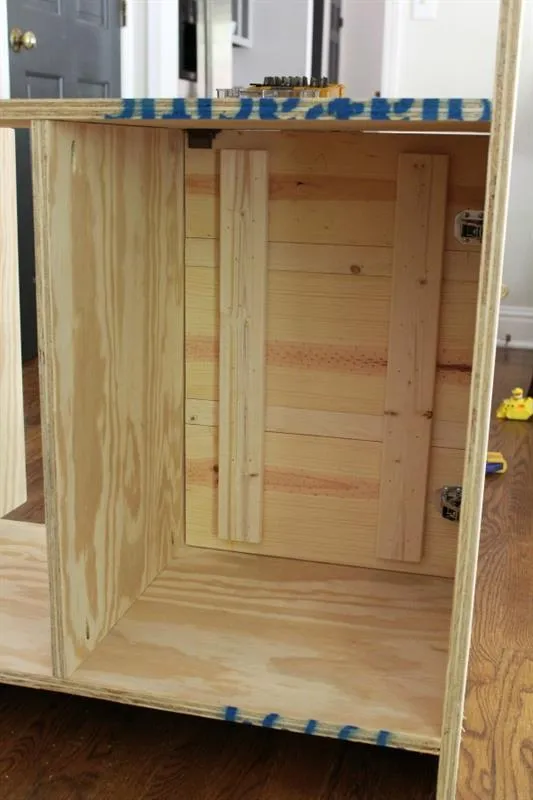
8. Attaching the bottom trim
Using finishing nails, nail the 1x4" across the bottom of the cabinet to trim it out. We ripped our 1x4" down slightly for a perfect fit.
9. Adding veneer tape
We added veneer tape to all the exposed plywood edges using the instructions included with the tape. This will get rid of those ugly plywood edges.
10. Finishing your console
- Sand your console with medium grit sandpaper.
- Prime and paint or stain your console.
- Once dry seal it with poly.
- Add your pulls or knobs to your doors and you're done!
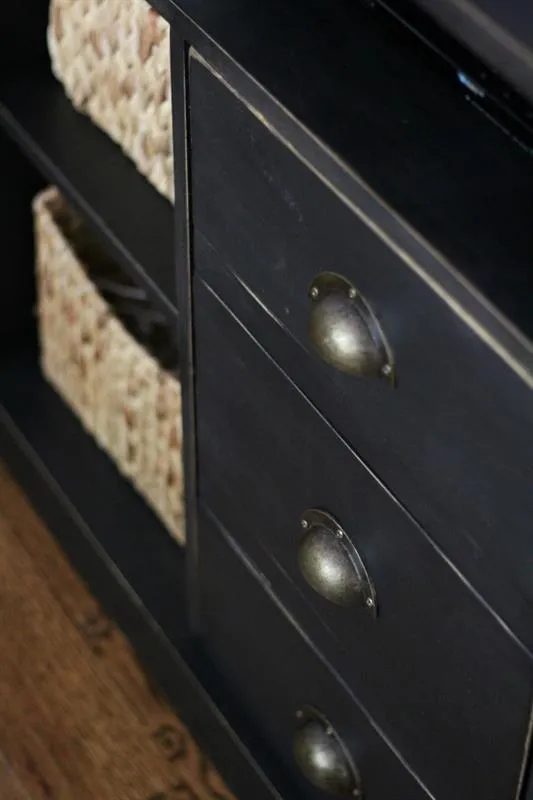
11. Adding shelves
- Cut 1x3" boards and nail to the sides of each cubby. We placed ours directly in the middle. The height is personal preference. Your shelf will then lay on top of the 1x3's. Your shelf should sit back an inch from the front.
- Repeat this step for the inside of the cabinets as well.
12. Making your pocket holes
Using the 3/4" setting on your Kreg Jig, make 4-5 pocket holes in the top of your sides as well as 4-5 pocket holes in the bottom and top shelves. Make 4 holes total on the middle inserts as well.
13. Adding the back
Cut backer board to fit the back of the cabinet and nail in place using a nail gun.