Notch
Open Shelf
Step-by-step build — 5 steps. Also available as a print sheet.
1Cut Wood
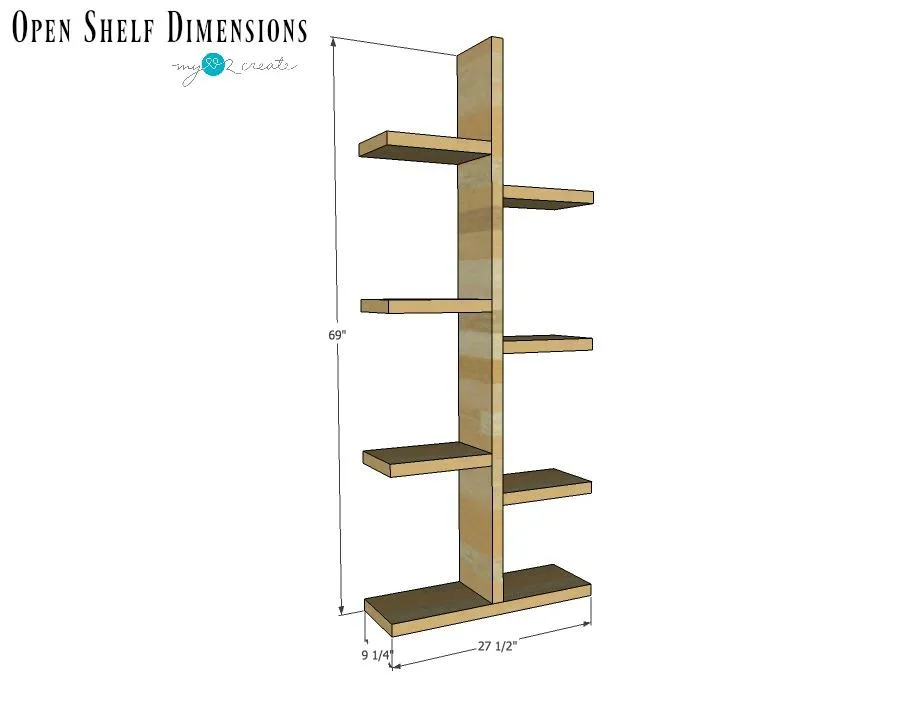
Using a miter saw cut your wood to the specified sizes.
2Drill pocket holes
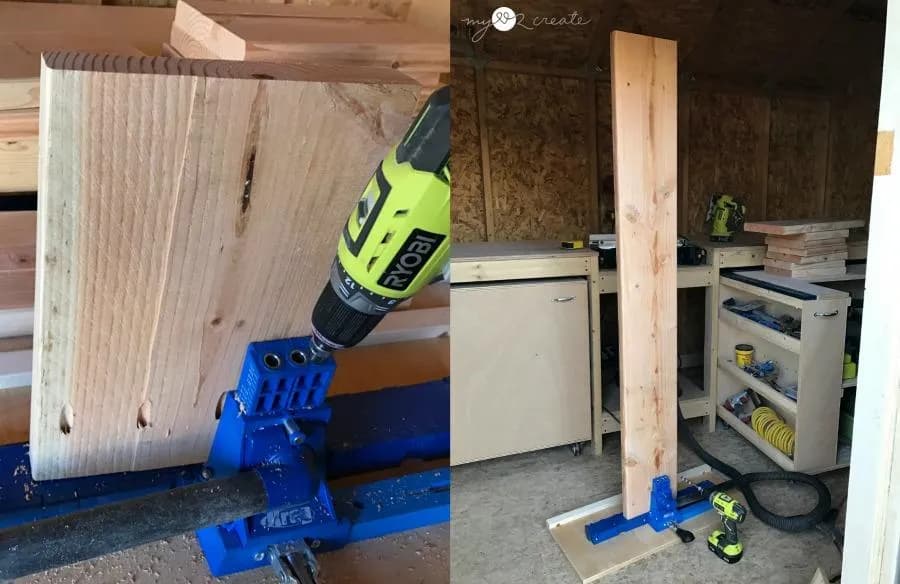
Drill 2 1/2'' pocket holes. Each shelf board will need 4 pocket holes on ONE side. The divider board will need 4 pocket holes alternating two on each side.
3Attach divider board to base
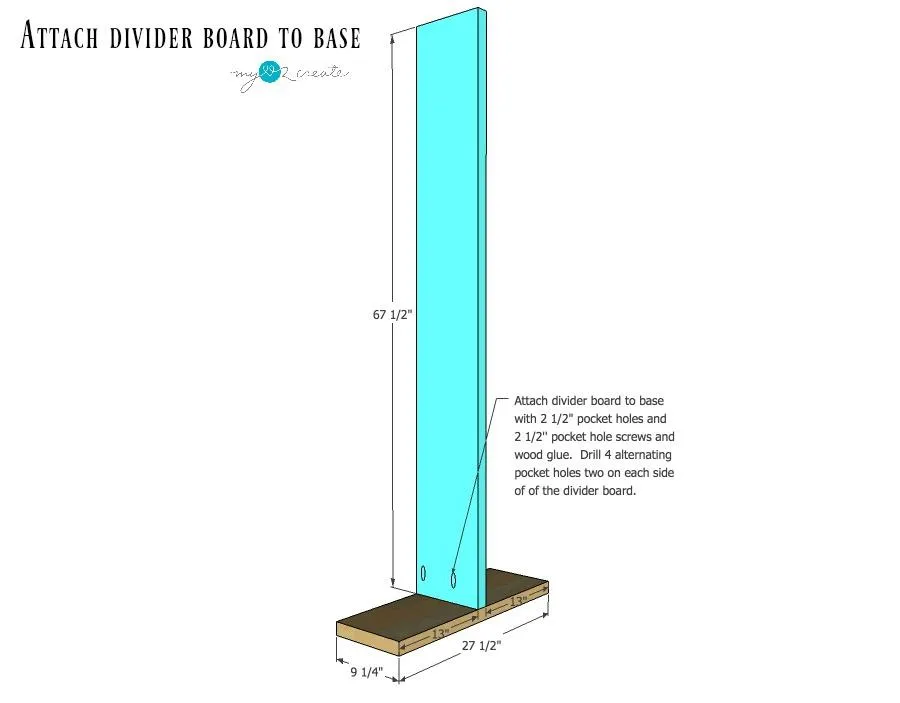
Using 2 1/2'' pocket hole screws and wood glue attach the divider board to the center of the base.
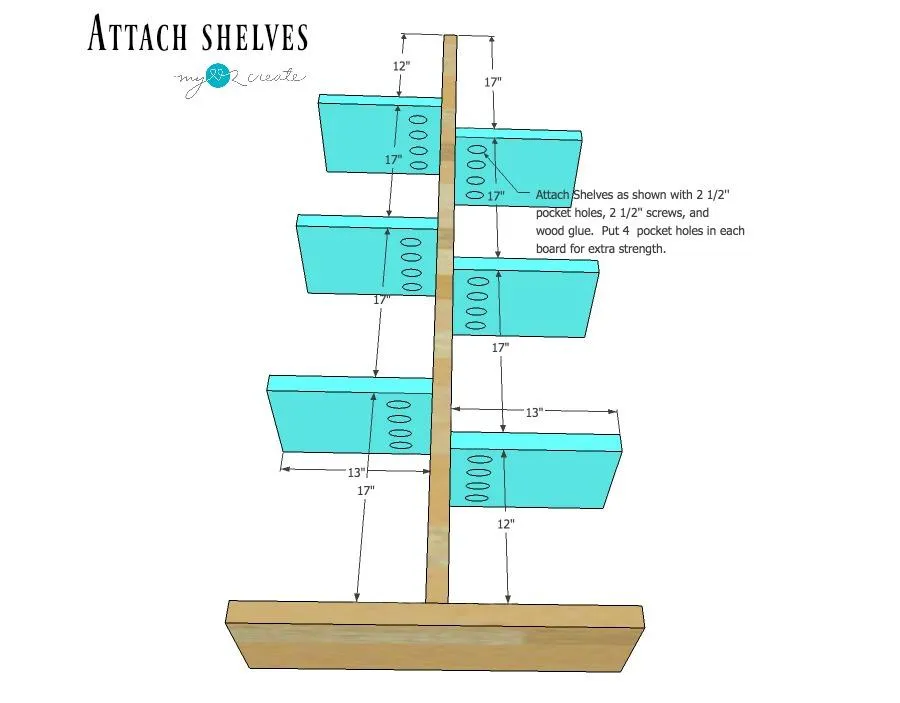
4Attach shelves to divider board
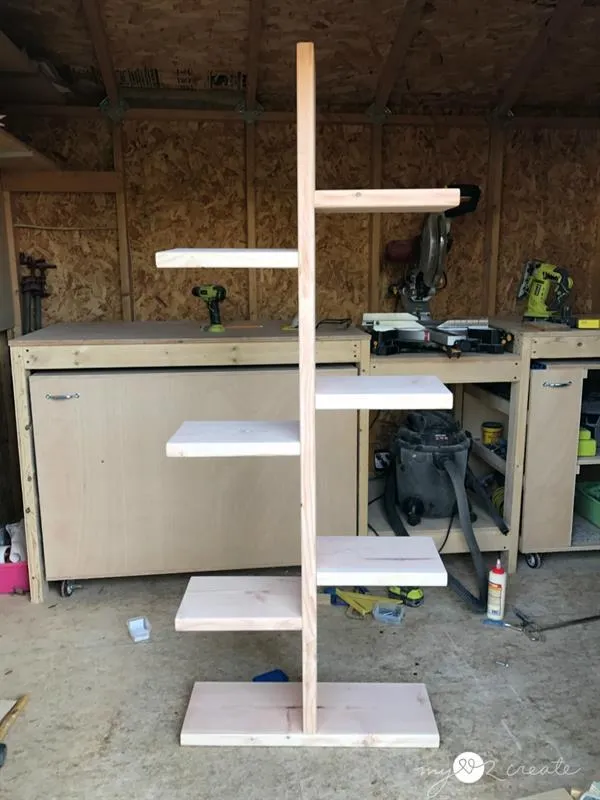
Using 2 1/2'' pocket hole screws and wood glue attach the shelves to the divider board as shown. For easy placement use scrap spacer boards, one cut at 12'' and one at 17''. Use a right angle clamp or a bar clamp to hole the shelf in place while drilling in the screws.
5Finish
- Fill desired pocket holes with wood filler or pocket hole plugs, then sand smooth and clean off the dust.
- Apply the paint or stain of your choice.
- Then enjoy! *Recommend: No more than 20 lbs per shelf. If you are worried about stability you can add an L bracket underneath a shelf at the back and attach it to the wall for safety. I have not had any issues with my shelf feeling unstable, but it would be an easy fix if you are concerned.