Notch
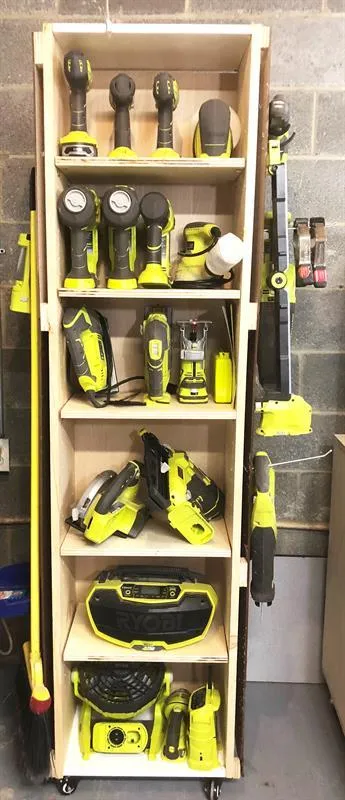
Mobile Power Tool Storage Unit
Step-by-step build — 9 steps. Also available as a print sheet.
1Cut shelves
You can either use additional 1 x 12's to make the 17" long shelves or 3/4" plywood. I used up some leftover 3/4" plywood and shelving that I had in my woodpile to make mine.
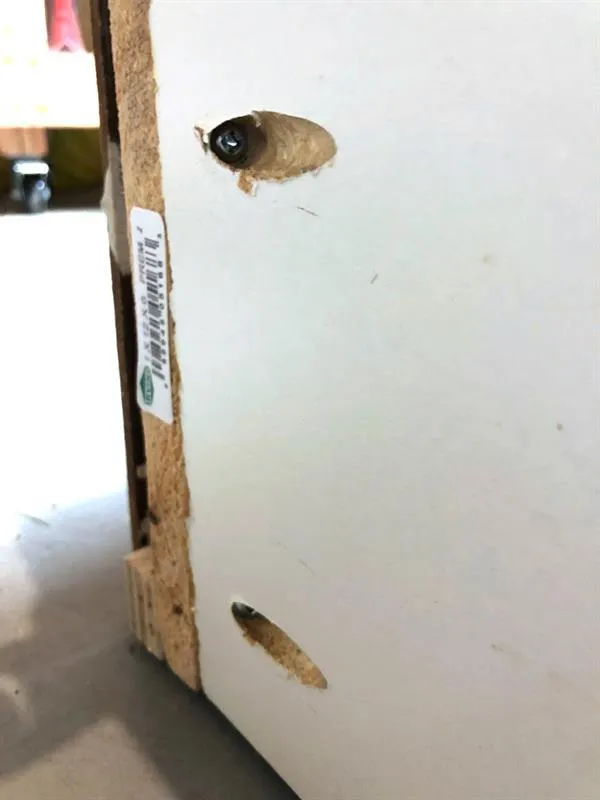
2Drill pocket holes
Drill three pocket holes on both short ends of two of the shelf pieces.
3Attach top and bottom
Using glue and pocket screws, attach a shelf to the ends of the 1 x 12" to make the top and bottom of the shelving unit.
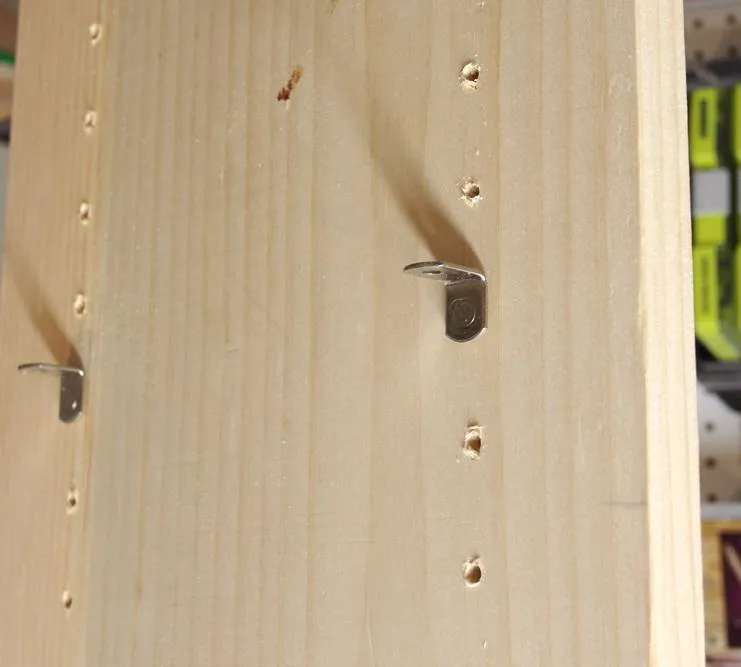
4Drill shelf pin holes
Using the Kreg Shelf Pin Jig, drill shelf pin holes along the inside of the shelf sides.
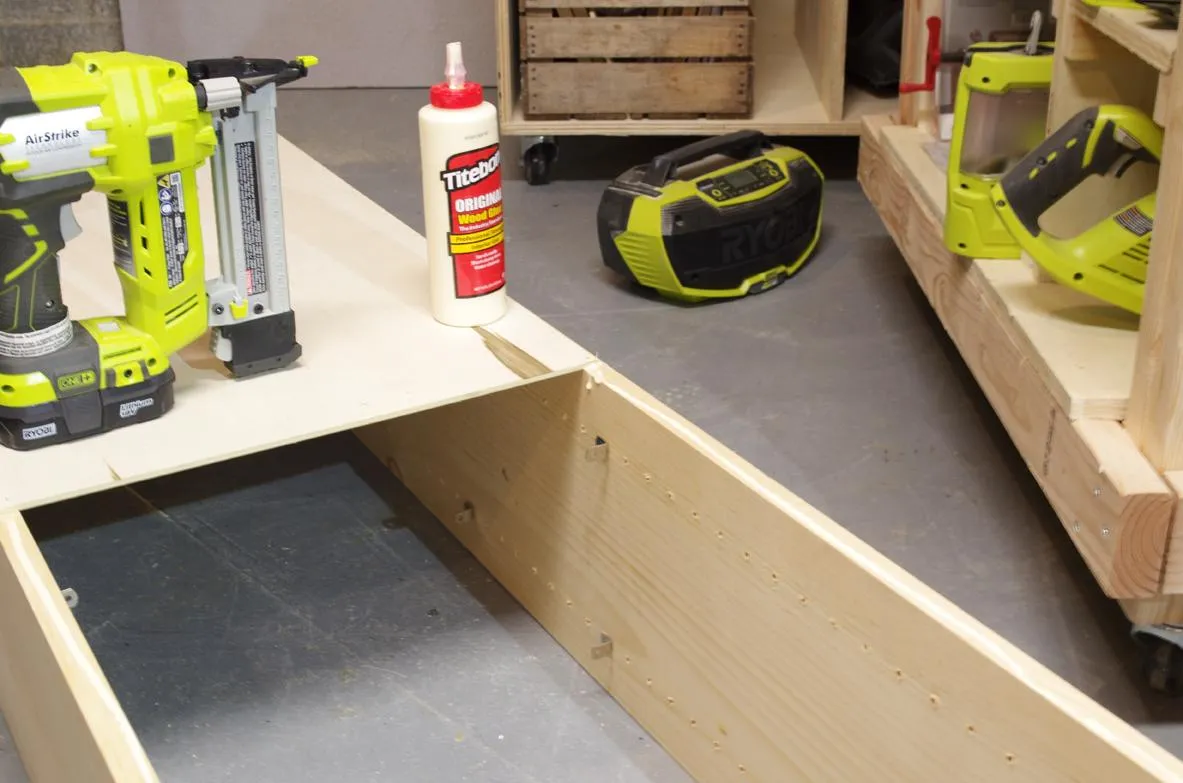
5Attach back of shelving unit
Cut a piece of the 1/4" plywood to fit the back of the shelving unit. Attach with glue and brad nails.
6Optional pegboard sides
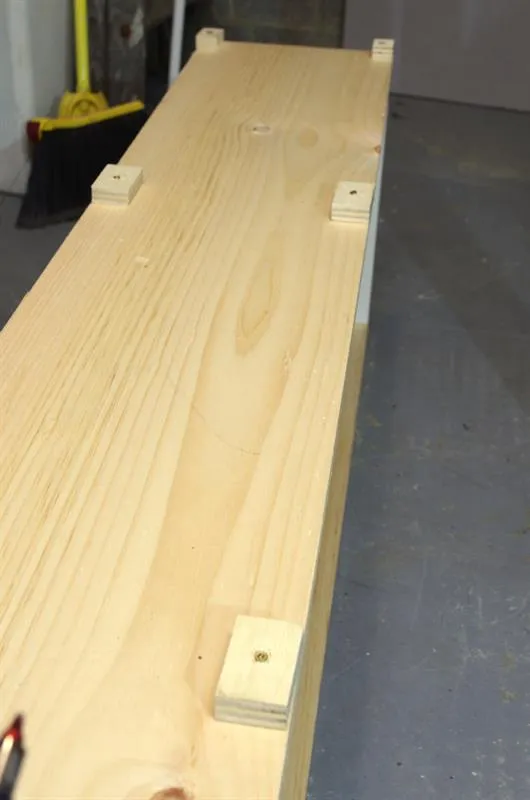
First, screw in small blocks of wood into the four corners of each side and also to the middle along the edges. (see photo)
7Pegboard sides part 2
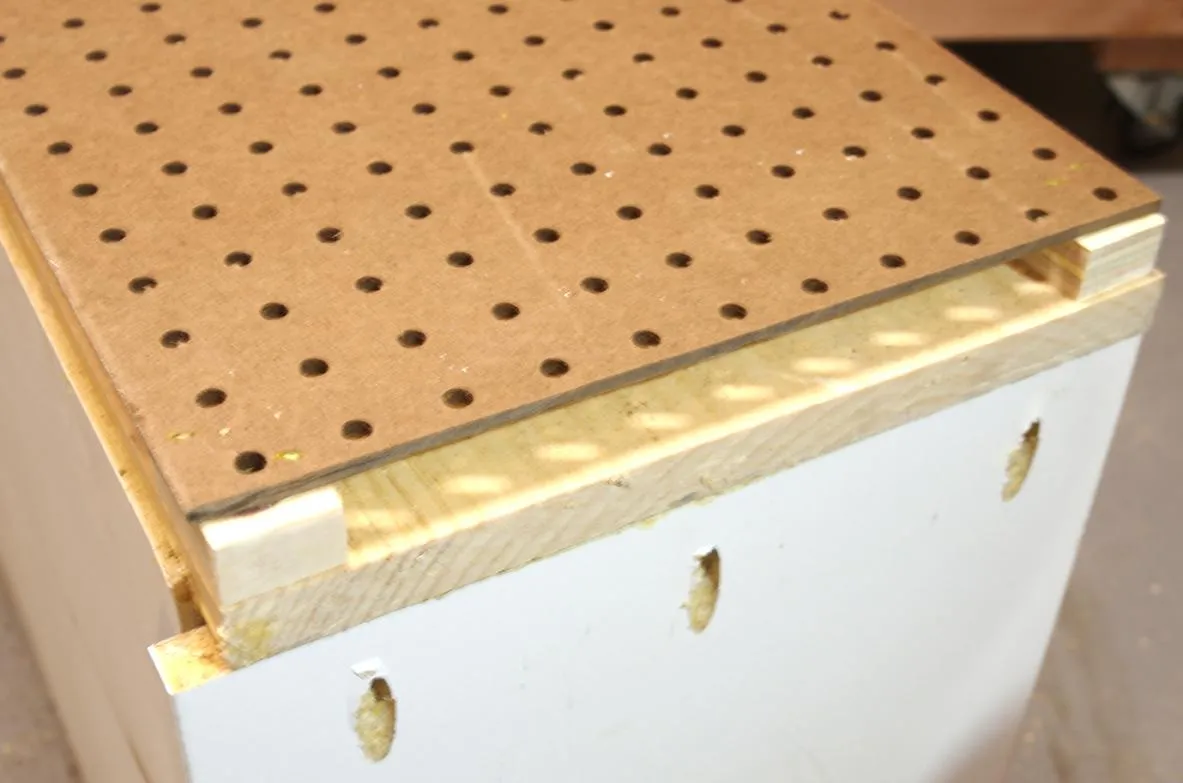
Cut and piece pegboard to fit each side of the shelving unit. Attach with staples or brad nails to blocks that were screwed in during the previous step.
8Wheels
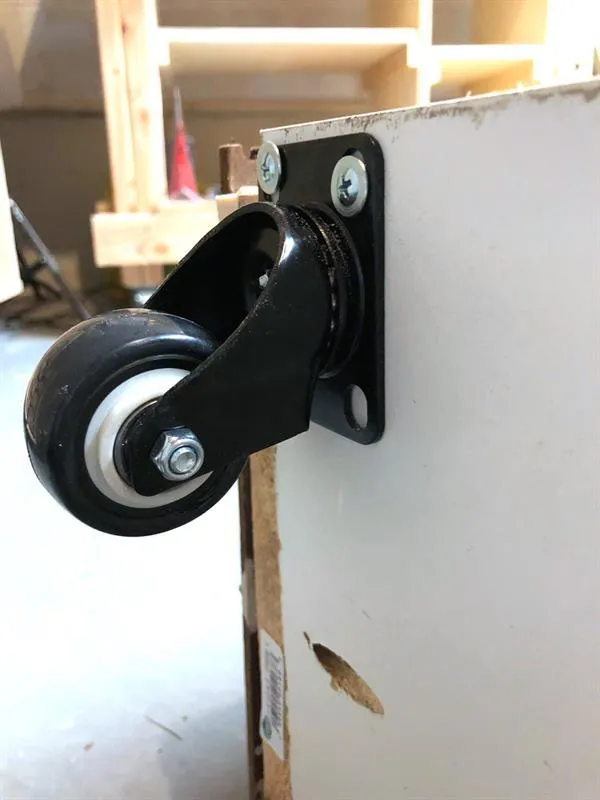
Add the wheels using 1-1/4" drawer front screws. I use this type of screw with the wide head because of the size of the holes on the wheels.
9Shelves
Add the shelves and customize the placement of the shelves for your tools and storage needs.