 Notch
- Difficulty
- Easy
- Time
- 2.8–5.3 hours
- Cost
- $$$
About this build
Free plans to build a customizable mobile storage unit that will keep your handheld power tools organized and easily accessible. This unit also has optional pegboards on each side for even more storage capacity.
Tools
Essential
- Brad Nailer
- Drill / Driver
- Miter Saw
- Pocket Hole Jig
Optional / nice to have
- Combination Square
- Tape Measure
Materials
| Item | Qty |
|---|---|
| Board, 1x12 72" | 2 board |
| Plywood, 3/4" Thick Quarter Sheet | 1 board |
| Plywood, 1/4" Thick Quarter Sheet | 1 board |
| Pegboard, 1/4" Thick Half Sheet | 1 board |
| Board, 1x2 Scrap | 1 board |
| Box of shelf pins | 1 each |
| Box of 1-1/4" pocket screws | 1 each |
| Box of 1-1/4" brad nails | 1 each |
| 1-1/4" wood screws | 12 each |
| Locking 2" casters | 4 each |
| 1-1-1/2" drawer front screws | 16 each |
Overall cost: $$$. Lumber prices vary by region, species, and season, so we give a band rather than a figure we would only be pretending to know.
Cut list
| Part | Qty | T × W × L |
|---|---|---|
| Shelves, top and bottom | 10 | 3/4" × 11 1/4" × 17" |
| Sides | 2 | 3/4" × 11 1/4" × 72" |
What to buy
Buy 4 boards at 8 ft.
3/4" × 11 1/4"
4 boards
Assumes 8 ft stock, a 1/8" saw kerf, and buying each part at its own width. Change the board size or kerf on the full board plan →
Instructions
1Cut shelves
You can either use additional 1 x 12's to make the 17" long shelves or 3/4" plywood. I used up some leftover 3/4" plywood and shelving that I had in my woodpile to make mine.
2Drill pocket holes
Drill three pocket holes on both short ends of two of the shelf pieces.
3Attach top and bottom
Using glue and pocket screws, attach a shelf to the ends of the 1 x 12" to make the top and bottom of the shelving unit.
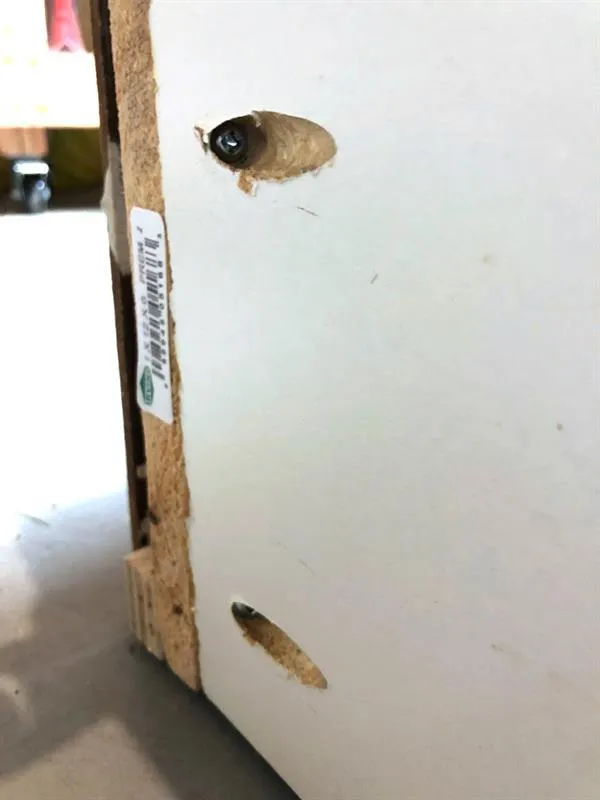
4Drill shelf pin holes
Using the Kreg Shelf Pin Jig, drill shelf pin holes along the inside of the shelf sides.
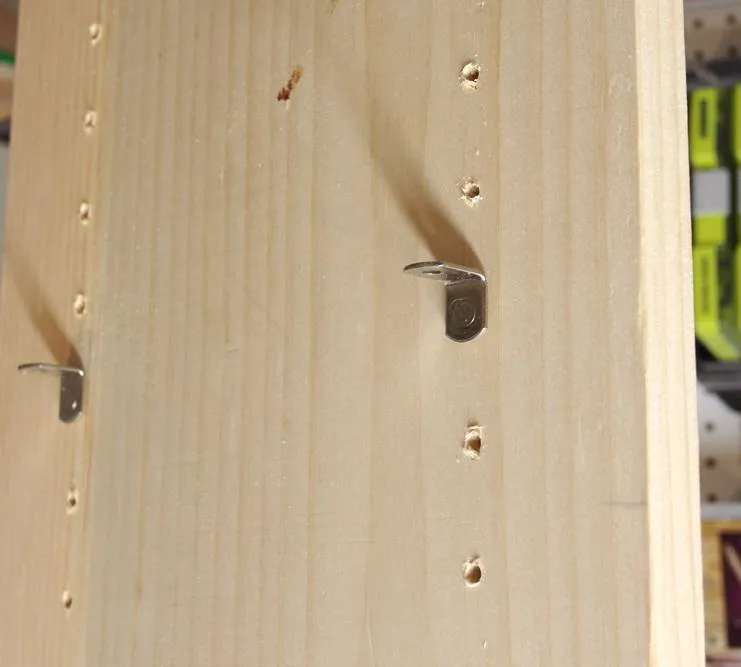
5Attach back of shelving unit
Cut a piece of the 1/4" plywood to fit the back of the shelving unit. Attach with glue and brad nails.
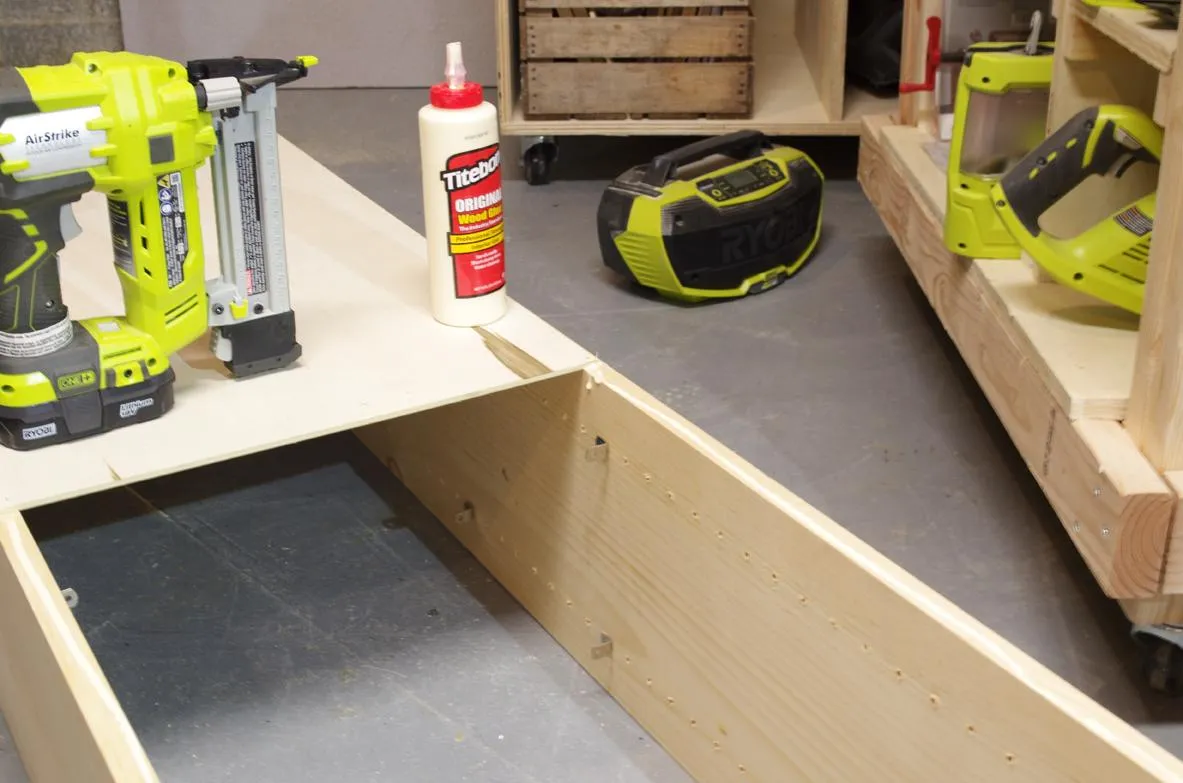
6Optional pegboard sides
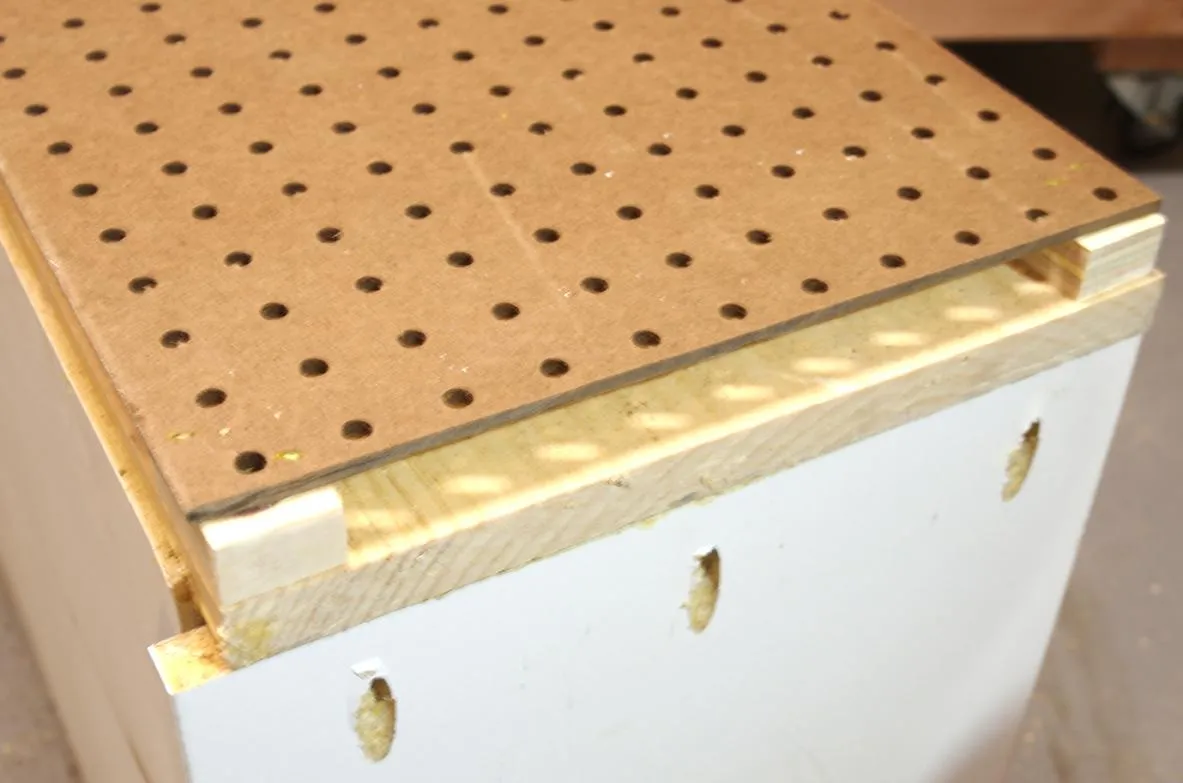
First, screw in small blocks of wood into the four corners of each side and also to the middle along the edges. (see photo)
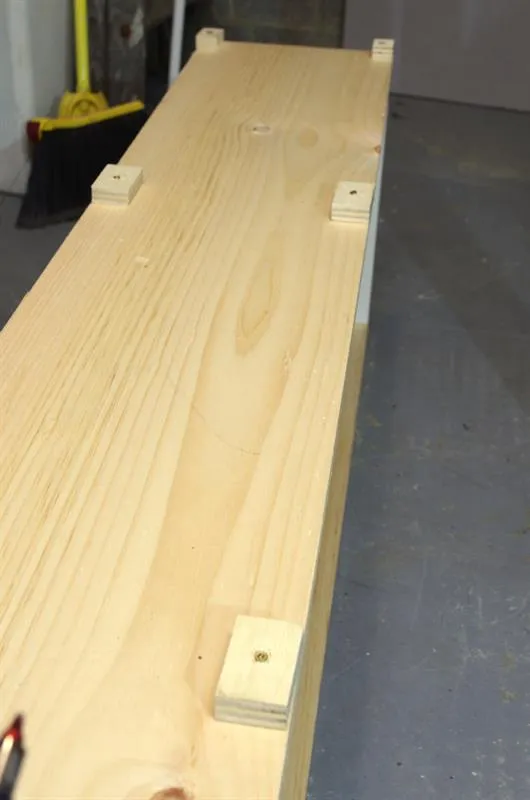
7Pegboard sides part 2
Cut and piece pegboard to fit each side of the shelving unit. Attach with staples or brad nails to blocks that were screwed in during the previous step.
8Wheels
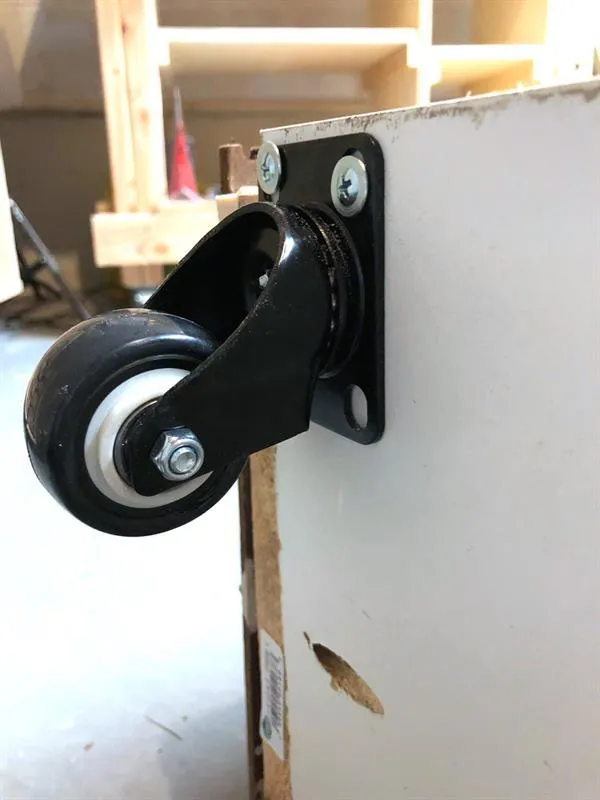
Add the wheels using 1-1/4" drawer front screws. I use this type of screw with the wide head because of the size of the holes on the wheels.
9Shelves
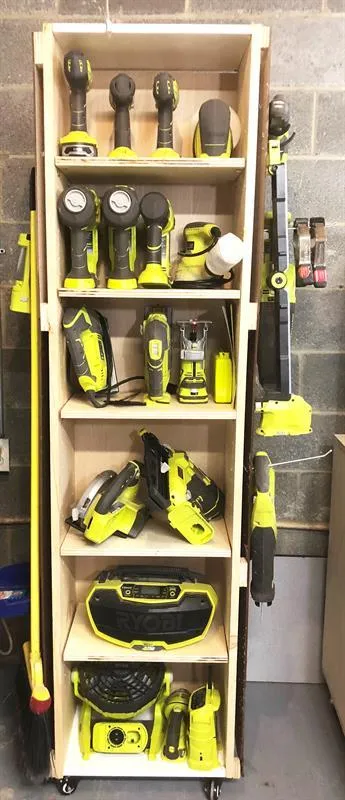
Add the shelves and customize the placement of the shelves for your tools and storage needs.
Tags
- Storage and Organizing
- Beginner
Reviews & builds
No reviews yet
Sign in to review this plan or share your build.
No reviews yet. Be the first to build this.