Notch
NotchUse your browser's Print (Ctrl/Cmd + P) and choose Save as PDF. This page works offline once you've opened it with a signal.
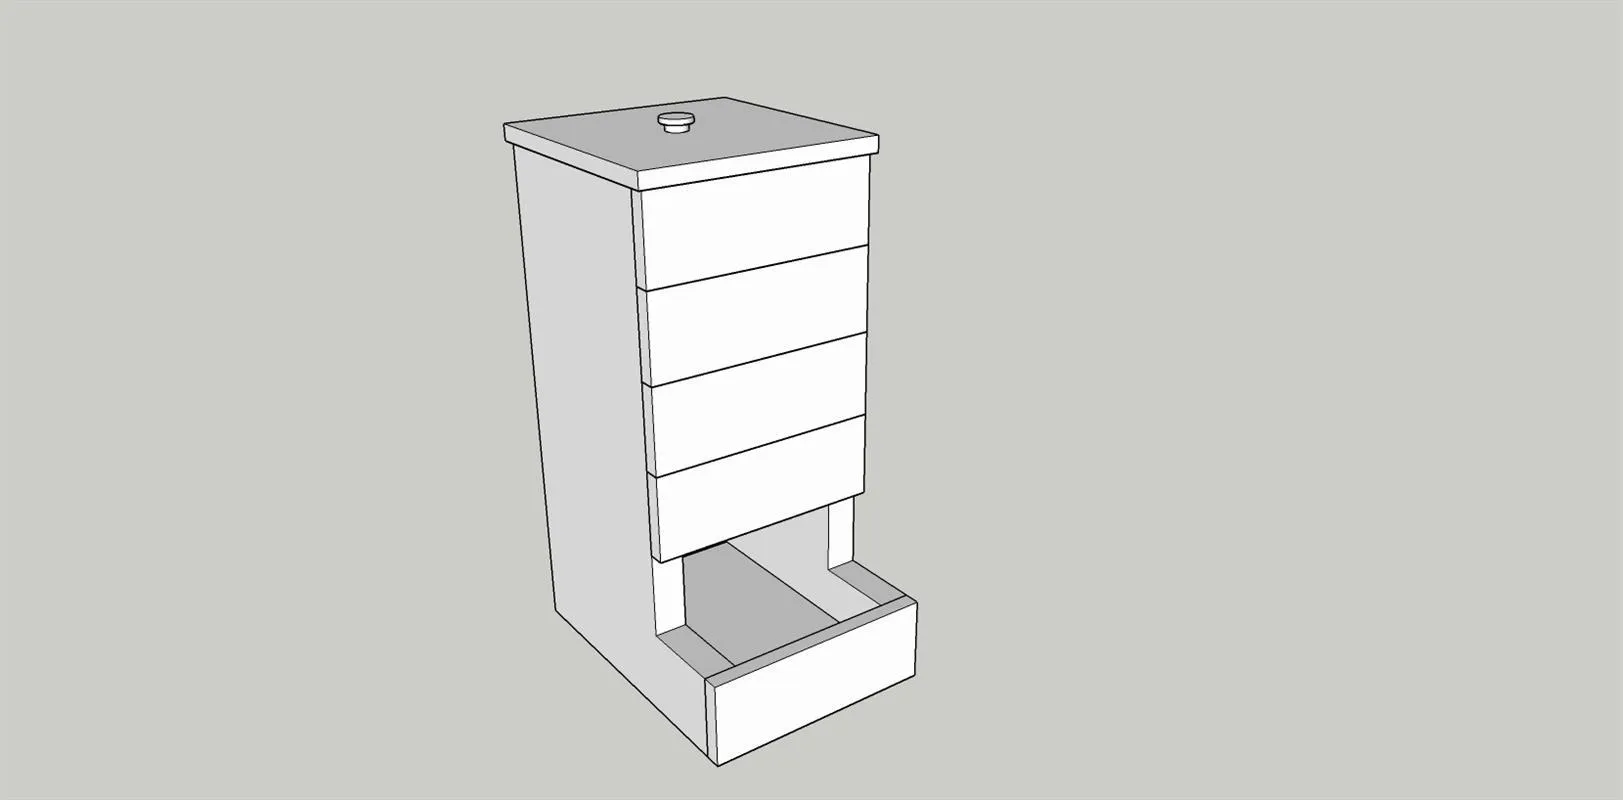
K-Cup Coffee Dispenser
An easy K-cup dispenser to hold K-cups or coffee pods.
- Difficulty
- Easy
- Time
- 4–7.5 hours
- Cost
- $$
Cut list
| Part | Qty | T × W × L | Material | ✓ |
|---|---|---|---|---|
| Base | 1 | 3/4" × 4" × 7" | — | ☐ |
| Sides | 2 | 3/4" × 7" × 12" | — | ☐ |
| Back | 1 | 3/4" × 4" × 11" | — | ☐ |
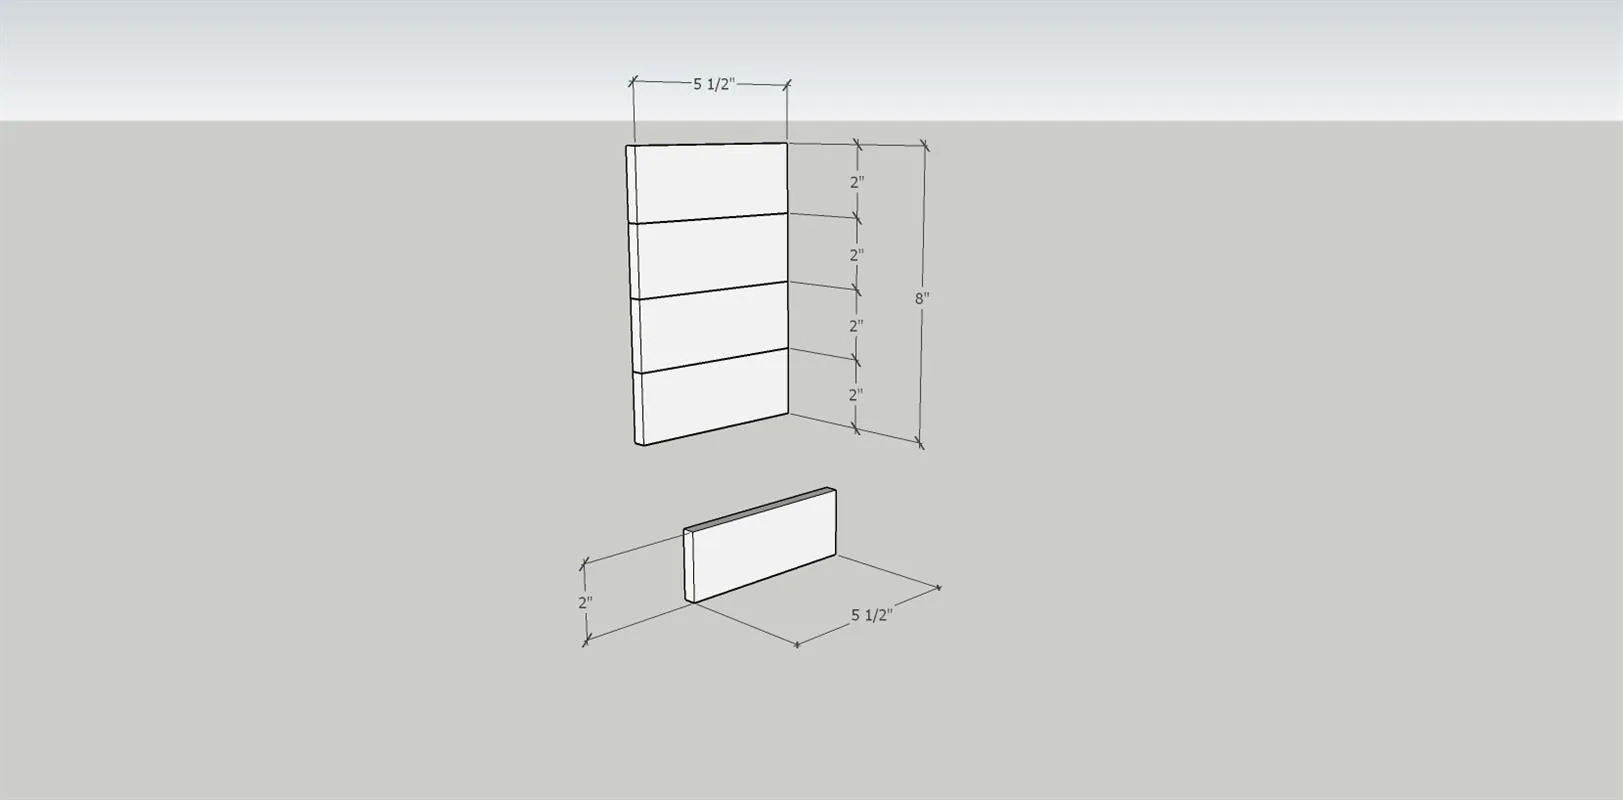
| Front pieces | 4 | 3/16" × 2" × 5" | — | ☐ |
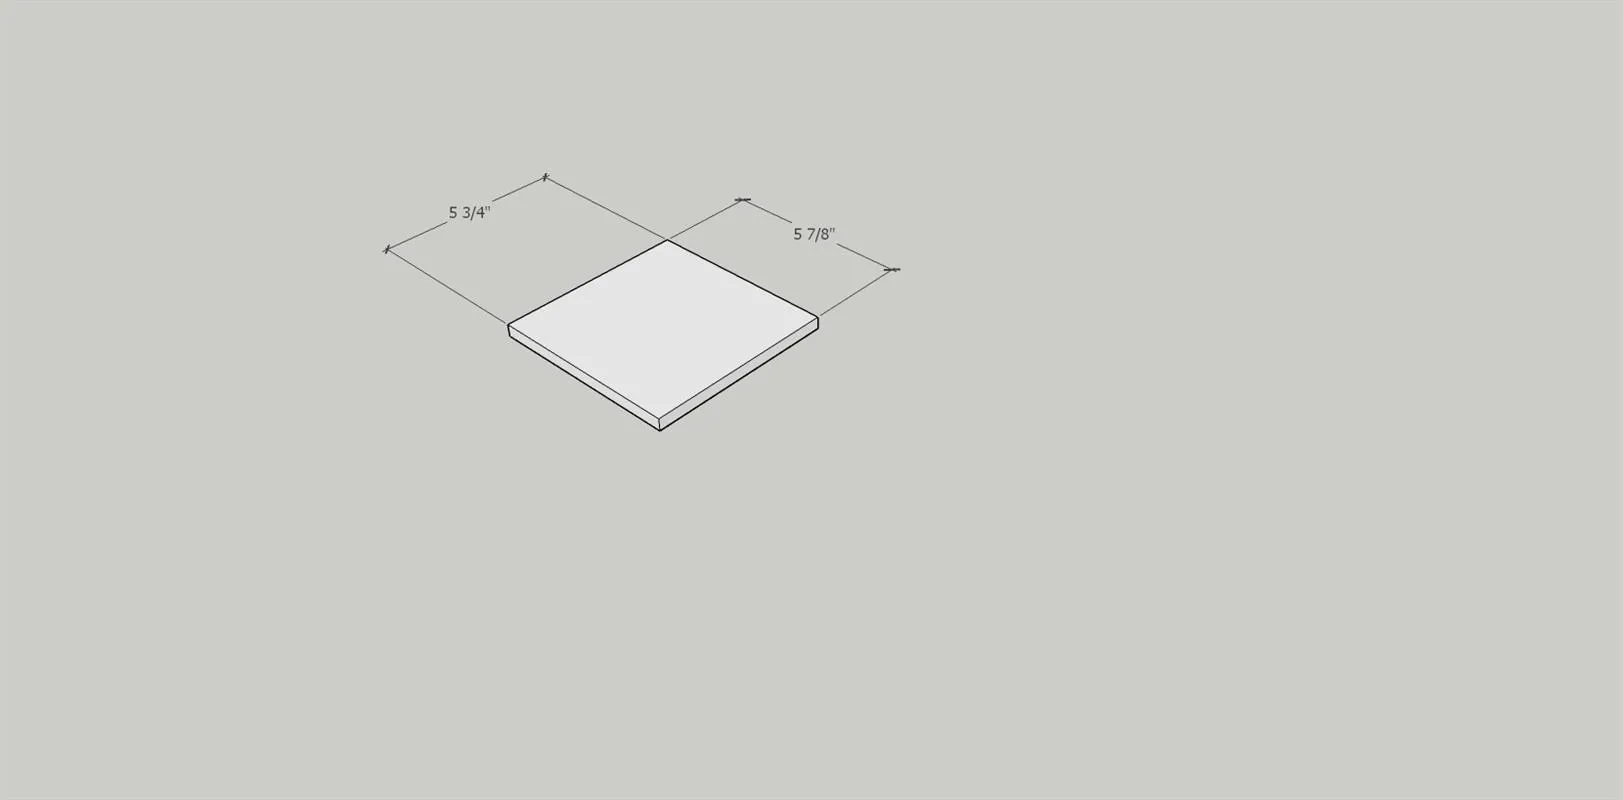
| Top | 1 | 3/8" × 5" × 5" | — | ☐ |
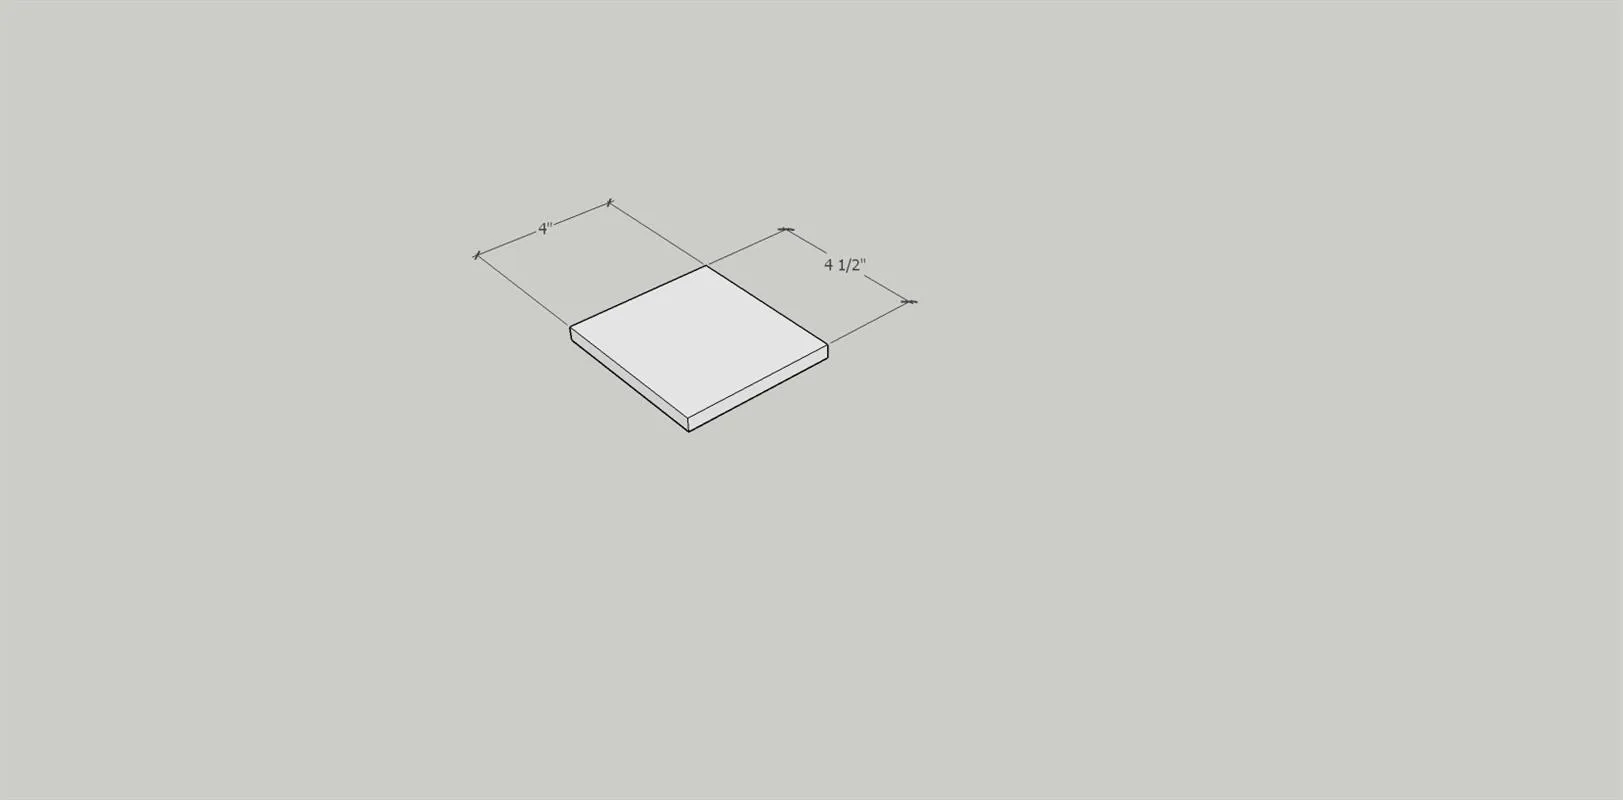
| Sub-top | 1 | 3/8" × 4" × 4" | — | ☐ |
| Bottom front piece | 1 | 3/8" × 2" × 5" | — | ☐ |
Materials
| Item | Qty | ✓ |
|---|---|---|
| Board, 1x8 36" | 1 board | ☐ |
| Board, 1x6 24" | 1 board | ☐ |
| Board, 3/8" 48" | 1 board | ☐ |
| Top pull | 1 each | ☐ |
| 1 1/4" Kreg pocket hole screws | 10 each | ☐ |
Overall cost: $$. Lumber varies by region, species, and season, so we give a band rather than a figure.
Tools
- Brad Nailer
- Drill / Driver
- Jigsaw
- Miter Saw
- Pocket Hole Jig
- Random Orbit Sander
- Table Saw
- Tape Measure — optional
Instructions
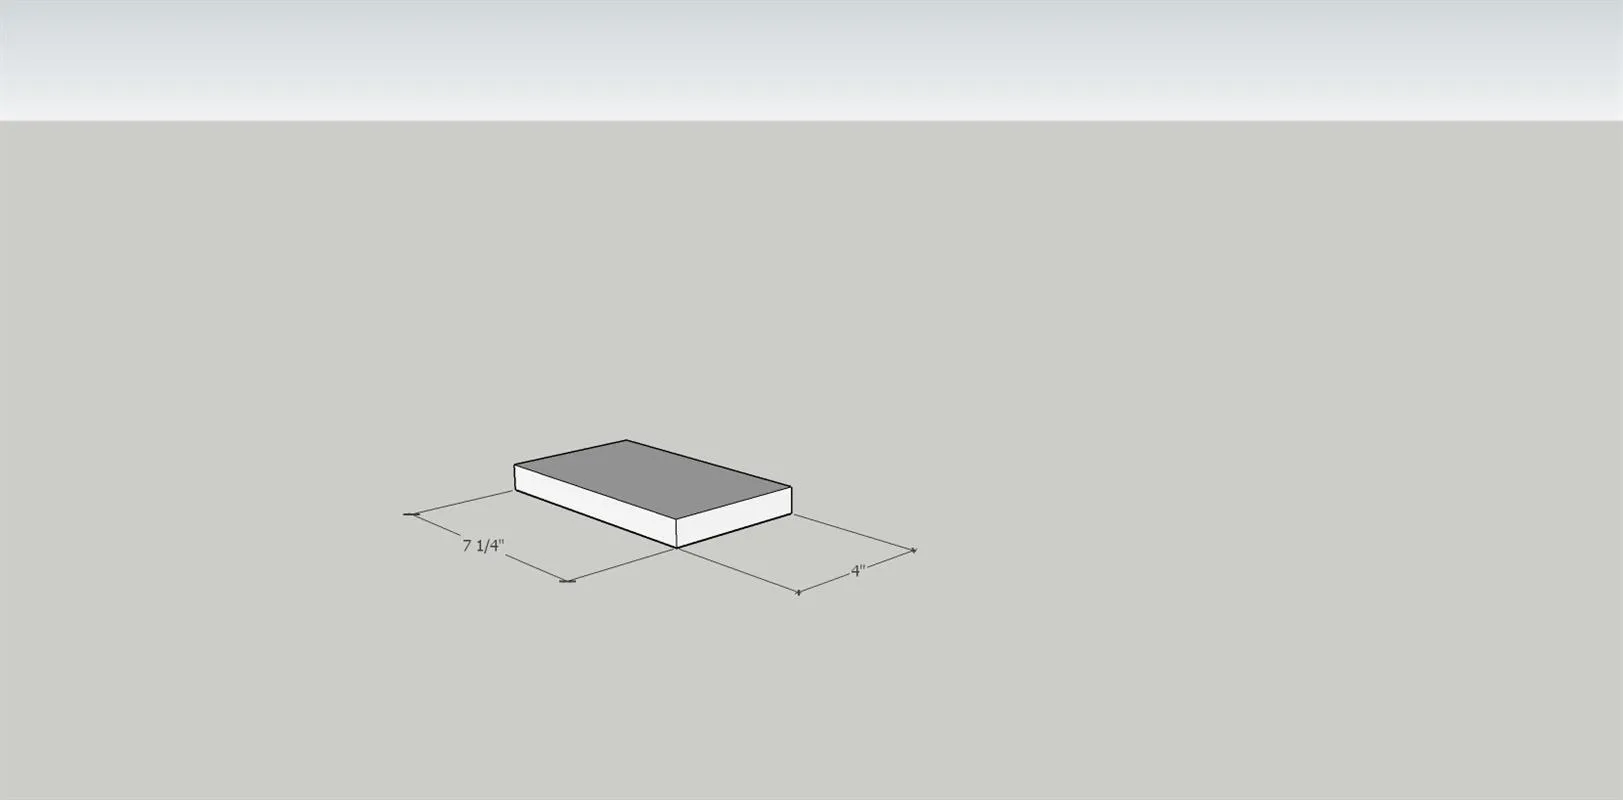
1. Cut the base
Cut the base per the dimensions indicated.
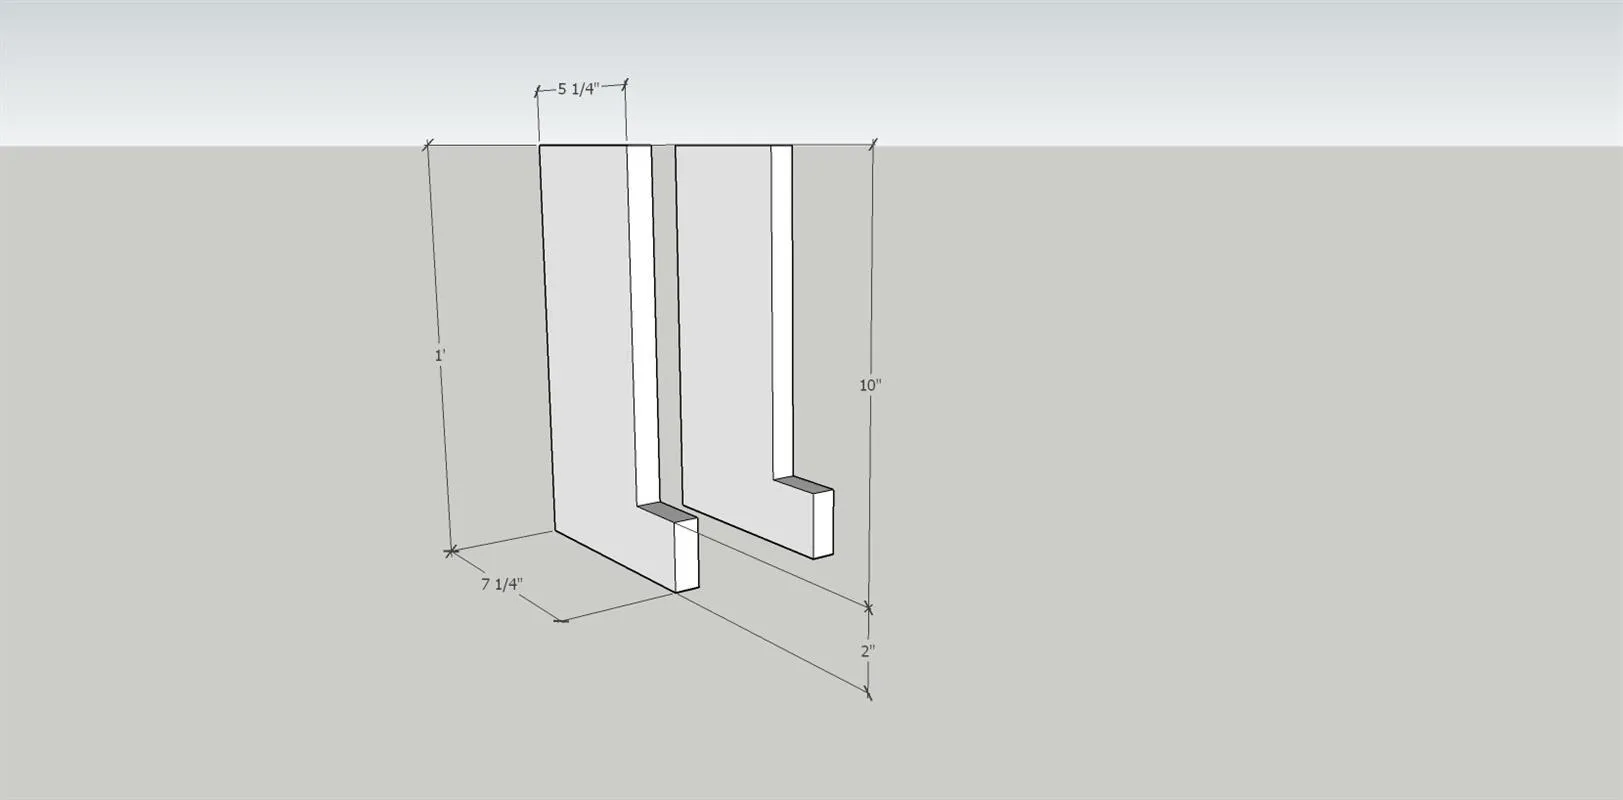
2. Cut the sides
Cut two side panels per the dimensions indicated
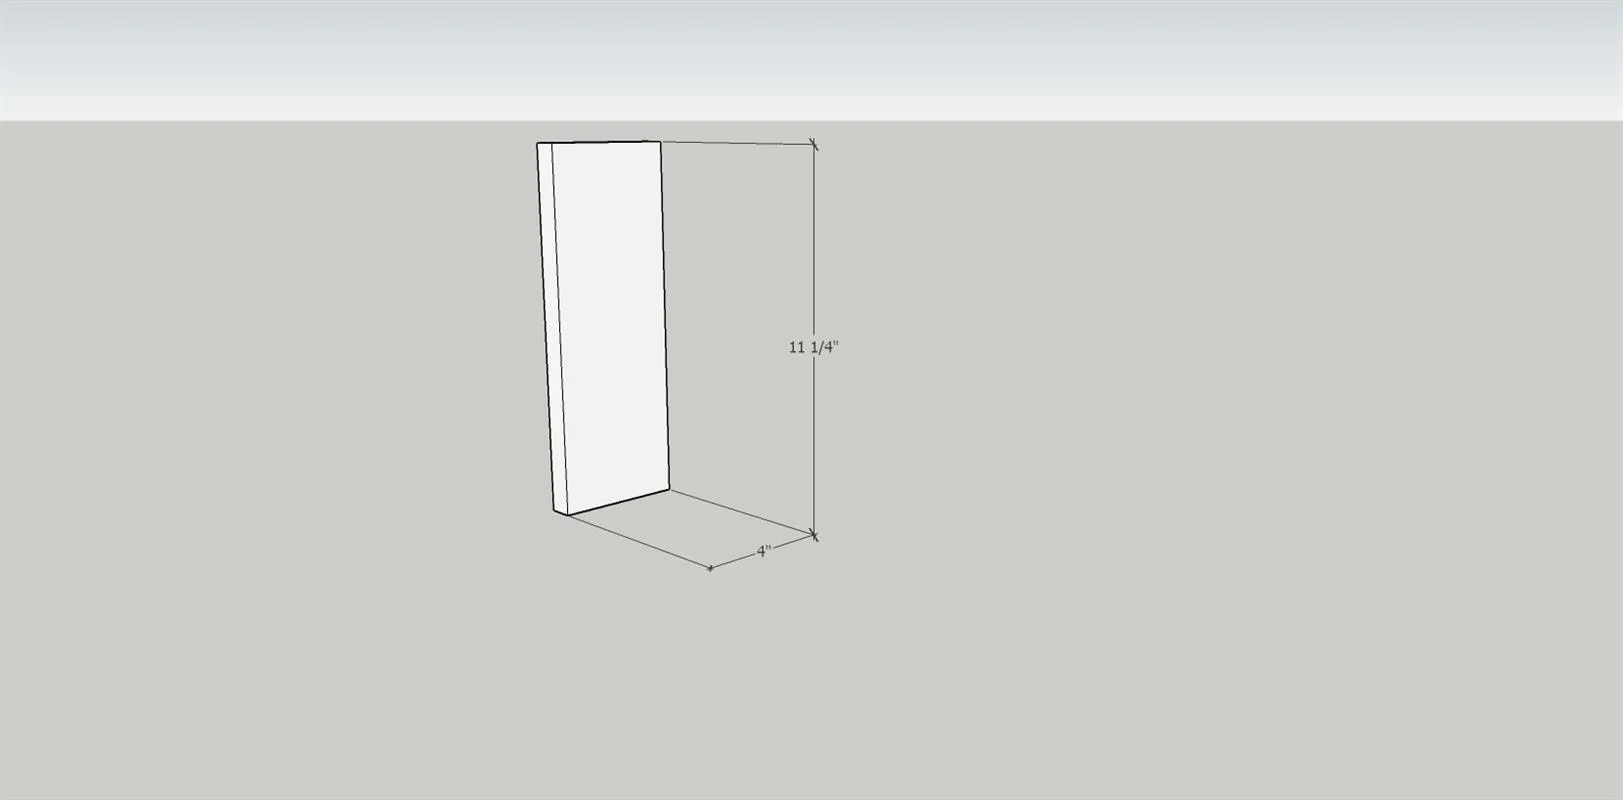
3. Cut the back
Cut the back panel per the dimensions indicated
4. Cut the front pieces
Cut 5 front pieces per dimensions indicated
5. Cut the top
Cut the top per dimensions indicated
6. Cut the sub-top
Cut the sub-top per dimensions indicated
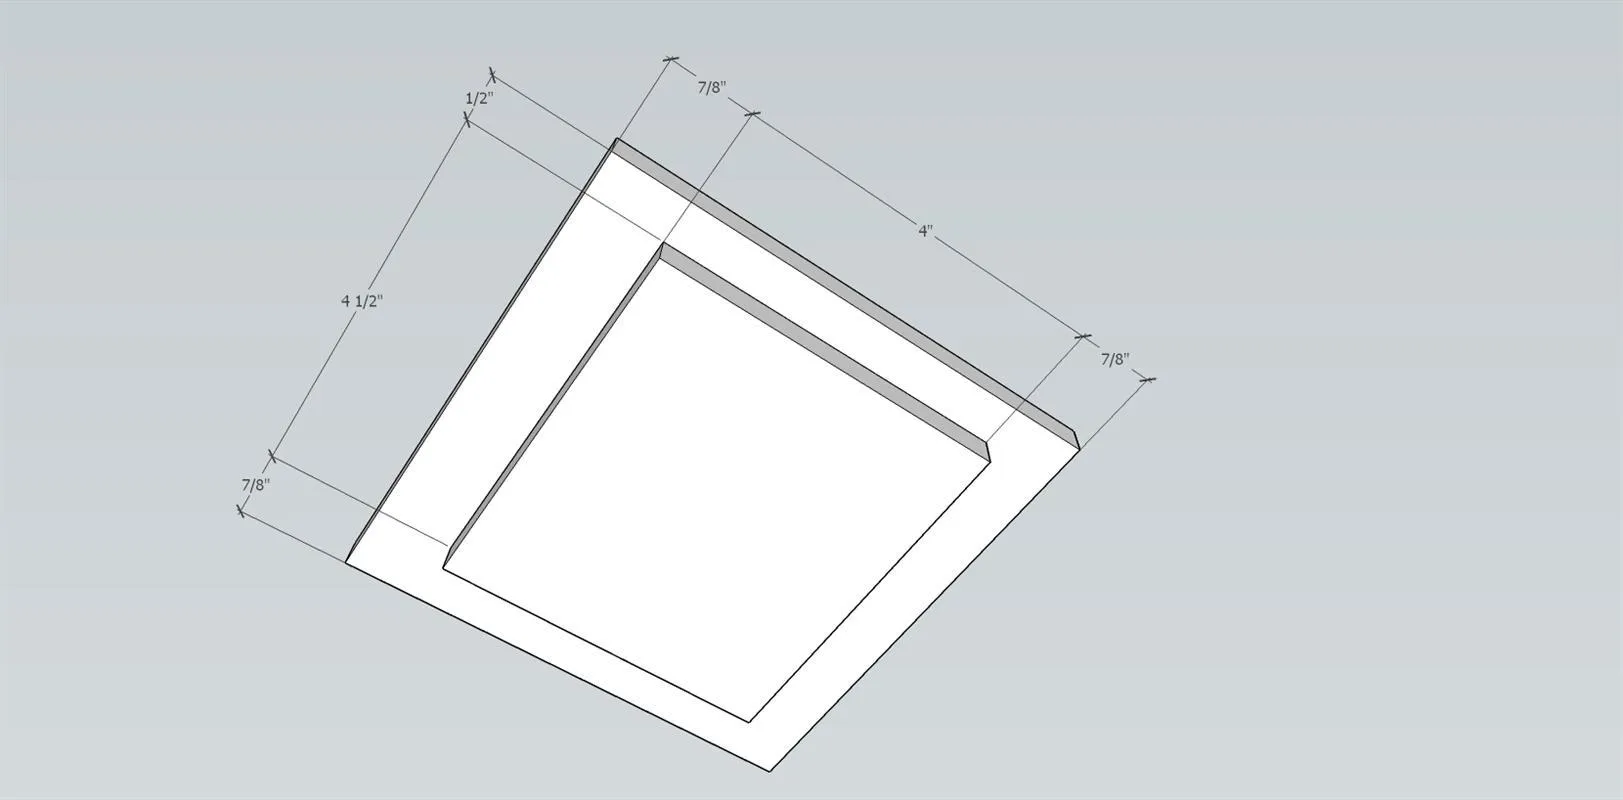
7. Join the two top pieces
Join the two top pieces by gluing and clamping
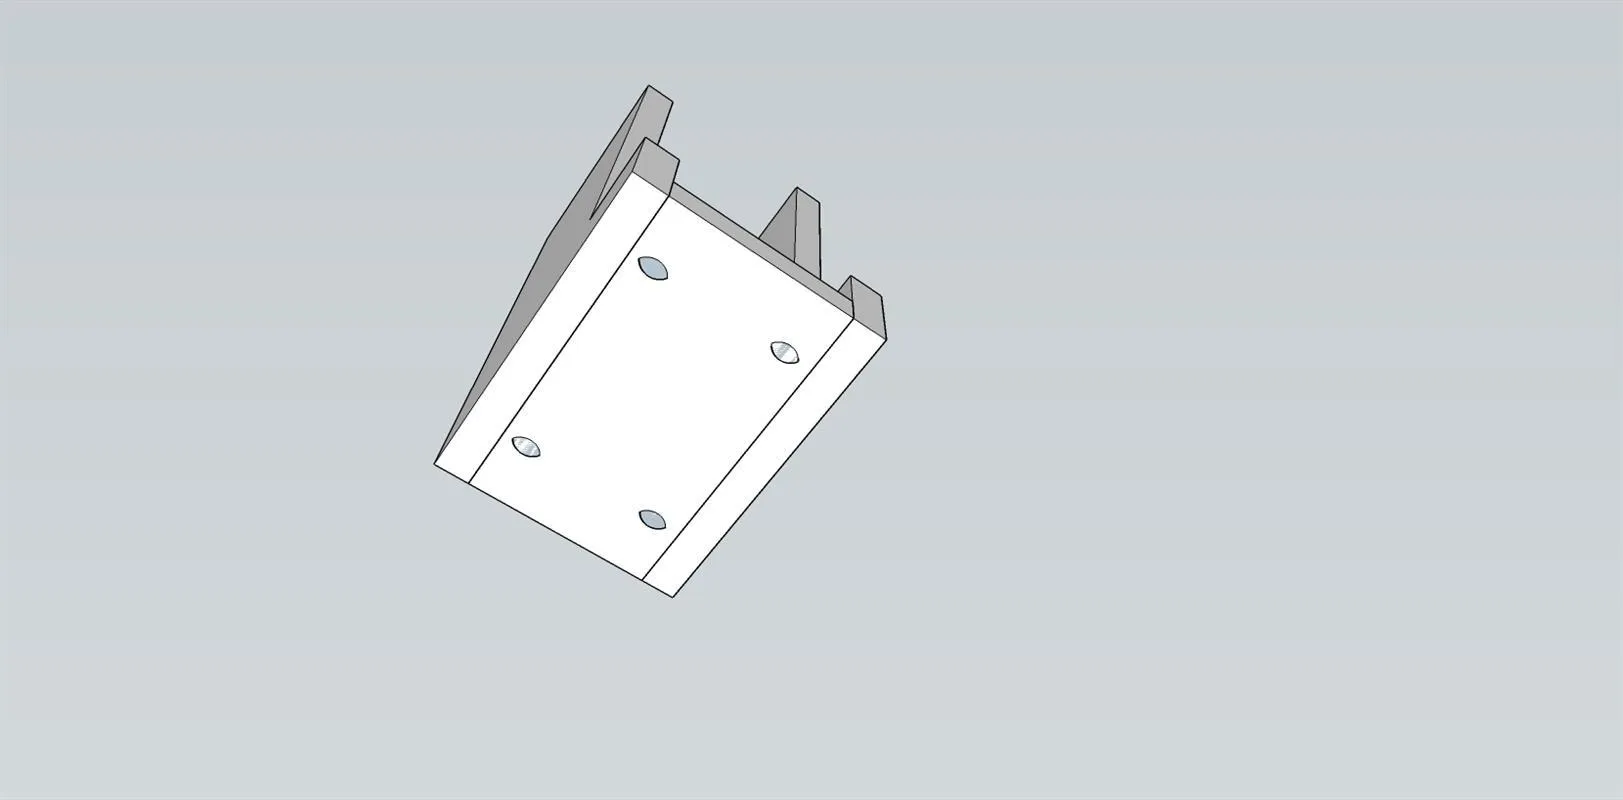
8. Join the sides to the base
Join the sides to the base by drilling pocket holes as shown in the base and attaching with 1 1/4" pocket hole screws.
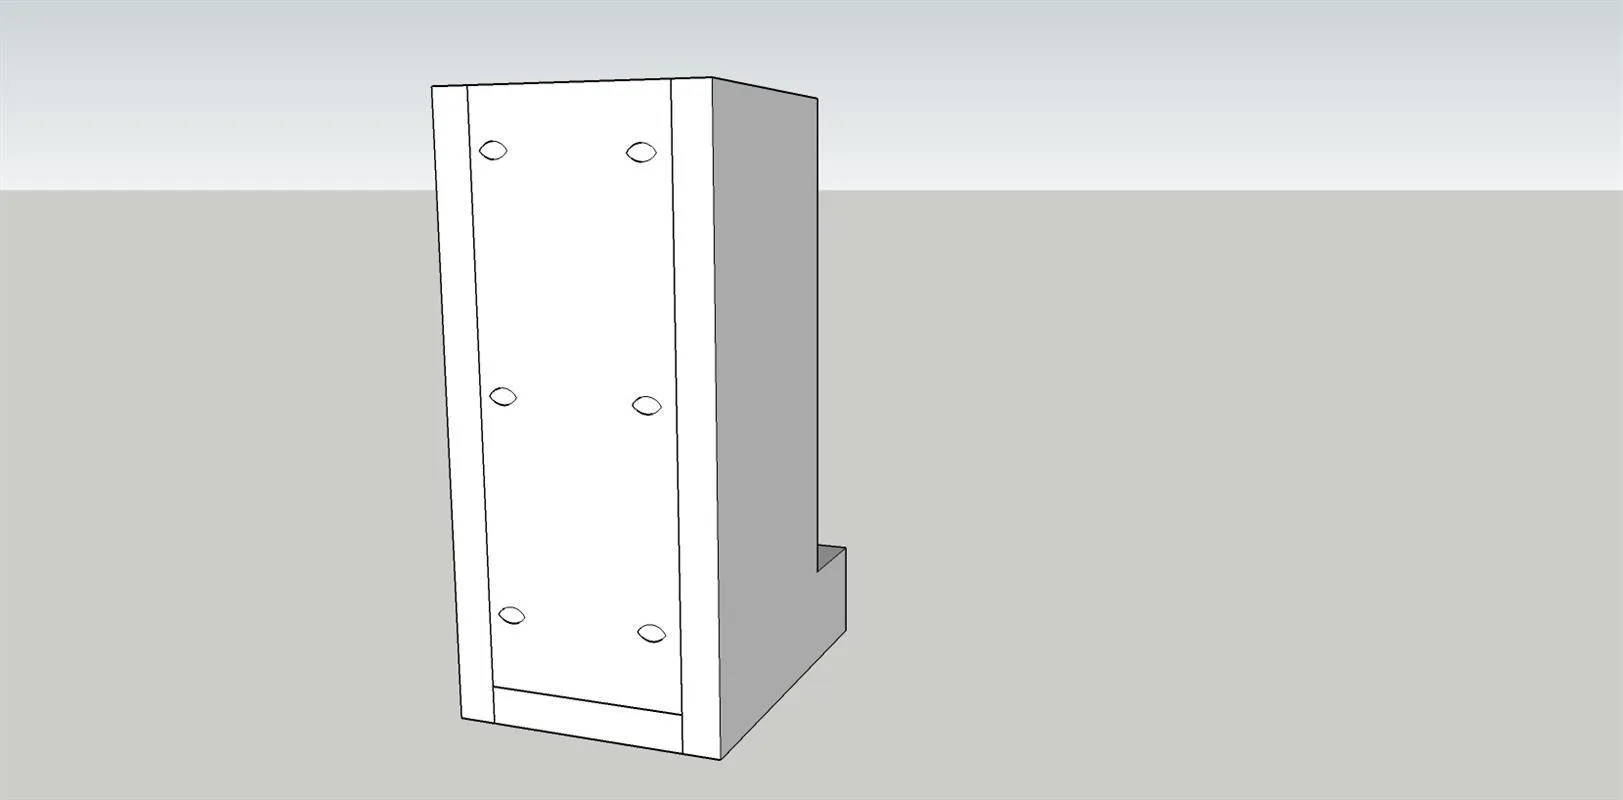
9. Join the back to the sides
Join the back to the sides by drilling pocket holes as shown and attaching with 1 1/4" pocket hole screws.
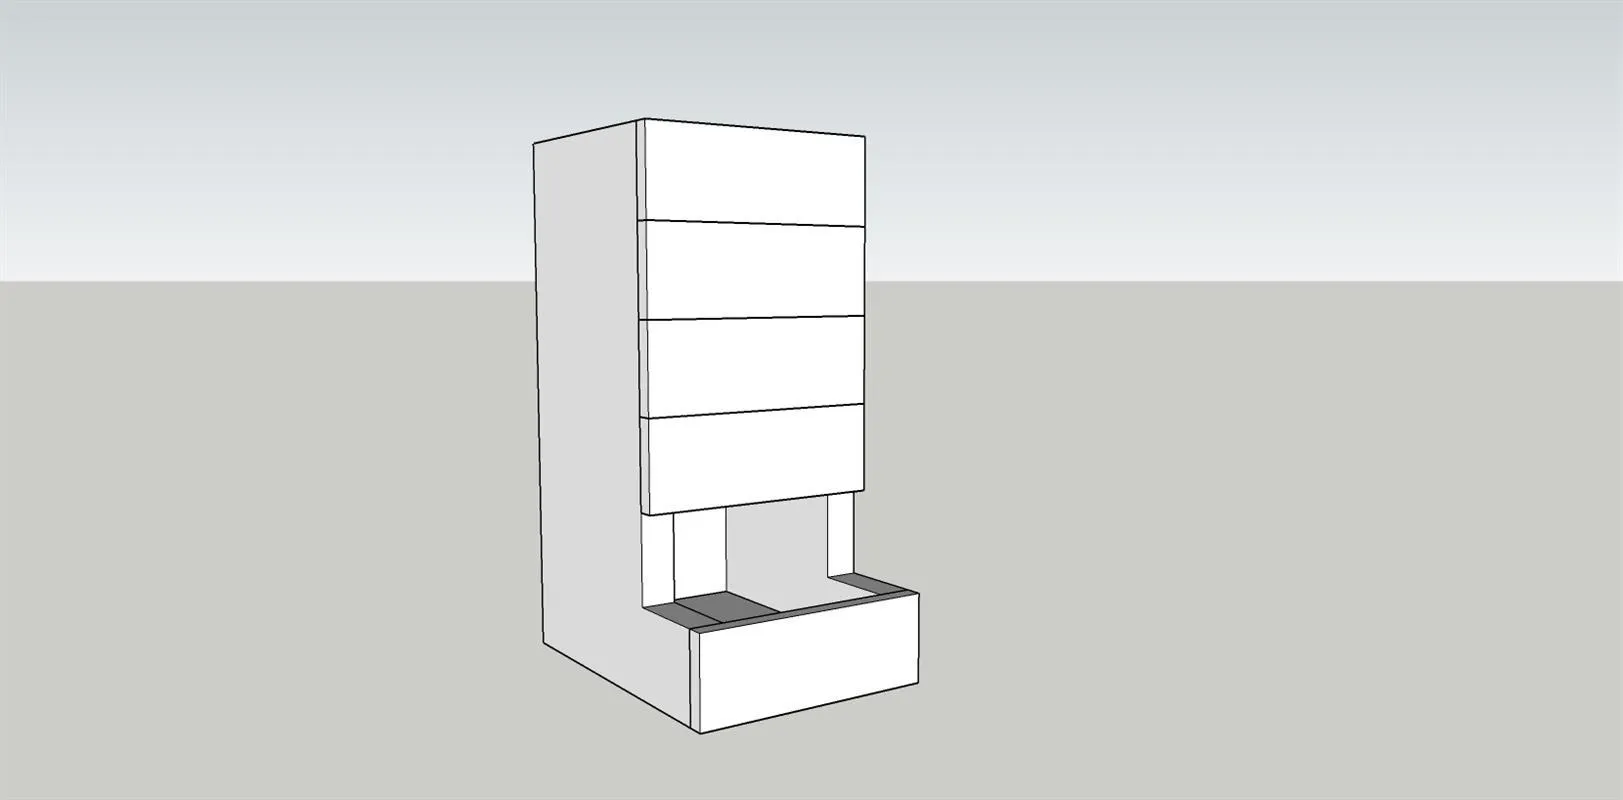
10. Install the front pieces
Install the front pieces as shown by gluing and clamping
11. Install the top
Verify that the top fits. Sand as required.
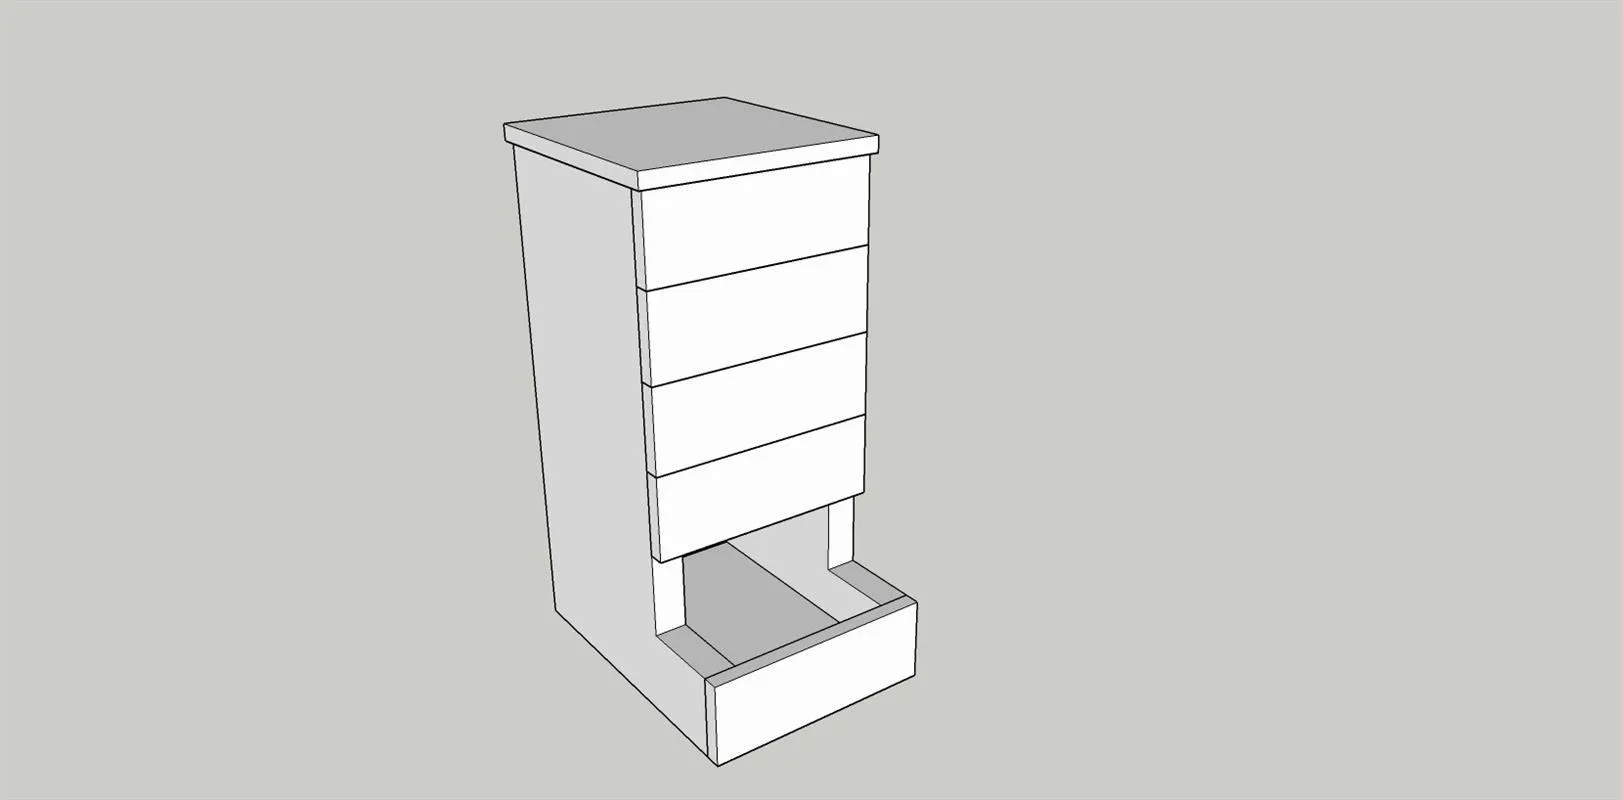
12. Add top pull
Add a pull of your choice to the top and finish the dispenser.