Notch
Hot Cocoa Bar
Step-by-step build — 9 steps. Also available as a print sheet.
1Cut Lumber
Cut lumber to size, then organize into groups: small, medium, and large tiers.
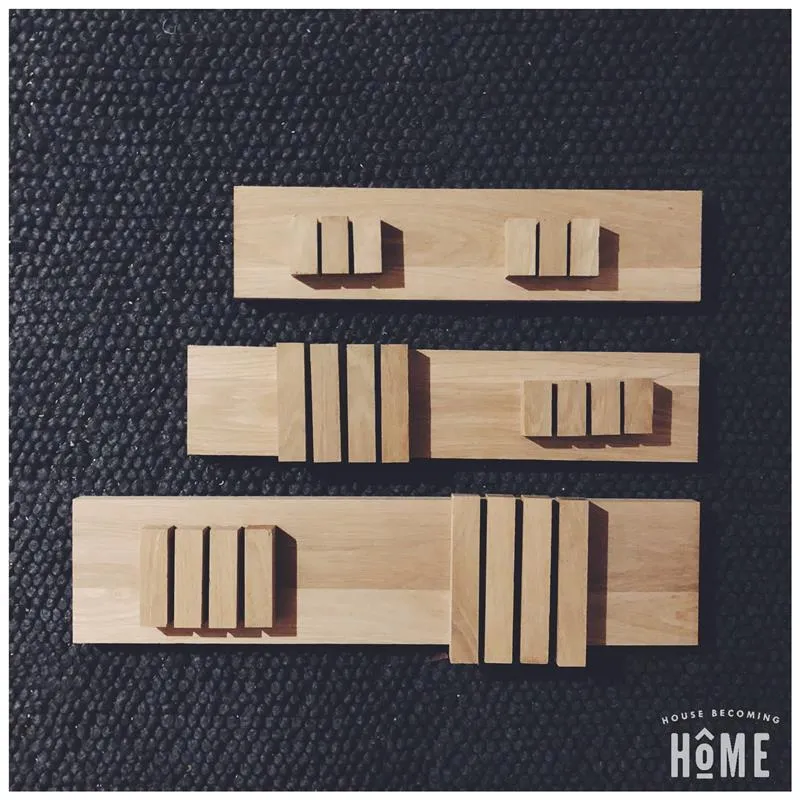
2Assemble Small Tier Legs
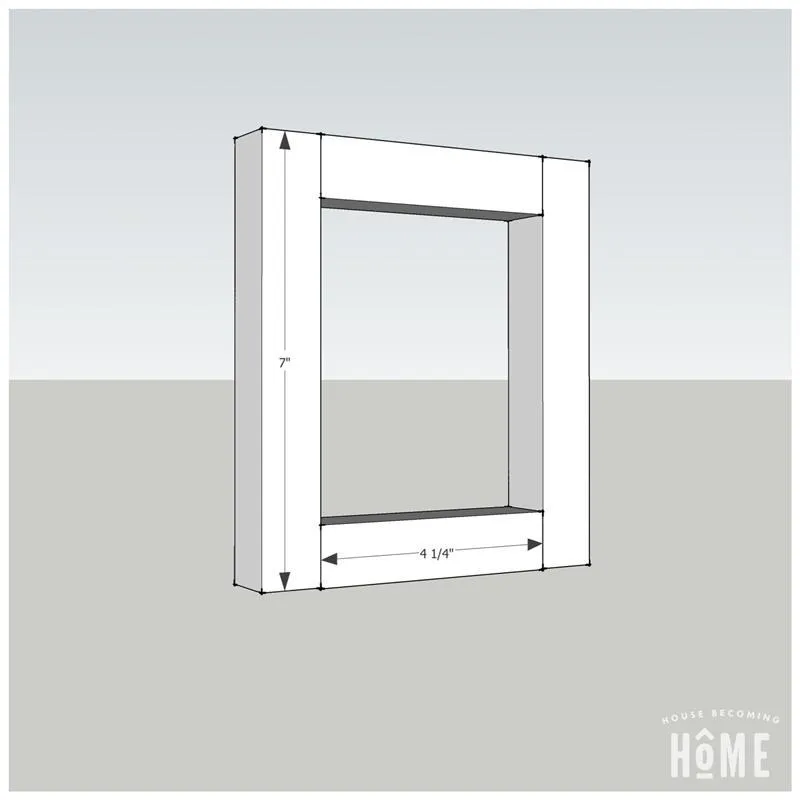
Using wood glue and clamps, assemble the legs of the small tier.
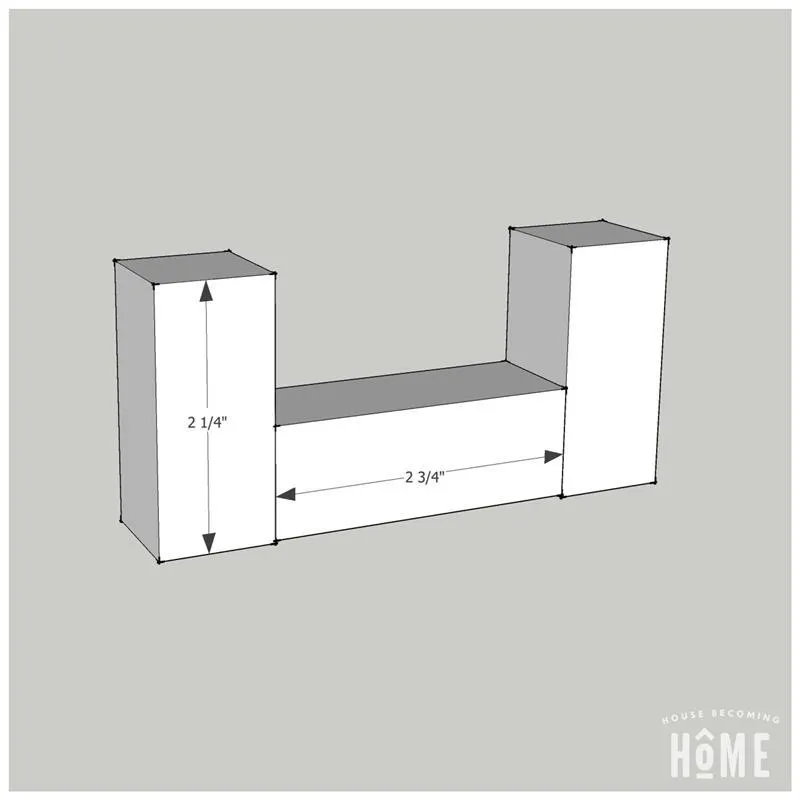
3Assemble Medium Tier Legs
Using wood glue and clamps, assemble the legs of the medium tier.
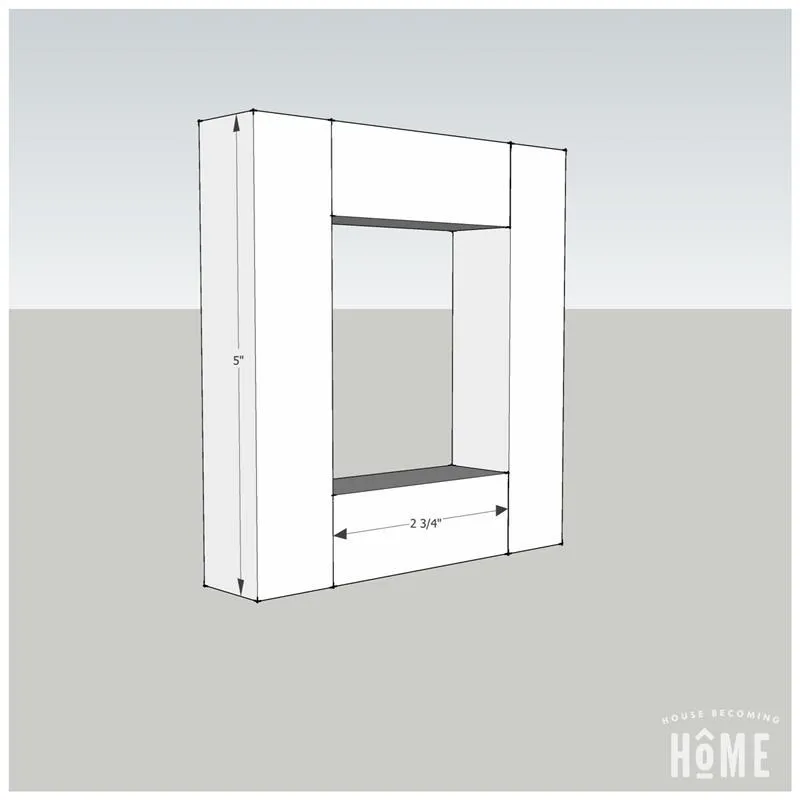
4Assemble Large Tier Legs
Using wood glue and clamps, assemble the legs of the large tier.
5Attach Legs to Small Tier Top
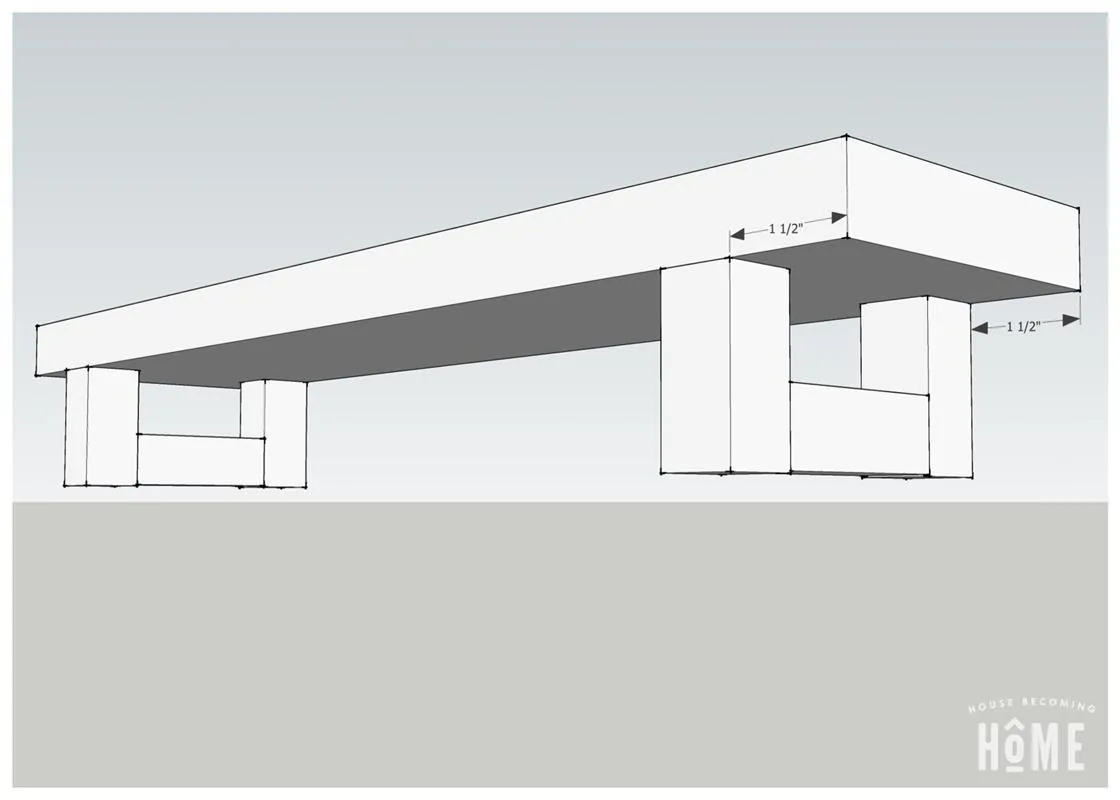
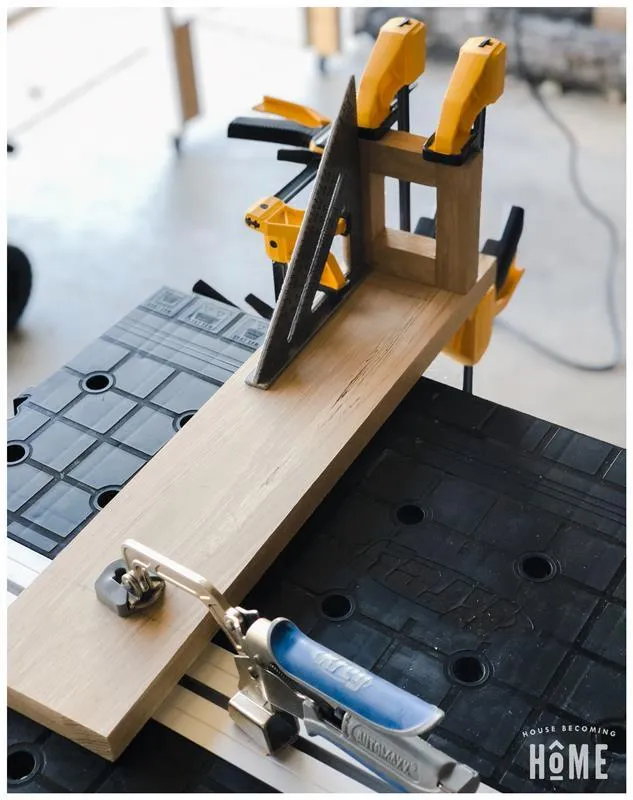
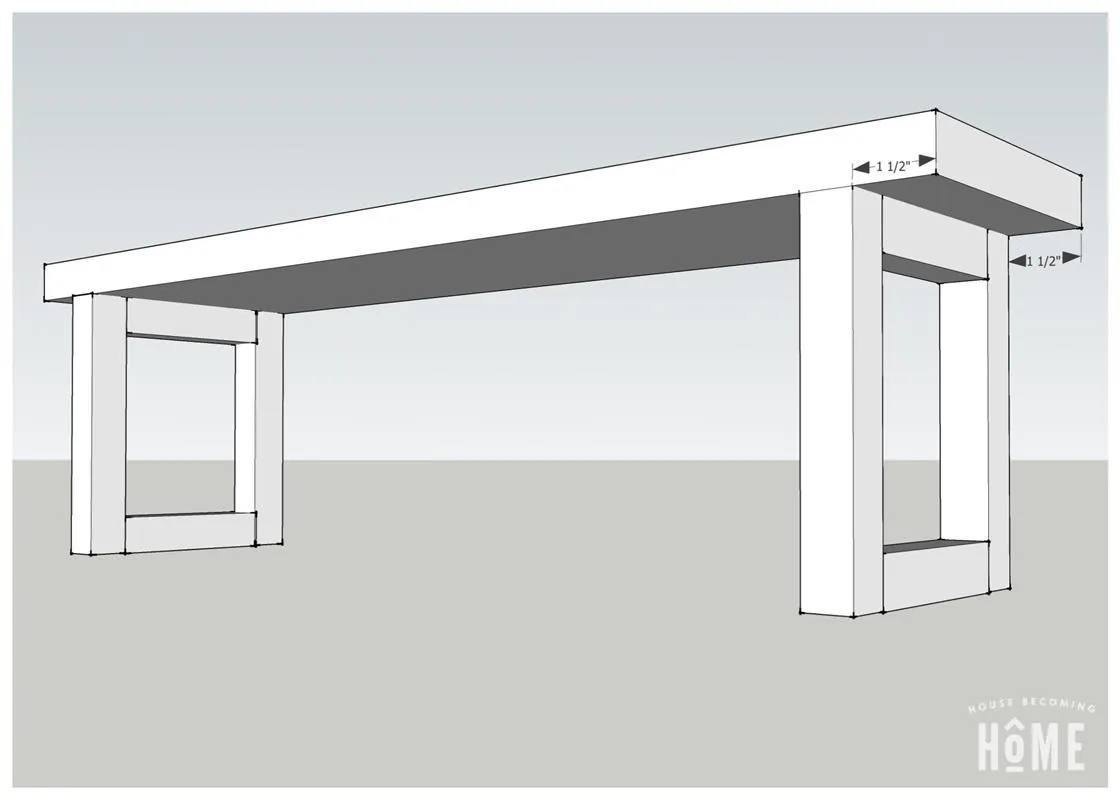
Using wood glue and clamps, attach completed legs to the small tier top, 1-1/2" from the edge. Use a carpenter's square to ensure legs are attached at 90 degrees.
6Attach Legs to Medium Tier Top
Using wood glue and clamps, attach completed legs to the medium tier top, 1-1/2" from the edge. Use a carpenter's square to ensure legs are attached at 90 degrees.
7Attach Legs to Large Tier Top
Using wood glue and clamps, attach completed legs to the large tier top, 1-1/2" from the edge. Use a carpenter's square to ensure legs are attached at 90 degrees.
8Sand
Sand all faces and the legs of each tier.
9Stain
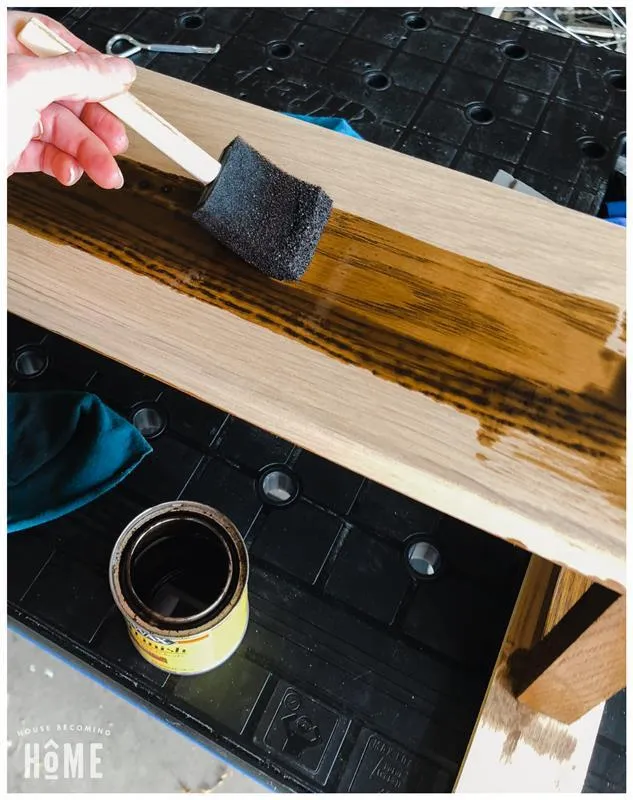
Stain all faces and legs of each tier. Once stain is dry, protect with several layers of polyurethane.