 Notch
NotchFluted Bathroom Vanity
Step-by-step build — 11 steps. Also available as a print sheet.
11
Cut and attach the side panels together using wood glue and 1 1/4" pocket hole screws.
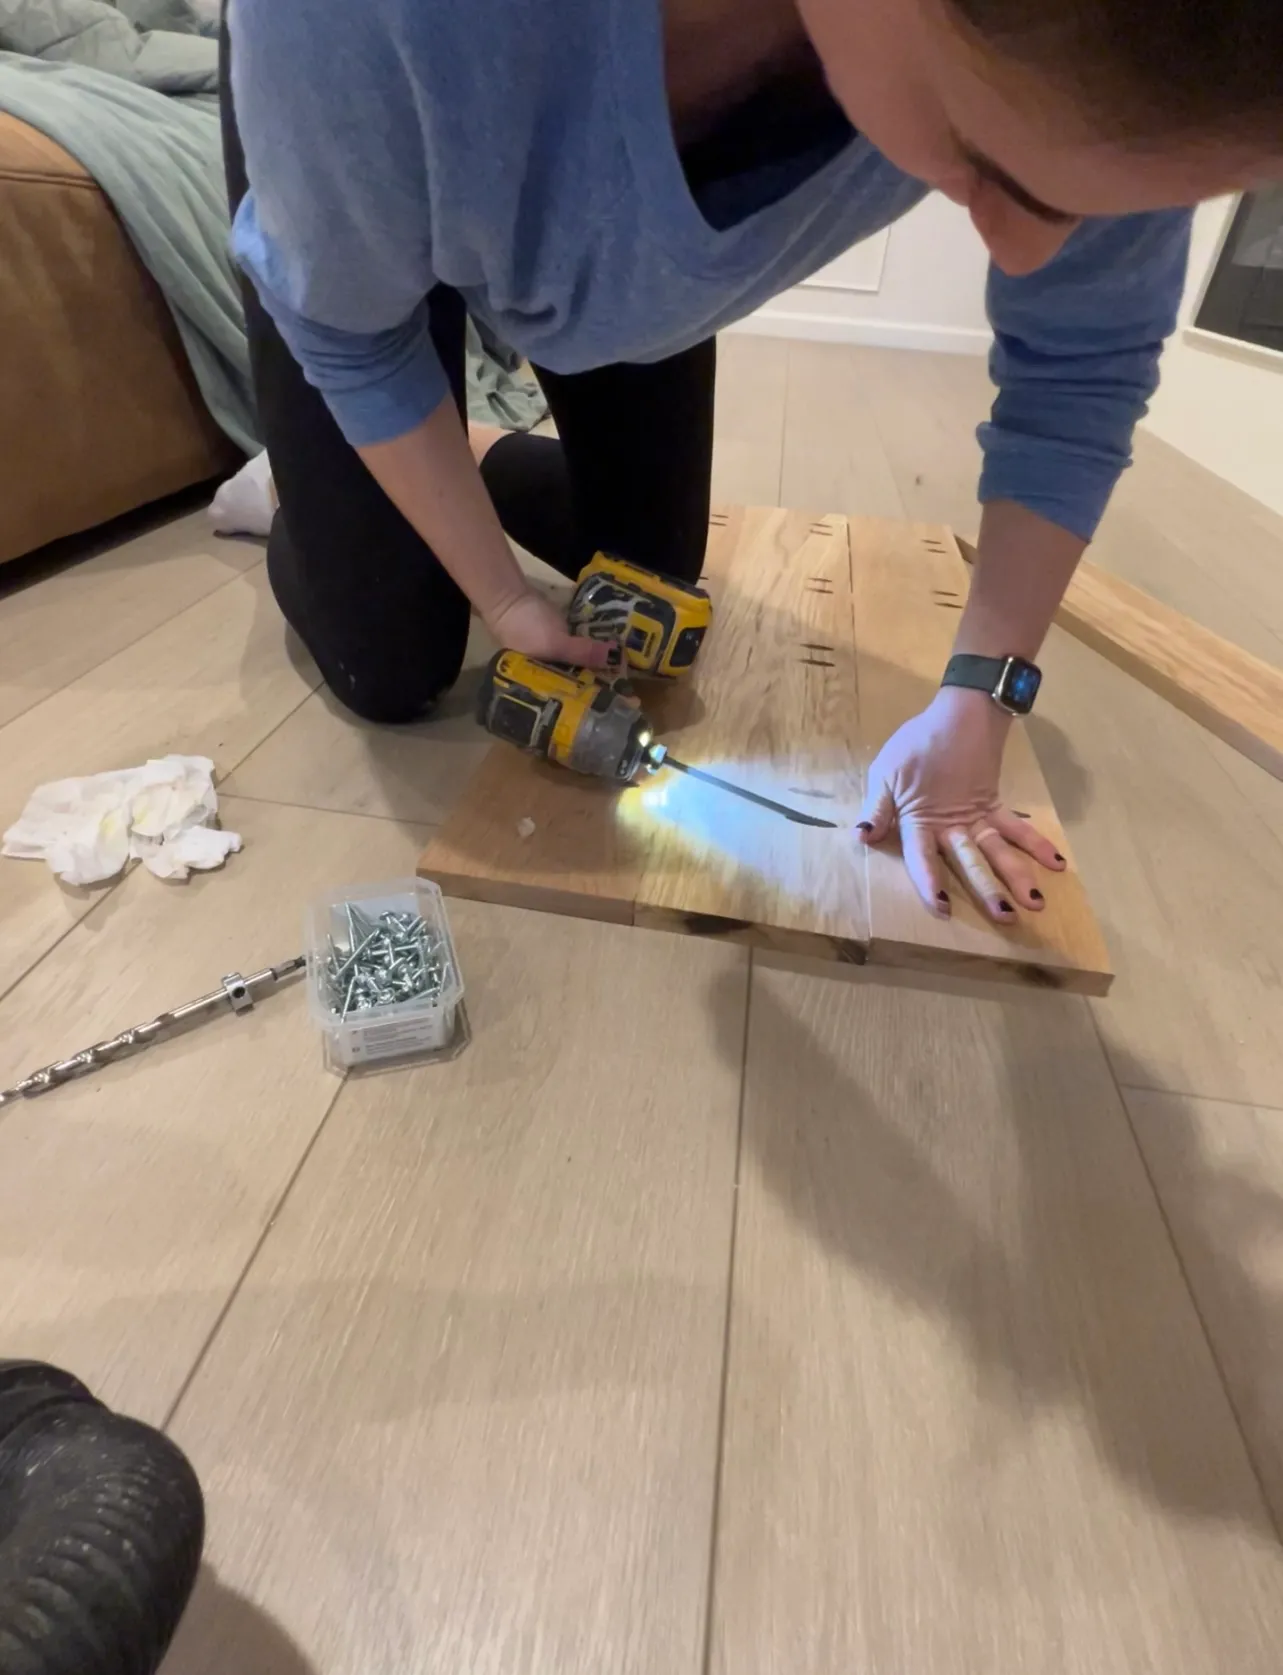
22
Cut the panel to size using a table saw, track saw or circular saw.
33
Attach the bottom panel of the cabinet to the sides of the cabinet using wood glue and 1 1/4" pocket hole screws. Make sure the bottom of the cabinet is 3.5" inches off the floor.
44
Cut the face frame to size and attach together using 1 1/4" pocket hole screws and wood glue.
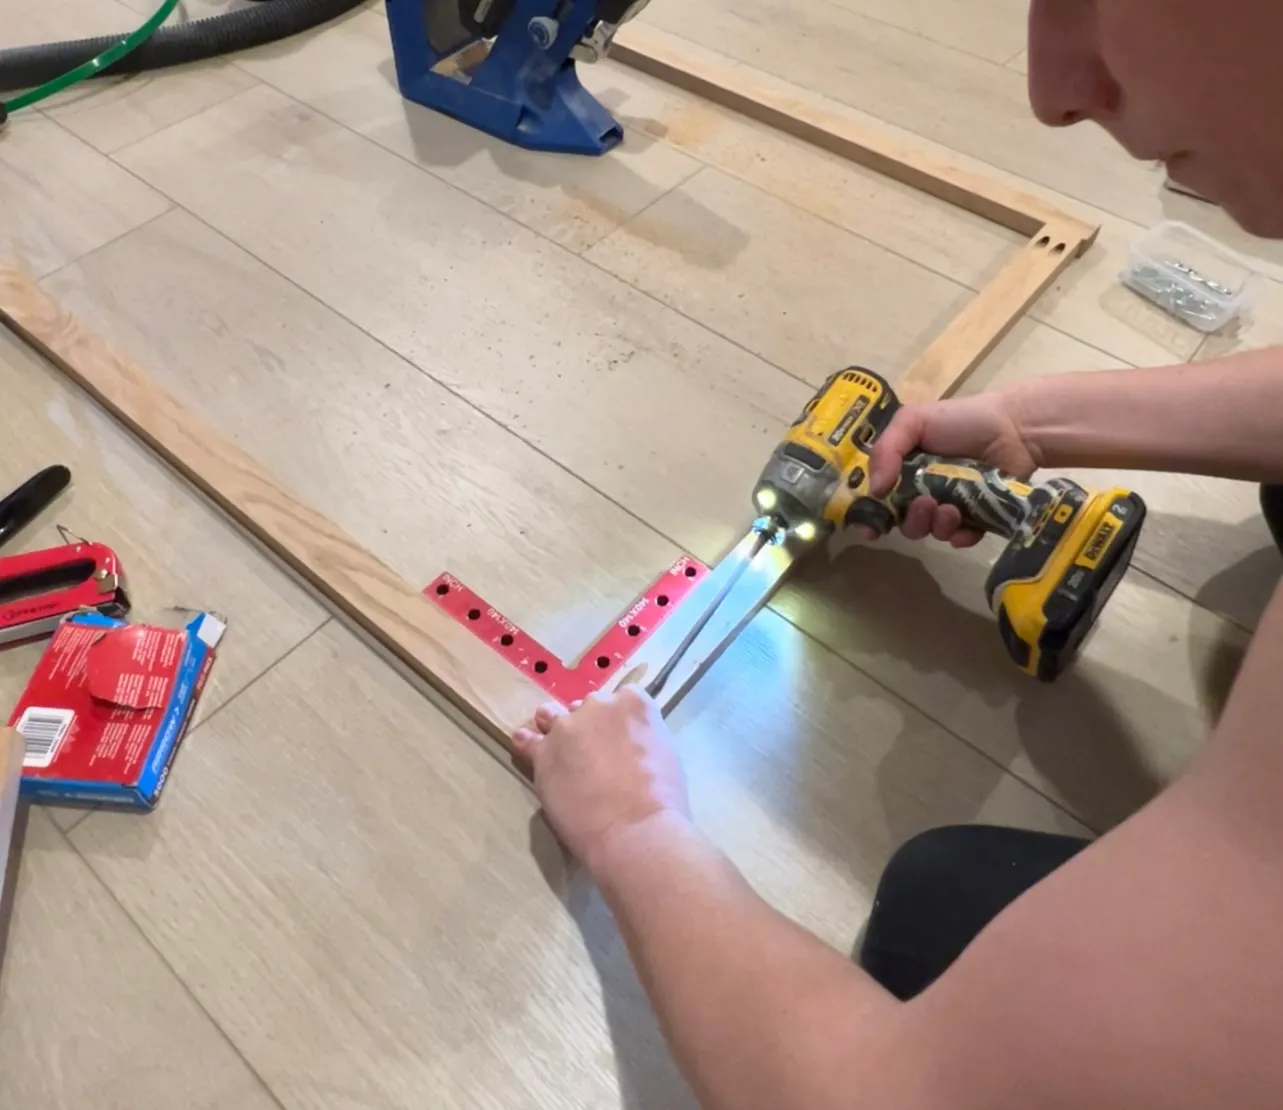
55
Nail the face frame onto the cabinet box using 1 1/2" brad nails.
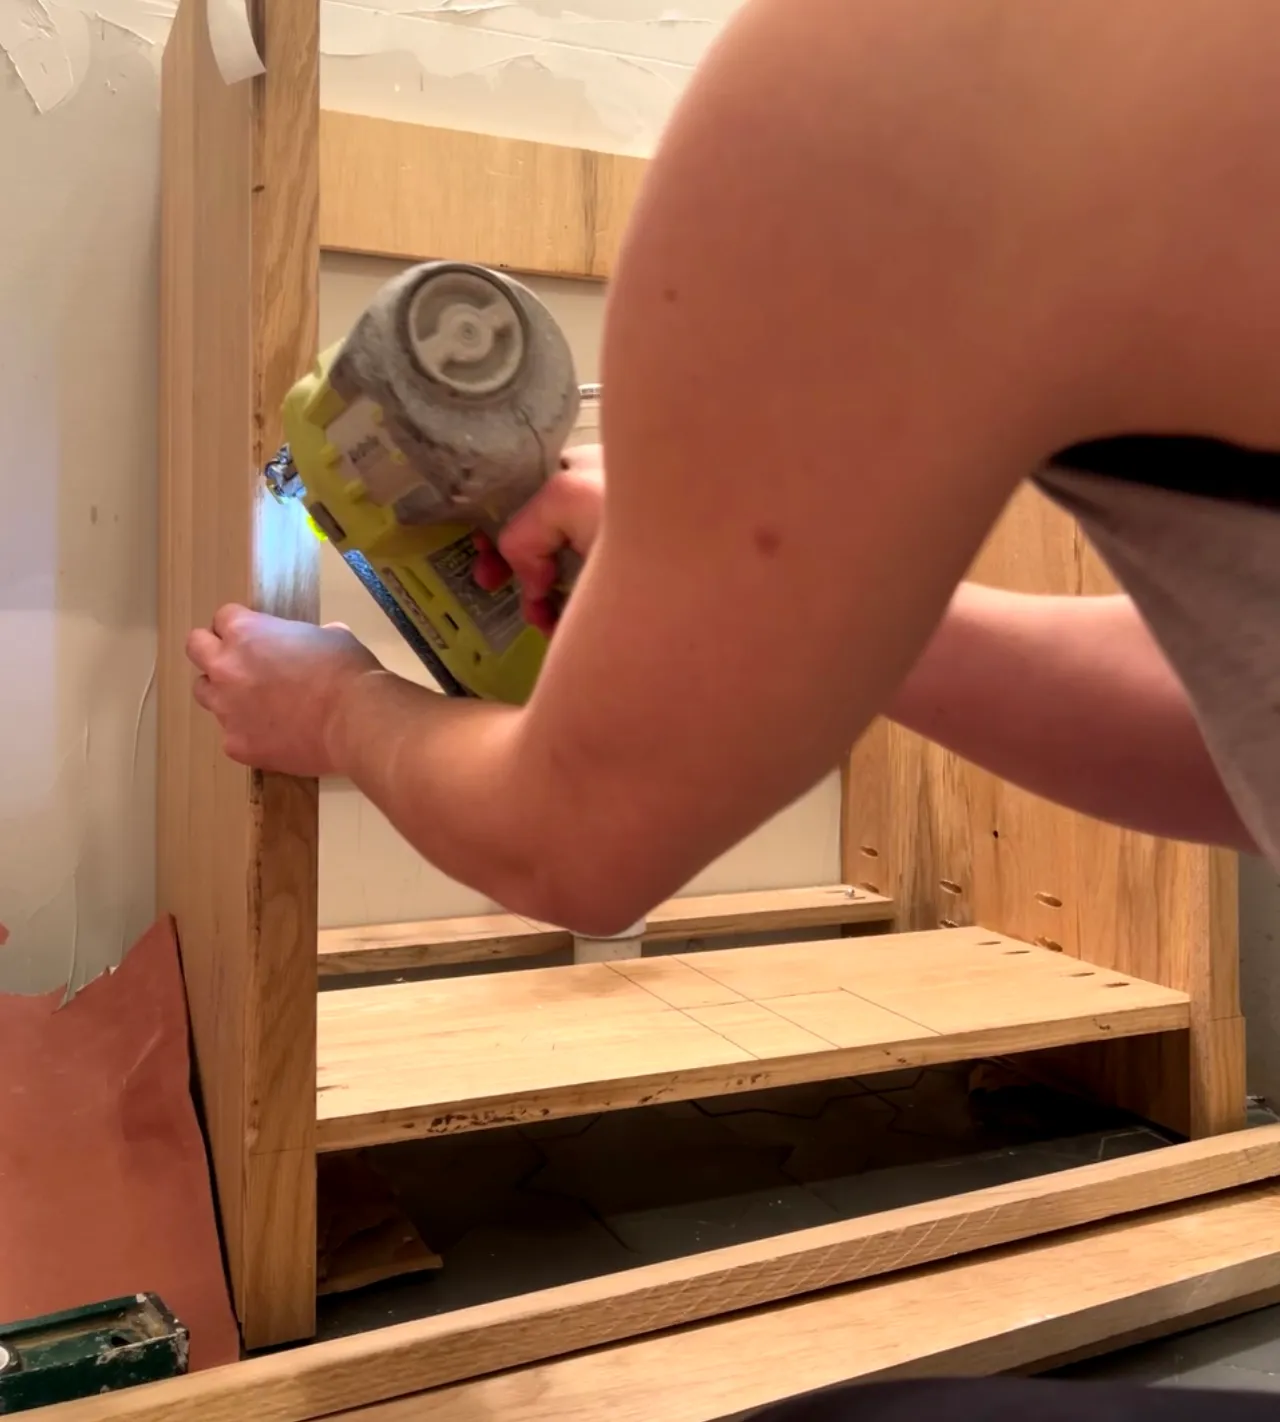
66
After routing the fluted trim and cutting it to size, use CA glue and glue the trim onto the backboard.
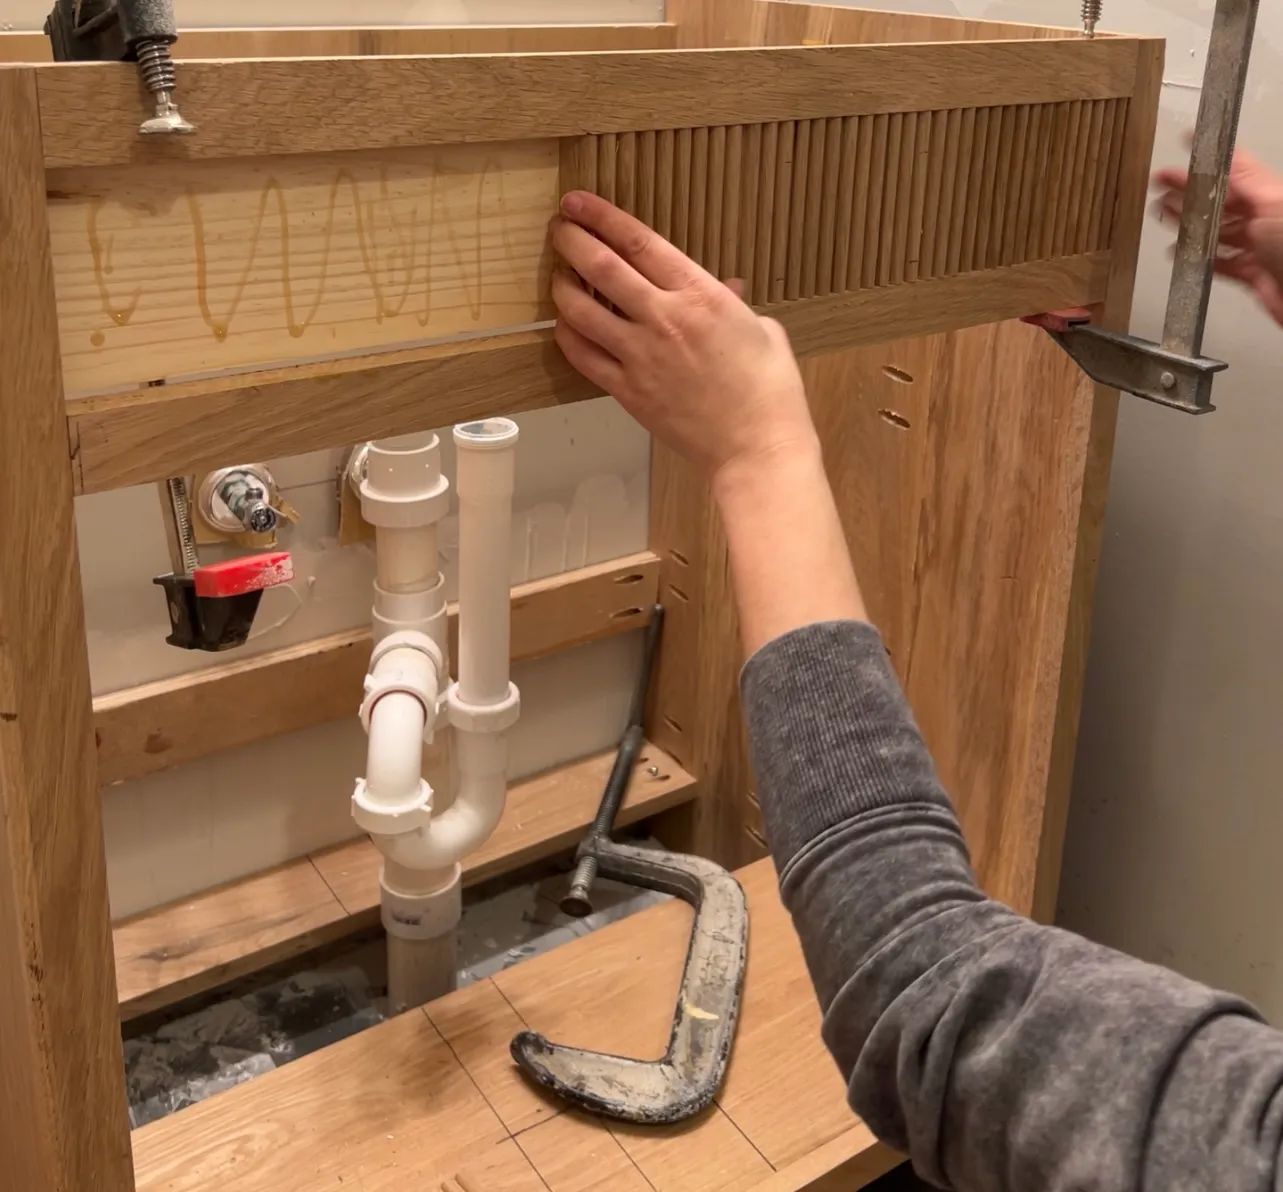
77
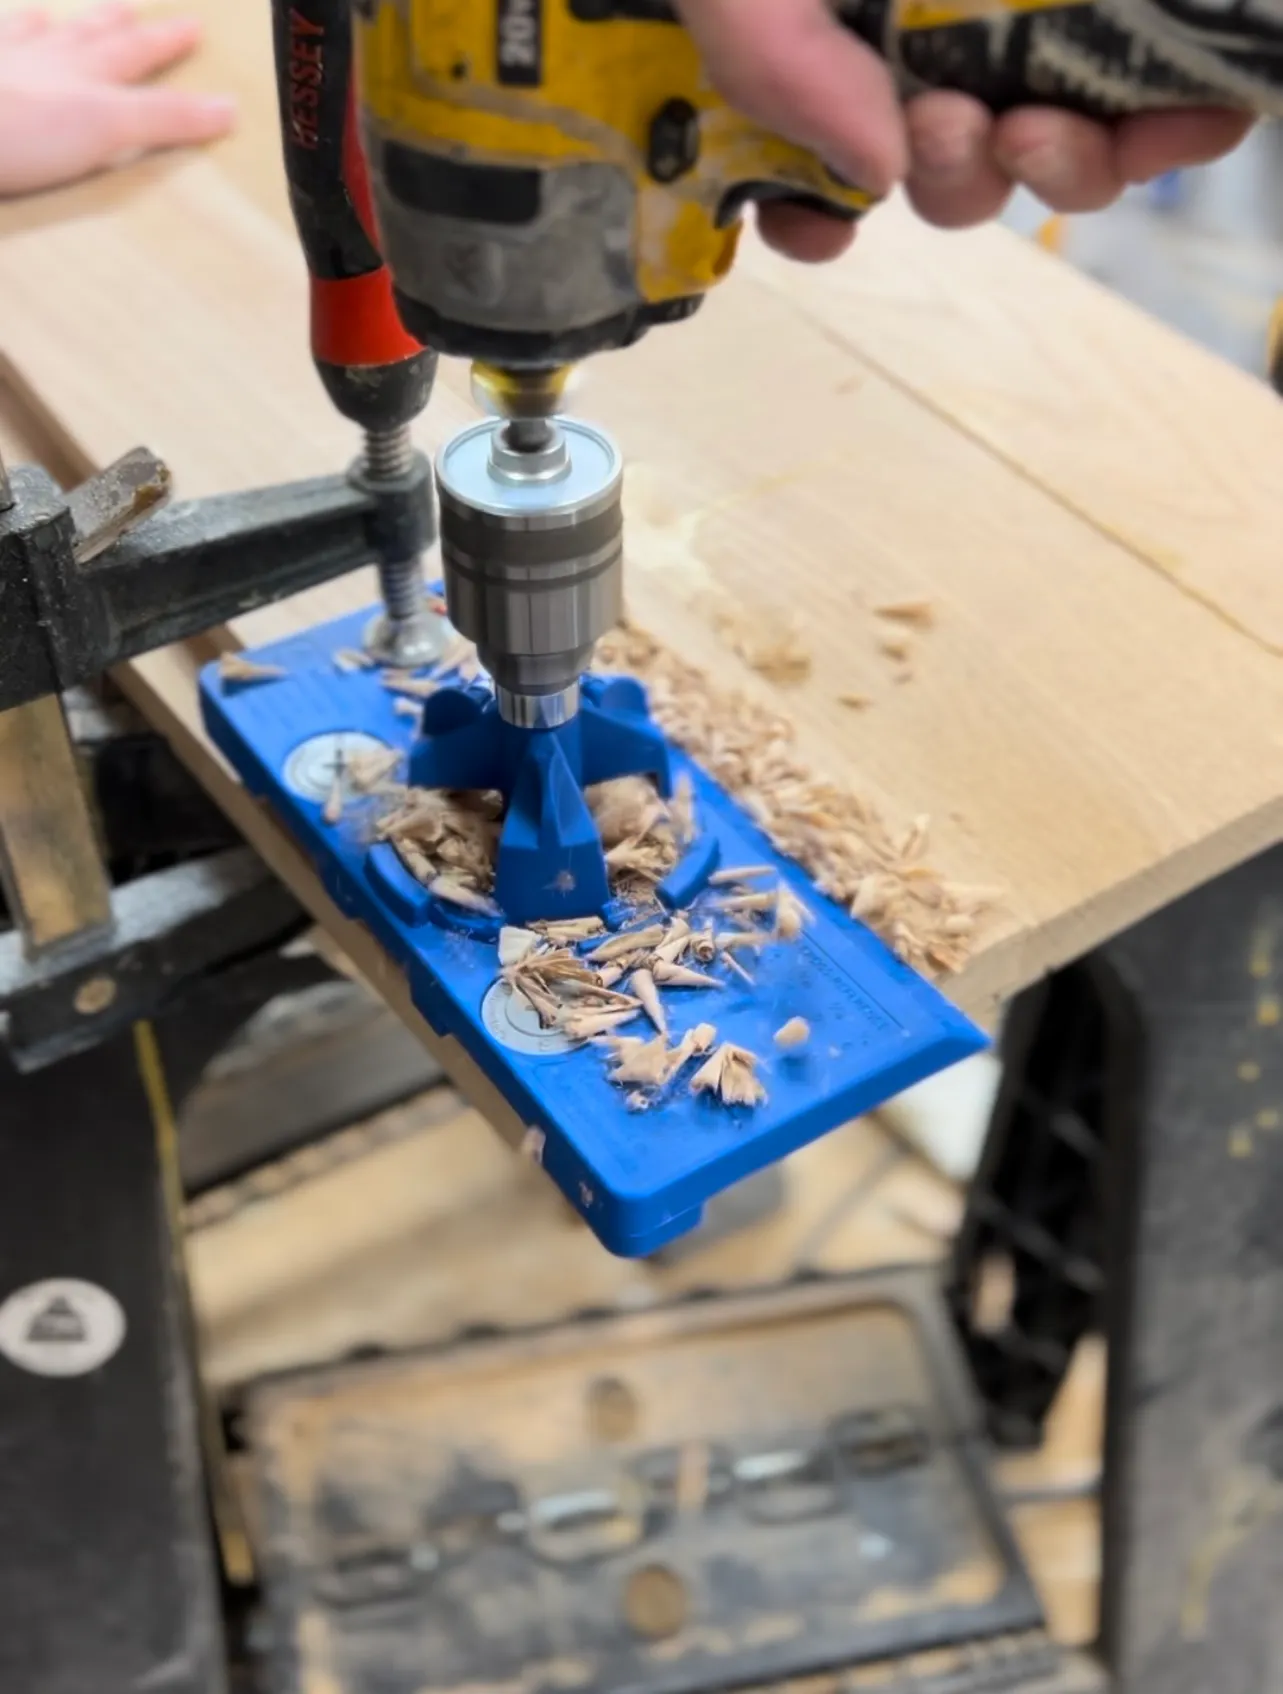
Cut the doors to size and using the Kreg Hinge Jig drill the cup holes for the hinges.
88
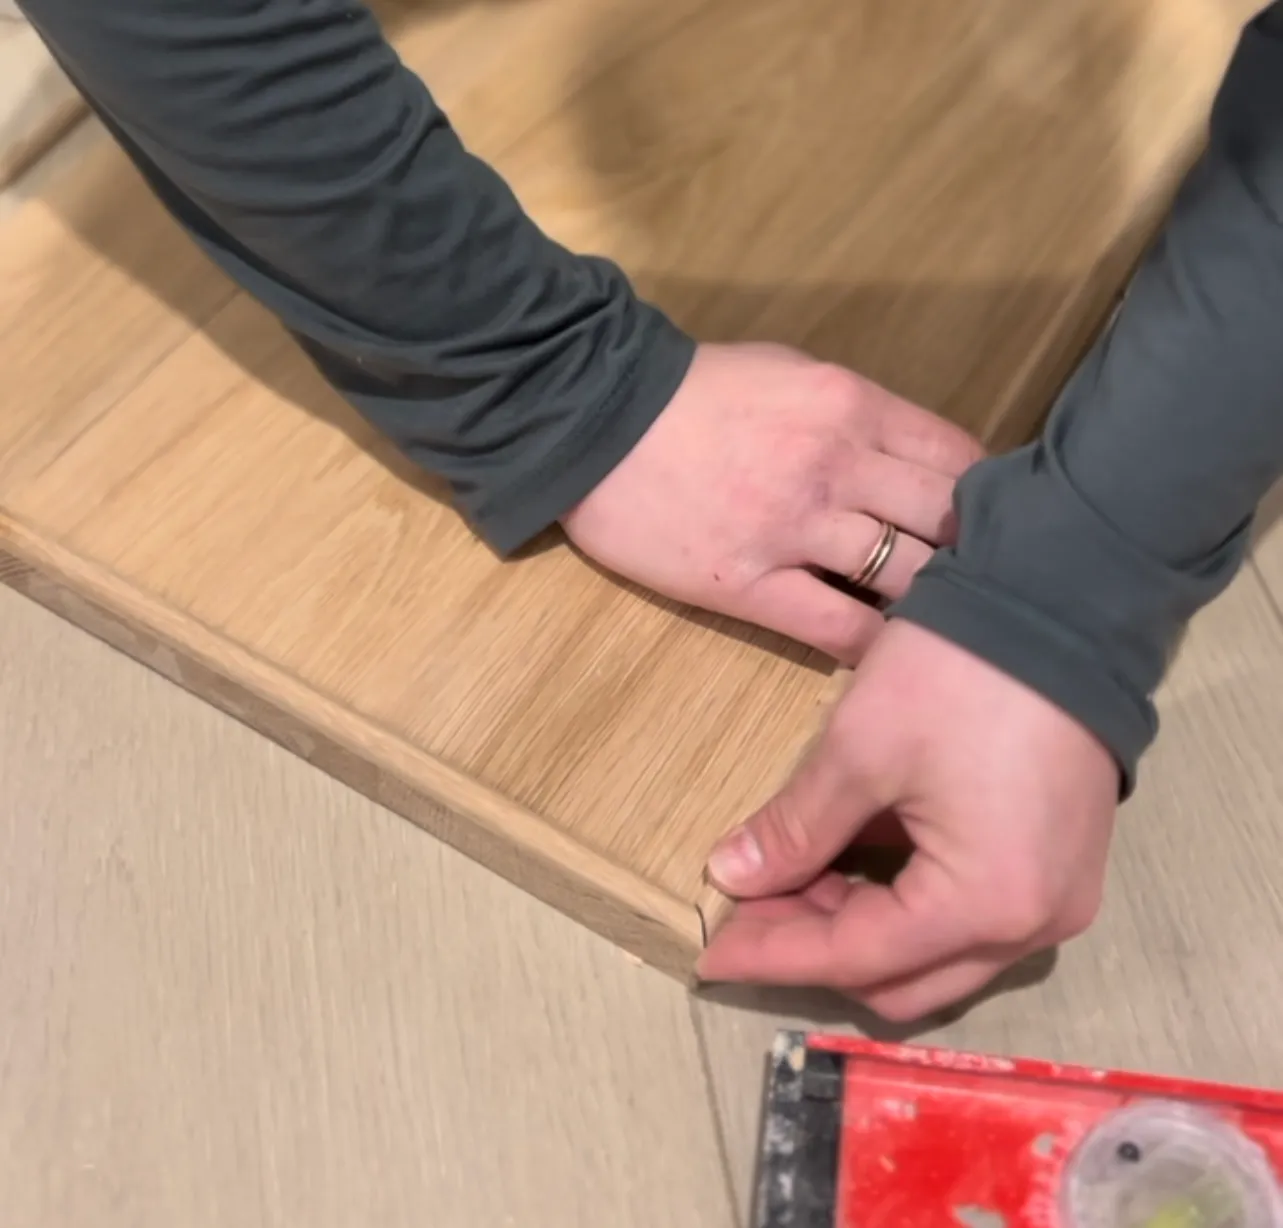
Add trim to the door fronts, using CA Glue. (optional)
99
Attach the doors to the cabinet. Make sure to have an even reveal on all sides.
1010
Use a roundover bit to route the trim for underneath the countertop. Cut to size and attach with CA glue. (optional)
1111
Sand and stain the color of your choice!