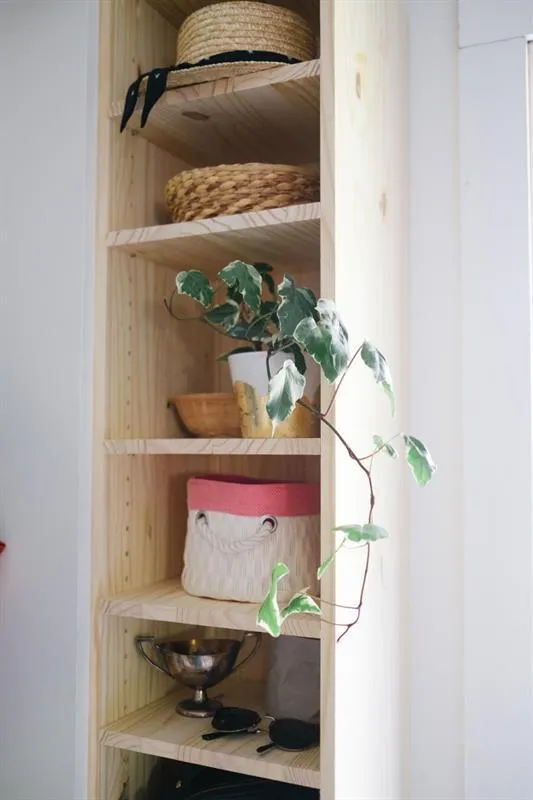
Notch
Floating Adjustable Shelves
Step-by-step build — 5 steps. Also available as a print sheet.
1Cut pieces
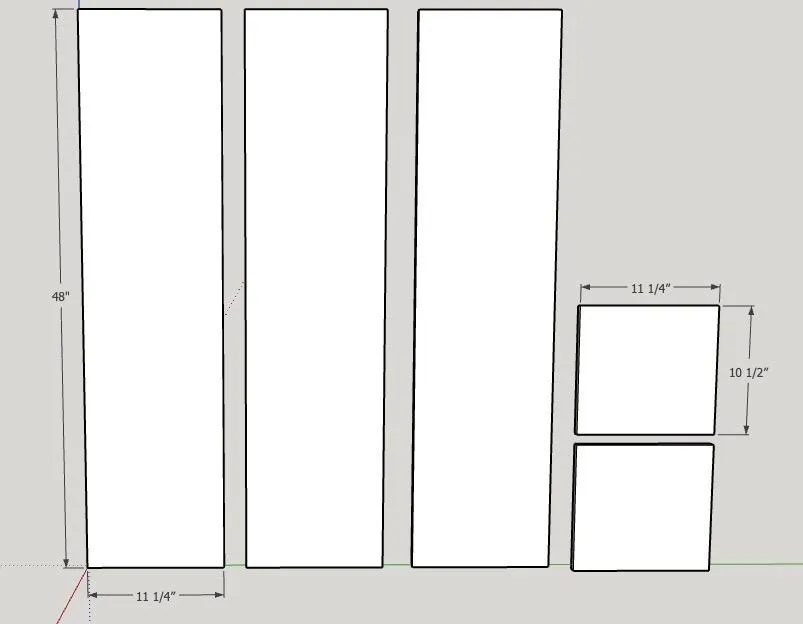
Using 1x12 lumber of choice (actual size 3/4" x 11 1/4"), cut 3 pieces into 4' lengths and 2 pieces into 11 1/4" x 10 1/2" Also cut as many shelves as you'd like at 11 1/4" x 10 1/2"
2Pocket holes and shelf pin holes
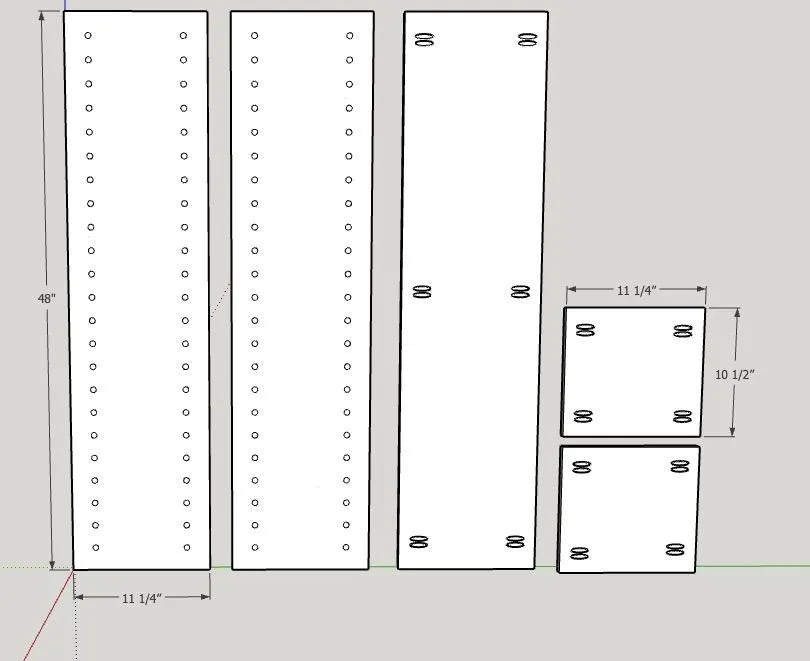
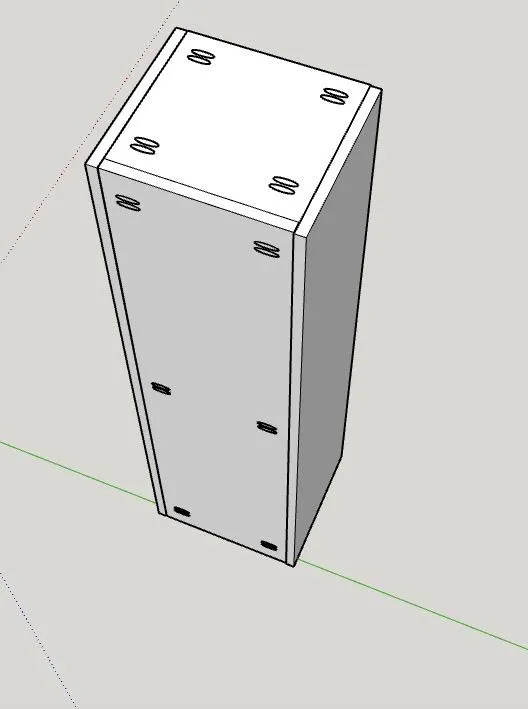
Add 12 pocket holes to one of the 4' pieces and 8 pocket holes to each of the 10 1/2" pieces, then add shelf pin holes to the other two 4' pieces.
3Attach sides
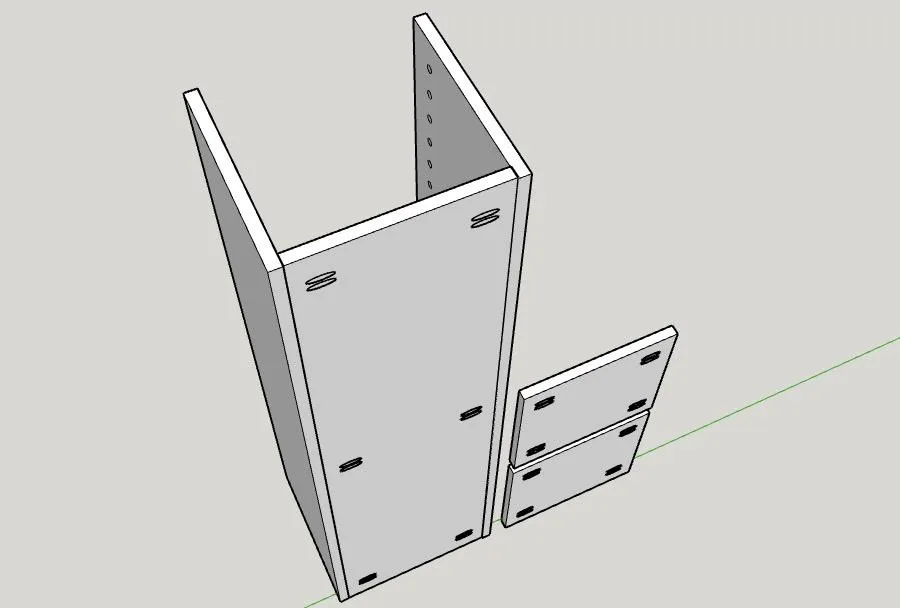
Attach the two 4' sides of the shelf using the pocket holes, keeping holes on the back of the shelf.
4Attach top and bottom
Using pocket holes, attach the top and bottom pieces, ensuring pocket holes remain on the outside.
5Add shelves
Using shelf pins, attach shelving wherever you'd like and enjoy your new storage system!