Notch
← Back to the plan
Use your browser's Print (Ctrl/Cmd + P) and choose Save as PDF. This page works offline once you've opened it with a signal.
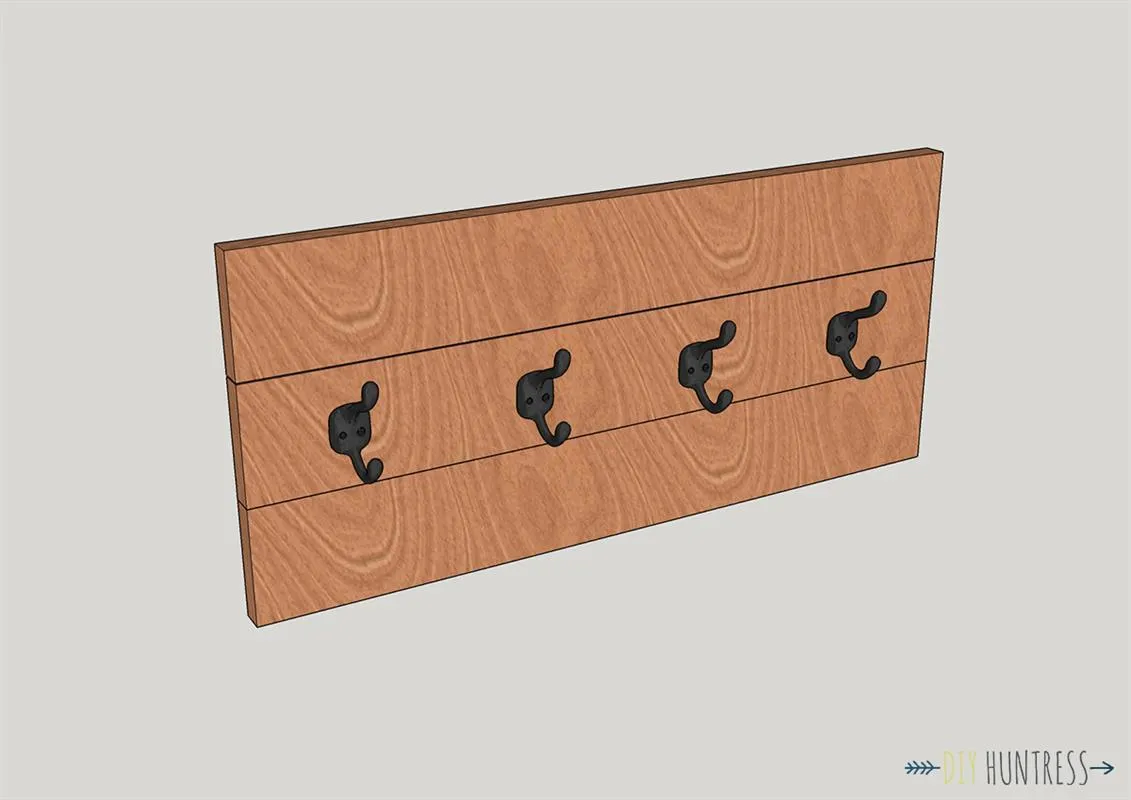
Easy Wooden Coat Rack
Sometimes simple can be perfectly stated.
- Difficulty
- Beginner
- Time
- 1.8–3.3 hours
- Cost
- $$
Cut list
| Part | Qty | T × W × L | Material | ✓ |
|---|---|---|---|---|
| Boards | 3 | 3/4" × 3" × 23" | — | ☐ |
Materials
| Item | Qty | ✓ |
|---|---|---|
| Board, 1x4 72" | 1 board | ☐ |
| Coat Hangers | 4 each | ☐ |
| Wall Hangers | 2 each | ☐ |
| 1 1/4" Pocket Hole Screws | 8 each | ☐ |
| Wood Stain | 1 each | ☐ |
Overall cost: $$. Lumber varies by region, species, and season, so we give a band rather than a figure.
Tools
- Drill / Driver
- Miter Saw
- Pocket Hole Jig
- Random Orbit Sander
Instructions
1. Check Dimensions
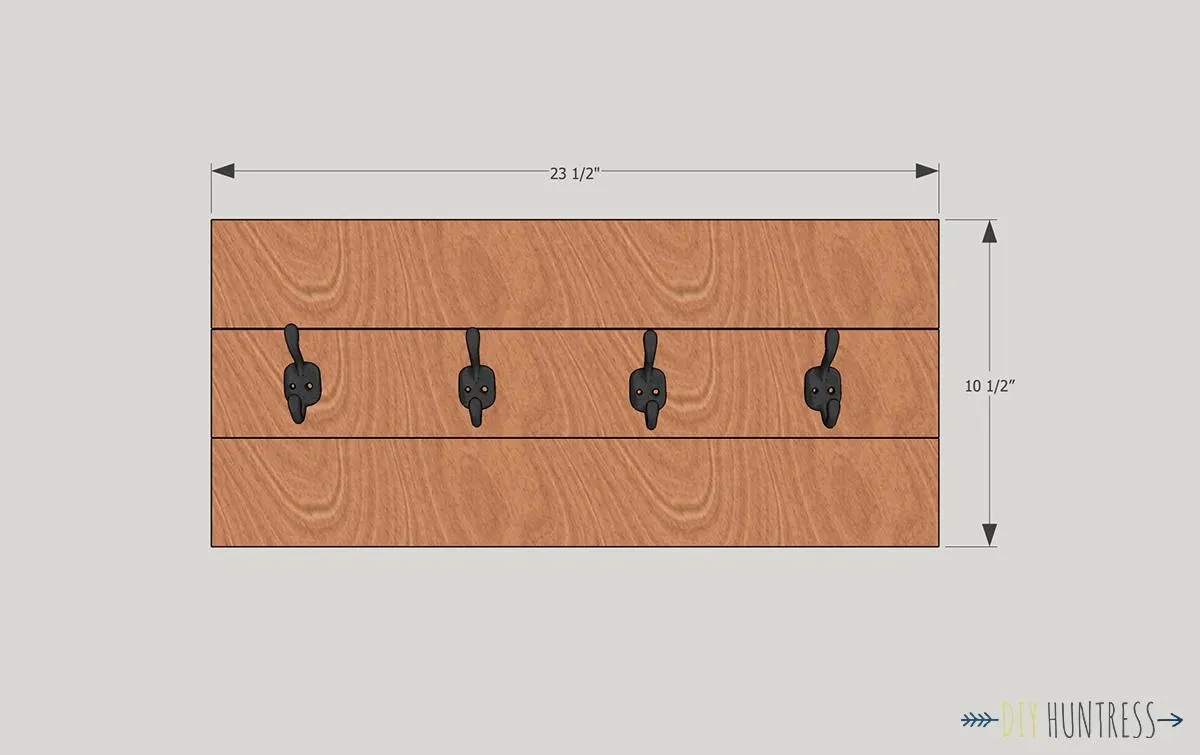
Check the dimensions before starting to make sure that the piece will fit in your space. For a video tutorial showing the steps to this project, visit the "Extras" tab for the link to the YouTube video.
2. Cut Your Boards
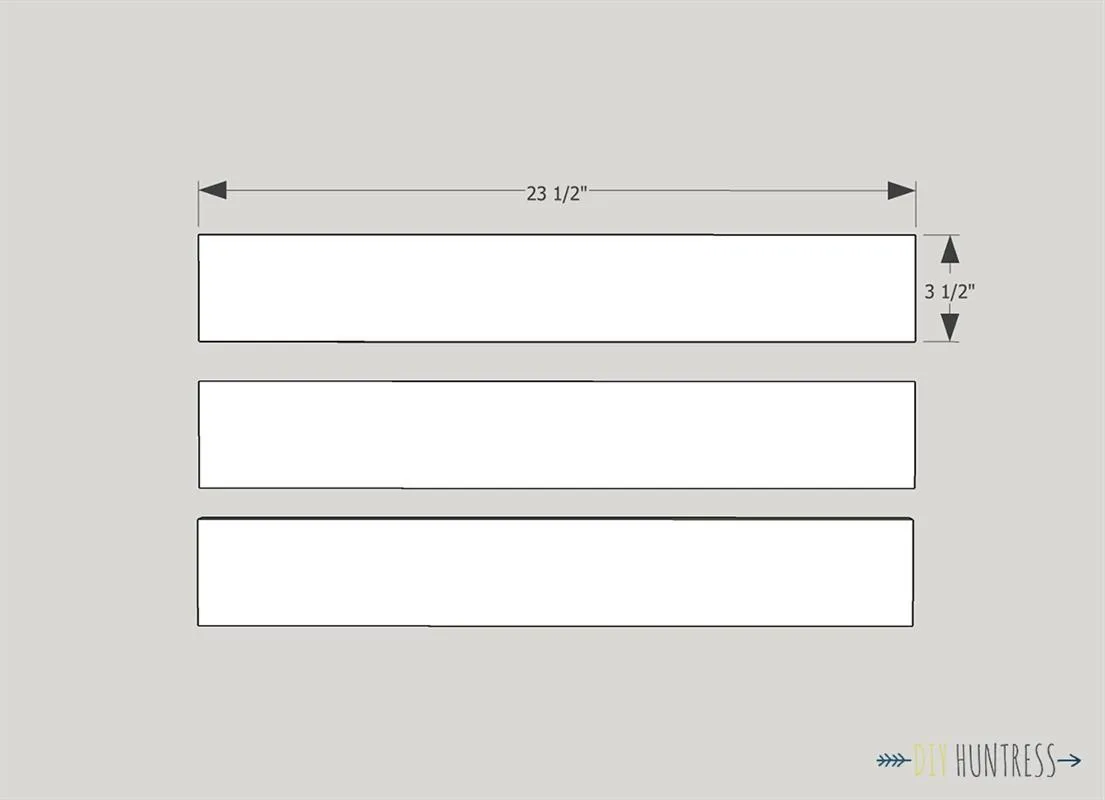
Cut three 23 1/2" slats from your 72" common board.
3. Join The Boards
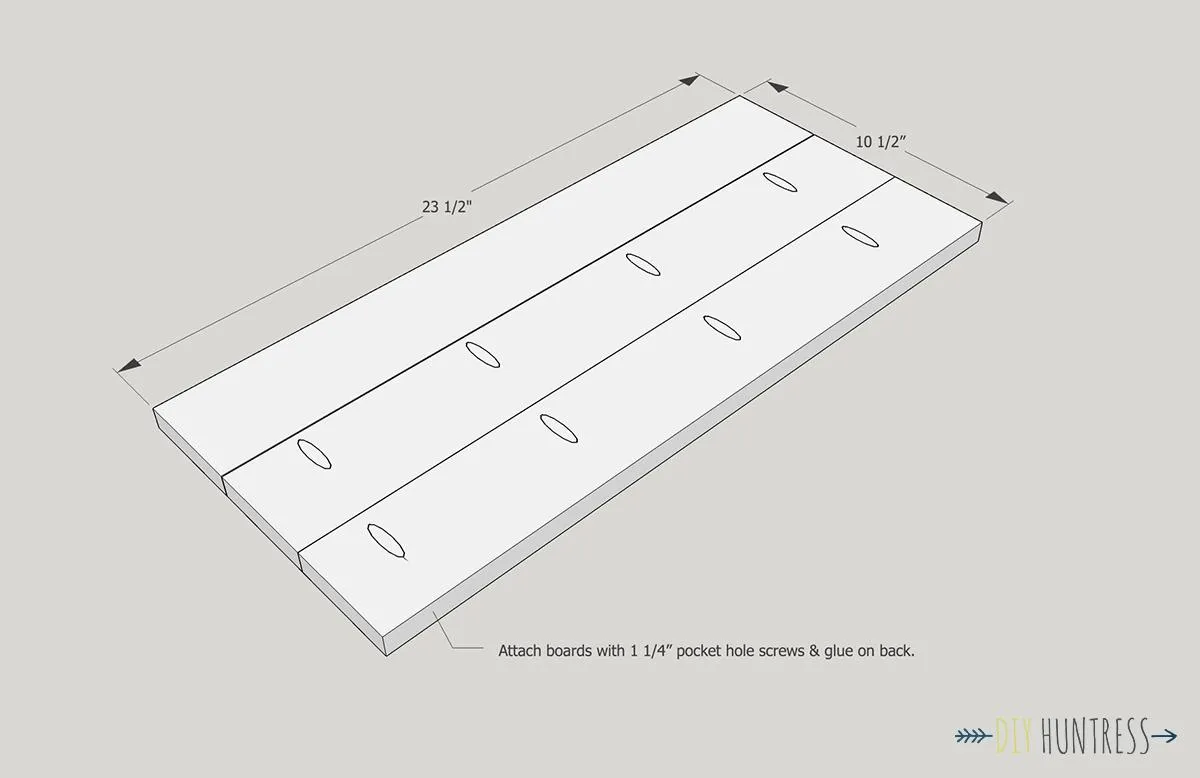
Join the three boards using pocket holes, wood glue, and 1 1/4" screws.
4. Sand & Stain
Sand & stain your piece.
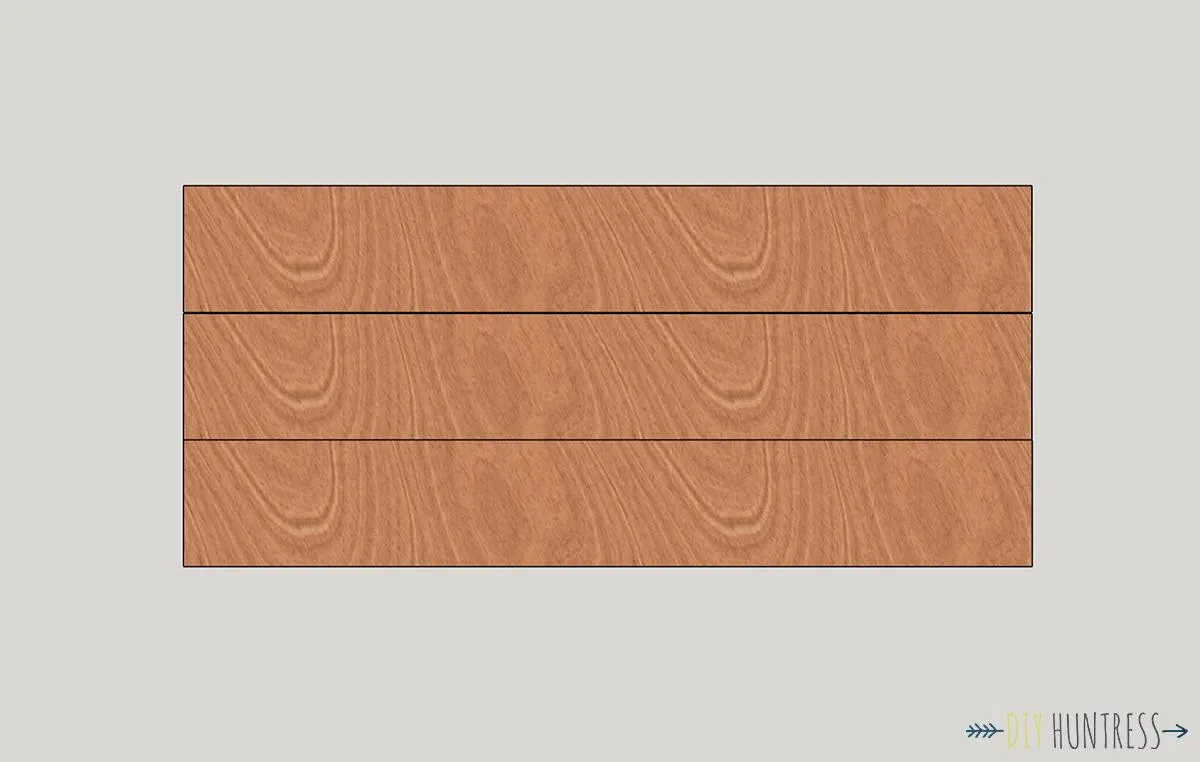
5. Add Hardware
Add hooks to the front of the boards for hanging coats, and hooks on the back for attaching the coat rack to the wall.