Notch
NotchUse your browser's Print (Ctrl/Cmd + P) and choose Save as PDF. This page works offline once you've opened it with a signal.
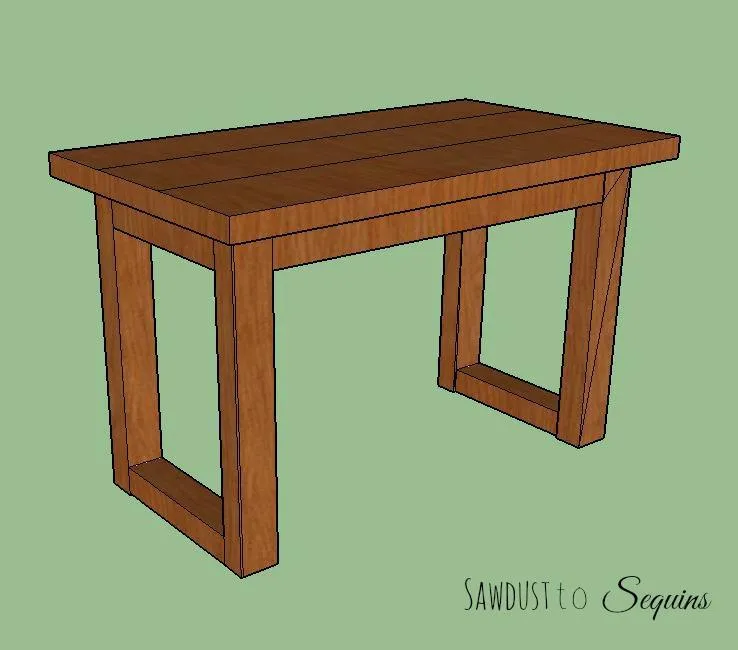
Easy Console Table
Having a beautiful and functional console table does not have to be difficult or pricey.
- Difficulty
- Beginner
- Time
- 2–3.8 hours
- Cost
- $$
Cut list
| Part | Qty | T × W × L | Material | ✓ |
|---|---|---|---|---|
| Middle Table Top Braces | 2 | 2" × 4" × 35" | — | ☐ |
| Side Table Top Pieces | 4 | 2" × 4" × 11 1/2" | — | ☐ |
| Table Leg Side Pieces | 4 | 2" × 4" × 29" | — | ☐ |
| Table Top Boards | 3 | 1" × 6" × 48" | — | ☐ |
Materials
| Item | Qty | ✓ |
|---|---|---|
| Board, 2x4 96" | 3 board | ☐ |
| Board, 1x6 72" | 2 board | ☐ |
| 2 1/2" Pocket Hole Screws | 24 each | ☐ |
| 1 1/4" Pocket Hole Screws | 9 each | ☐ |
| 2" Wood Screws | 4 each | ☐ |
Overall cost: $$. Lumber varies by region, species, and season, so we give a band rather than a figure.
Tools
- Drill / Driver
- Miter Saw
- Pocket Hole Jig
- Random Orbit Sander
- Tape Measure — optional
Instructions
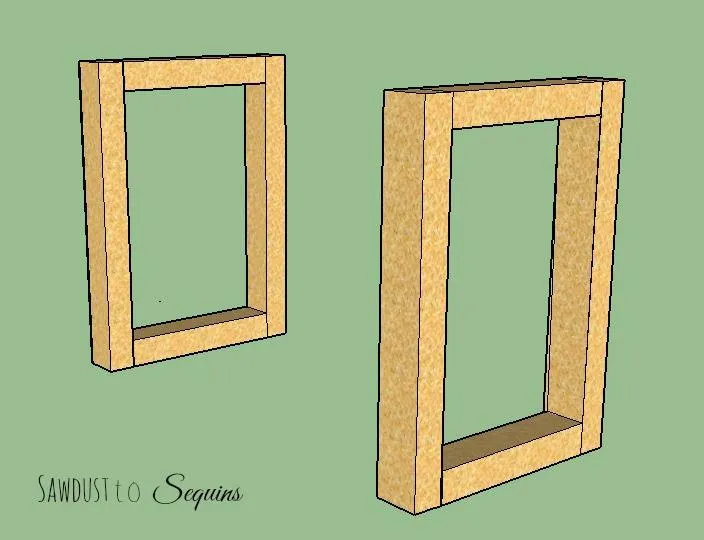
1. Build Leg Supports
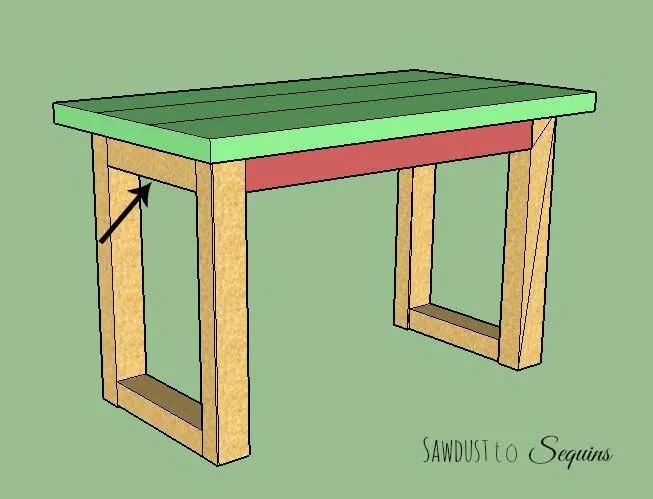
Attach the 11.5” pieces to the 29” pieces to form a box. (11.5”pieces go inside of 29” pieces. Repeat for both legs of the table.
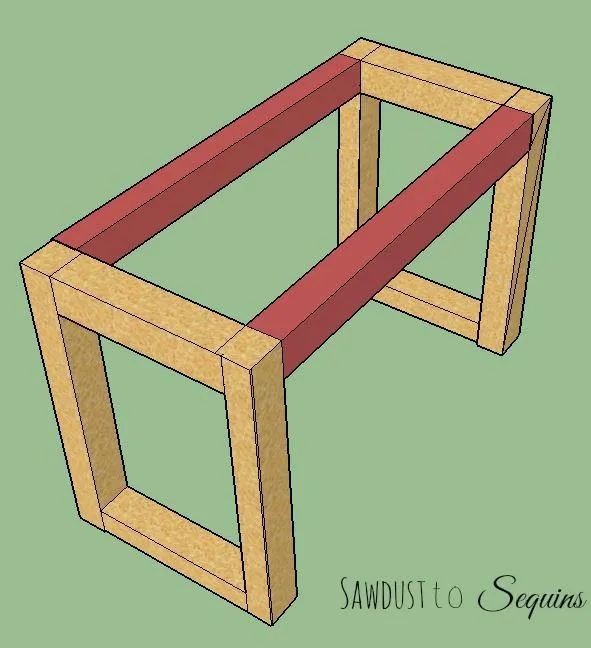
2. Attach Table Top Supports
With legs facing each other, attach middle 35” braces to the tops of the front and back (braces are placed Inside of table legs components).
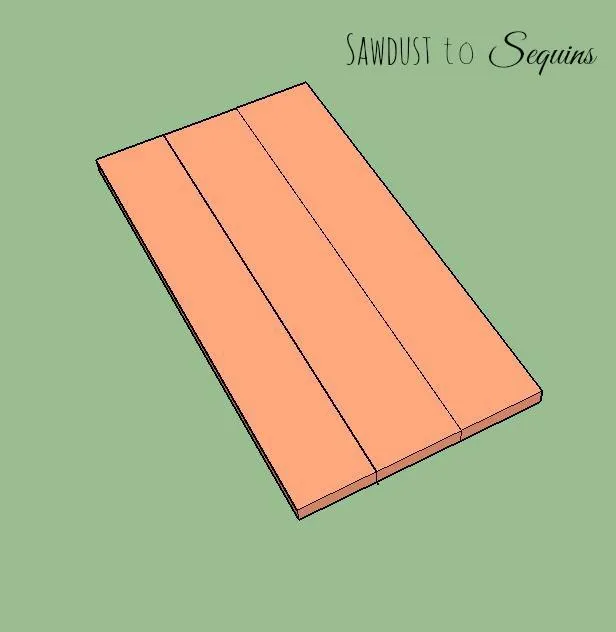
3. Assemble Table Top
With pocket hole screws, screw the 3 1x6x4 boards together to form the top of the table.
4. Attach Table Top
Attach the top to the table legs with 2” wood screws through the bottom of the leg assembly.
5. Finishing
Sand your table, stain with color of choice, and enjoy your build!