Notch
NotchDIY Wooden Planter
Step-by-step build — 7 steps. Also available as a print sheet.
1Cut Your Wood
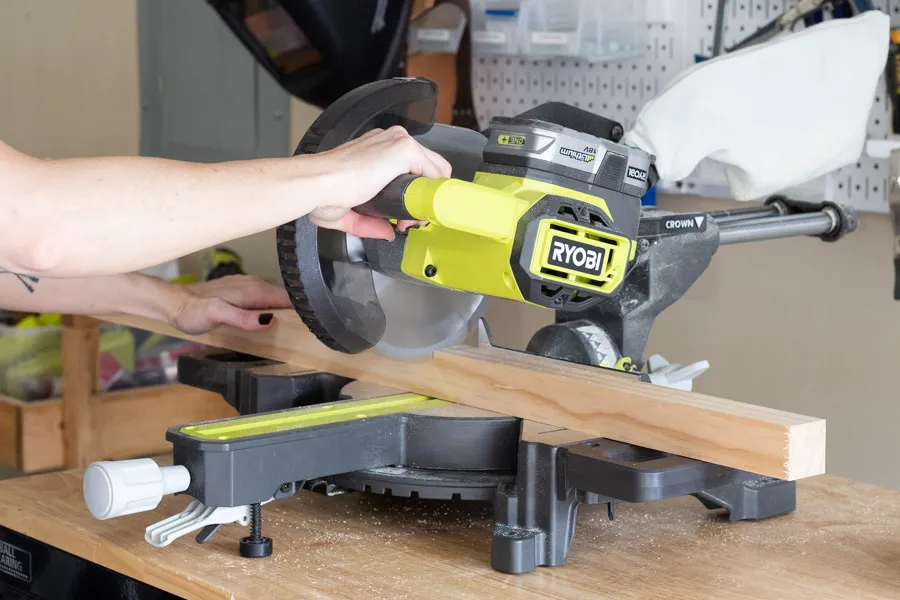
Cut your wood to the specified dimensions.
2Drill Pocket Holes
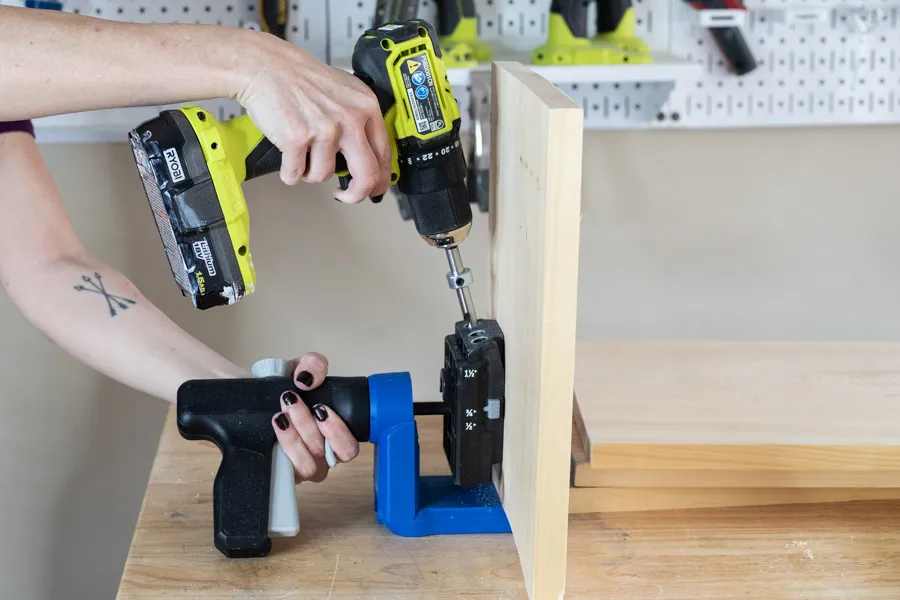
Drill 3 pocket holes along 2 parallel sides of each 1x12x12 boards, and 1 pocket hole at each end of the 1x2 pieces.
3Sand
Use a sanding block to sand edges smooth.
4Attach Legs to Front and Back
Using 1 1/4" pocket hole screws, attach 2 legs to one of the 1x12x12 pieces. Repeat. These will be the front and back of the planter.
5Attach Sides
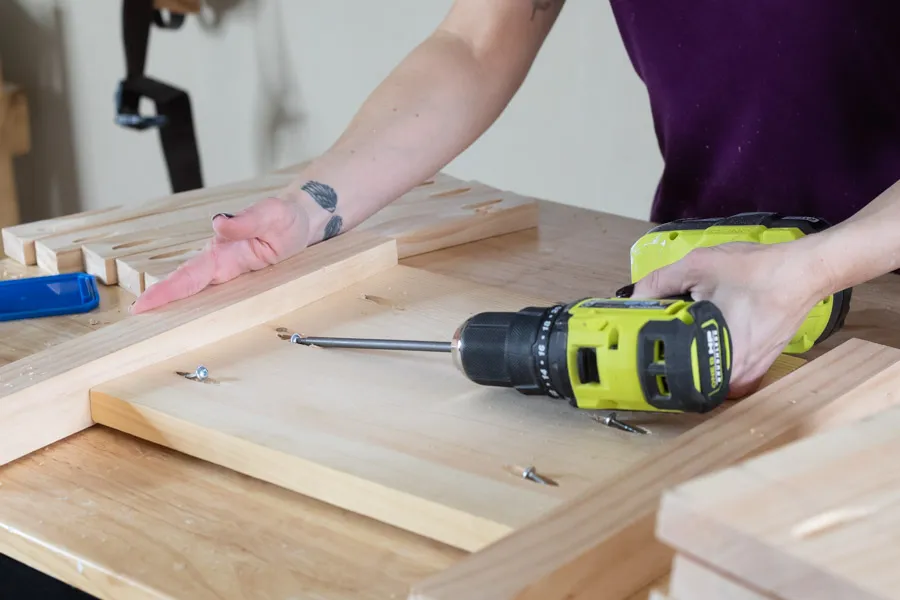
Attach remaining 1x12x12 pieces (the sides) to the front and back you assembled in the previous step.
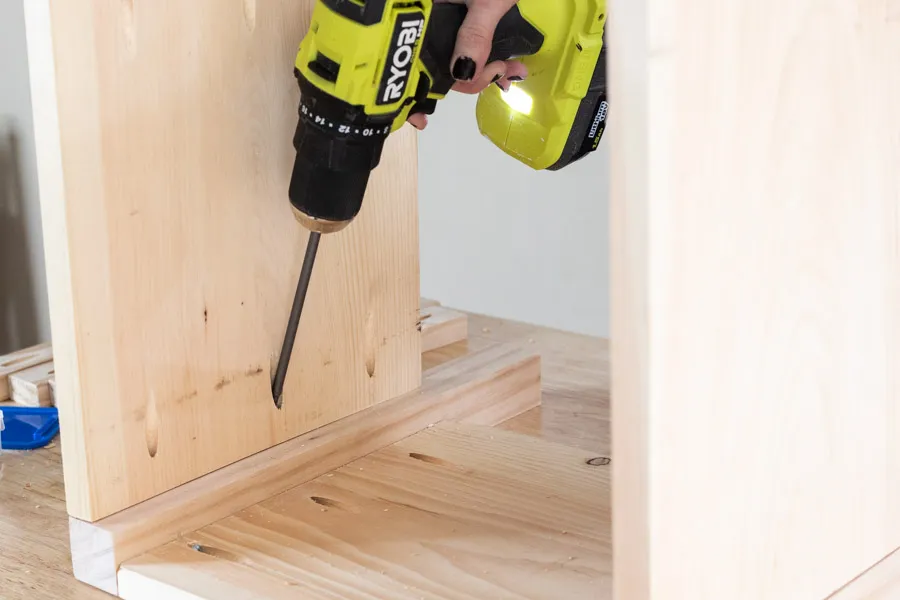
6Add Bottom Slats
Use 1 1/4" pocket hole screws to attach bottom slats (1x2 pieces). You can use a scrap piece of wood as a spacer or just eyeball it and try to space them as evenly as possible. It will not be visible so doesn't have to be perfect.
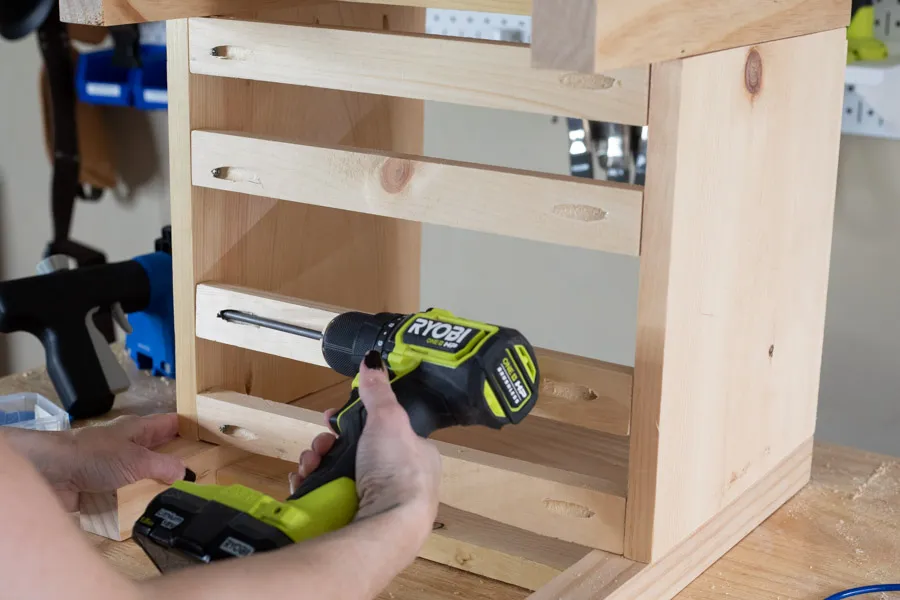
7Paint or Stain
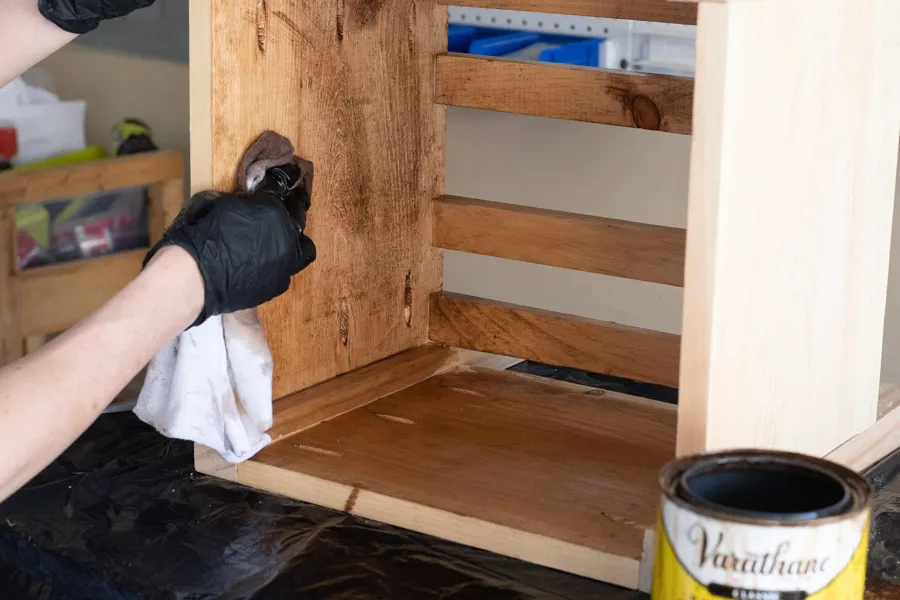
Finish your planter with any paint or stain of your choice.