 Notch
Notch- Difficulty
- Easy
- Time
- 2.5–4.5 hours
- Cost
- $$
About this build
This indoor DIY wooden planter is a great addition to any room, and can be customized to any color or finish you choose!
Tools
Essential
- Drill / Driver
- Hand Saw
- Pocket Hole Jig
Materials
| Item | Qty |
|---|---|
| 1x12 board, 1x12x6 | 1 board |
| 1x2 board, 1x2x6 | 1 board |
| 2x2 board, 2x2x6 | 1 board |
| 1 1/4" pocket hole screws | 32 each |
| Sanding block | 1 each |
| Paint or Stain | 1 each |
Overall cost: $$. Lumber prices vary by region, species, and season, so we give a band rather than a figure we would only be pretending to know.
Cut list
| Part | Qty | T × W × L |
|---|---|---|
| 1x12 boards (for sides) | 4 | 1" × 12" × 12" |
| 1x2 boards (for bottom slats) | 4 | 1" × 2" × 13" |
| 2x2 boards (for legs) | 4 | 2" × 2" × 15" |
What to buy
Buy 3 boards at 8 ft.
2" × 2"
1 board
1" × 12"
1 board
1" × 2"
1 board
Assumes 8 ft stock, a 1/8" saw kerf, and buying each part at its own width. Change the board size or kerf on the full board plan →
Instructions
1Cut Your Wood
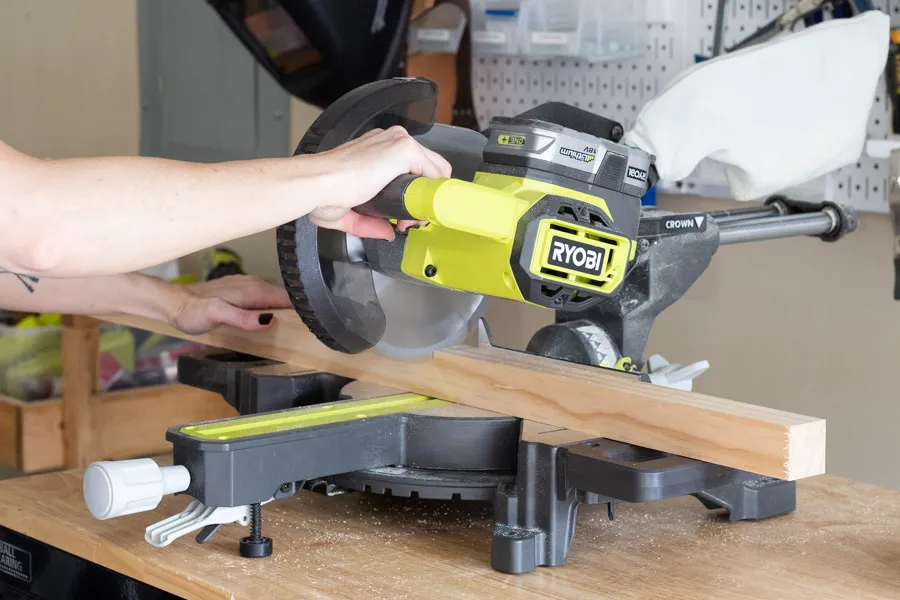
Cut your wood to the specified dimensions.
2Drill Pocket Holes
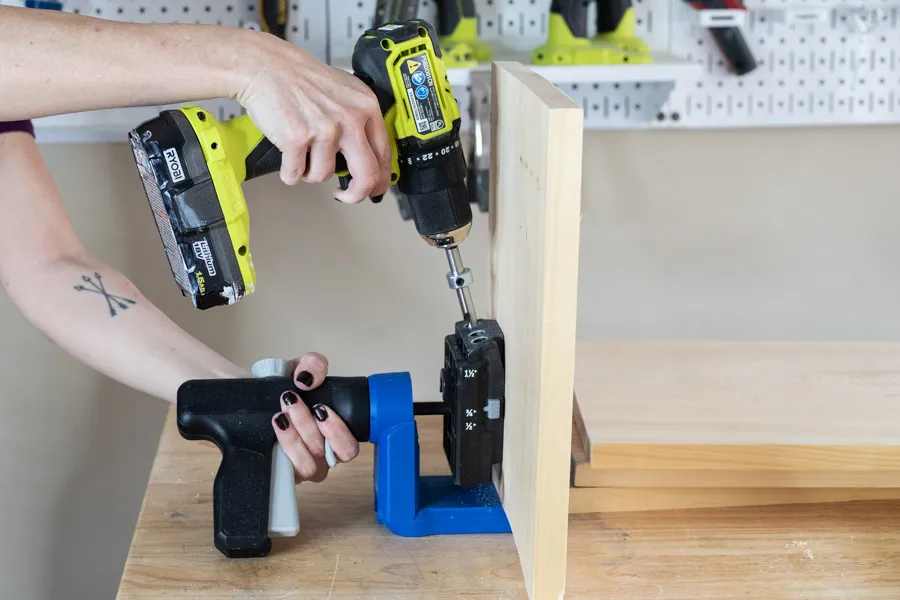
Drill 3 pocket holes along 2 parallel sides of each 1x12x12 boards, and 1 pocket hole at each end of the 1x2 pieces.
3Sand
Use a sanding block to sand edges smooth.
4Attach Legs to Front and Back
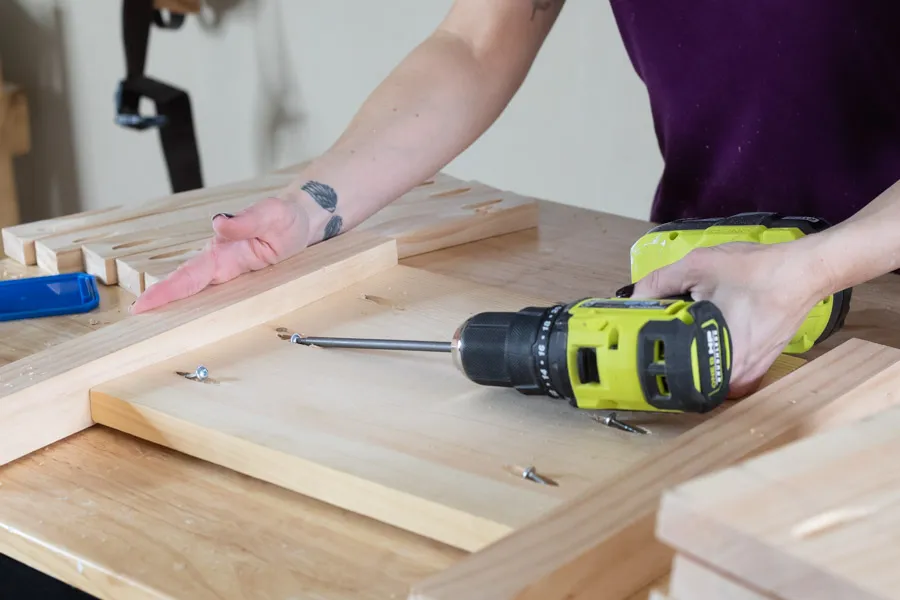
Using 1 1/4" pocket hole screws, attach 2 legs to one of the 1x12x12 pieces. Repeat. These will be the front and back of the planter.
5Attach Sides
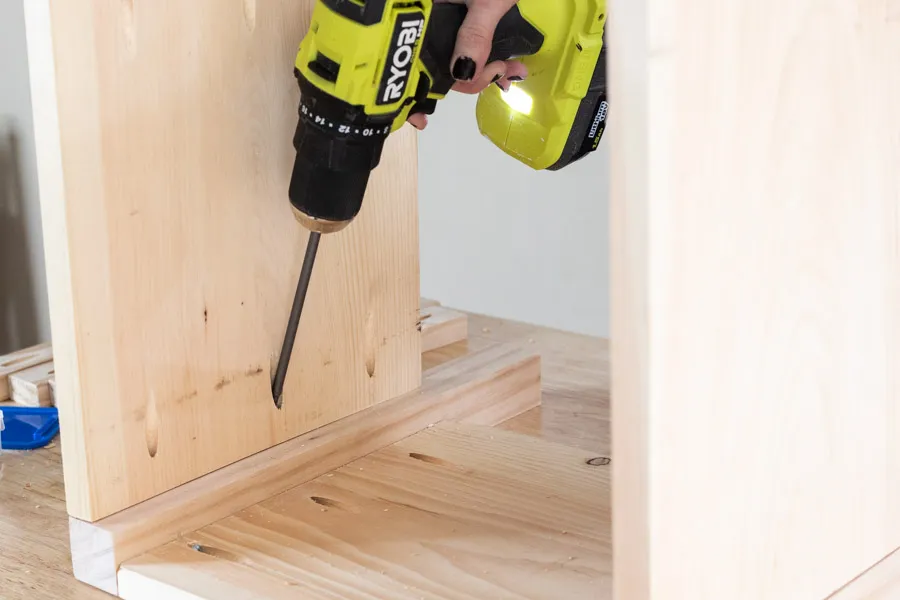
Attach remaining 1x12x12 pieces (the sides) to the front and back you assembled in the previous step.
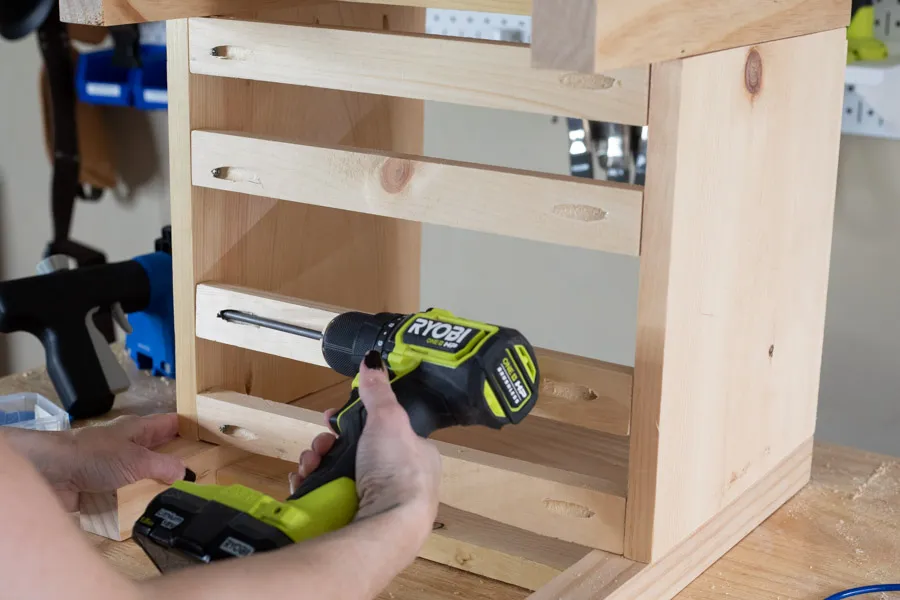
6Add Bottom Slats
Use 1 1/4" pocket hole screws to attach bottom slats (1x2 pieces). You can use a scrap piece of wood as a spacer or just eyeball it and try to space them as evenly as possible. It will not be visible so doesn't have to be perfect.
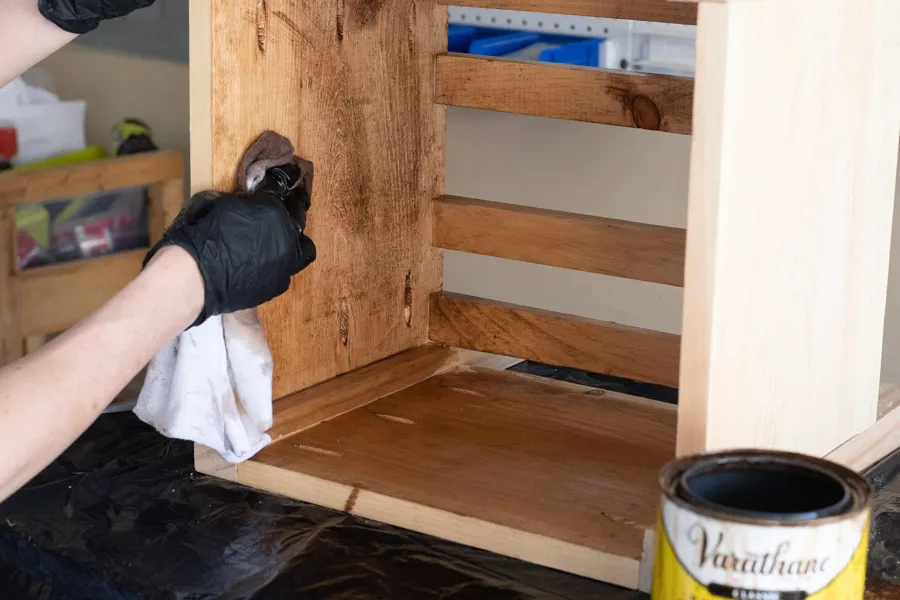
7Paint or Stain
Finish your planter with any paint or stain of your choice.
Tags
- Decor
- Beginner
Reviews & builds
No reviews yet
Sign in to review this plan or share your build.
No reviews yet. Be the first to build this.