 Notch
DIY Tabletop Planter Centerpiece
Step-by-step build — 6 steps. Also available as a print sheet.
1Drill pocket holes
On the under (smaller) side of the Base, drill two pocket holes on the short edges and four pocket holes on each of the long edges. On both of the angled edges of the Short Sides, drill two pocket holes.
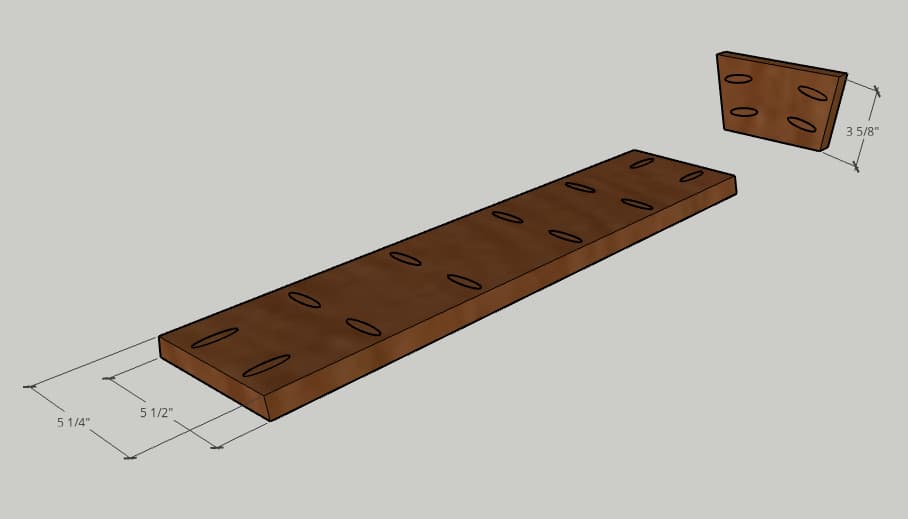
2Attach short sides
Using wood glue and pocket hole screws, attach the short edge of the Short Sides to the short ends of the Base. The 10 degree edges should line up with each other.
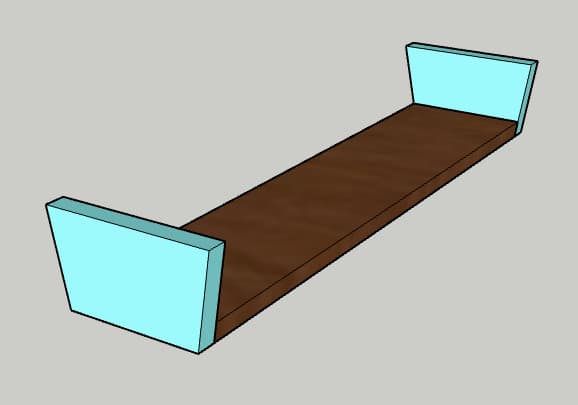
3Attach long sides
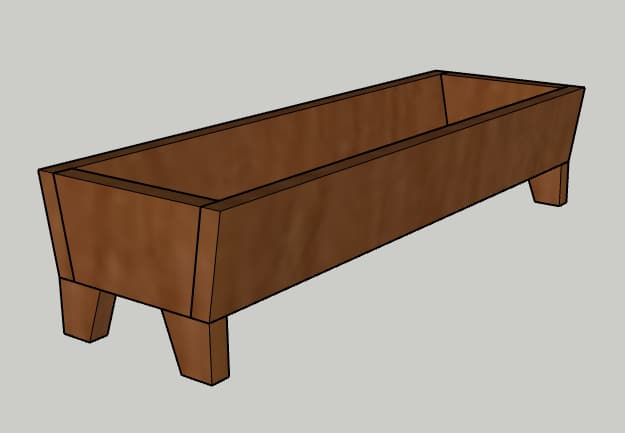
Using wood glue and pocket hole screws, attach the Long Sides to the Base and Short Sides. Make sure that the 10 degree angled edges line up with the others so that the sides are flat along the top and bottom.
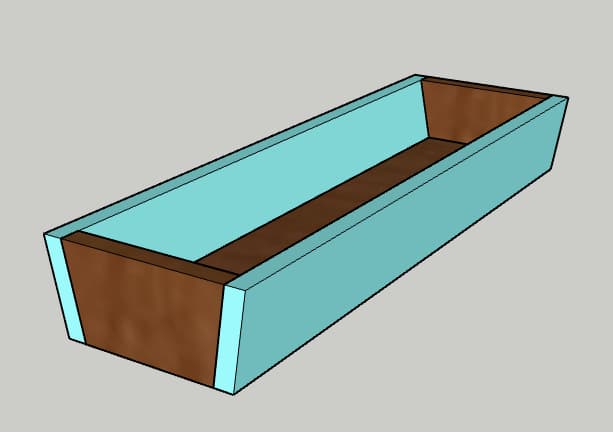
4Attach feet
Make a 20 degree angled cut on each of the Feet to taper down from 2" at the top to 1 1/4" on the bottom. Using wood glue and clamps, attach the Feet to the underside of the planter on each of the four corners.
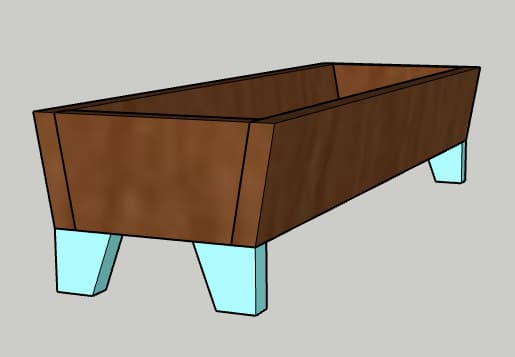
5Finishing touches
Use a router or router table to add a rounded edge to the inside and outside of the top of the planter. After sanding all remaining edges, add stain and sealant to match your decor. Fill with seasonal embellishments to add a festive look!
6Enjoy!
Enjoy your handiwork and tag @CharlestonCrafted on Instagram with a picture!