Notch
NotchUse your browser's Print (Ctrl/Cmd + P) and choose Save as PDF. This page works offline once you've opened it with a signal.
DIY Keepsake Gift Box
A handmade gift that will last.
- Difficulty
- Easy
- Time
- 3.3–6 hours
- Cost
- $$
Cut list
| Part | Qty | T × W × L | Material | ✓ |
|---|---|---|---|---|
| Side Pieces | 2 | 3/4" × 5" × 14" | — | ☐ |
| End Pieces | 2 | 3/4" × 4" × 8" | — | ☐ |
| Lid | 1 | 1/4" × 8" × 14" | — | ☐ |
| Bottom | 1 | 3/4" × 8" × 13" | — | ☐ |
Materials
| Item | Qty | ✓ |
|---|---|---|
| Board, 1x6 96" | 1 board | ☐ |
| Plywood, 1/4" Thick Scrap 8.5" x 14.5" | 1 board | ☐ |
| Pulls | 2 each | ☐ |
| 60 Grit Sandpaper | 1 each | ☐ |
| 120 Grit Sandpaper | 1 each | ☐ |
| Finish of Your Choice | 1 each | ☐ |
| Pack of 23ga Pin Nails | 1 each | ☐ |
Overall cost: $$. Lumber varies by region, species, and season, so we give a band rather than a figure.
Tools
- Brad Nailer
- Miter Saw
- Pocket Hole Jig
- Random Orbit Sander
- Table Saw
- Tape Measure — optional
Instructions
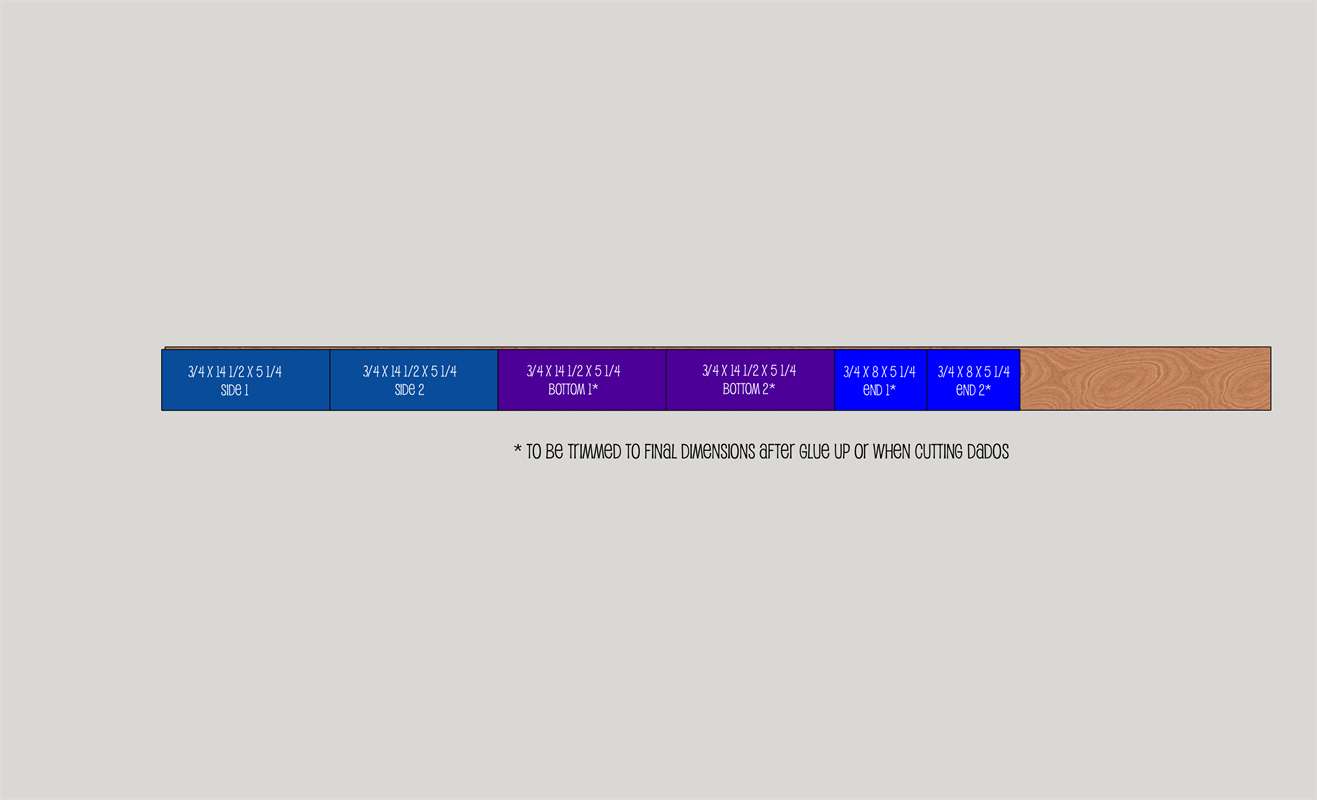
1. Cut & Rip Boards
Cut board to final pieces sizes using miter saw - SEE CUT LIST. Then rip ALL boards to 5 1/4" Wide. ***NOTE: Cut the top/lid at the same time as side pieces to ensure they are the same length - 14.5"
2. Glue Bottom Pieces Together
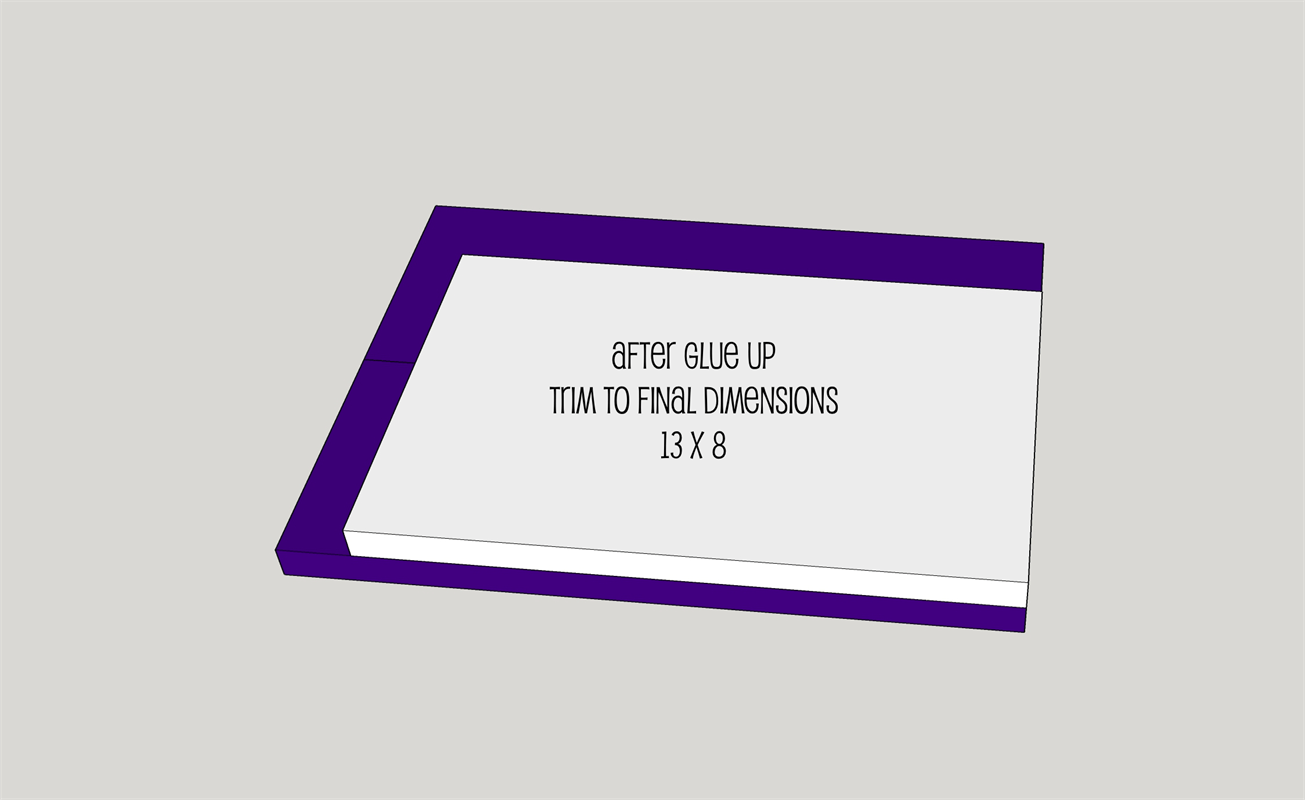
Glue and clamp two (2) of the 14.5" pieces together for the bottom. Set aside til dry. ***NOTE: This step is not necessary if making box out of plywood.
3. Rip Dado for Lid
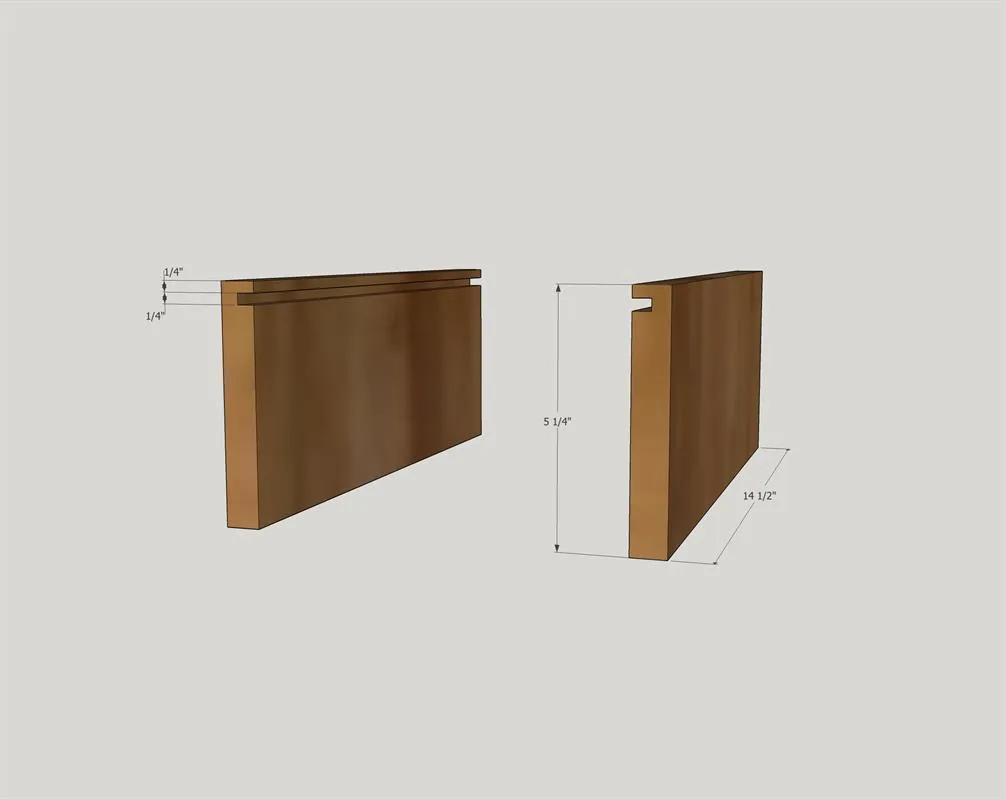
- Set table saw blade to 1/4" in height and set fence at 1/4". Run all four (4) side pieces thru.
- Then adjust fence to 3/8" and run the two (2) long (14.5") side pieces thru. This should give you a 1/4" dado for the lid to slide thru - verify it slides easily before moving on. Make any adjustments as necessary.
4. Trim End Pieces
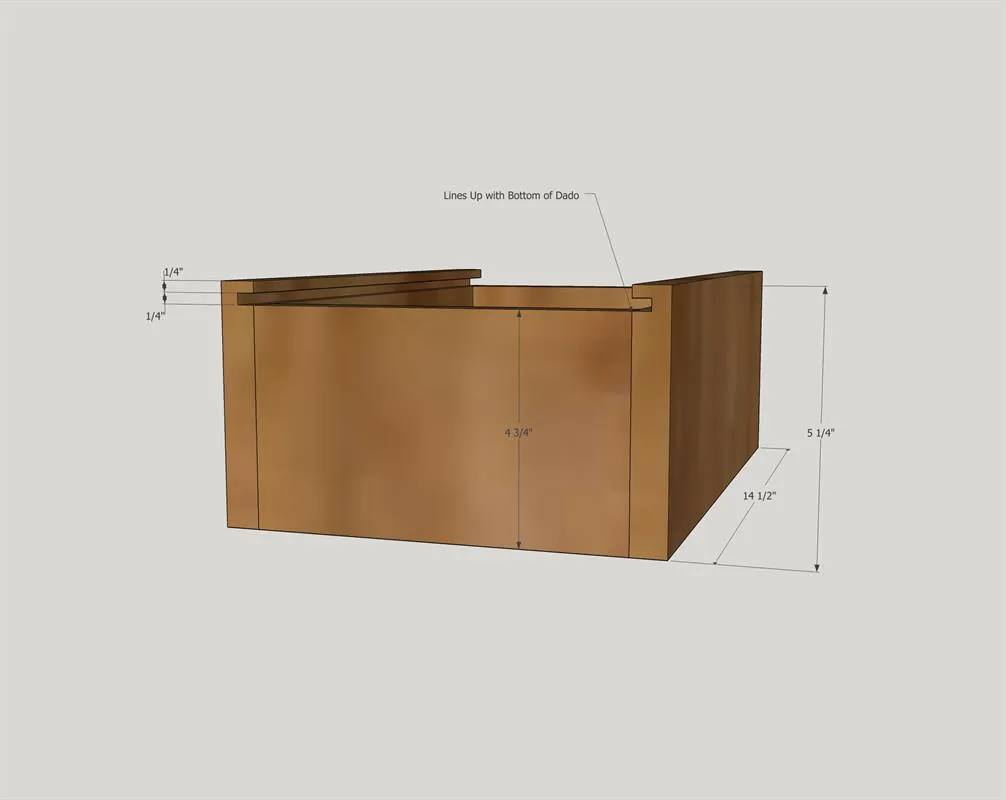
Raise table saw blade up to just cut thru the 3/4" material and then run the (2) end pieces thru. Be sure to use a push block or a micro jig to safely cut these pieces.
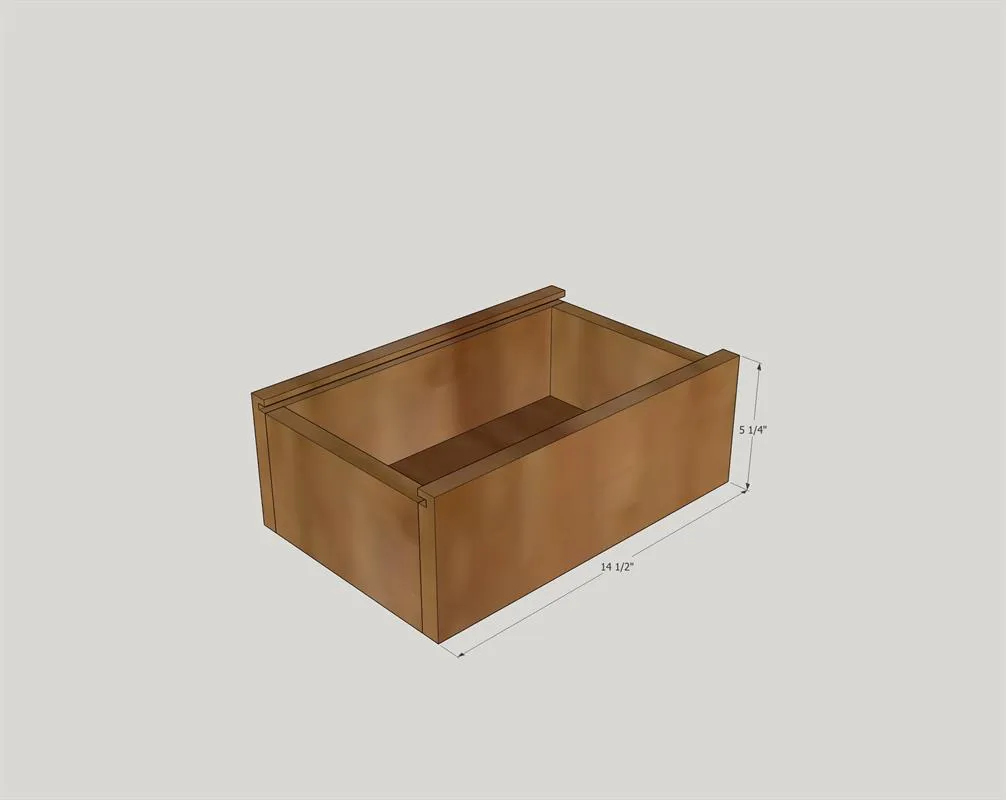
5. Assemble Box
Assemble box using wood glue and 23 ga pin nails 1 1/4" long. Use clamps if necessary to hold pieces together during assembly.
6. Rip Lid
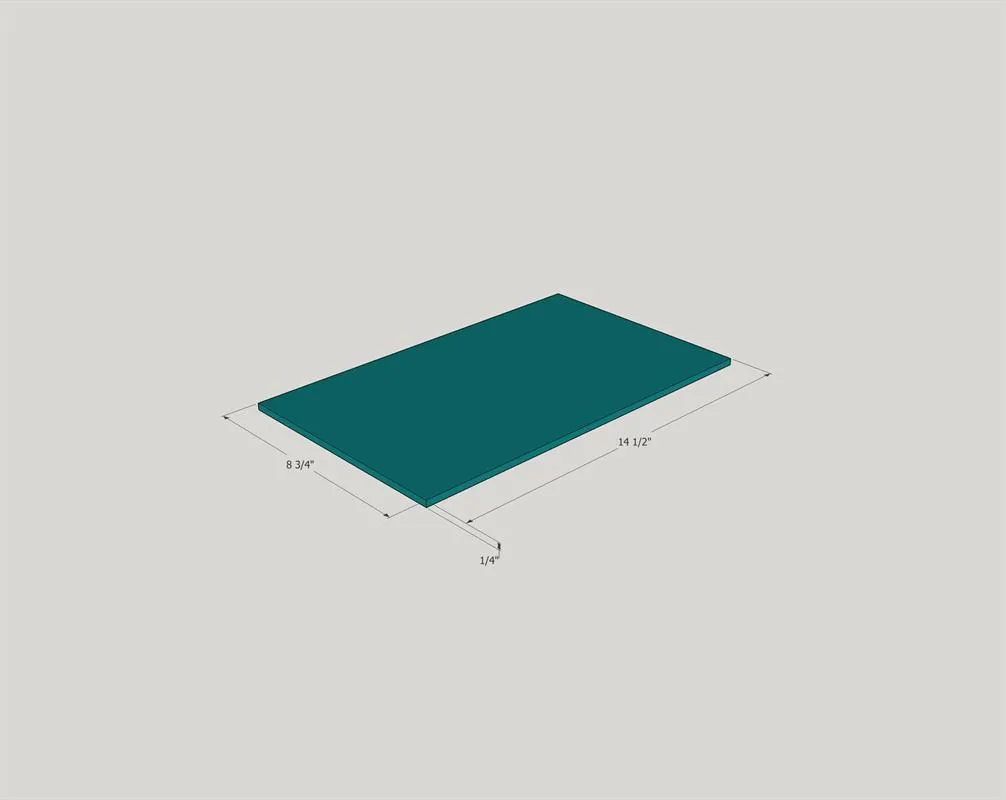
Rip lid to its final width. Should be approximately 8.5" Wide, but be sure to measure your box for exact measurements. ***Note: length of lid should have been cut at same time as the long side pieces to ensure same length.
7. Fill, Sand & Finish
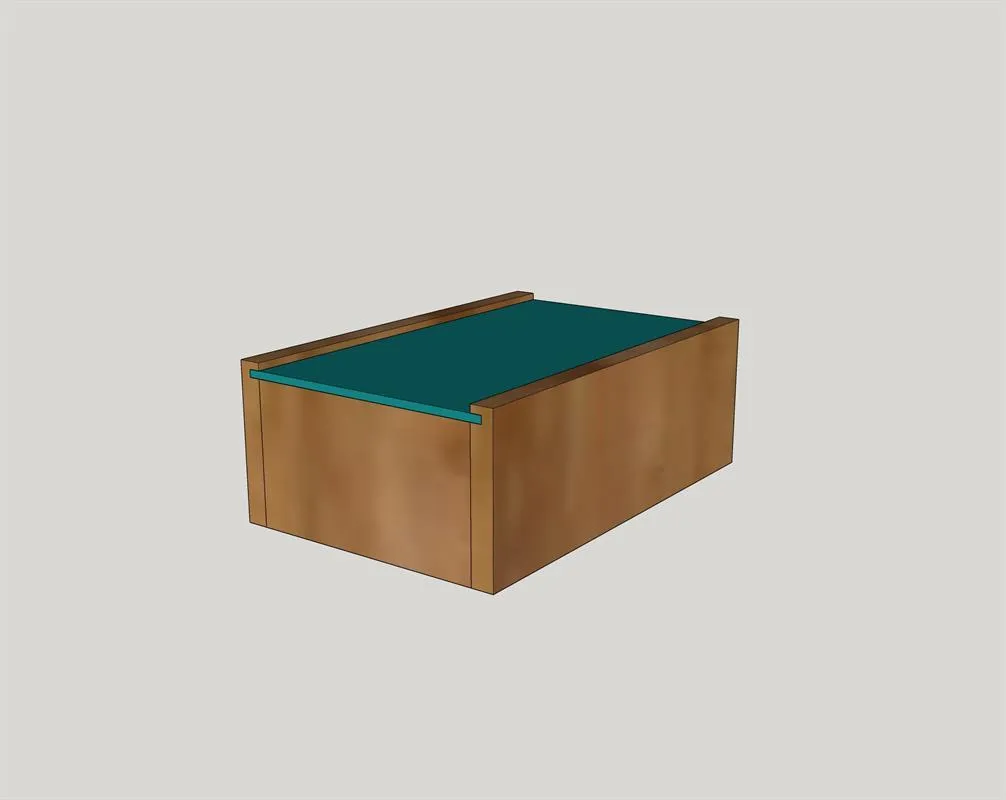
Fill any gaps with wood filler, sand to desired grit, and finish with you desired finish.
8. Install Hardware
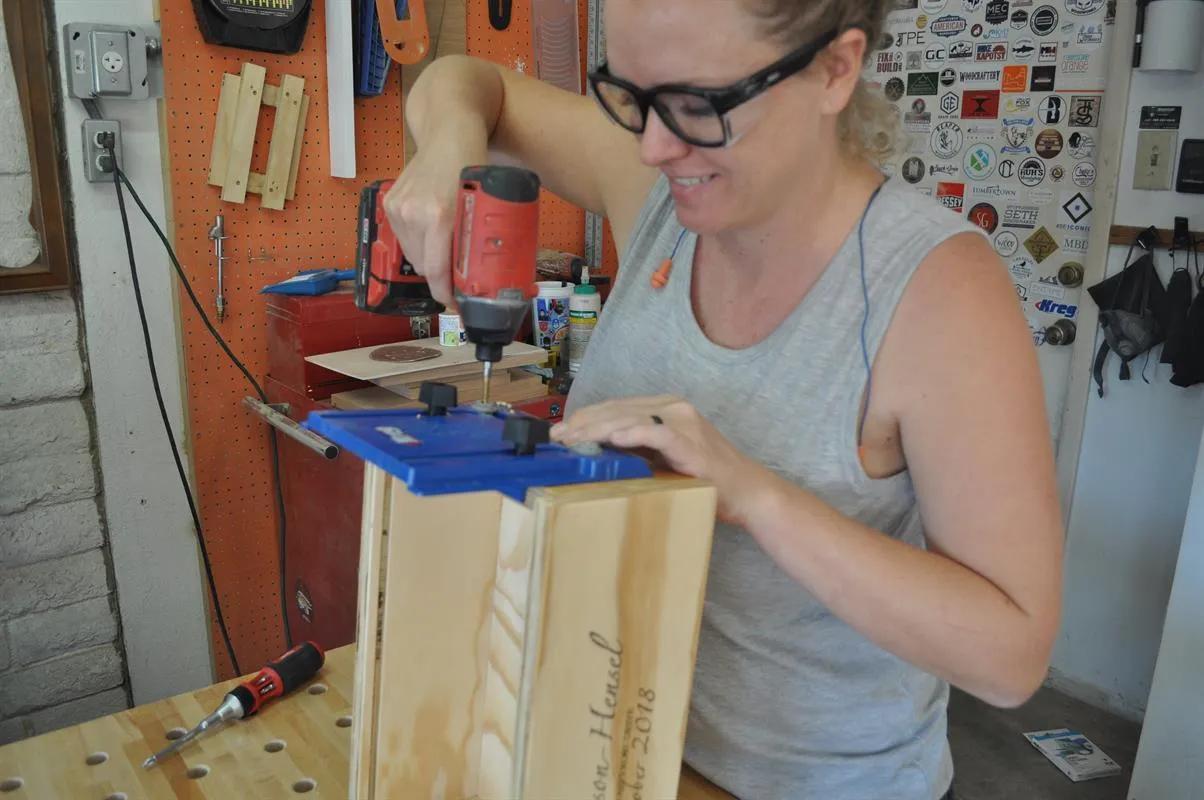
Using the Kreg Cabinet Hardware Jig drill holes for your desired pulls and install.
9. Add Lid & Embellish
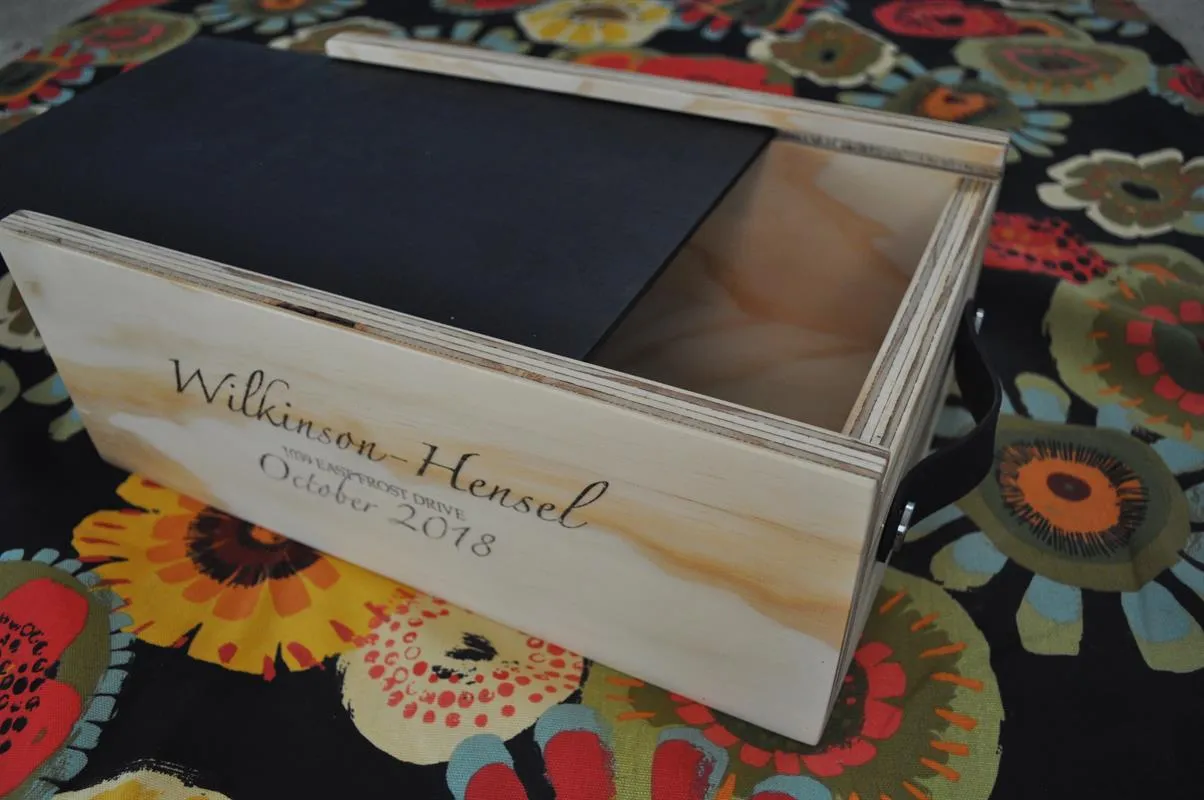
Insert lid and you have a finished DIY Keepsake Gift Box. You can engrave the box with a meaningful message, embellish with decorative details, or hand paint a message to make it extra special. Oh and the last step is to fill it with something special, like two bottles of wine, and give it to a loved one.
10. Visit www.theAwesomeOrange.com
Visit www.theAwesomeOrange.com for more pictures of this build and more ideas on how to embellish your DIY Keepsake Gift Box for your loved one!