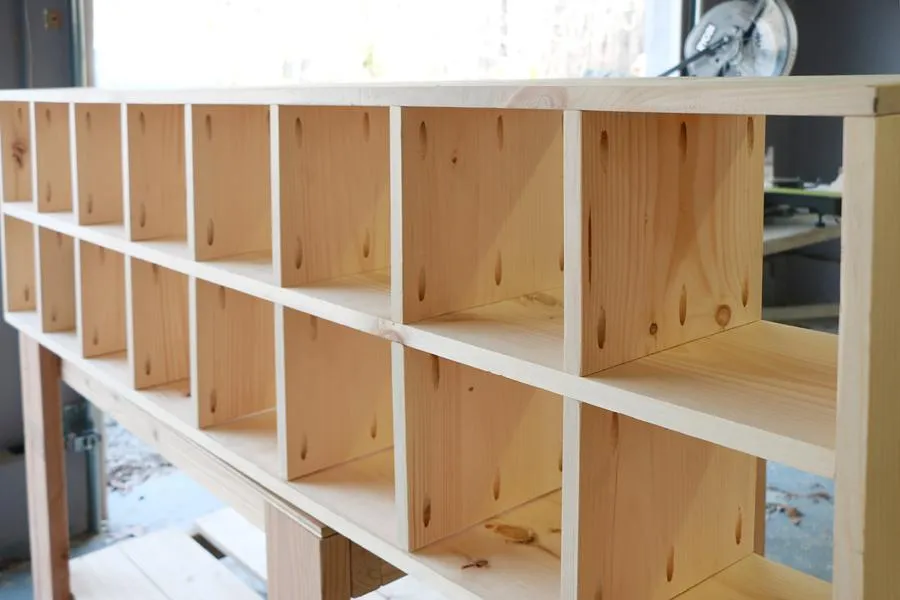
Notch
NotchDIY Cube Storage – Custom Cube Organizer
Step-by-step build — 8 steps. Also available as a print sheet.
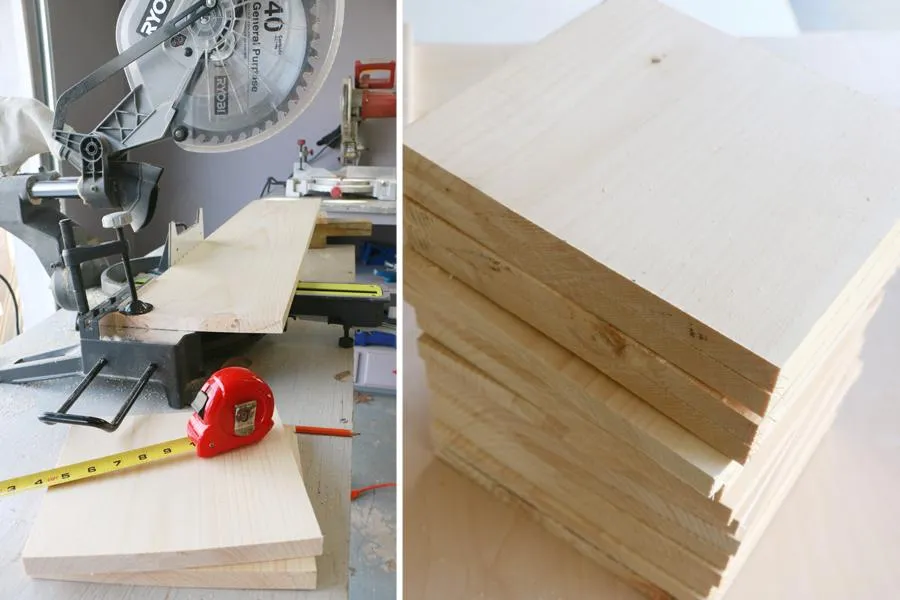
1Cut Wood To Size
Follow the cut list to get all pieces to size using a miter saw, then sand any rough edges. An optional (and slightly cheaper but more difficult) alternative to 1"x10"x8' boards is to cut pieces from a 3/4"x4'x8' sheet.
2Drill Pocket Holes & Mark Lines
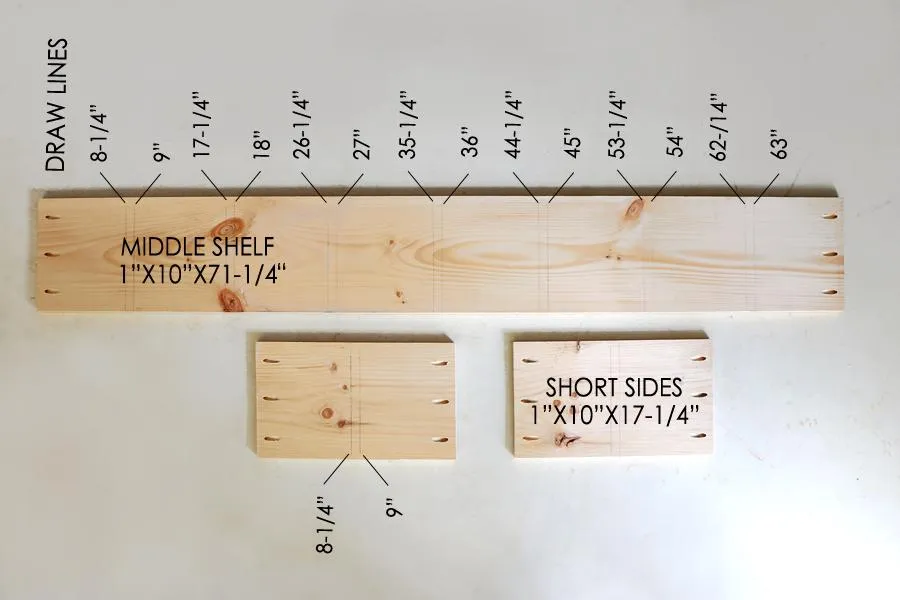
- Drill three pocket holes into either end of the Middle Shelf (1"x10"71-1/4"), and the two Short Side boards (1"x10"x17-1/4"). Draw lines where the shelves will be placed at the intervals pictured (equates to 8-1/4" intervals with 3/4" between).
- Place lines on the back and front of the middle shelf, and one side of each short side board.
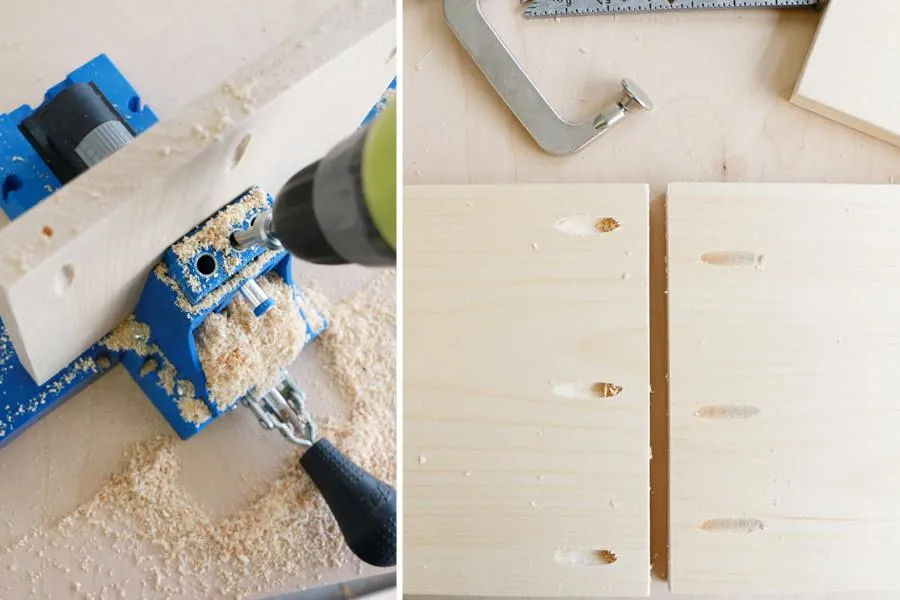
3Drill Pocket Holes in Shelves
Next drill three pocket holes into either end of each 1"x10"x8-1/4" shelf. 7 shelves should have consistent pocket holes in the center and edges, the next 7 shelves should be staggered so that the holes are just off center from the first set of 7 pocket holes. This is so screws don't overlap and hit each other.
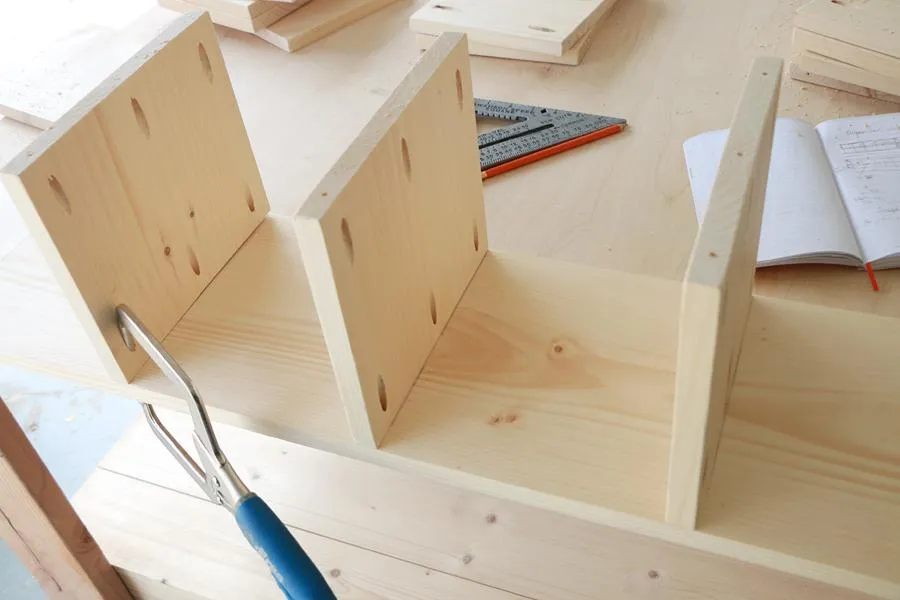
4Attach the first 7 Shelves
Attach the first seven 8-1/4" shelves to the 71-1/4" middle shelf. Use the guide lines you drew.
5Attach the Next 7 Shelves
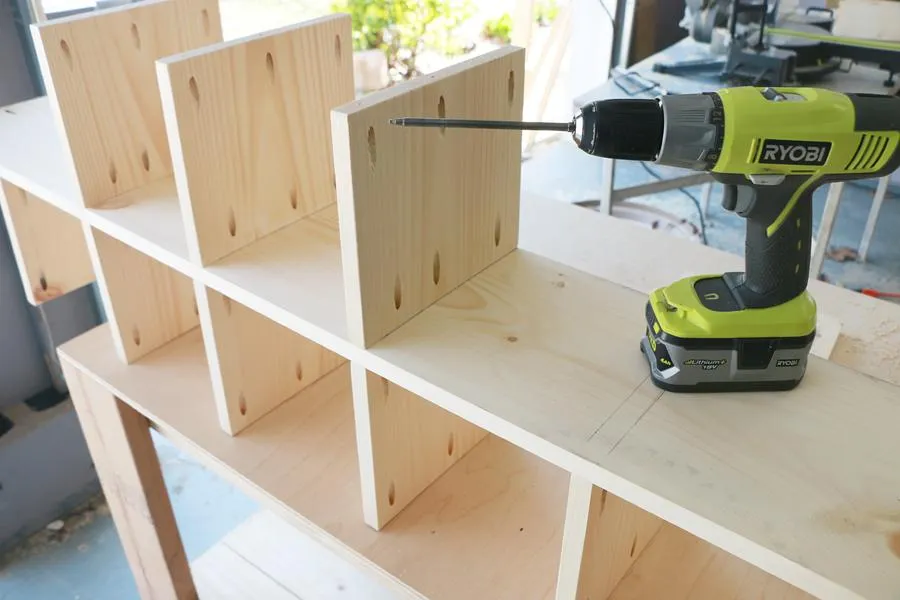
- Flip over the middle shelf piece you just worked on.
- Attach the next seven 8-1/4" shelves (the ones with off-set pocket holes) to the opposite side of the 71-1/4" middle shelf, using the guide lines you drew. Use the longer 1-1/4" Kreg screws for this step...this is why it is important that the pocket holes don't line up, you don't want screws running into each other.
6Attach Short Sides
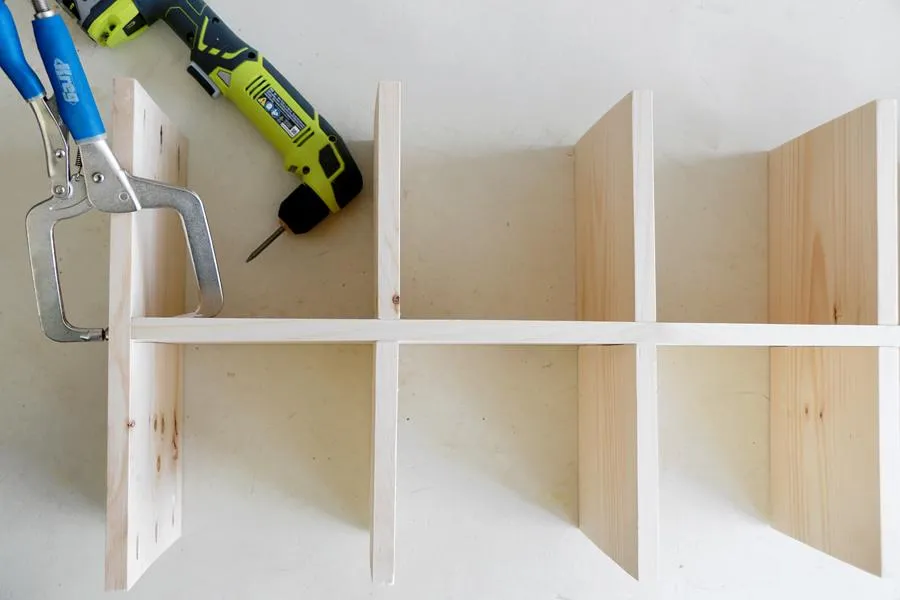
Attach the two short sides (1"x10"x17-1/4")to either end of the unit you have been building. Use the guide lines to center the pieces.
7Attach Long Side
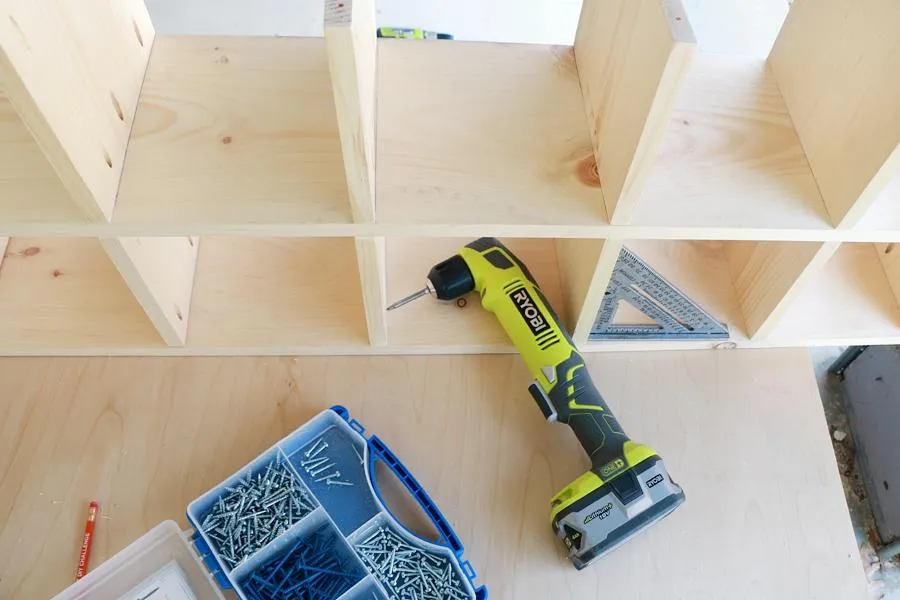
In order to attach the long sides (1"x10"72-3/4") place it on a flat work surface and place the unit you just assembled on top. Using a right angle screw driver attach both outside ends first, then use a square to ensure each 8-14" shelf is straight and attach those to the long side board below.
8Attach Final Long Side
- Place the final long side on a flat work surface, and just as before place the unit atop.
- Attach via either end first, then the 8-14" shelves. Optionally fill holes and paint or stain.