 Notch
- Difficulty
- Easy
- Time
- 2.8–5 hours
- Cost
- $$
About this build
Use these simple plans to create a custom Cube Organizer, or follow these dimensions exactly and pair with my DIY Storage Box for a campaign styled furniture piece(link to tutorial found under "extras" tab)! Use this furniture piece horizontally as a shoe cubby, or even attach legs for a side board!
Tools
Essential
- Drill / Driver
- Miter Saw
- Pocket Hole Jig
- Random Orbit Sander
Optional / nice to have
- Bar / Pipe Clamps
- Combination Square
- Tape Measure
Materials
| Item | Qty |
|---|---|
| Board, 1x10 96" | 4 board |
| 1" Kreg Screws | 81 each |
| 1-1/4" Kreg Screws | 21 each |
| Wood Filler | 1 each |
| Stain + Sealer | 1 each |
Overall cost: $$. Lumber prices vary by region, species, and season, so we give a band rather than a figure we would only be pretending to know.
Cut list
| Part | Qty | T × W × L |
|---|---|---|
| Long Sides | 2 | 1" × 10" × 72 3/4" |
| Middle Shelf | 1 | 1" × 10" × 71 1/4" |
| Short Sides | 2 | 1" × 10" × 17 1/4" |
| Shelves | 14 | 1" × 8 1/4" × 10" |
What to buy
Buy 5 boards at 8 ft.
1" × 10"
3 boards
1" × 8 1/4"
2 boards
Assumes 8 ft stock, a 1/8" saw kerf, and buying each part at its own width. Change the board size or kerf on the full board plan →
Instructions
1Cut Wood To Size
Follow the cut list to get all pieces to size using a miter saw, then sand any rough edges. An optional (and slightly cheaper but more difficult) alternative to 1"x10"x8' boards is to cut pieces from a 3/4"x4'x8' sheet.
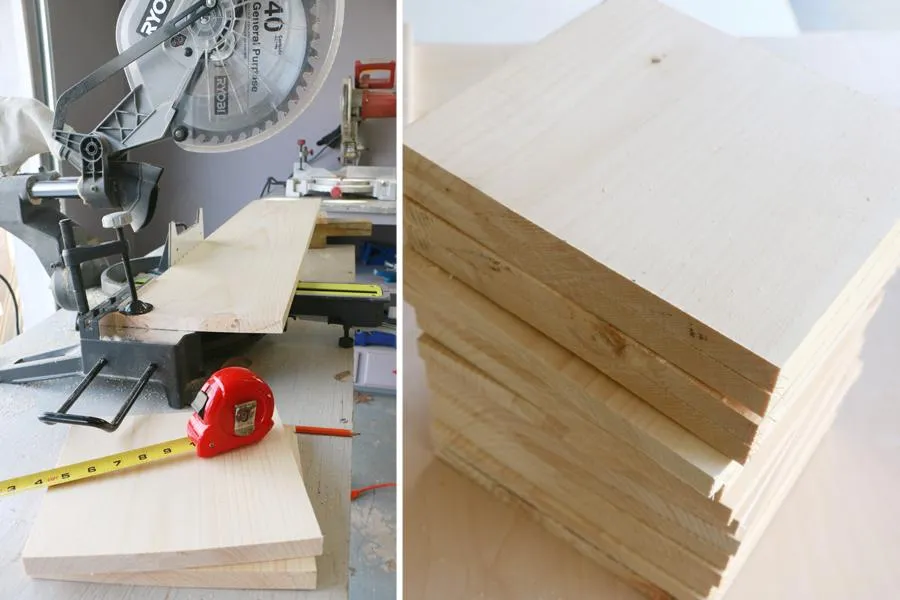
2Drill Pocket Holes & Mark Lines
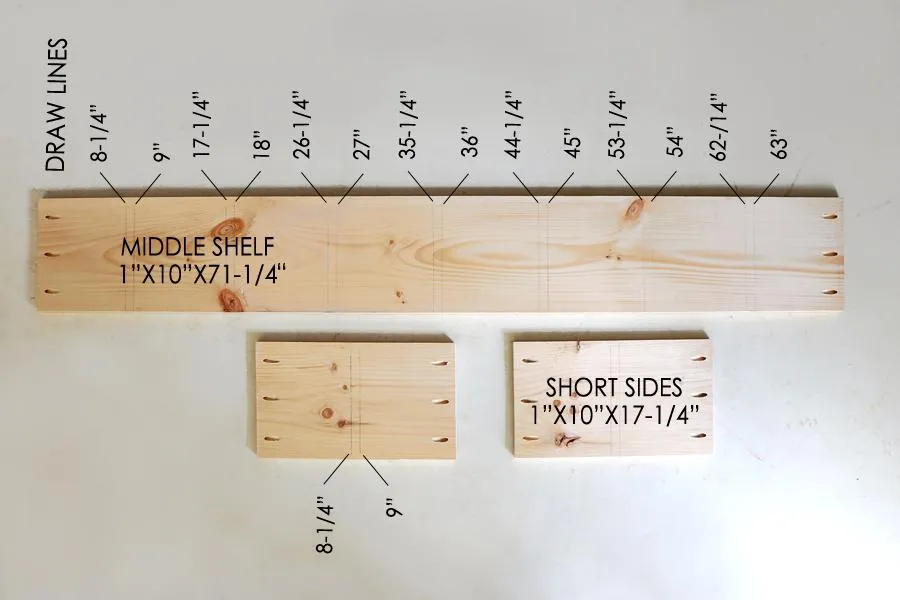
- Drill three pocket holes into either end of the Middle Shelf (1"x10"71-1/4"), and the two Short Side boards (1"x10"x17-1/4"). Draw lines where the shelves will be placed at the intervals pictured (equates to 8-1/4" intervals with 3/4" between).
- Place lines on the back and front of the middle shelf, and one side of each short side board.
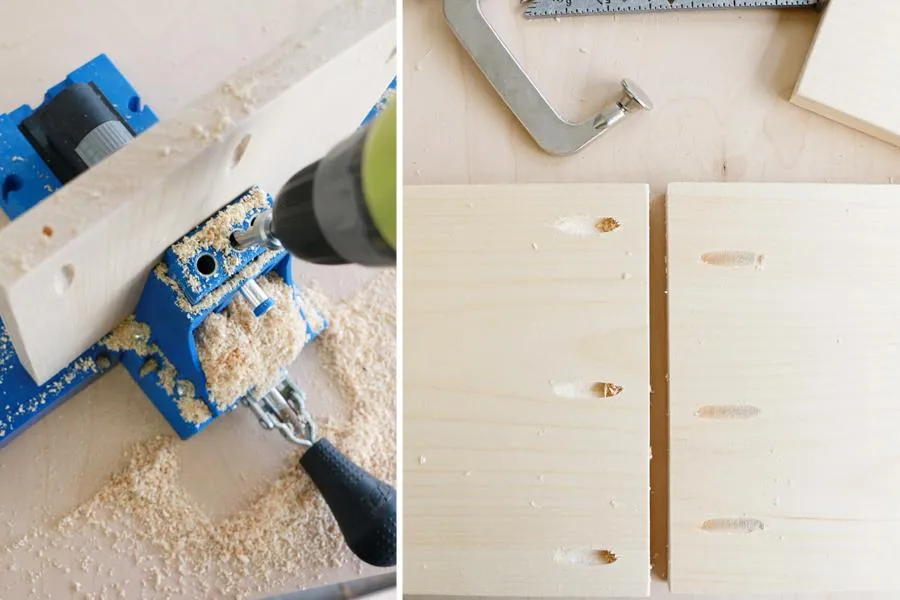
3Drill Pocket Holes in Shelves
Next drill three pocket holes into either end of each 1"x10"x8-1/4" shelf. 7 shelves should have consistent pocket holes in the center and edges, the next 7 shelves should be staggered so that the holes are just off center from the first set of 7 pocket holes. This is so screws don't overlap and hit each other.
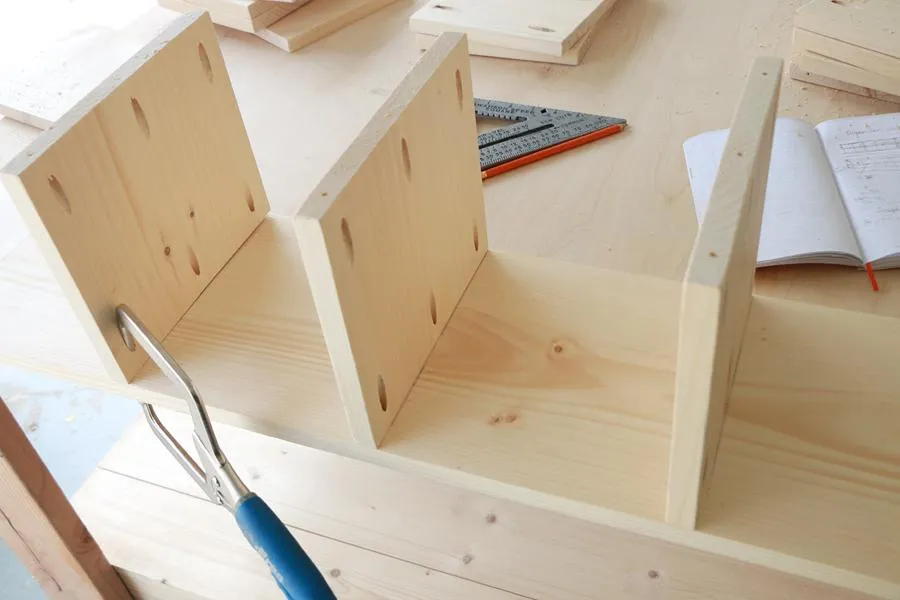
4Attach the first 7 Shelves
Attach the first seven 8-1/4" shelves to the 71-1/4" middle shelf. Use the guide lines you drew.
5Attach the Next 7 Shelves
- Flip over the middle shelf piece you just worked on.
- Attach the next seven 8-1/4" shelves (the ones with off-set pocket holes) to the opposite side of the 71-1/4" middle shelf, using the guide lines you drew. Use the longer 1-1/4" Kreg screws for this step...this is why it is important that the pocket holes don't line up, you don't want screws running into each other.
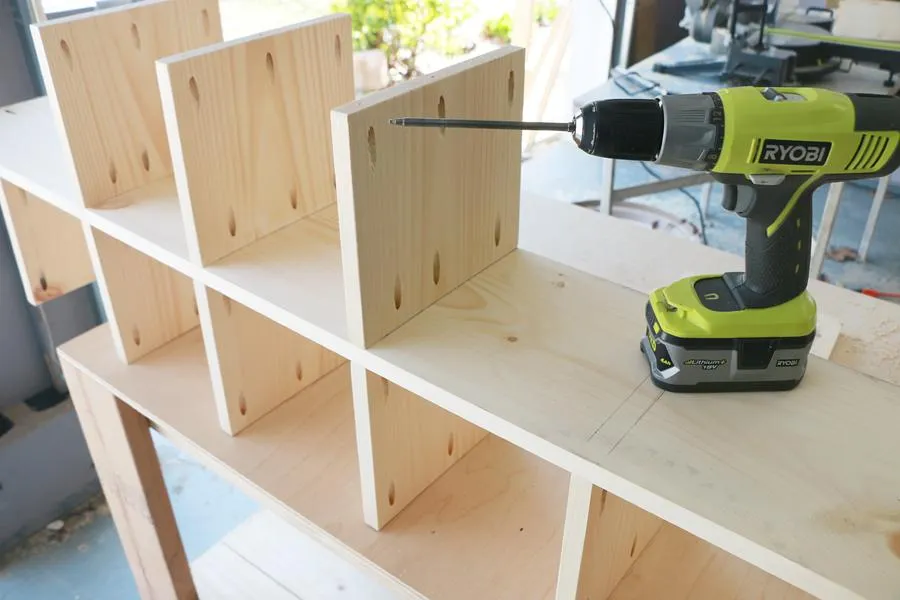
6Attach Short Sides
Attach the two short sides (1"x10"x17-1/4")to either end of the unit you have been building. Use the guide lines to center the pieces.
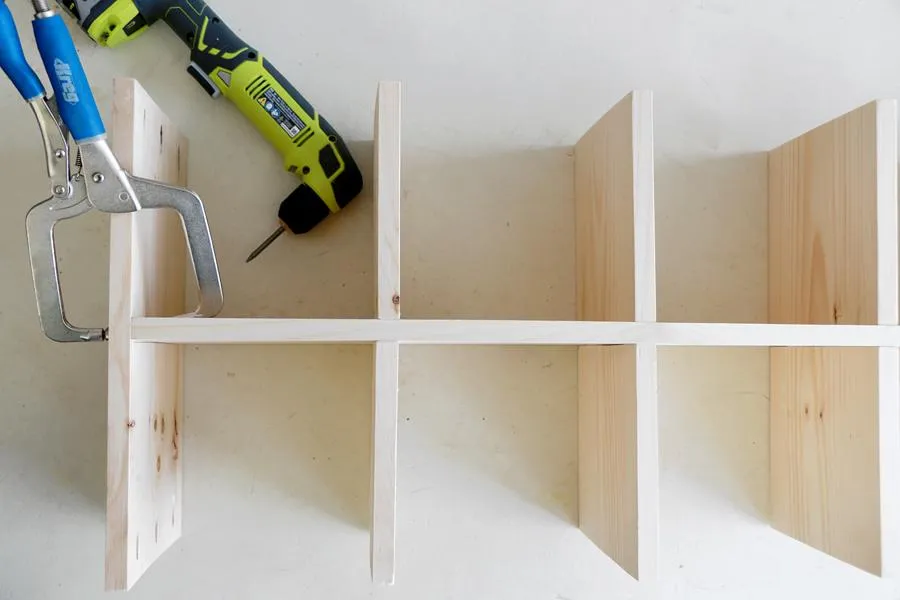
7Attach Long Side
In order to attach the long sides (1"x10"72-3/4") place it on a flat work surface and place the unit you just assembled on top. Using a right angle screw driver attach both outside ends first, then use a square to ensure each 8-14" shelf is straight and attach those to the long side board below.
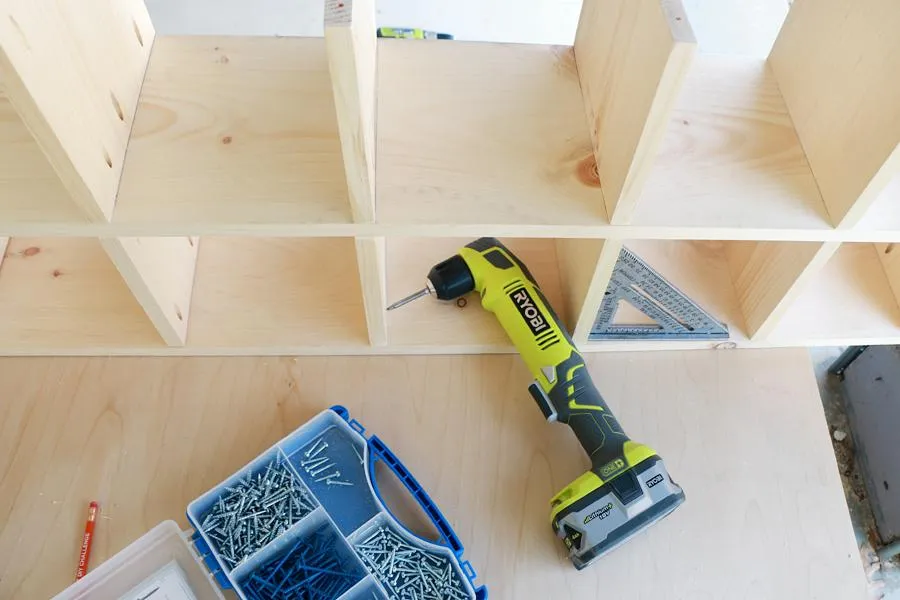
8Attach Final Long Side
- Place the final long side on a flat work surface, and just as before place the unit atop.
- Attach via either end first, then the 8-14" shelves. Optionally fill holes and paint or stain.
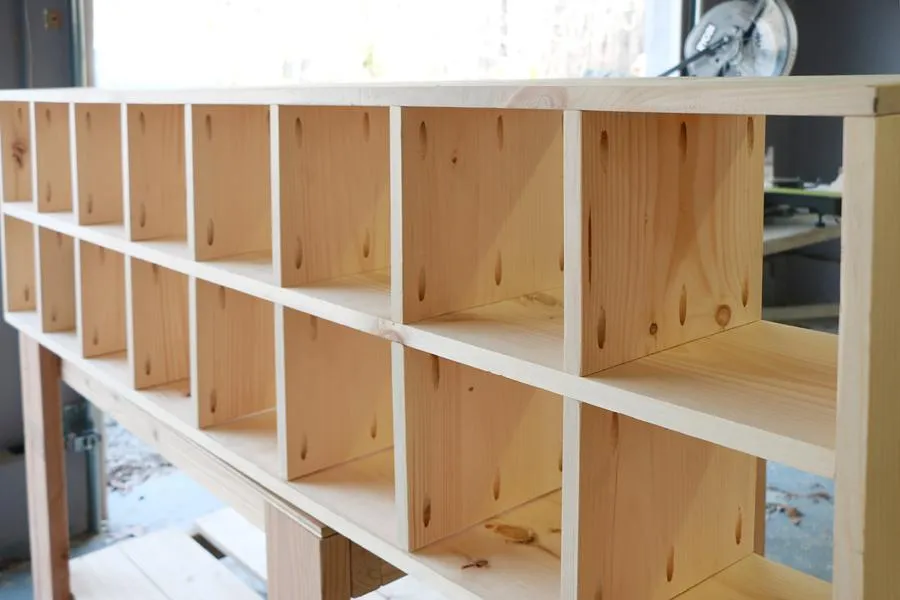
Tags
- Shelves
- Beginner
Reviews & builds
No reviews yet
Sign in to review this plan or share your build.
No reviews yet. Be the first to build this.