Notch
NotchUse your browser's Print (Ctrl/Cmd + P) and choose Save as PDF. This page works offline once you've opened it with a signal.
Christmas Village Stocking Hangers
This is a quick and easy build.
- Difficulty
- Easy
- Time
- 2.3–4 hours
- Cost
- $$
Cut list
| Part | Qty | T × W × L | Material | ✓ |
|---|---|---|---|---|
| Base | 6 | 1" × 6" × 6" | — | ☐ |
| Houses | 4 | 1" × 6" × 10" | — | ☐ |
| Houses | 1 | 1" × 6" × 6" | — | ☐ |
| Houses | 1 | 1" × 6" × 8" | — | ☐ |
Materials
| Item | Qty | ✓ |
|---|---|---|
| 1 x 6 board, 96” x 1" x 6" | 1 board | ☐ |
| Box of 1 ¼” Pocket Hole Screws (See tools list) | 1 each | ☐ |
| 2” nails or screws (I used horseshoe nails) | 6 each | ☐ |
| Wood Glue | 1 each | ☐ |
| Measuring Tape | 1 each | ☐ |
| Choice of Sandpaper, Stain or Paint, Polyurethane | 1 each | ☐ |
| Eye & Ear protection and other safety gear | 1 each | ☐ |
Overall cost: $$. Lumber varies by region, species, and season, so we give a band rather than a figure.
Tools
- Drill / Driver
- Hammer
- Jigsaw
- Pocket Hole Jig
Instructions
1. Purchase a 1x6 board
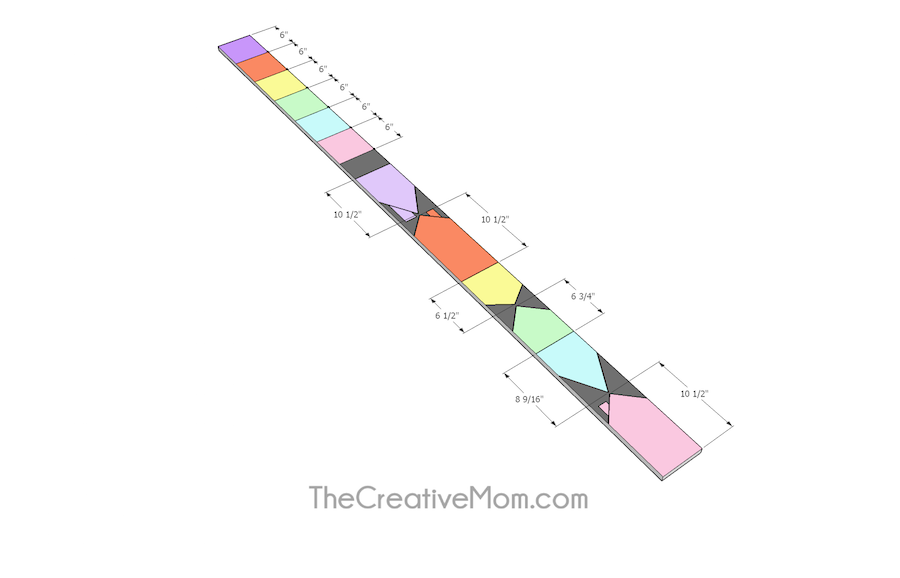
Make sure you get a nice, straight board, without many knots. Trace the included templates onto the board, or draw them yourself. You’ll also need 1- 6” board as a base for each Christmas house. The plans call for 6 houses and 6 bases per board.
2. Prep
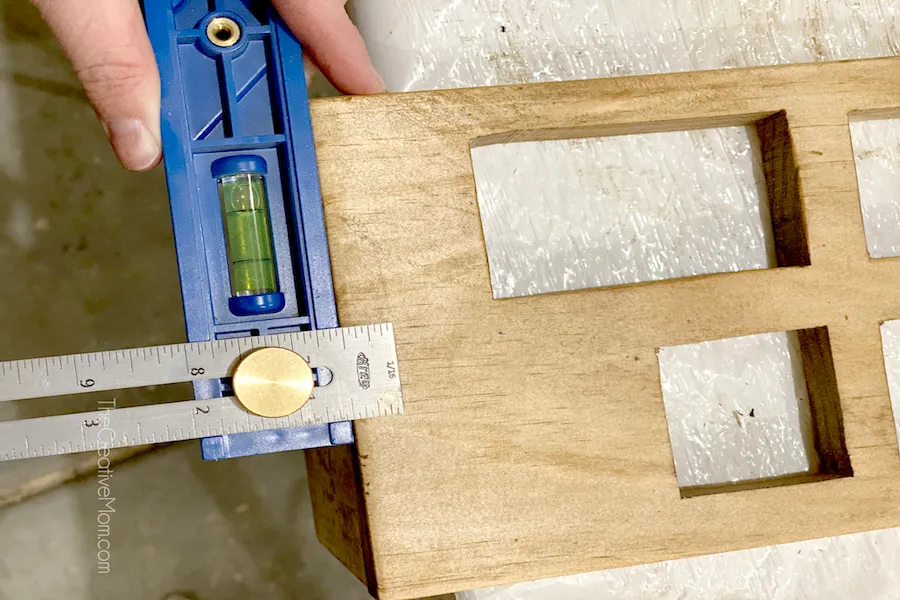
- I used my Multimark to mark make sure my lines were straight and even.
- Then I marked where I wanted my nail to be for hanging the stockings. Use a scroll saw or jig saw to cut out your houses.
- Drill a small pilot hole for the nail.
3. Drill & Stain
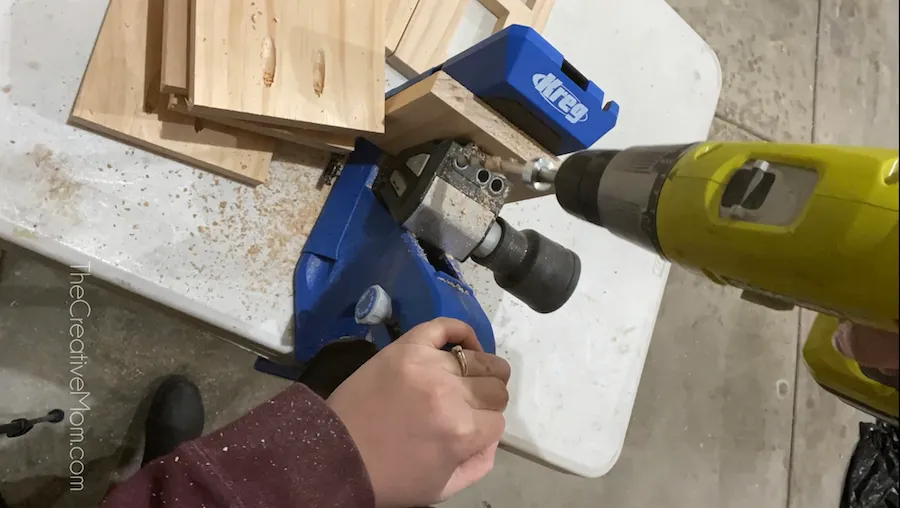
Drill pocket holes in the 6” bases. Sand, then stain or paint all of your pieces.
4. Attach Base to House
Use 1 ¼” pocket hole screws and wood glue to attach your 6” base pieces to the backside of your house.
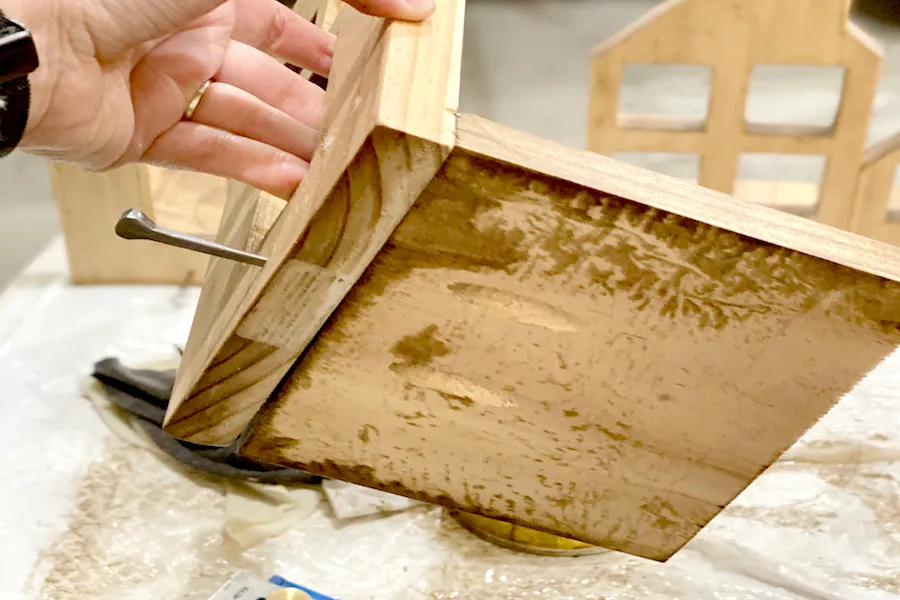
5. Insert Stocking Hanger
Drive a cute screw or nail into your pilot hole. This is what you will hang your stocking on. I used a 2” horseshoe nail.
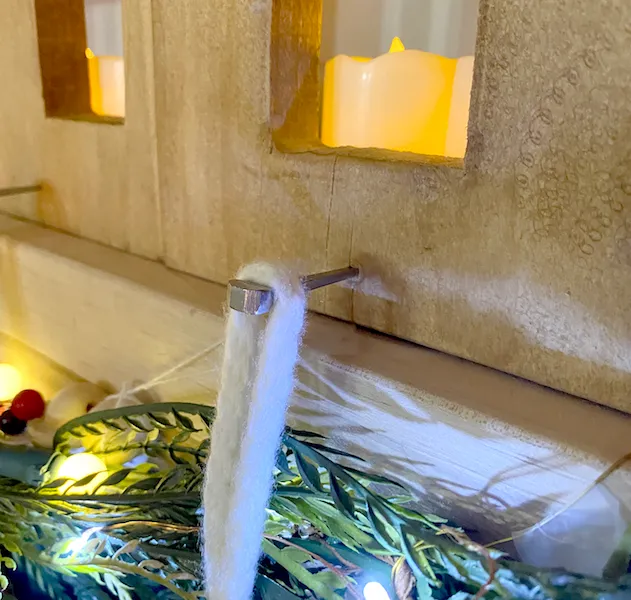
6. Decorate
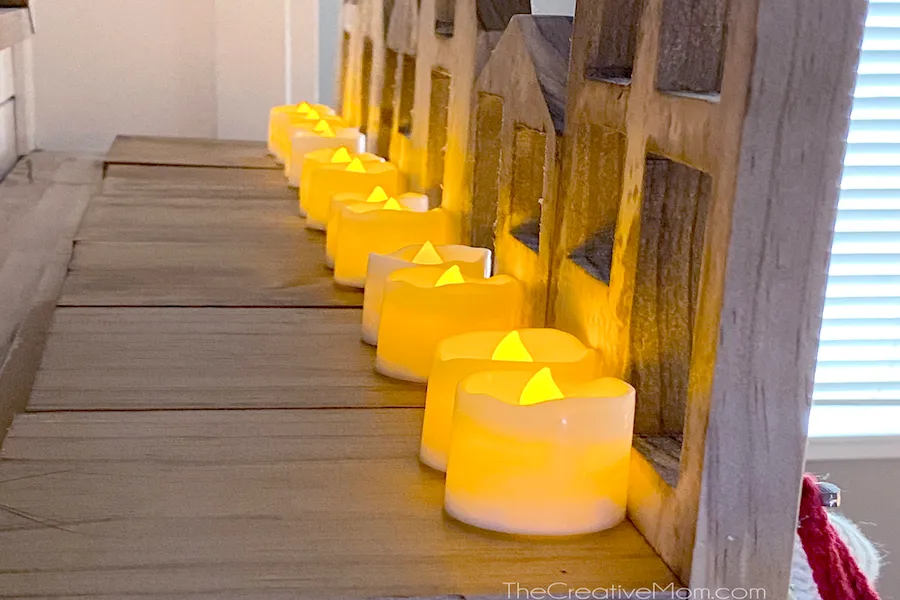
Place on your mantle. You can add tea light candles or a strand of twinkle lights behind the houses, so the light glows through your windows. I recommend using battery operated lights, just in case one gets knocked over.