 Notch
- Difficulty
- Easy
- Time
- 2.3–4 hours
- Cost
- $$
About this build
This is a quick and easy build. These stocking hangers would make a great gift, or an addition to your holiday decor. You can make 6 stocking hangers from one 8 foot 1x6 board, which you can find at most home improvement stores. You could even use scrap wood to build these houses, as they can be customized to fit whatever size of wood you have handy. This project is perfect for a beginner woodworker.
Tools
Essential
- Drill / Driver
- Hammer
- Jigsaw
- Pocket Hole Jig
Materials
| Item | Qty |
|---|---|
| 1 x 6 board, 96” x 1" x 6" | 1 board |
| Box of 1 ¼” Pocket Hole Screws (See tools list) | 1 each |
| 2” nails or screws (I used horseshoe nails) | 6 each |
| Wood Glue | 1 each |
| Measuring Tape | 1 each |
| Choice of Sandpaper, Stain or Paint, Polyurethane | 1 each |
| Eye & Ear protection and other safety gear | 1 each |
Overall cost: $$. Lumber prices vary by region, species, and season, so we give a band rather than a figure we would only be pretending to know.
Cut list
| Part | Qty | T × W × L |
|---|---|---|
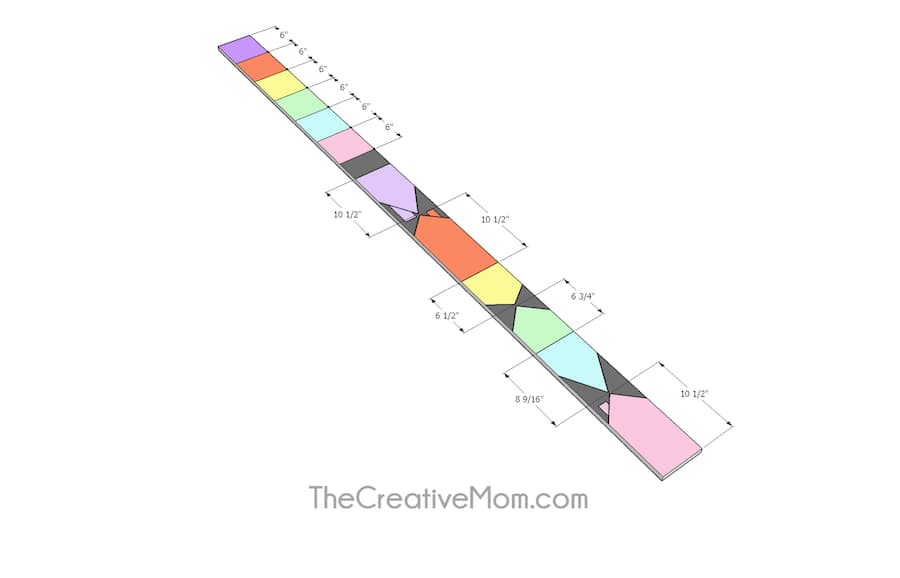
| Base | 6 | 1" × 6" × 6" |
| Houses | 4 | 1" × 6" × 10" |
| Houses | 1 | 1" × 6" × 6" |
| Houses | 1 | 1" × 6" × 8" |
What to buy
Buy 1 board at 8 ft.
1" × 6"
1 board
Assumes 8 ft stock, a 1/8" saw kerf, and buying each part at its own width. Change the board size or kerf on the full board plan →
Instructions
1Purchase a 1x6 board
Make sure you get a nice, straight board, without many knots. Trace the included templates onto the board, or draw them yourself. You’ll also need 1- 6” board as a base for each Christmas house. The plans call for 6 houses and 6 bases per board.
2Prep
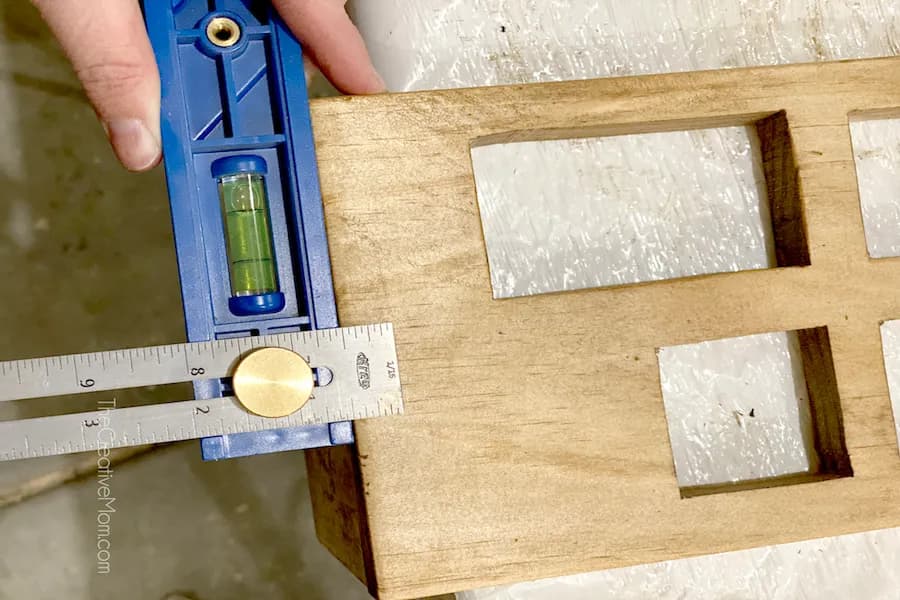
- I used my Multimark to mark make sure my lines were straight and even.
- Then I marked where I wanted my nail to be for hanging the stockings. Use a scroll saw or jig saw to cut out your houses.
- Drill a small pilot hole for the nail.
3Drill & Stain
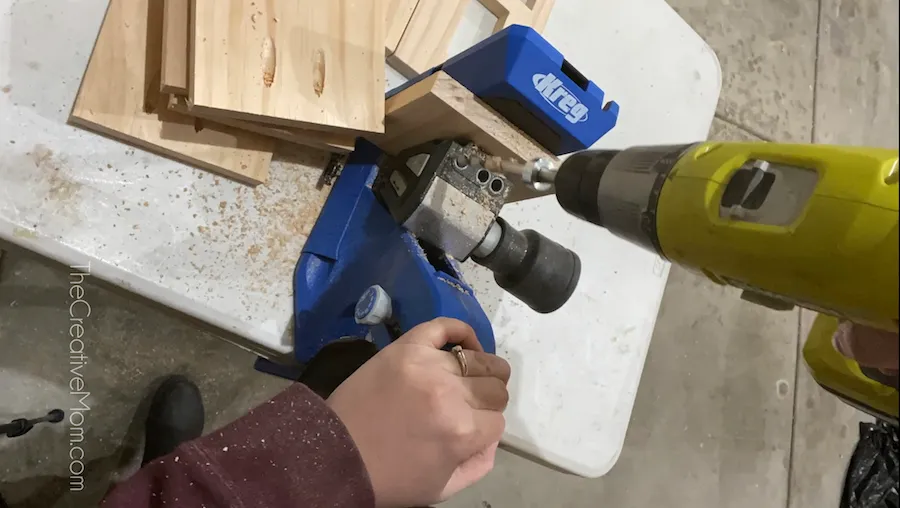
Drill pocket holes in the 6” bases. Sand, then stain or paint all of your pieces.
4Attach Base to House
Use 1 ¼” pocket hole screws and wood glue to attach your 6” base pieces to the backside of your house.
5Insert Stocking Hanger
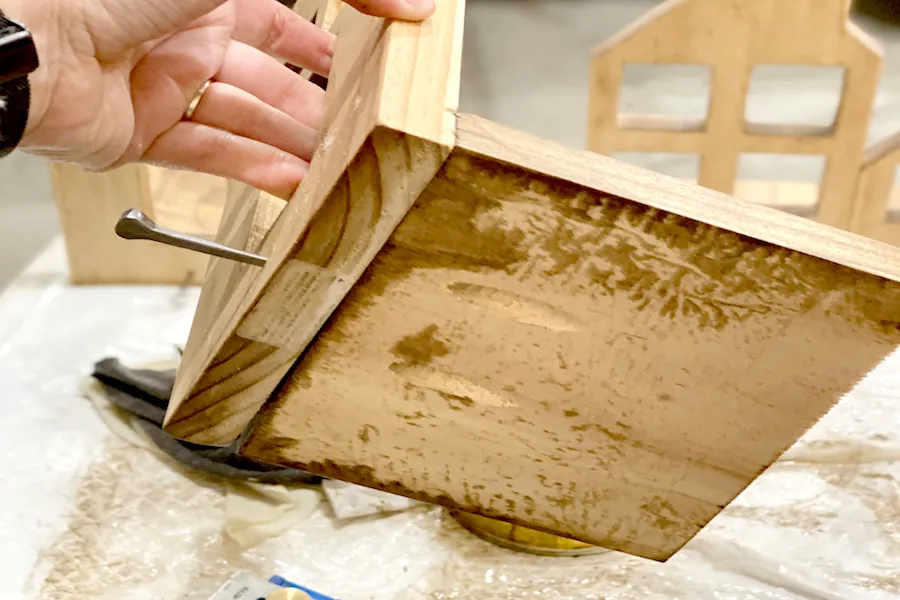
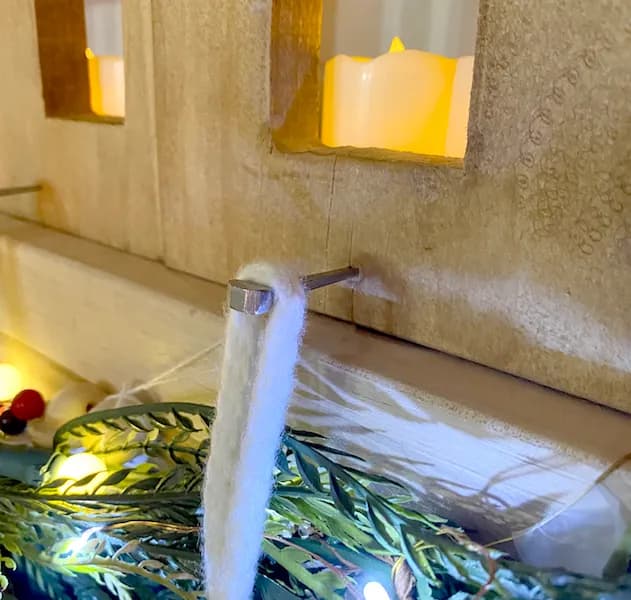
Drive a cute screw or nail into your pilot hole. This is what you will hang your stocking on. I used a 2” horseshoe nail.
6Decorate
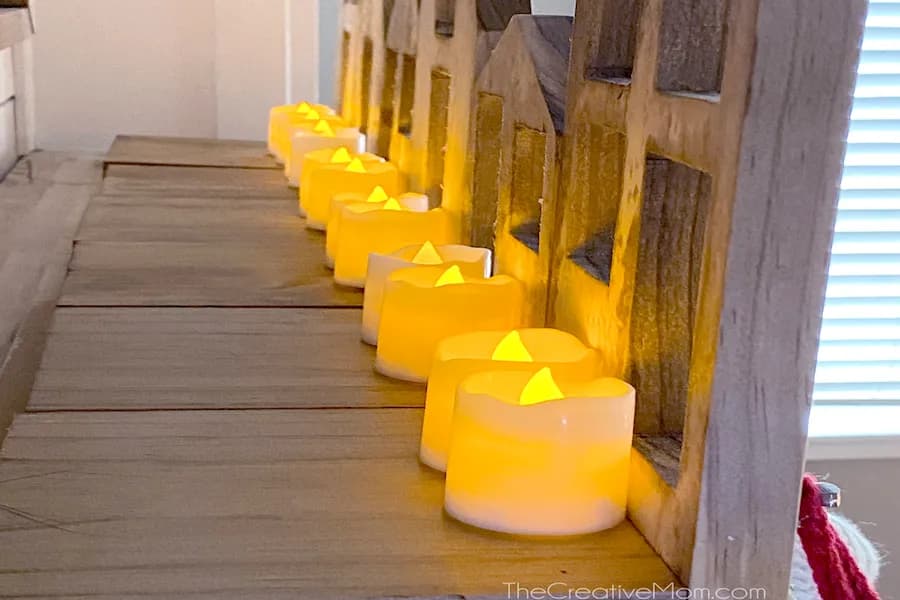
Place on your mantle. You can add tea light candles or a strand of twinkle lights behind the houses, so the light glows through your windows. I recommend using battery operated lights, just in case one gets knocked over.
Tags
- Holiday
- Beginner
Reviews & builds
No reviews yet
Sign in to review this plan or share your build.
No reviews yet. Be the first to build this.