Notch
NotchChristmas Village Stocking Hangers
Step-by-step build — 6 steps. Also available as a print sheet.
1Purchase a 1x6 board
Make sure you get a nice, straight board, without many knots. Trace the included templates onto the board, or draw them yourself. You’ll also need 1- 6” board as a base for each Christmas house. The plans call for 6 houses and 6 bases per board.

2Prep
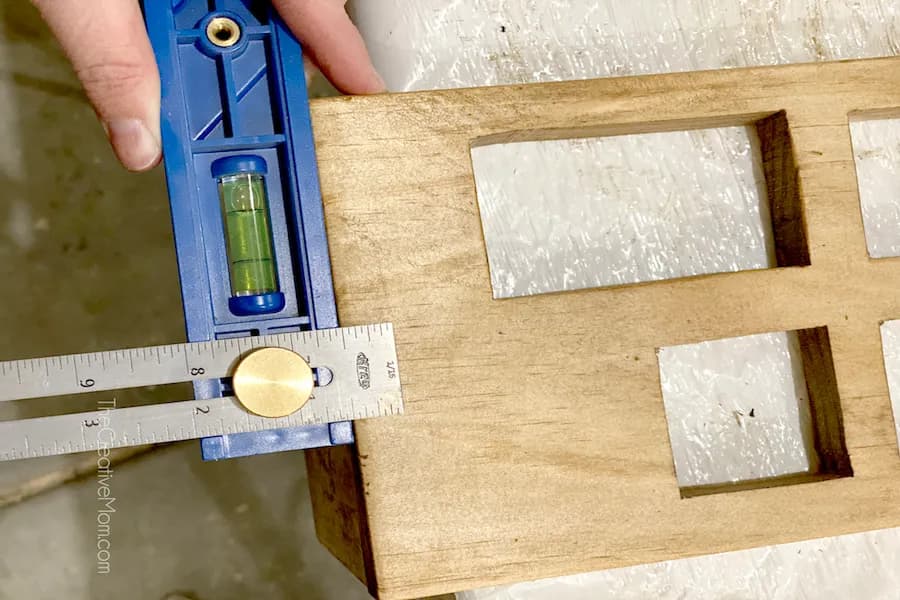
- I used my Multimark to mark make sure my lines were straight and even.
- Then I marked where I wanted my nail to be for hanging the stockings. Use a scroll saw or jig saw to cut out your houses.
- Drill a small pilot hole for the nail.
3Drill & Stain
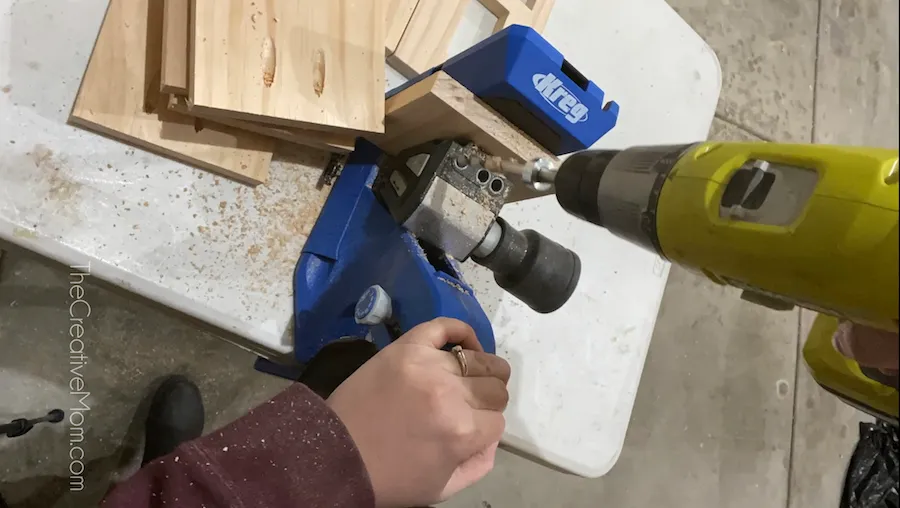
Drill pocket holes in the 6” bases. Sand, then stain or paint all of your pieces.
4Attach Base to House
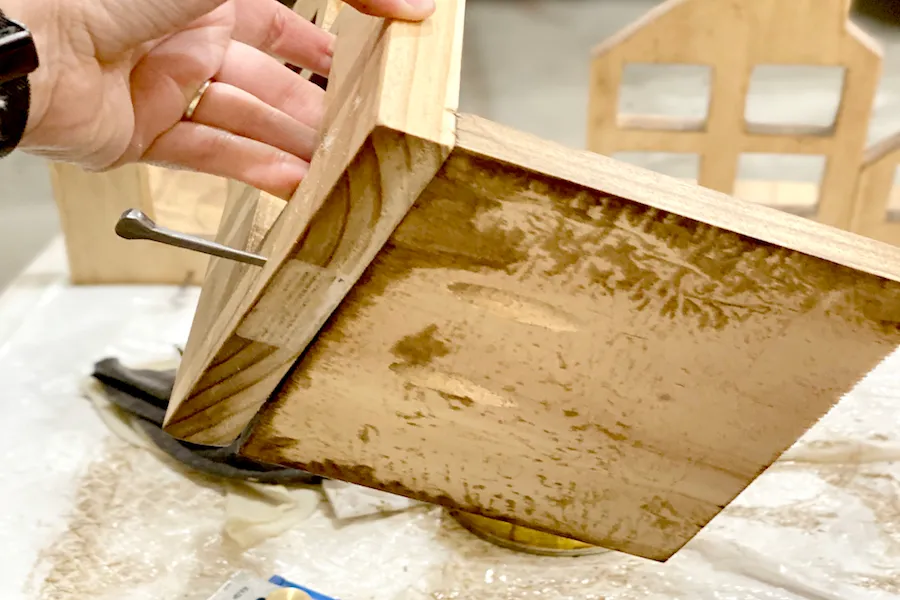
Use 1 ¼” pocket hole screws and wood glue to attach your 6” base pieces to the backside of your house.
5Insert Stocking Hanger
Drive a cute screw or nail into your pilot hole. This is what you will hang your stocking on. I used a 2” horseshoe nail.
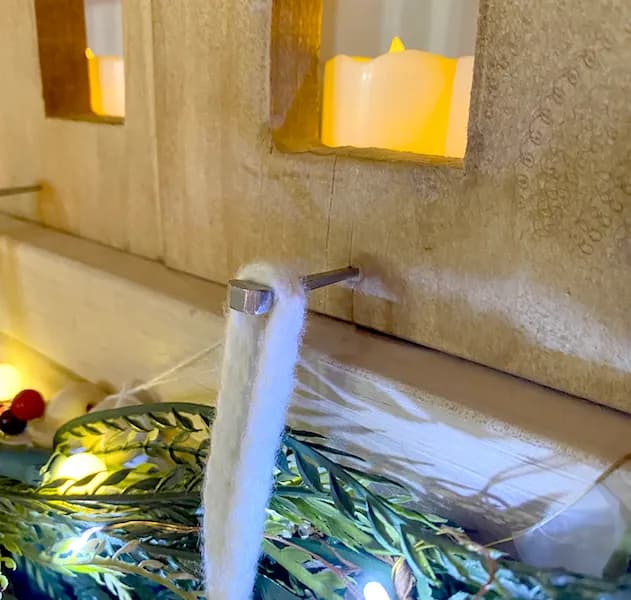
6Decorate
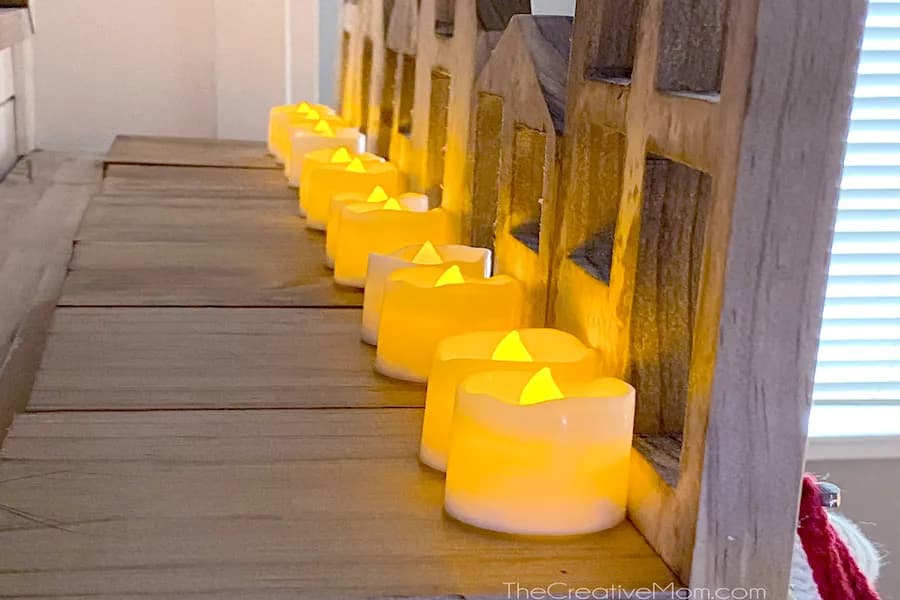
Place on your mantle. You can add tea light candles or a strand of twinkle lights behind the houses, so the light glows through your windows. I recommend using battery operated lights, just in case one gets knocked over.