Notch
NotchUse your browser's Print (Ctrl/Cmd + P) and choose Save as PDF. This page works offline once you've opened it with a signal.
Cabinet Shelf Risers
Make the most of your cabinet storage space with these cabinet shelf risers!
- Difficulty
- Beginner
- Time
- 2.3–4.3 hours
- Cost
- $$
Cut list
| Part | Qty | T × W × L | Material | ✓ |
|---|---|---|---|---|
| Top Plate | 1 | 3/4" × 7" × 28" | — | ☐ |
| Legs | 2 | 3/4" × 7" × 8" | — | ☐ |
Materials
| Item | Qty | ✓ |
|---|---|---|
| Board, 1x8 96" | 1 board | ☐ |
| Kreg jig screws | 4 each | ☐ |
| Kreg jig plugs | 4 each | ☐ |
| Wood glue | 1 each | ☐ |
Overall cost: $$. Lumber varies by region, species, and season, so we give a band rather than a figure.
Tools
- Impact Driver
- Miter Saw
- Pocket Hole Jig
- Random Orbit Sander
- Tape Measure — optional
Instructions
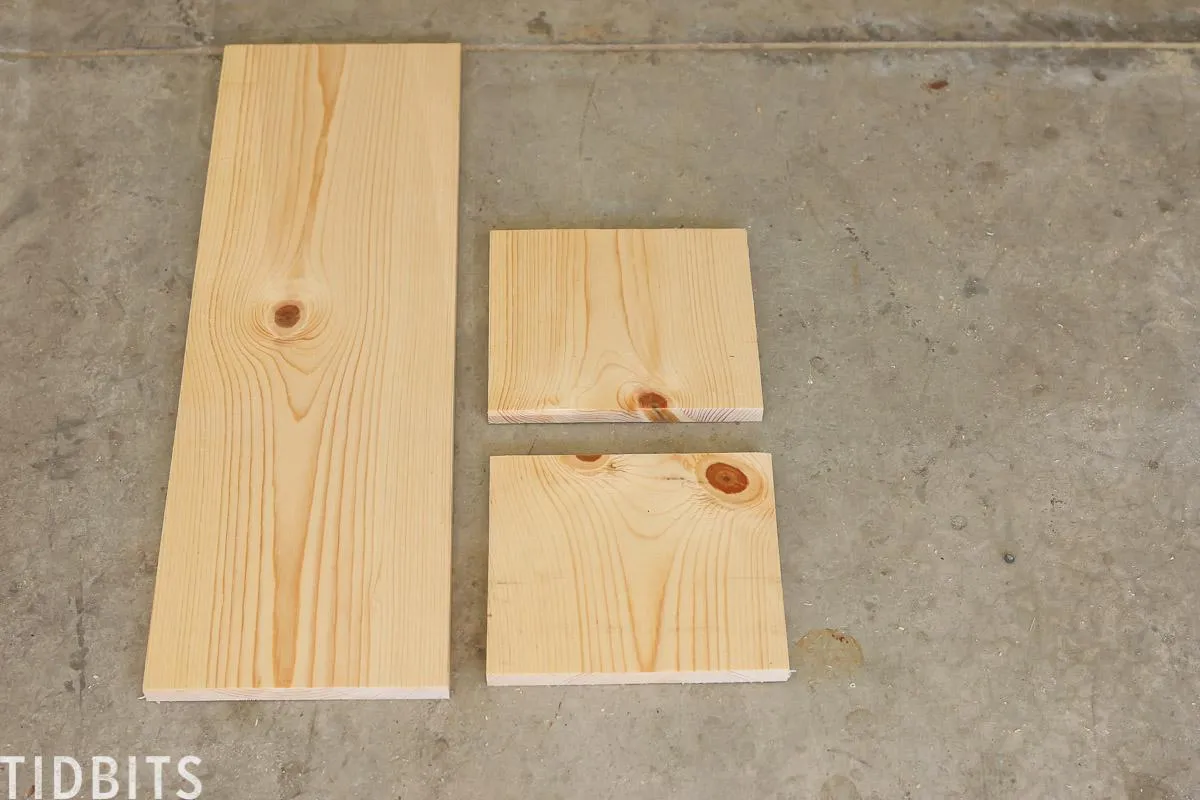
1. Cut Wood
Cut top shelf to 28 inches long and the two legs to 8 inches long, or according to the measurements for your particular cabinet.
2. Pocket Holes for Shelf
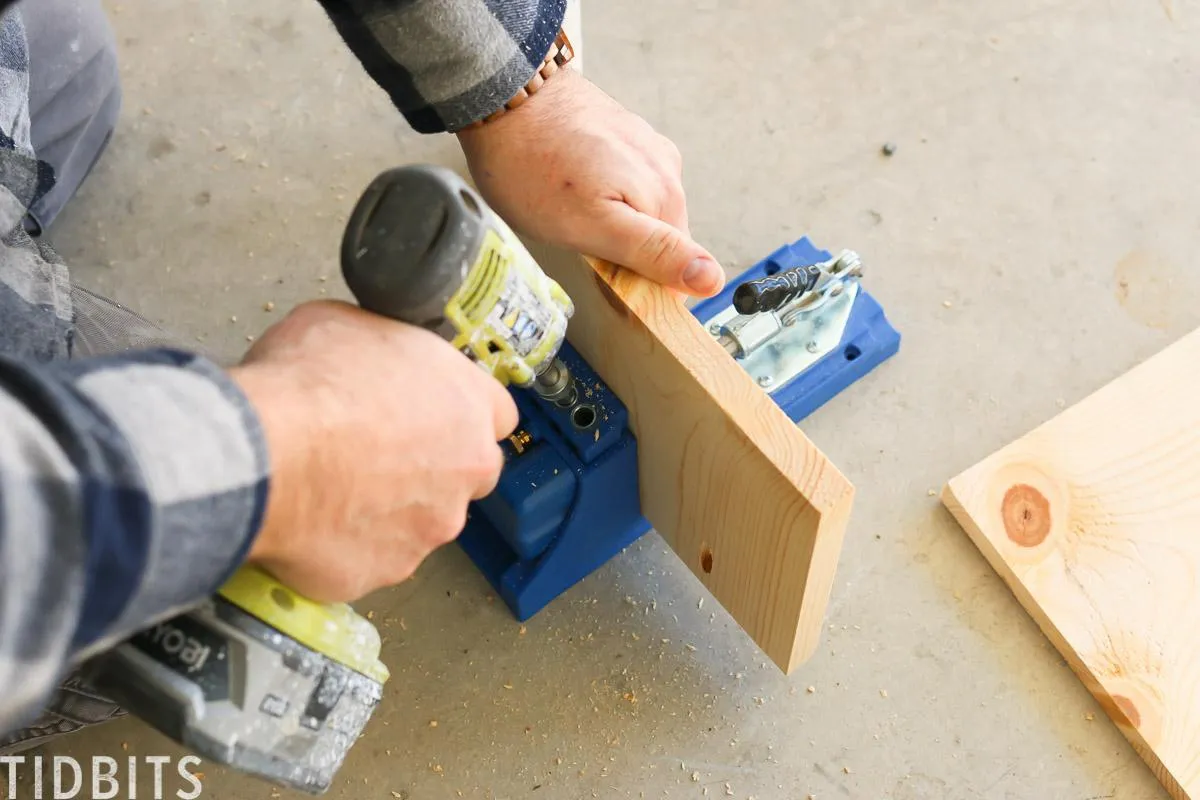
Using the Kreg jig pocket-hole jig, drill two holes on one of the legs, evenly spaced apart. Holes should follow the grain.
3. Pocket Holes for Second Leg
Repeat for both legs.
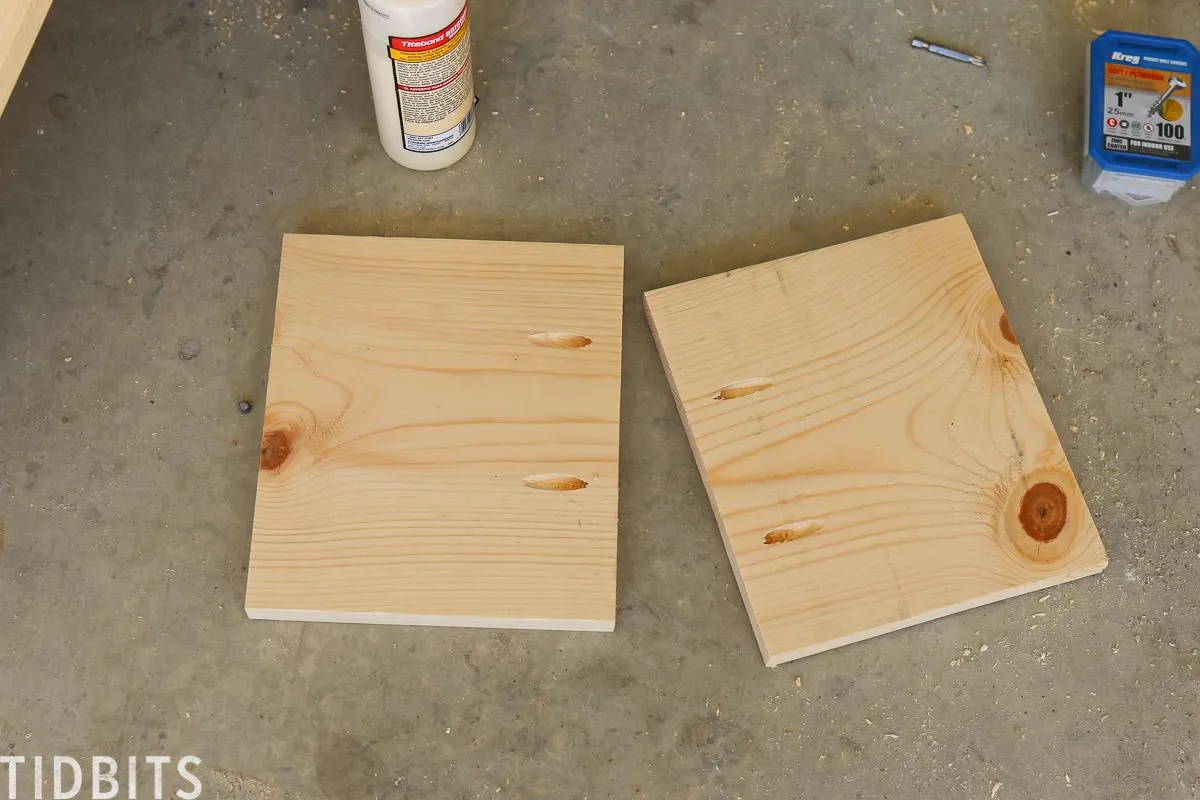
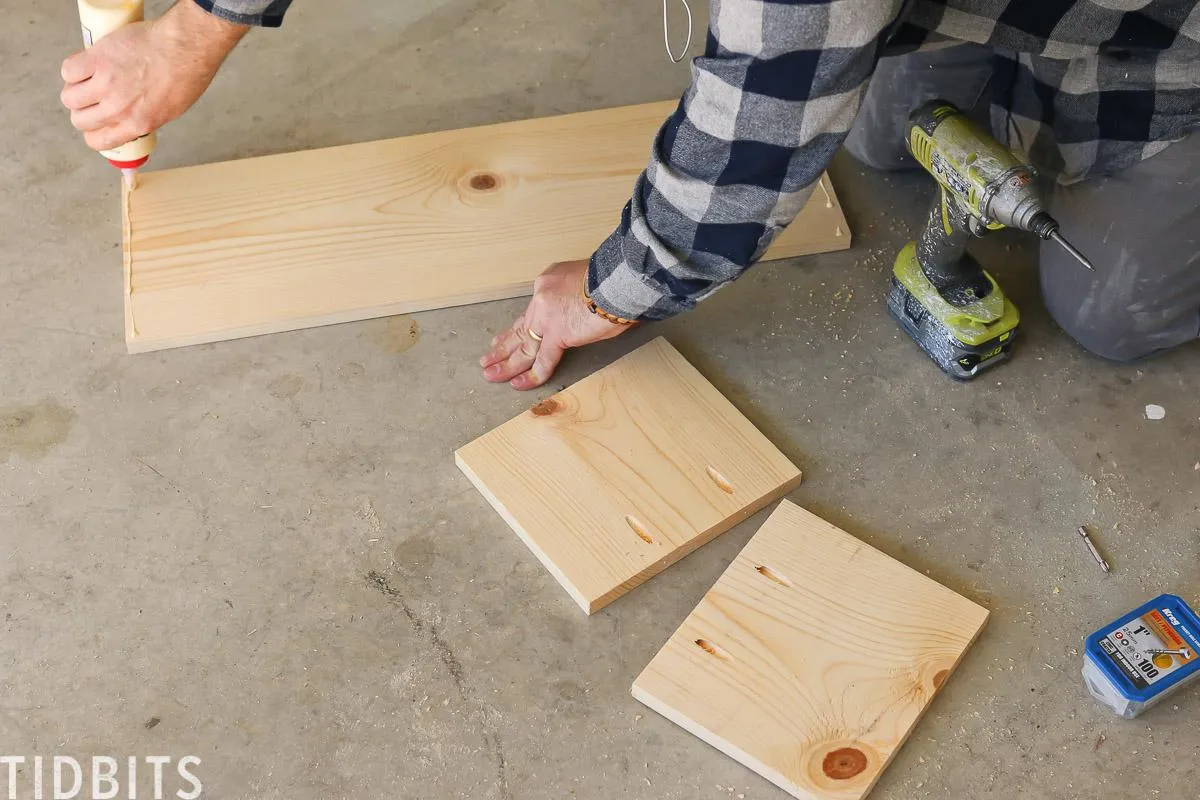
4. Glue Edges
Glue the ends of the legs where the holes are and the ends of one of the faces of the top shelf.
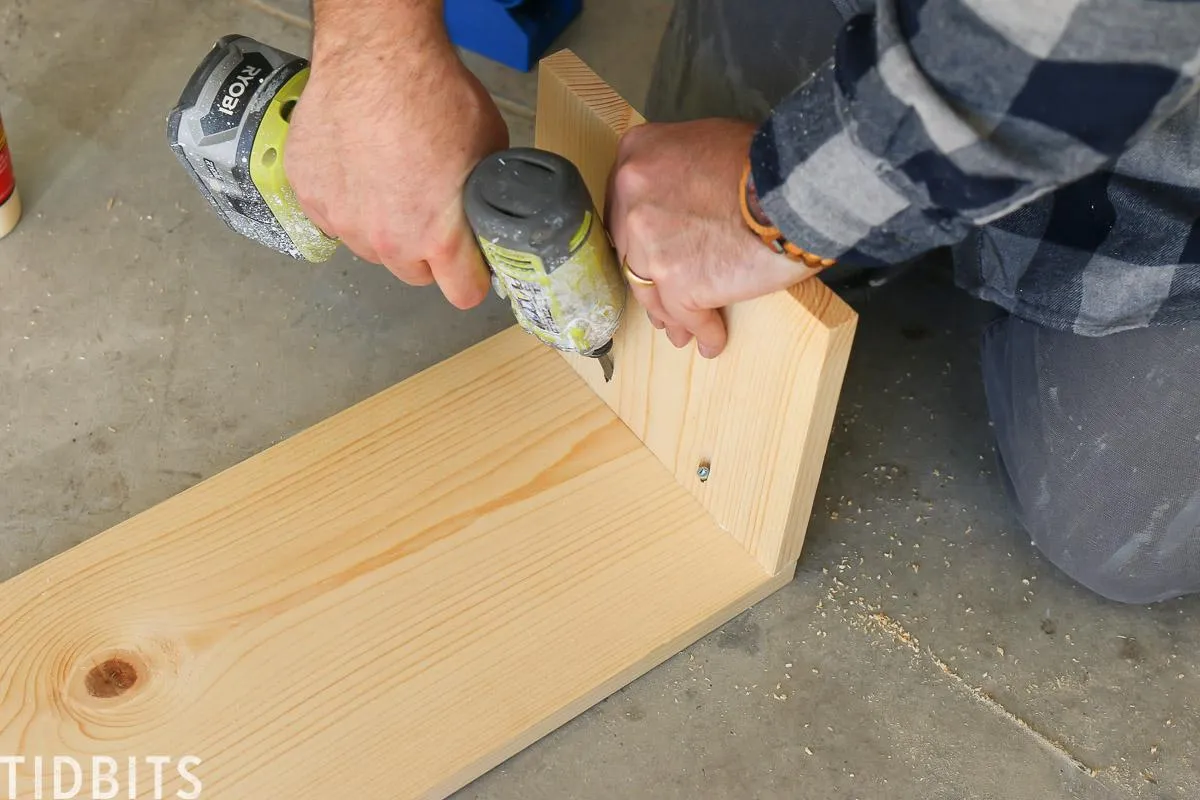
5. Screw in Legs
Using Kreg jig screws attach legs to the top plate. Be sure the screw holes are faced towards the center of the shelf.
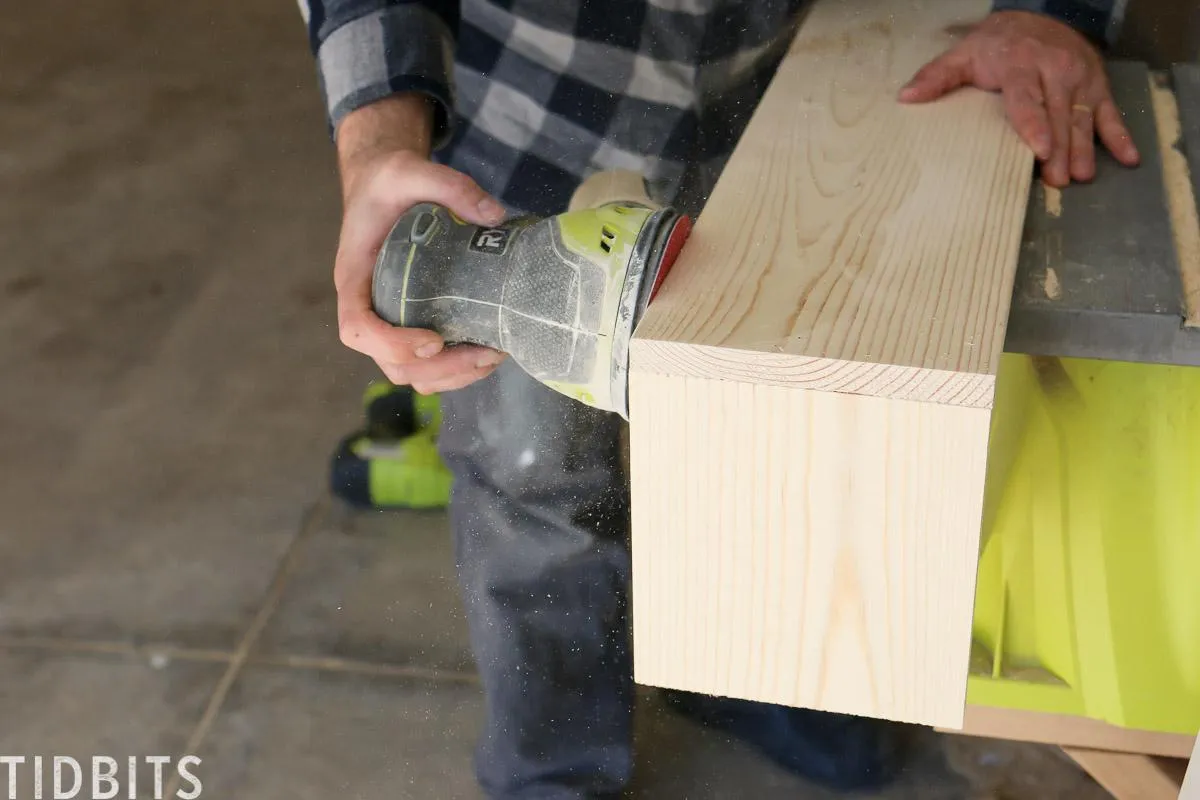
6. Prepare for final finish
Use Kreg Jig plugs and glue to fill in the screw holes then once dry, sand all surfaces flat and smooth.
7. Finish Wood
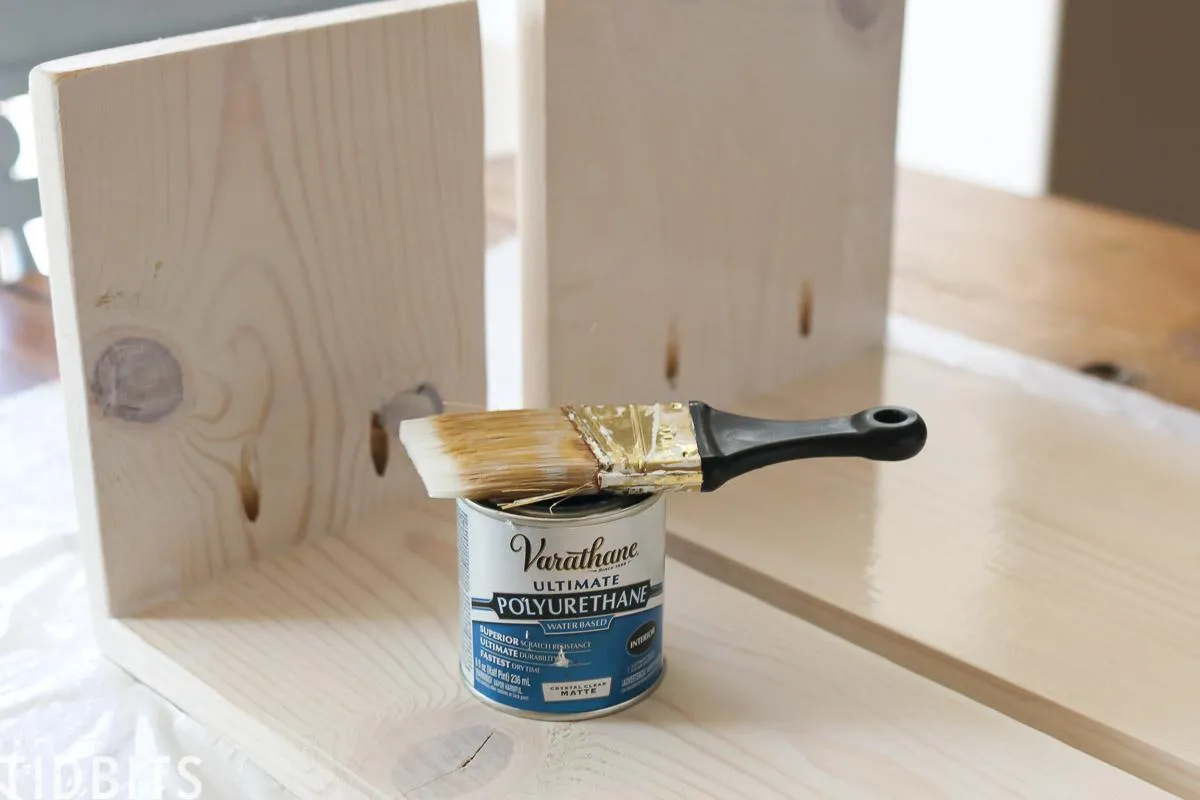
Apply paint or stain based on your preference. We used pickling stain with a polyurethane coat to lighten the color of the pine. If you would like to see more of how we use these cabinet shelf risers to maximize storage in our RV, visit us at tidbits-cami.com.