 Notch
Notch- Difficulty
- Beginner
- Time
- 2.3–4.3 hours
- Cost
- $$
About this build
Make the most of your cabinet storage space with these cabinet shelf risers! Gain on vertical space and maximize organization for your kitchen or other home cupboards and cabinets. Bonus – these shelf risers are incredibly easy to build!
Tools
Essential
- Impact Driver
- Miter Saw
- Pocket Hole Jig
- Random Orbit Sander
Optional / nice to have
- Tape Measure
Materials
| Item | Qty |
|---|---|
| Board, 1x8 96" | 1 board |
| Kreg jig screws | 4 each |
| Kreg jig plugs | 4 each |
| Wood glue | 1 each |
Overall cost: $$. Lumber prices vary by region, species, and season, so we give a band rather than a figure we would only be pretending to know.
Cut list
| Part | Qty | T × W × L |
|---|---|---|
| Top Plate | 1 | 3/4" × 7" × 28" |
| Legs | 2 | 3/4" × 7" × 8" |
What to buy
Buy 1 board at 8 ft.
3/4" × 7"
1 board
Assumes 8 ft stock, a 1/8" saw kerf, and buying each part at its own width. Change the board size or kerf on the full board plan →
Instructions
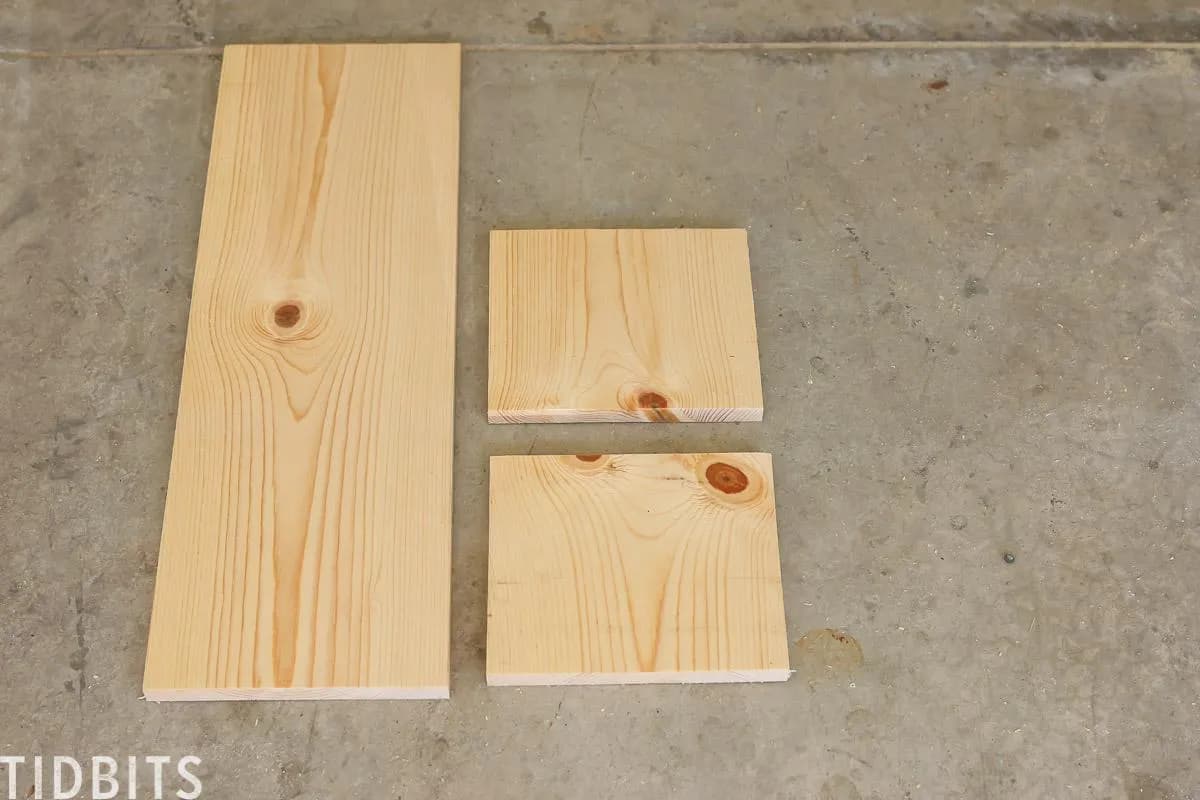
1Cut Wood
Cut top shelf to 28 inches long and the two legs to 8 inches long, or according to the measurements for your particular cabinet.
2Pocket Holes for Shelf
Using the Kreg jig pocket-hole jig, drill two holes on one of the legs, evenly spaced apart. Holes should follow the grain.
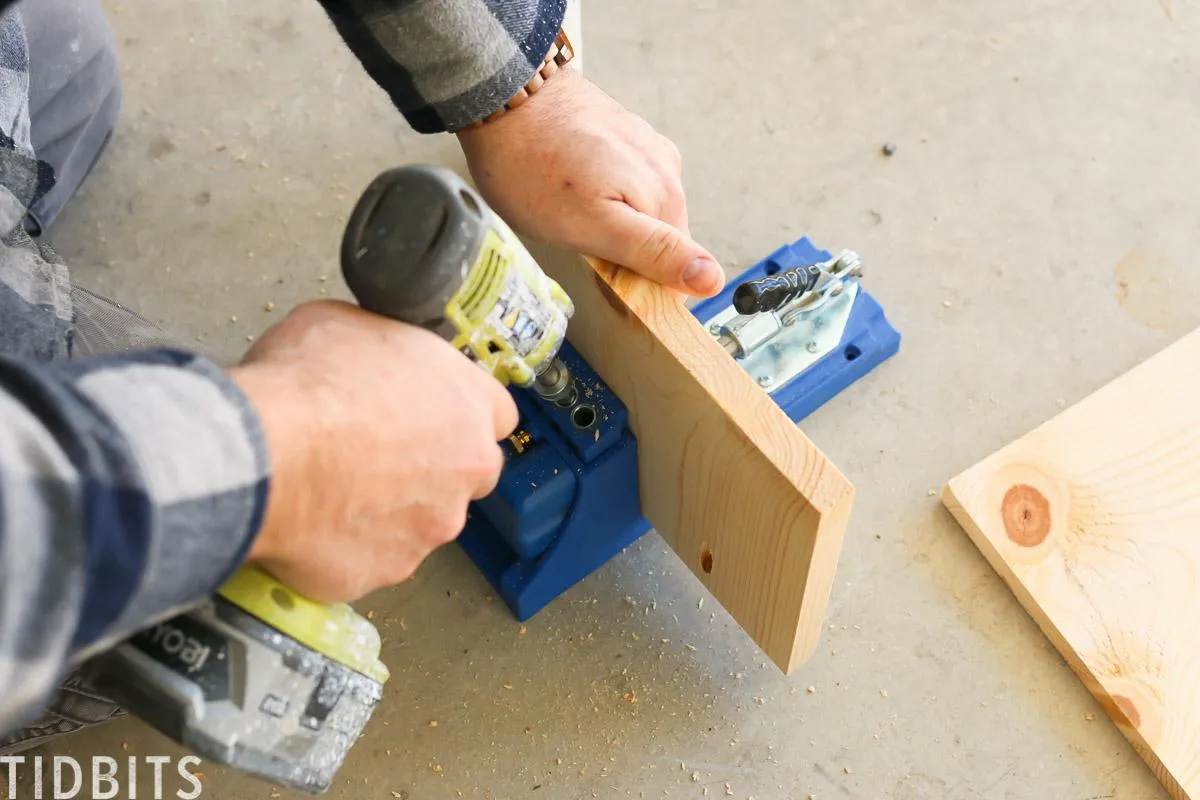
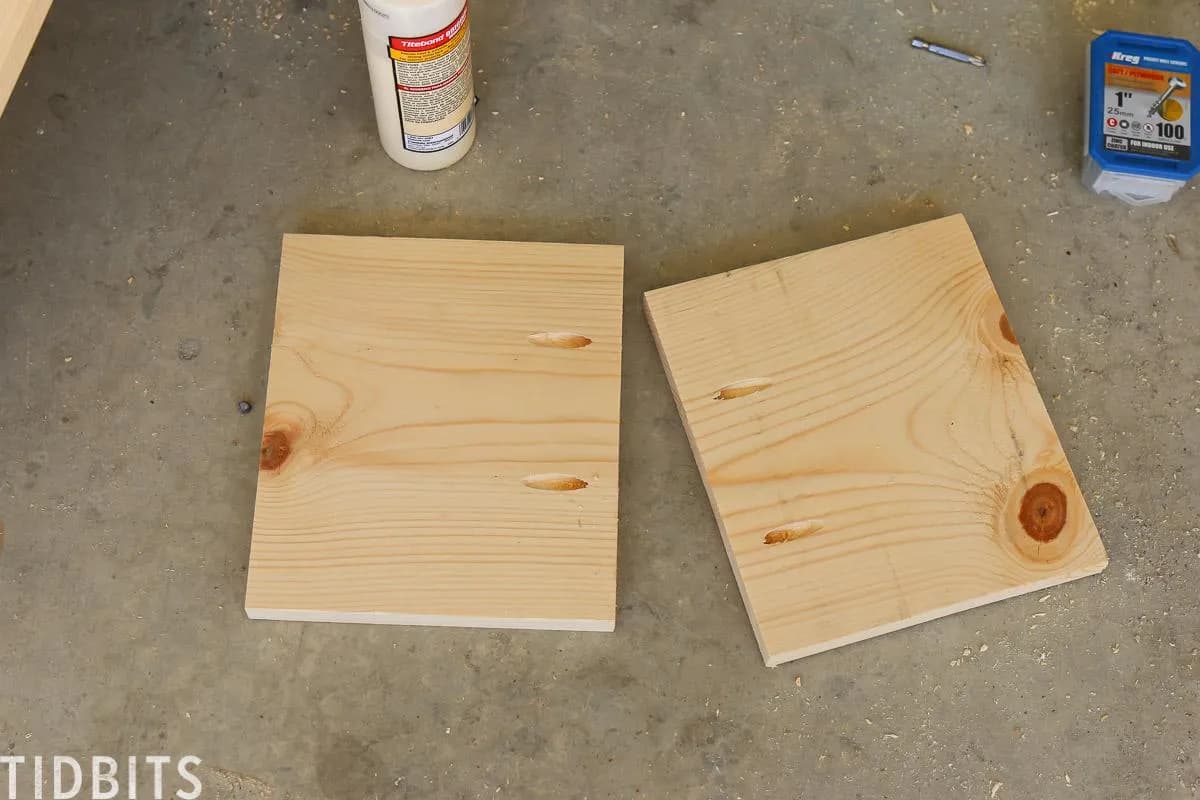
3Pocket Holes for Second Leg
Repeat for both legs.
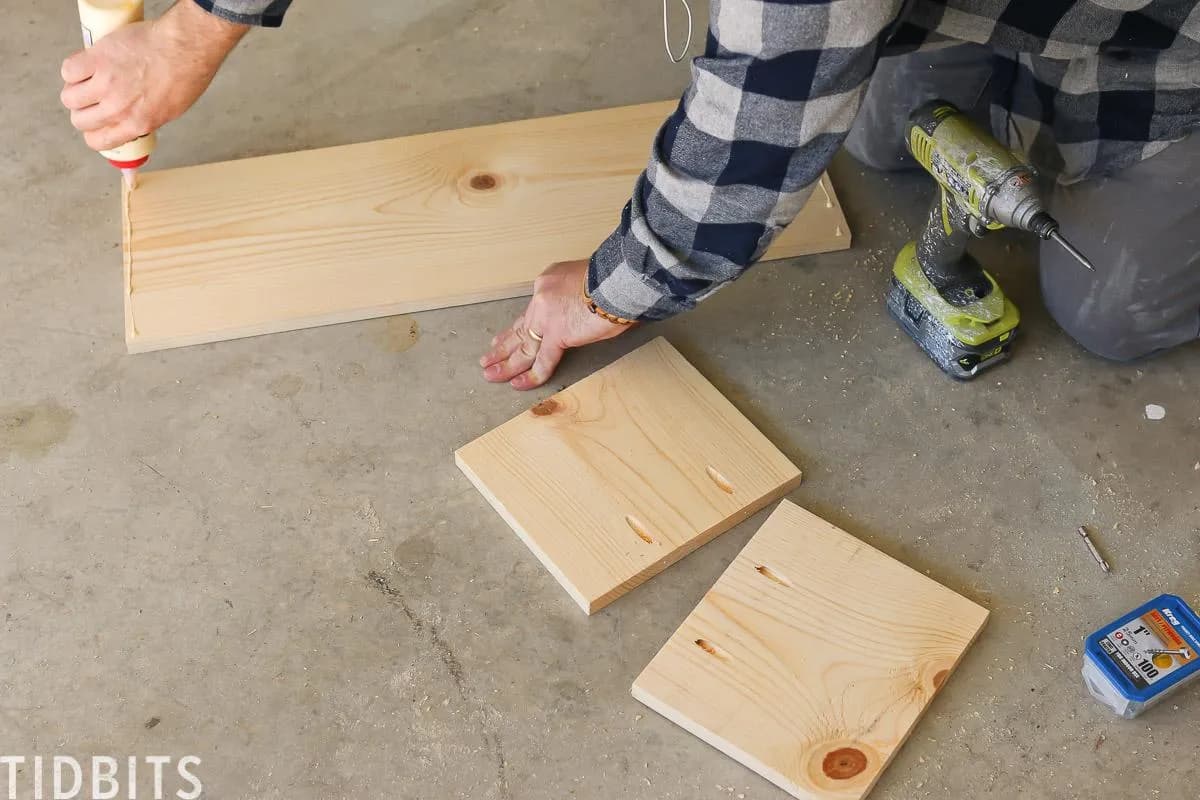
4Glue Edges
Glue the ends of the legs where the holes are and the ends of one of the faces of the top shelf.
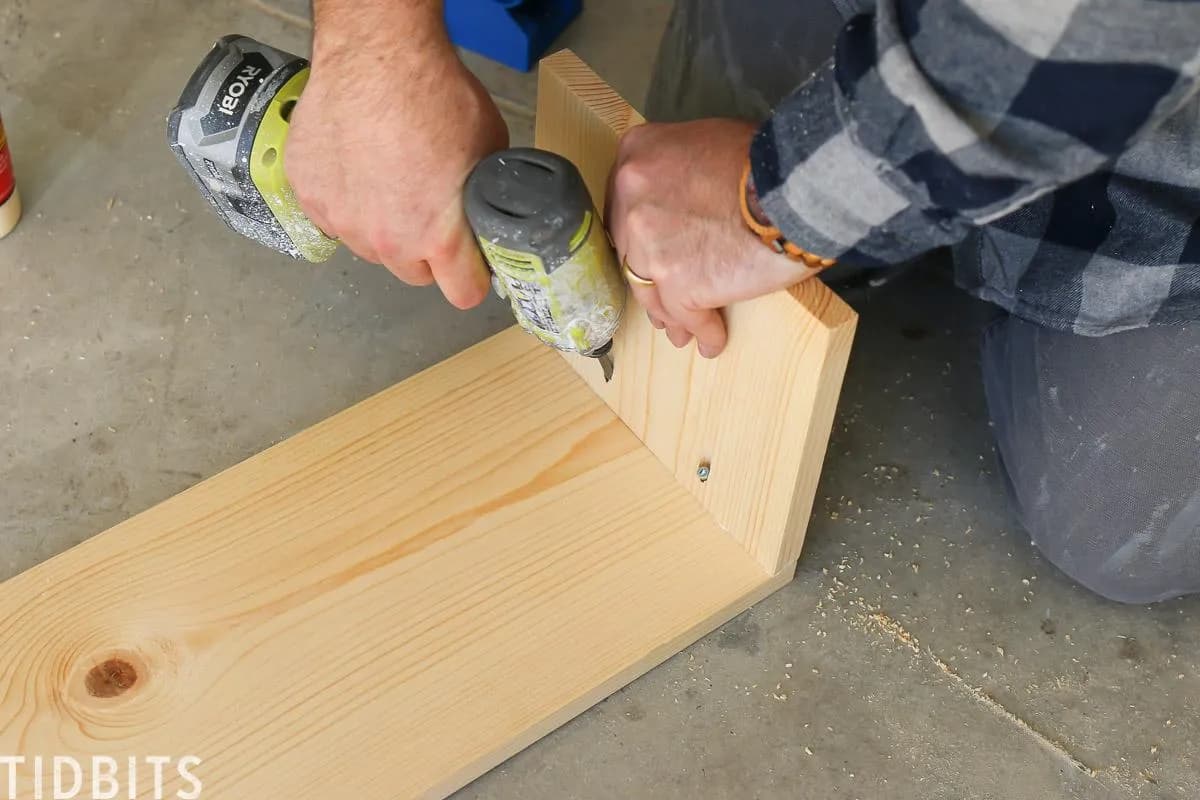
5Screw in Legs
Using Kreg jig screws attach legs to the top plate. Be sure the screw holes are faced towards the center of the shelf.
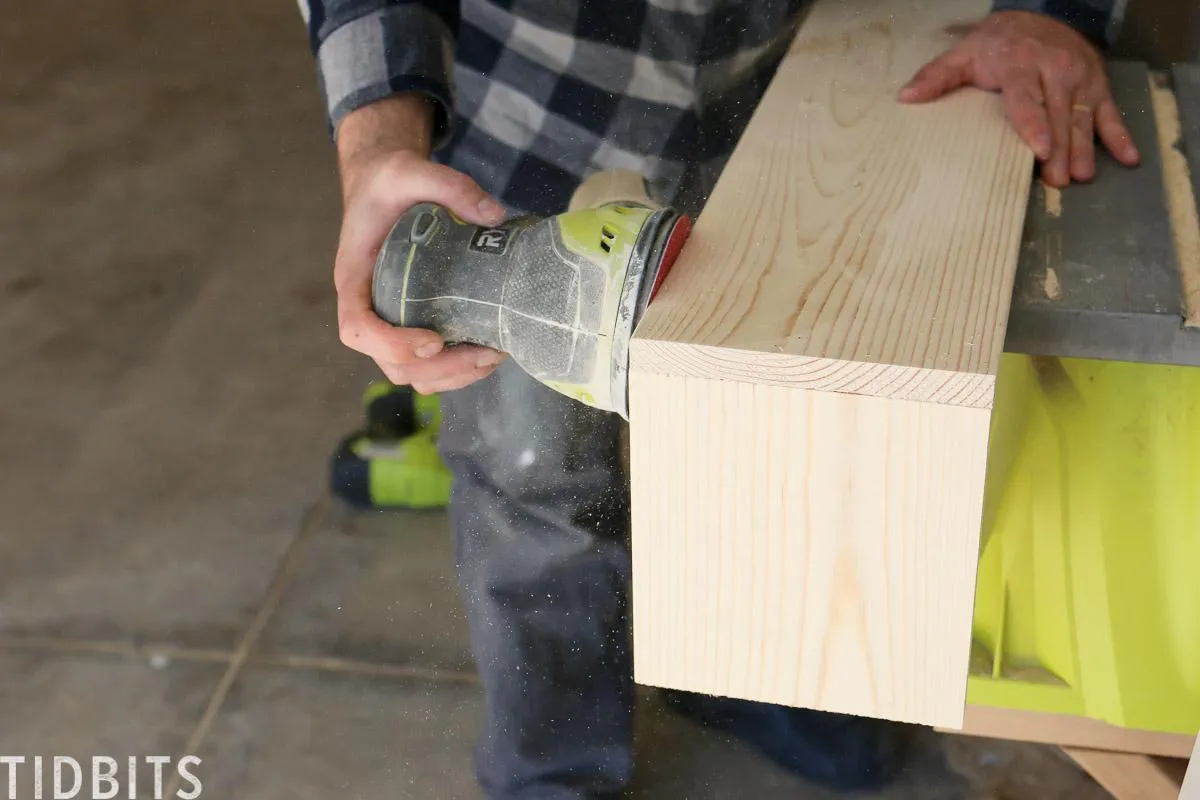
6Prepare for final finish
Use Kreg Jig plugs and glue to fill in the screw holes then once dry, sand all surfaces flat and smooth.
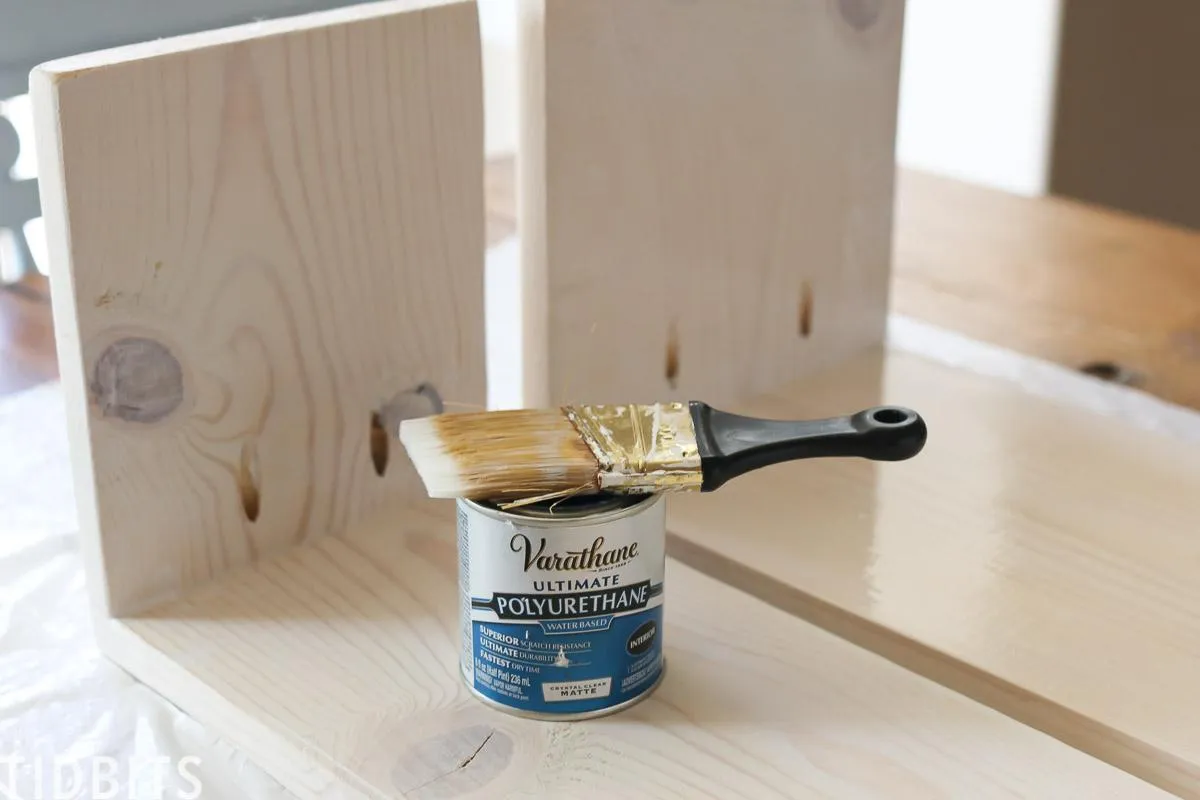
7Finish Wood
Apply paint or stain based on your preference. We used pickling stain with a polyurethane coat to lighten the color of the pine. If you would like to see more of how we use these cabinet shelf risers to maximize storage in our RV, visit us at tidbits-cami.com.
Tags
- Kitchen
- Beginner
Reviews & builds
No reviews yet
Sign in to review this plan or share your build.
No reviews yet. Be the first to build this.