 Notch
Watch and Accessory Holder
Step-by-step build — 9 steps. Also available as a print sheet.
1Make Cuts
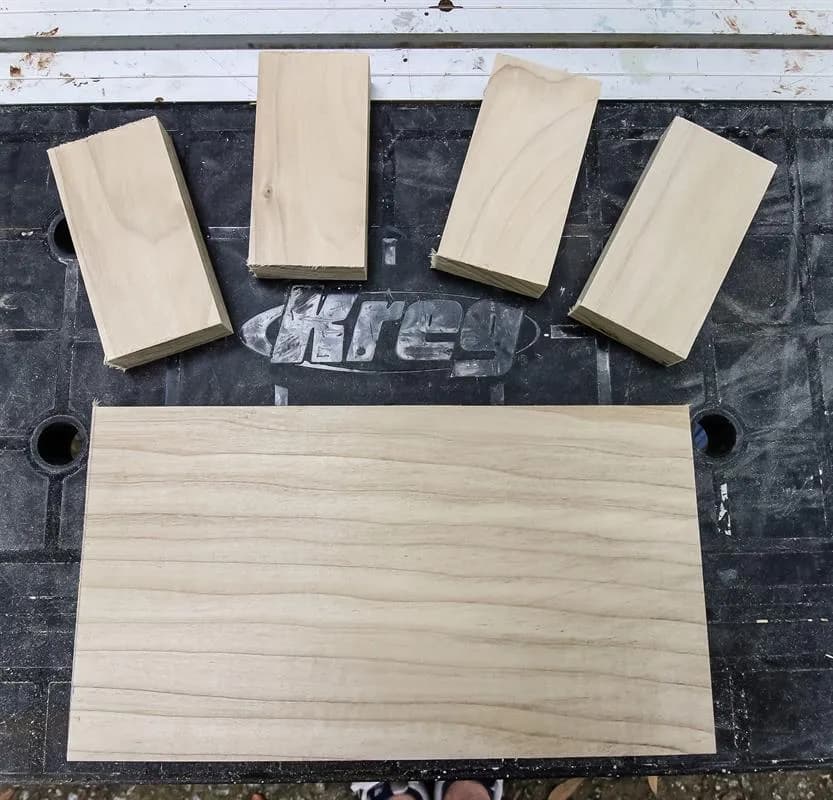
Start by making all the cuts in the cut list.
2Route Dish
Using a palm router, or a Kreg routing table, route out an accessories dish in the base. Mark 1" in from three sides of the base, then 4" in from the short side. Draw out your rectangle and route out the dish 1/4" deep. If not using a routing table, use a clamp on the Kreg Mobile Project Center to hold the base in place.

3Route Base Edge
Clean up the outside edge of your base by rounding the edge with a palm router or routing table. Then sand the entire base.
4Cut Out Pegs
- Mark 1/2" in from either edge of the short side of each out peg, then draw 45 degree lines to the outside.
- Cut these corners off with a saw.
- Then sand smooth for a rounded point.

5Make Watch Racks
Attach the up pegs to the back of the out pegs using pocket holes. Sand everything smooth.

6Attach Watch Racks to Base
Attach each watch rack to the base using pocket holes. Space the first one an inch in from the edge on the opposite side from the accessories dish, then space the second one and inch from the first.

7Add Pocket Hole Plugs
Put a drop of wood glue into each hole, then add pocket hole plugs. Let dry, then saw smooth with a flush trim saw. (You may have to do two holes on each watch rack, then do the other two after you've sawn off the first two since the holes are close together.)

8Oil or Stain
Add a wood mineral oil or stain to the watch and accessories holder according to the tastes of the person you're gifting this beautiful project to!

9Visit www.CharlestonCrafted.com
Check out www.CharlestonCrafted.com for more simple woodworking projects and great gift ideas for the holidays!
