 Notch
- Difficulty
- Easy
- Time
- 3–5.5 hours
- Cost
- $
About this build
Everyone needs a gift for dad this holiday season. Men are notoriously difficult to shop for because we usually say we don't need anything. Guys are also notorious for just dropping their keys and wallet and watch all in a pile by the front door. This watch and accessory holder solves all this!
Tools
Essential
- Drill / Driver
- Pocket Hole Jig
- Random Orbit Sander
- Router
- Table Saw
Materials
| Item | Qty |
|---|---|
| Board, 1x6 24" | 1 board |
| 1 1/4" Kreg Pocket Screws | 8 each |
| Kreg Pocket Hole Plugs | 8 each |
Overall cost: $. Lumber prices vary by region, species, and season, so we give a band rather than a figure we would only be pretending to know.
Cut list
| Part | Qty | T × W × L |
|---|---|---|
| Base | 1 | 3/4" × 5" × 10" |
| Up Pegs | 2 | 3/4" × 2" × 4" |
| Out Pegs | 2 | 3/4" × 2" × 4" |
What to buy
Buy 2 boards at 8 ft.
3/4" × 5"
1 board
3/4" × 2"
1 board
Assumes 8 ft stock, a 1/8" saw kerf, and buying each part at its own width. Change the board size or kerf on the full board plan →
Instructions
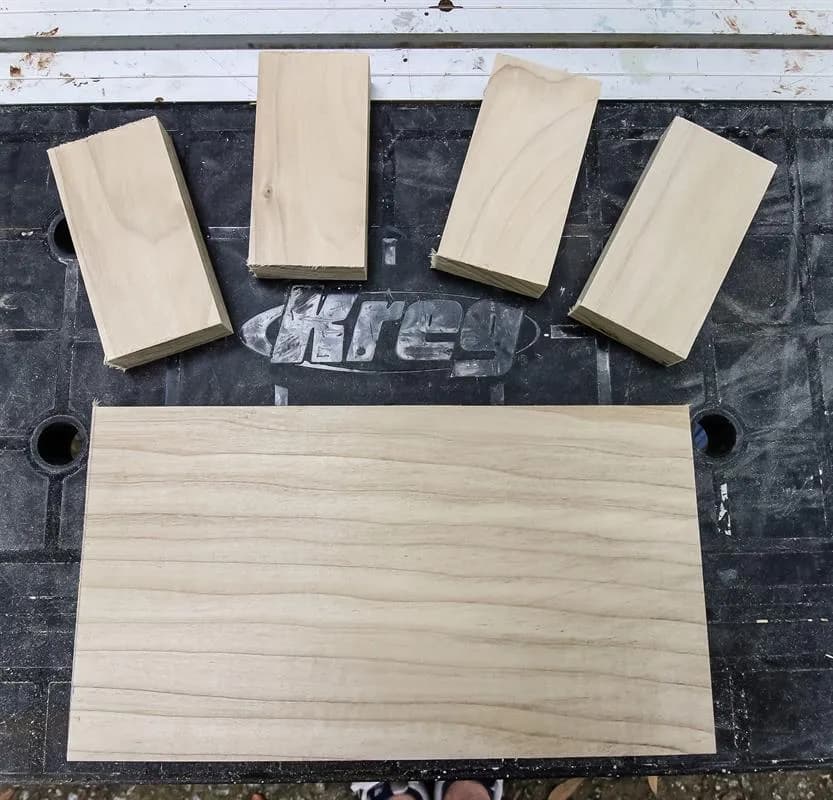
1Make Cuts
Start by making all the cuts in the cut list.
2Route Dish
Using a palm router, or a Kreg routing table, route out an accessories dish in the base. Mark 1" in from three sides of the base, then 4" in from the short side. Draw out your rectangle and route out the dish 1/4" deep. If not using a routing table, use a clamp on the Kreg Mobile Project Center to hold the base in place.

3Route Base Edge
Clean up the outside edge of your base by rounding the edge with a palm router or routing table. Then sand the entire base.
4Cut Out Pegs
- Mark 1/2" in from either edge of the short side of each out peg, then draw 45 degree lines to the outside.
- Cut these corners off with a saw.
- Then sand smooth for a rounded point.

5Make Watch Racks
Attach the up pegs to the back of the out pegs using pocket holes. Sand everything smooth.

6Attach Watch Racks to Base
Attach each watch rack to the base using pocket holes. Space the first one an inch in from the edge on the opposite side from the accessories dish, then space the second one and inch from the first.

7Add Pocket Hole Plugs
Put a drop of wood glue into each hole, then add pocket hole plugs. Let dry, then saw smooth with a flush trim saw. (You may have to do two holes on each watch rack, then do the other two after you've sawn off the first two since the holes are close together.)

8Oil or Stain
Add a wood mineral oil or stain to the watch and accessories holder according to the tastes of the person you're gifting this beautiful project to!

9Visit www.CharlestonCrafted.com
Check out www.CharlestonCrafted.com for more simple woodworking projects and great gift ideas for the holidays!

Tags
- Beginning Woodworking Projects
- Beginner
Reviews & builds
No reviews yet
Sign in to review this plan or share your build.
No reviews yet. Be the first to build this.