 Notch
- Difficulty
- Easy
- Time
- 3.5–7 hours
- Cost
- $$
About this build
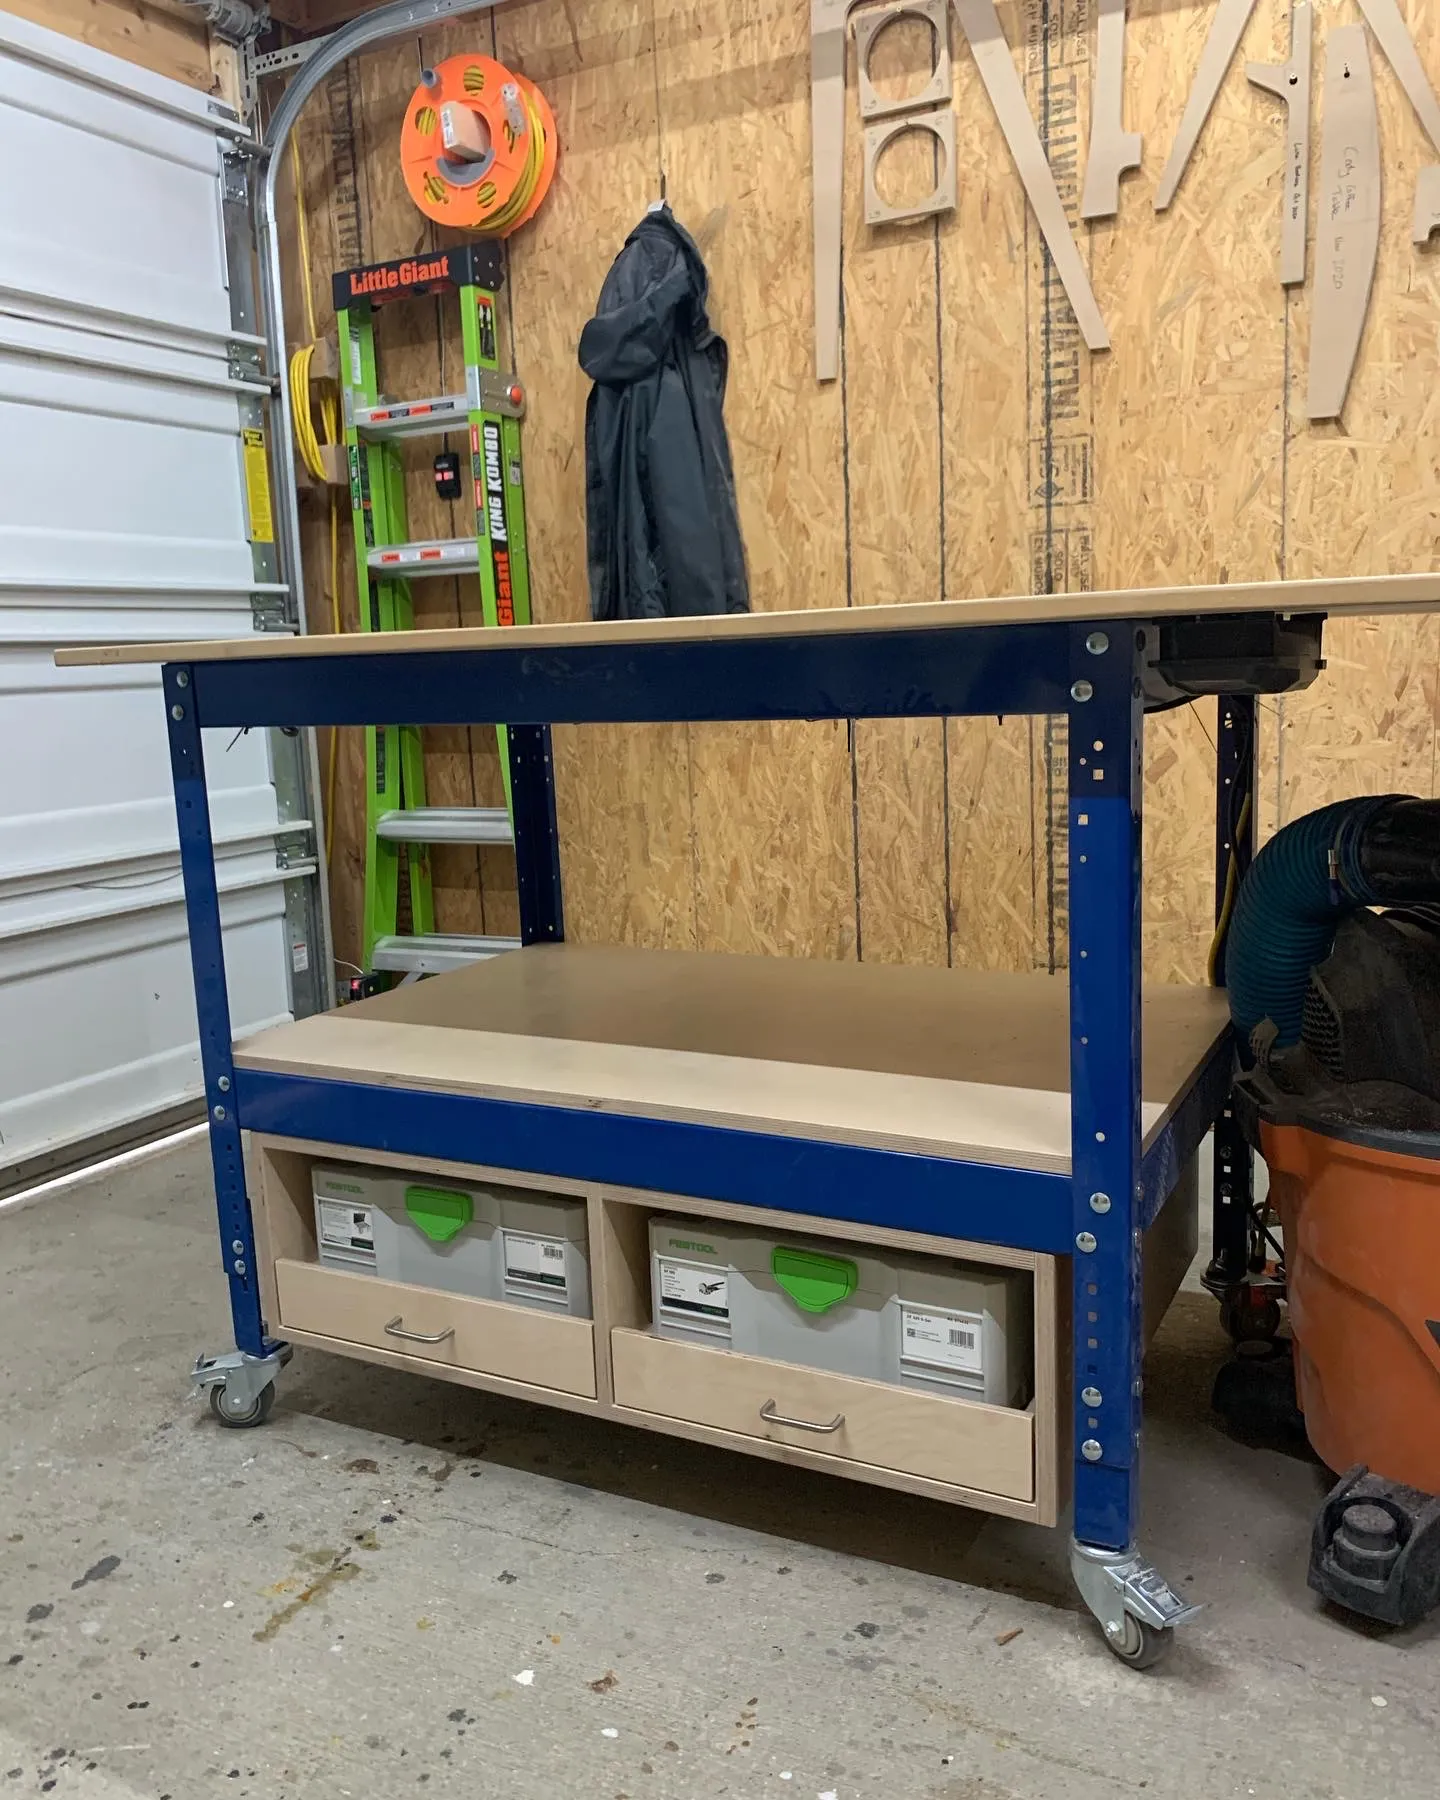
This is the perfect storage solution to put underneath your Kreg workbench!
Tools
Essential
- Pocket Hole Jig
Materials
| Item | Qty |
|---|---|
| 3/4" Plywood | 1 board |
| 1/2" Plywood | 1 board |
| Drawer Pulls | 4 each |
| Sets of Drawer Slides | 4 each |
Overall cost: $$. Lumber prices vary by region, species, and season, so we give a band rather than a figure we would only be pretending to know.
Cut list
| Part | Qty | T × W × L |
|---|---|---|
| Case Sides - 3/4 Ply | 2 | 3/4" × 10" × 27" |
| Case Interior - 3/4 Ply | 1 | 3/4" × 9" × 27" |
| Case Lower Braces - 3/4 Ply | 3 | 3/4" × 2" × 37" |
| Case Upper Braces - 3/4 Ply | 6 | 3/4" × 2" × 18" |
| Drawer Bottoms - 1/2 Ply | 4 | 1/2" × 12" × 16" |
| Large Drawer Front - 1/2 Ply | 2 | 1/2" × 8" × 18" |
| Large Drawer Back/Front - 1/2 Ply | 4 | 1/2" × 6" × 16" |
| Large Drawer Sides - 1/2 Ply | 4 | 1/2" × 6" × 12" |
| Small Drawer Front - 1/2 Ply | 2 | 1/2" × 3" × 18" |
| Small Drawer Back/Front - 1/2 Ply | 4 | 1/2" × 2" × 16" |
| Small Drawer Sides - 1/2 Ply | 4 | 1/2" × 2" × 12" |
What to buy
Buy 12 boards at 8 ft.
3/4" × 10"
1 board
3/4" × 9"
1 board
3/4" × 2"
3 boards
1/2" × 12"
1 board
1/2" × 8"
1 board
1/2" × 6"
2 boards
1/2" × 3"
1 board
1/2" × 2"
2 boards
Assumes 8 ft stock, a 1/8" saw kerf, and buying each part at its own width. Change the board size or kerf on the full board plan →
Instructions
1Watch Video
Check out the video first, and as you build. It'll help with a few instructions!
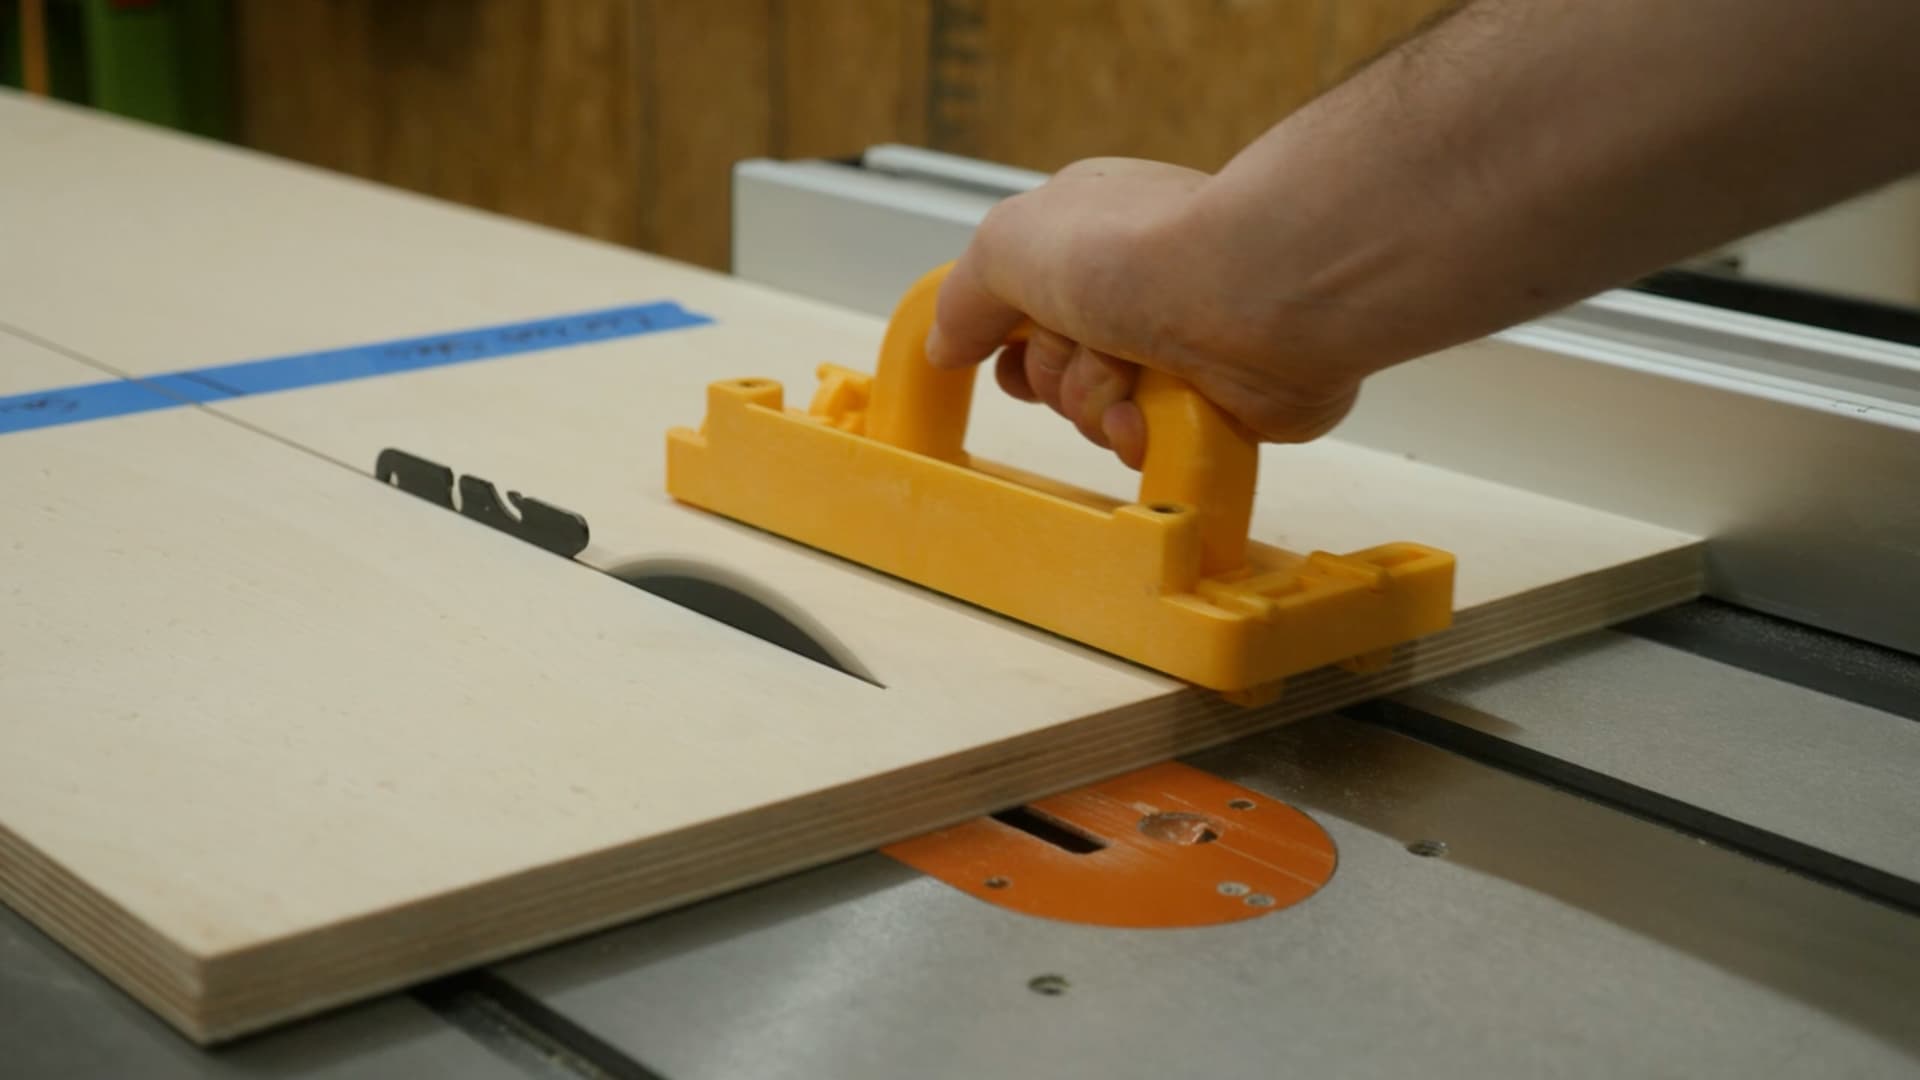
2Cut Parts
Cut down plywood parts according to the cutlist provided above
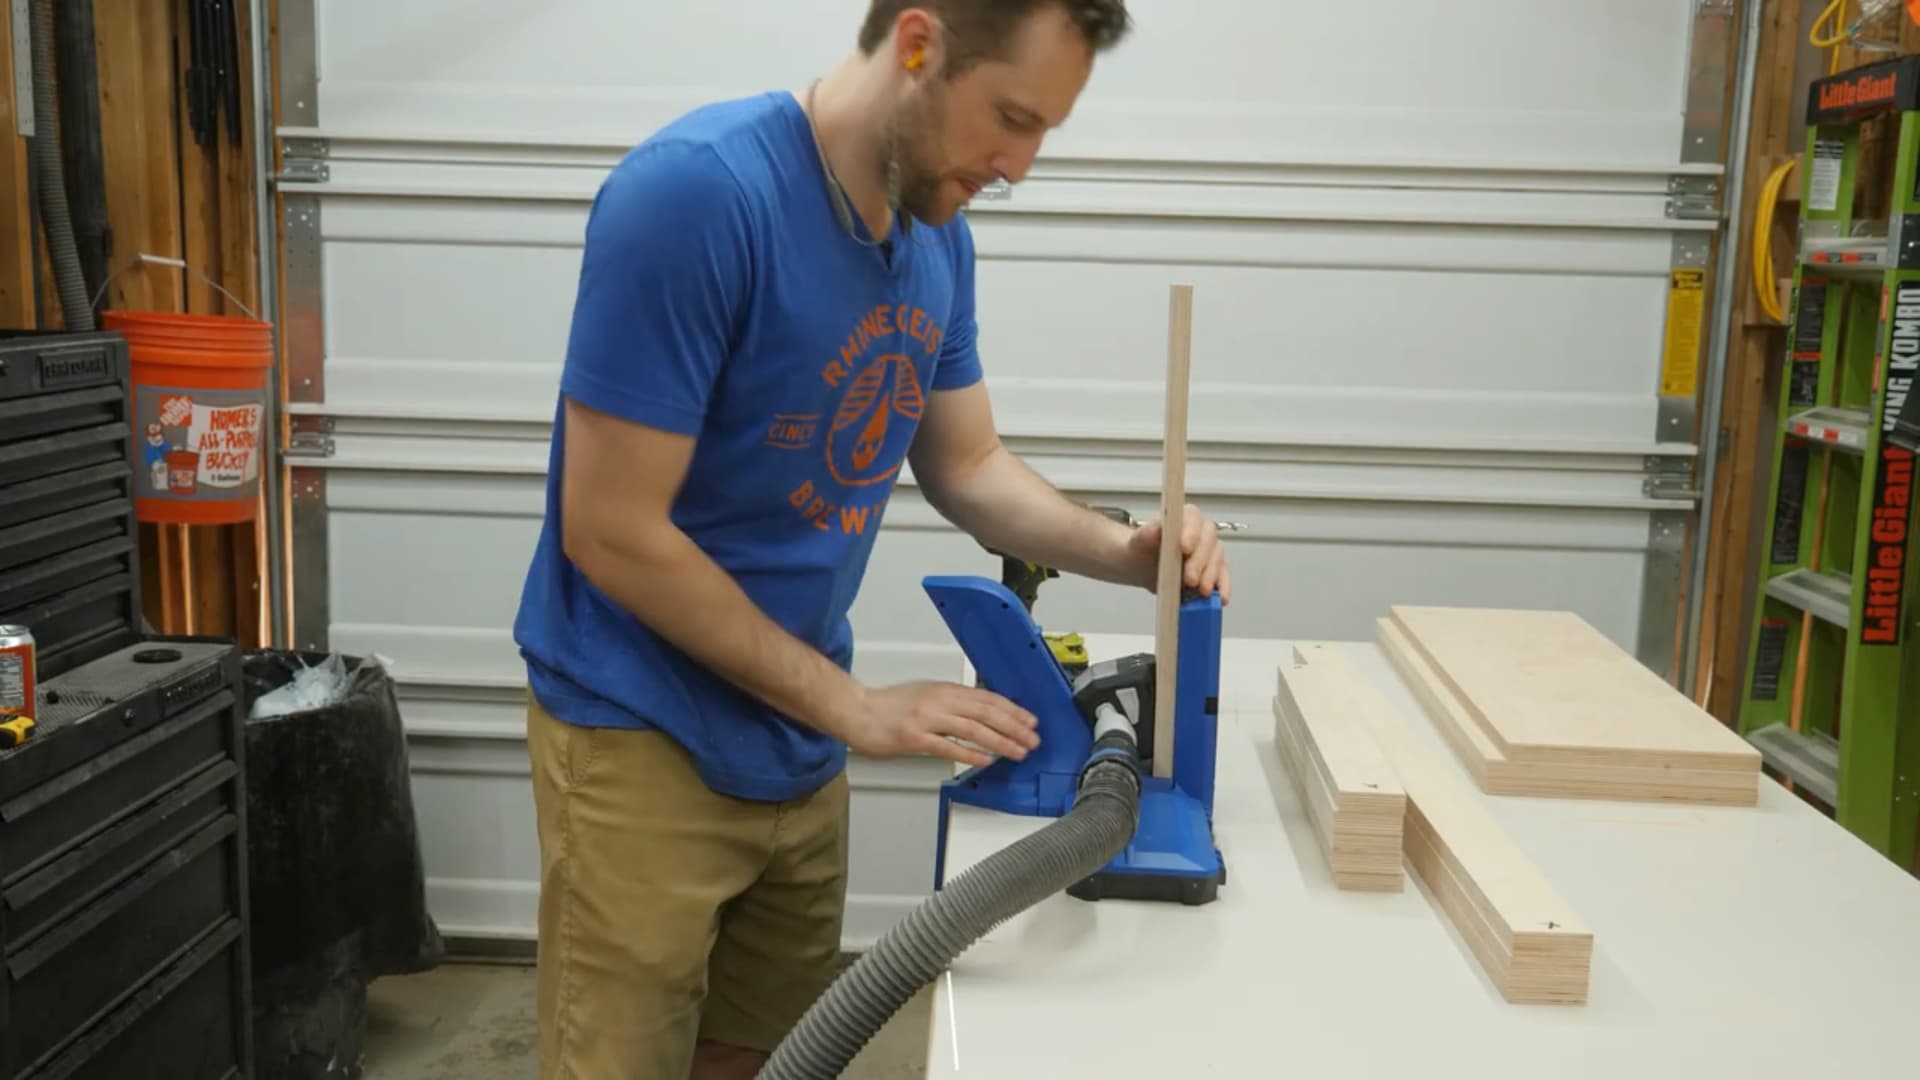
3Drill Pocket Holes
Grab all of your 3/4" thick plywood brace pieces to construct the case and drill pocket holes into them
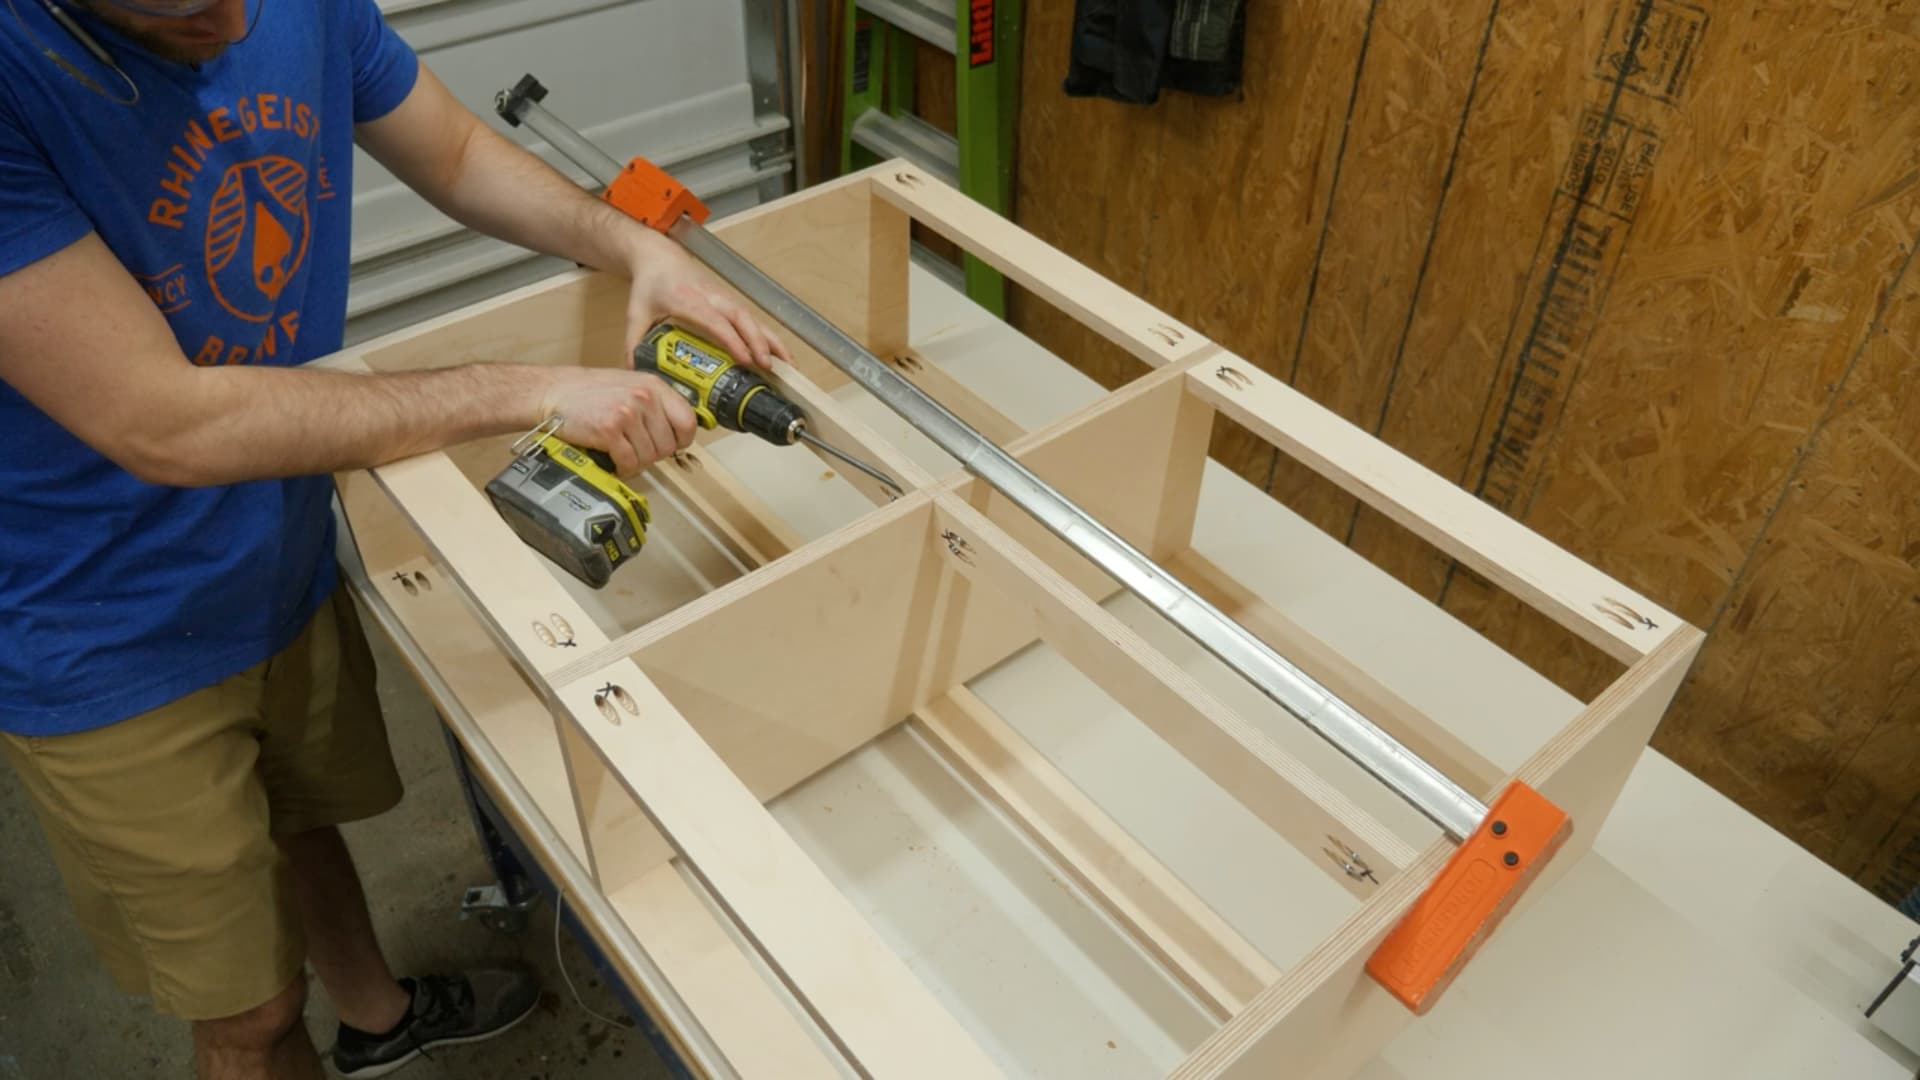
4Construct Case
Using 1 1/4 pocket hole screws, assemble the case together
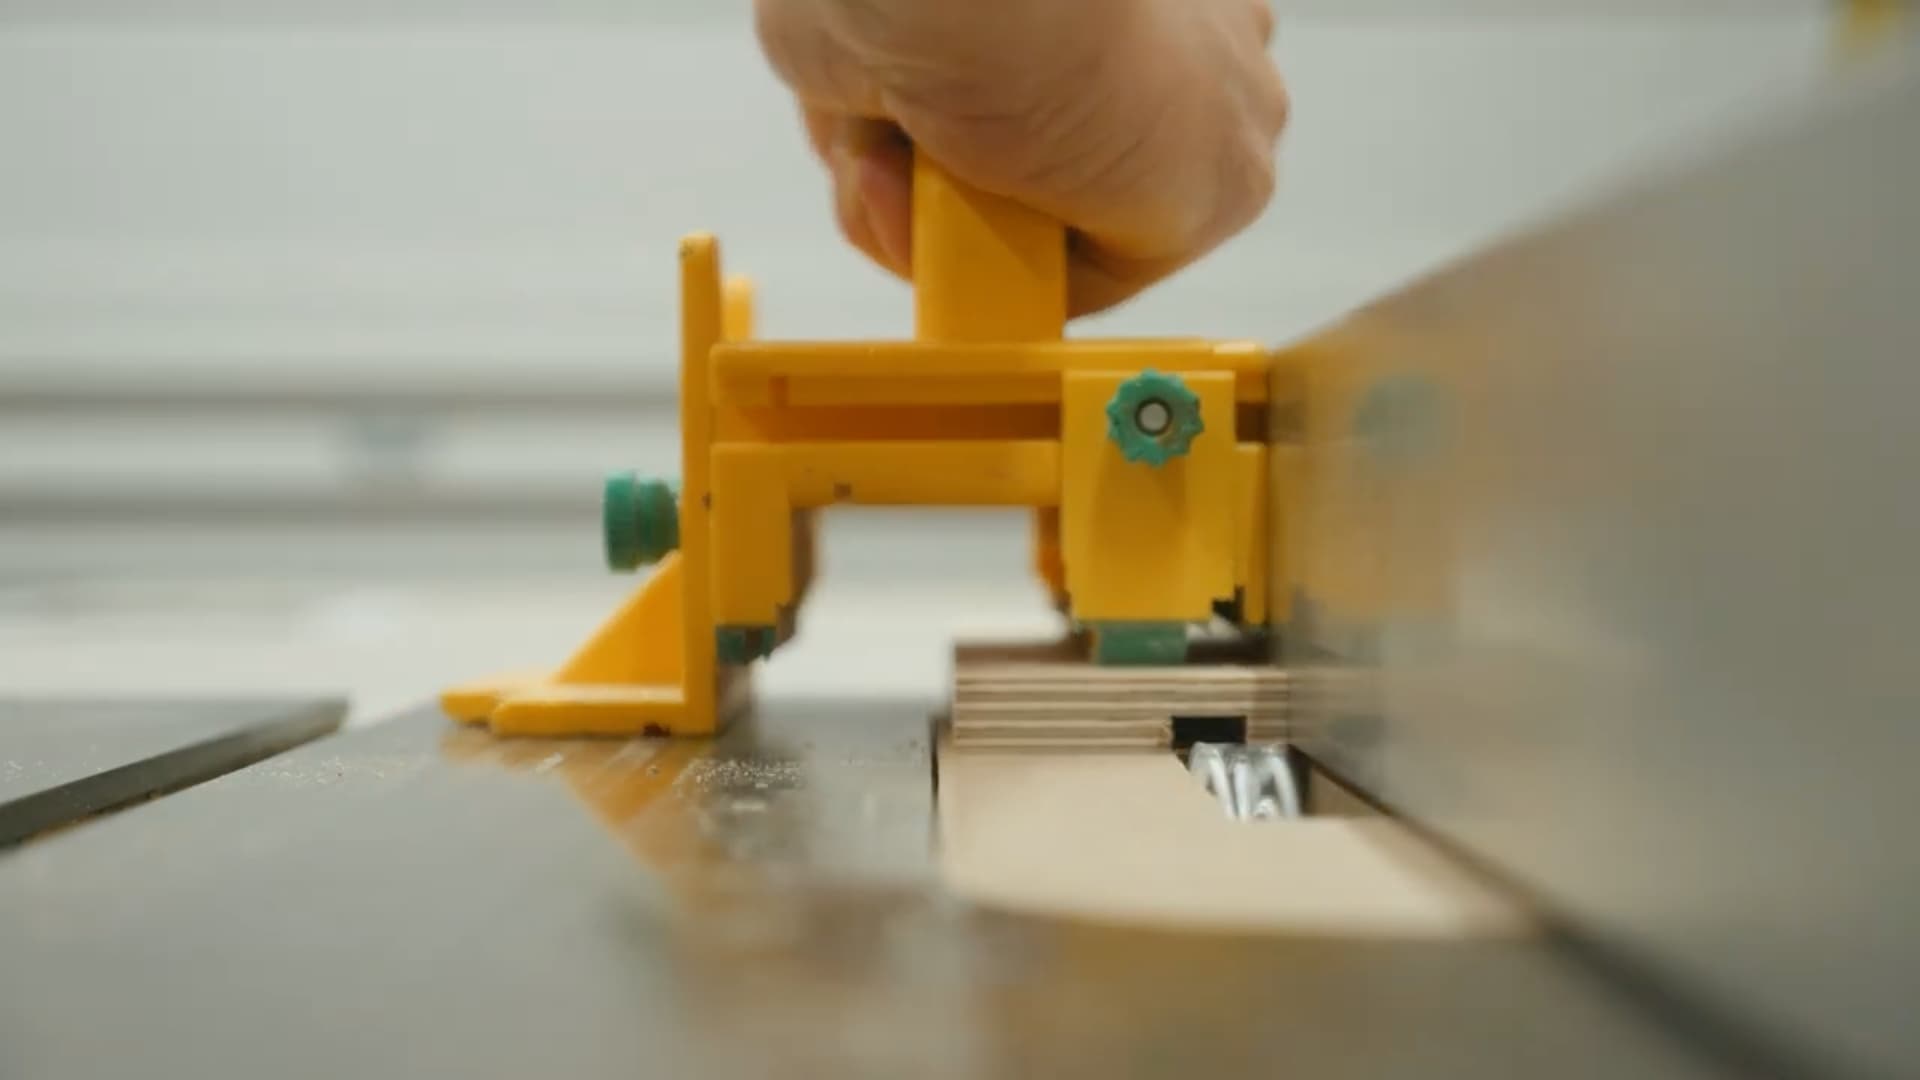
5Cut Drawer Dados
In all of the 1/2" thick plywood drawer pieces, (excluding the false fronts) cut a 1/2" wide and 1/4" deep dado to house the drawer bottoms
6Assemble Drawer Boxes
Assemble all 4 drawer boxes using 1" long pocket hole screws
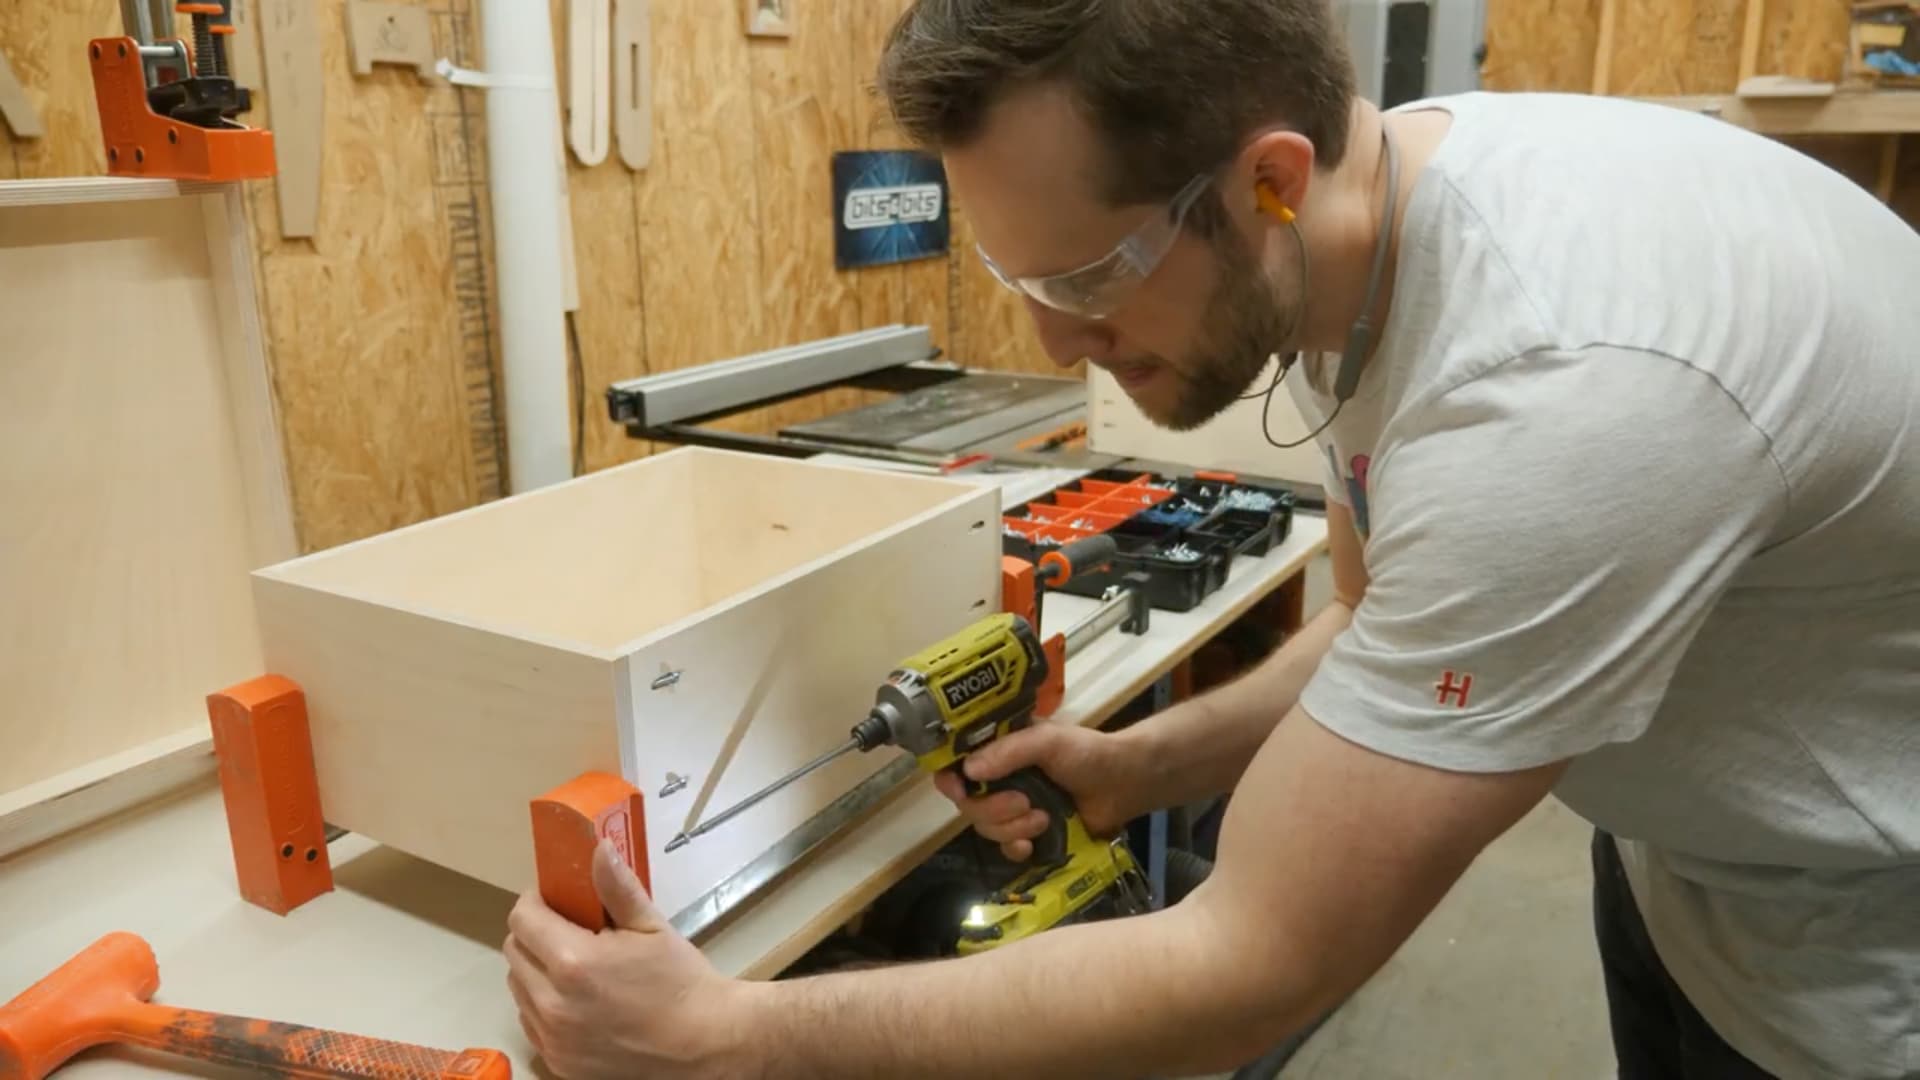
7Install Drawer Slides
Using a small spacer, install 4 sets of drawer slides inside the case
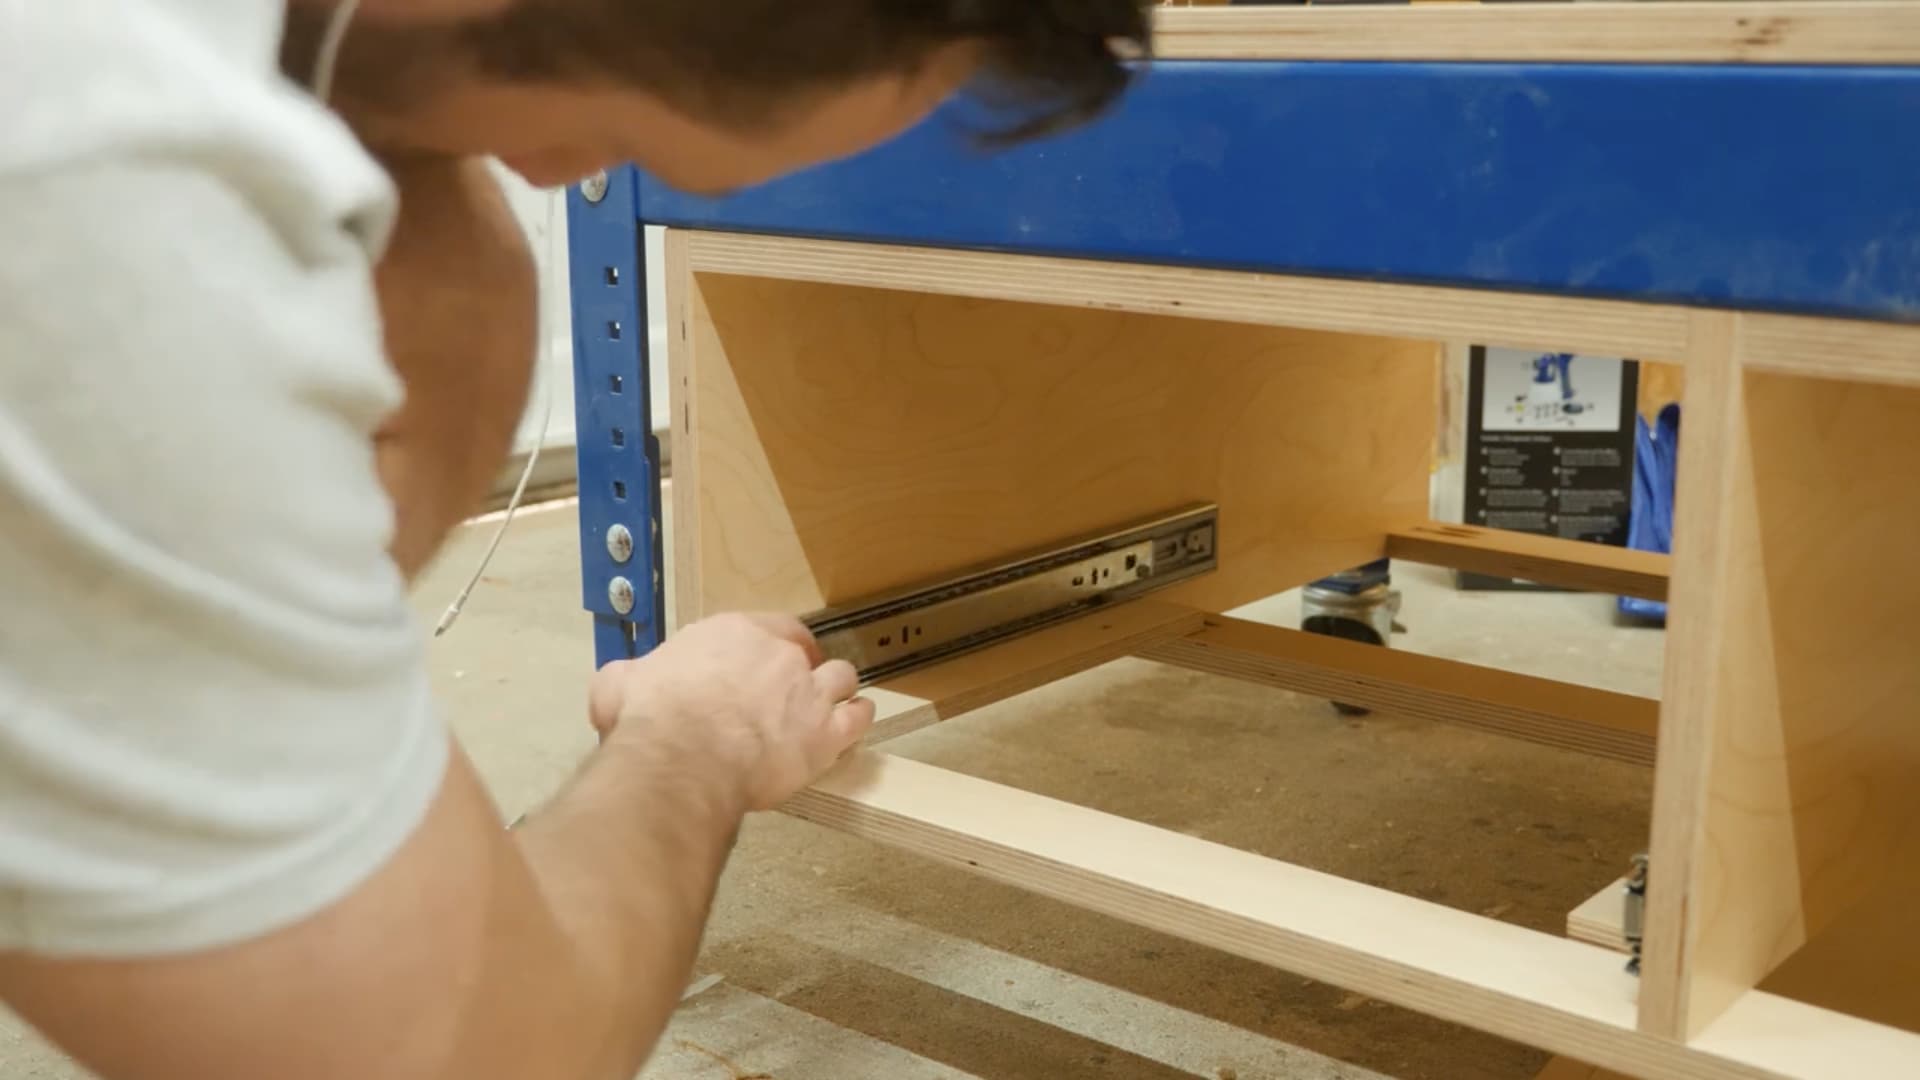
8Install Large Drawers
Install large drawers between the drawer slides, attach the drawer front, and attach the drawer pull
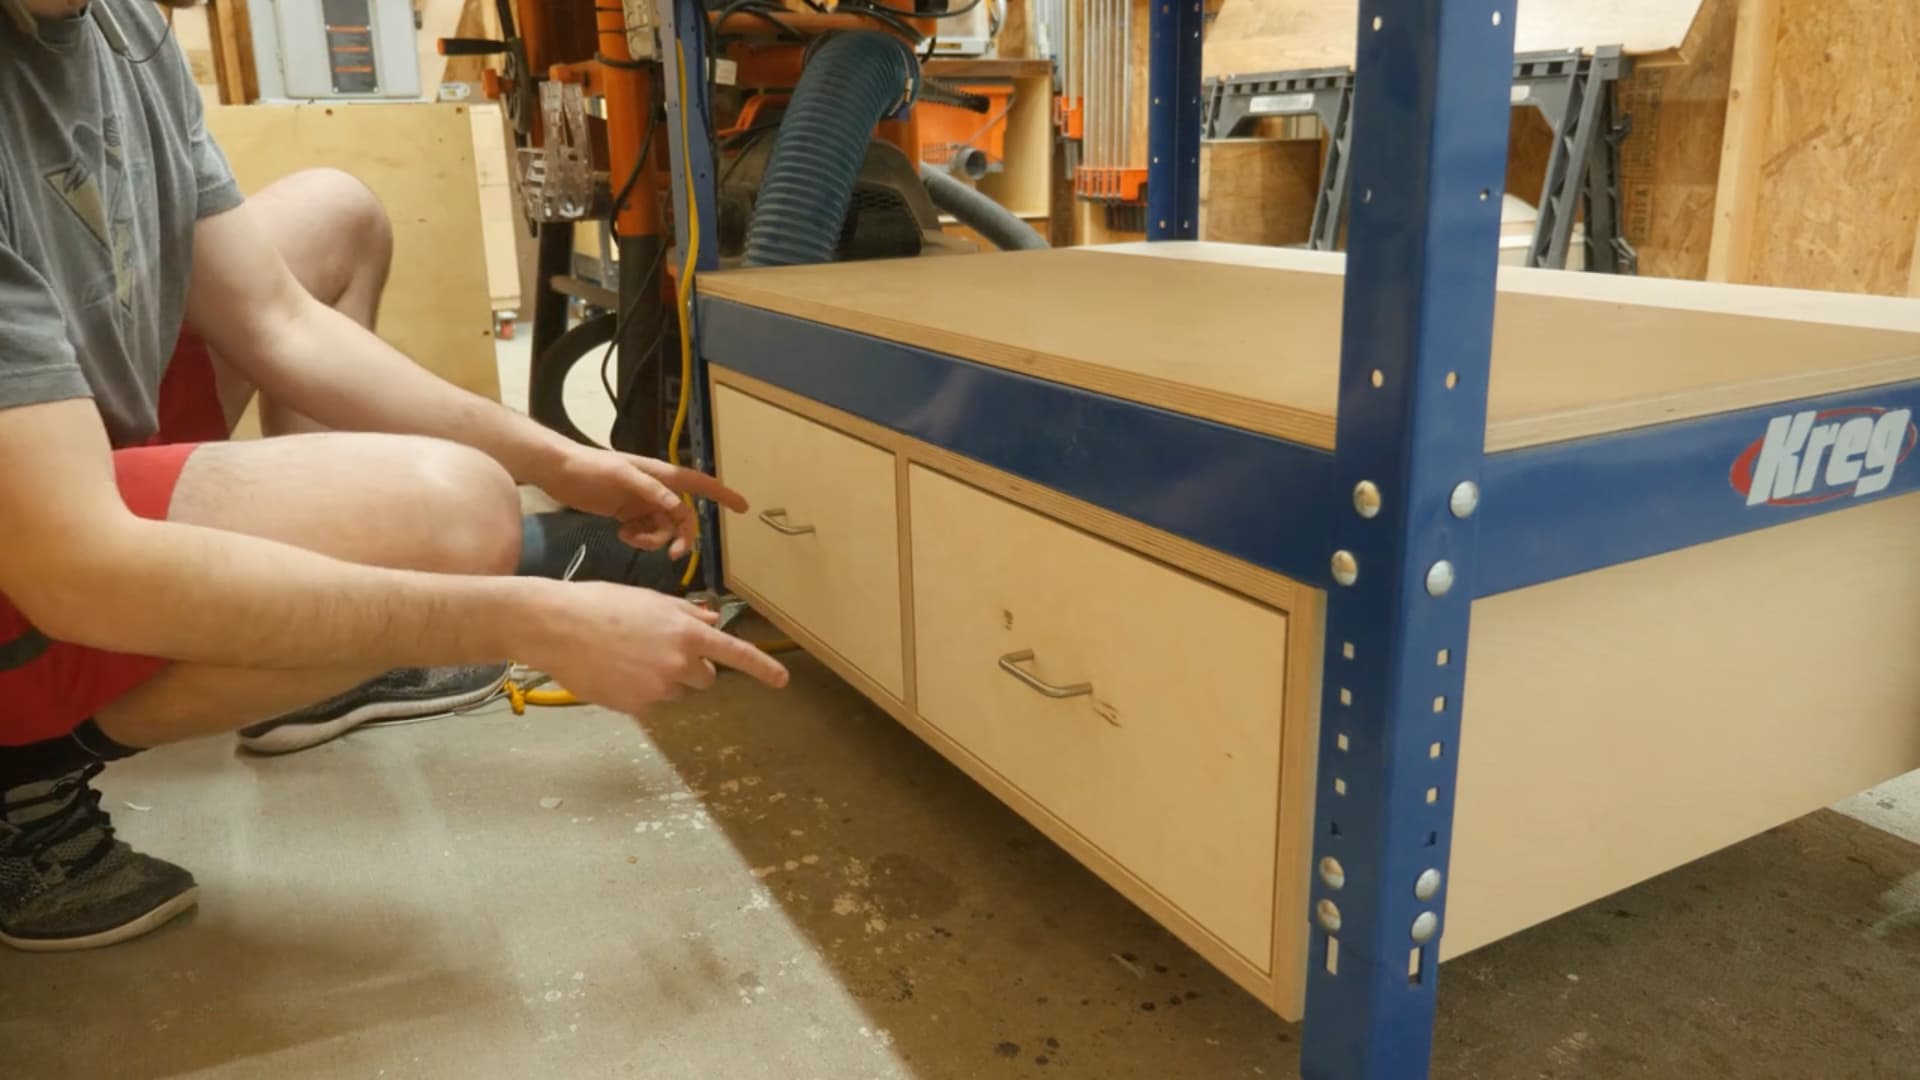
9Install Small Drawers
Install small drawers between the drawer slides, attach the drawer front, and attach the drawer pull
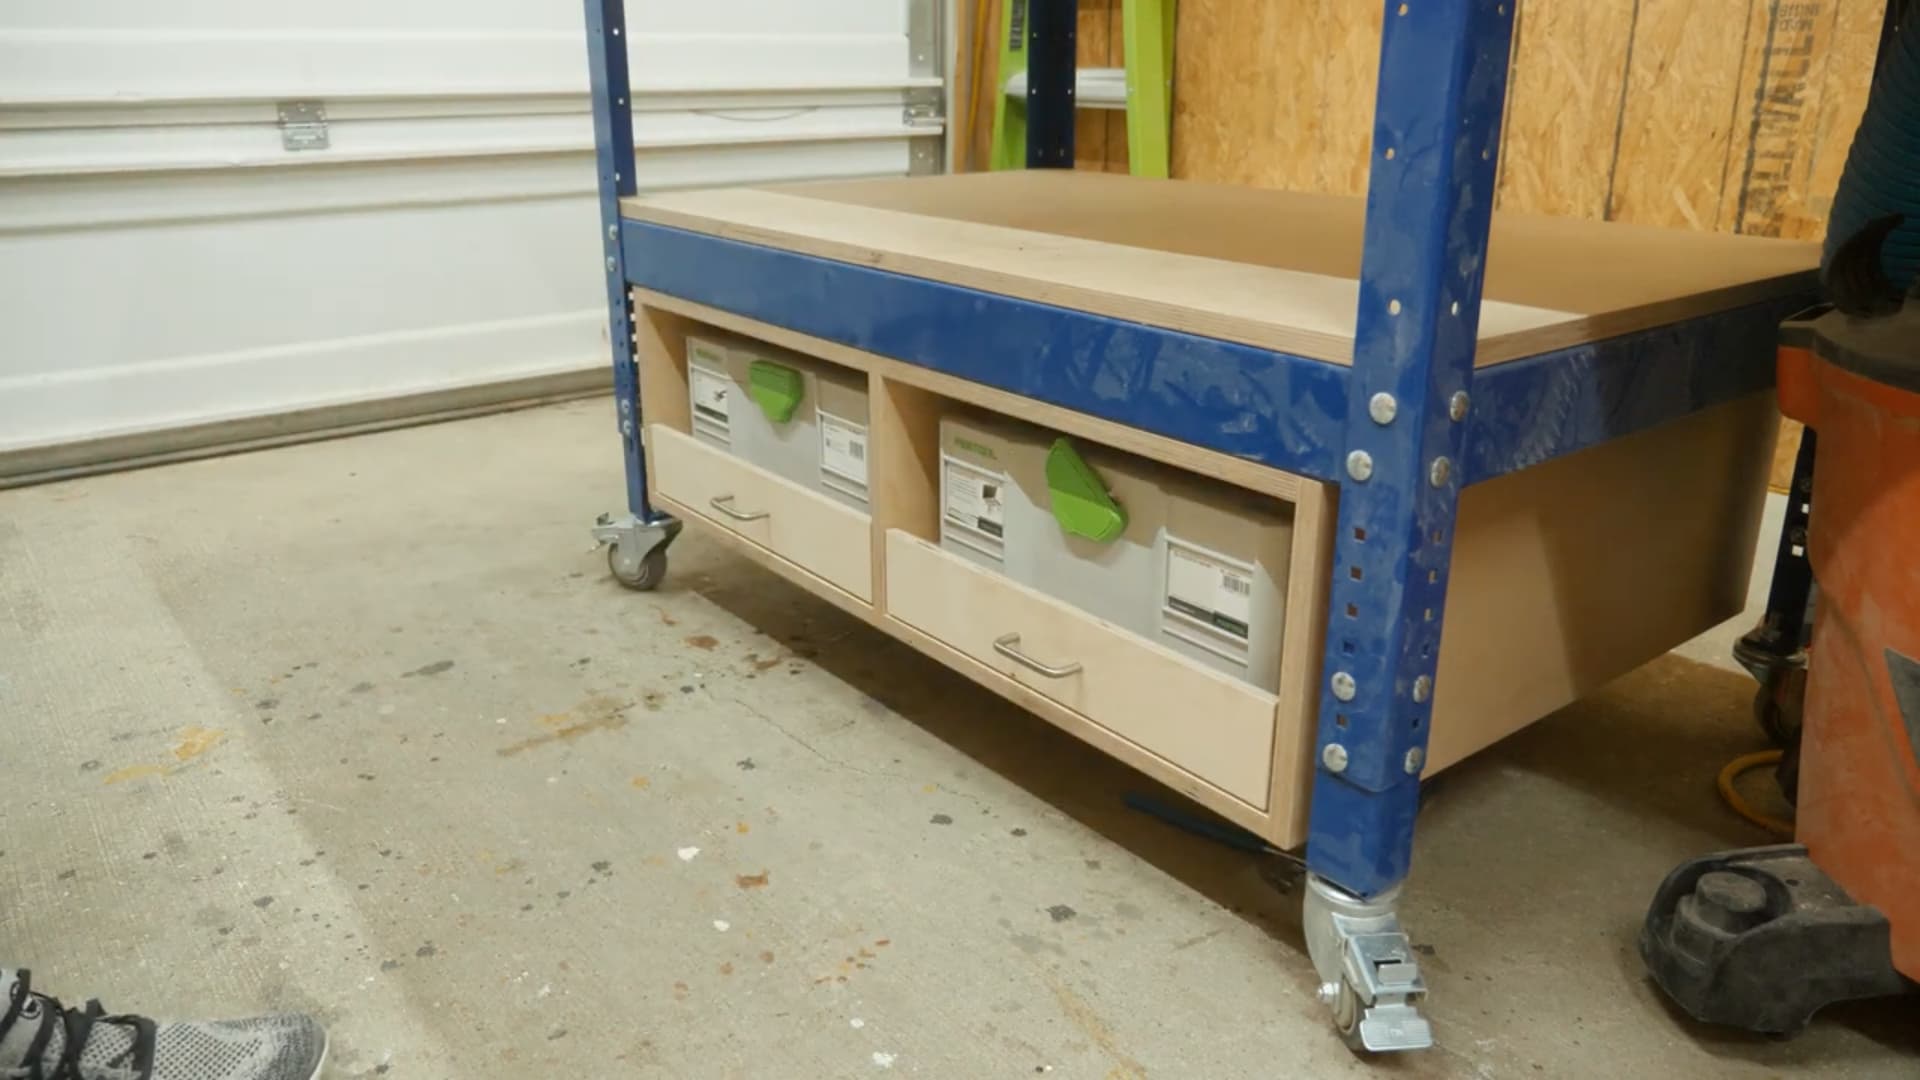
10You Are Done!
Congrats on building the under workbench storage!
Tags
- Workbenches
- Beginner
Reviews & builds
No reviews yet
Sign in to review this plan or share your build.
No reviews yet. Be the first to build this.