Notch
← Back to the plan
Use your browser's Print (Ctrl/Cmd + P) and choose Save as PDF. This page works offline once you've opened it with a signal.
Star Wars TIE Fighter Bookshelf
Hello, I’m Ashley!
- Difficulty
- Beginner
- Time
- 2–3.8 hours
- Cost
- $$
Cut list
| Part | Qty | T × W × L | Material | ✓ |
|---|---|---|---|---|
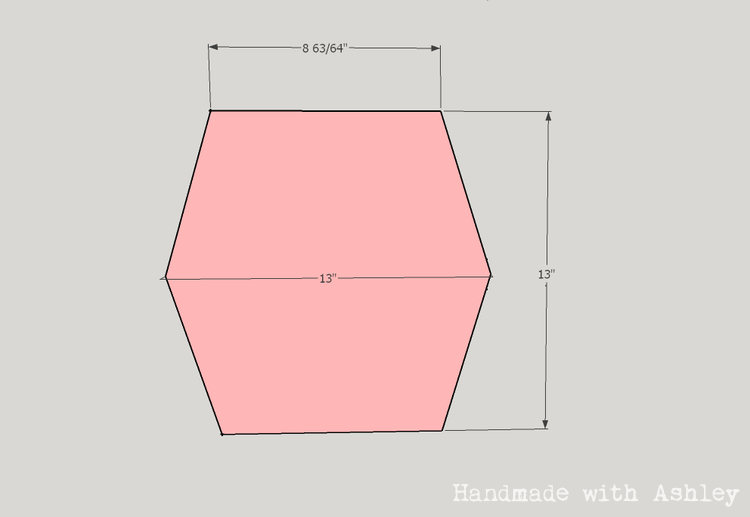
| TIE Fighter Wings | 2 | 3/4" × 13" × 13" | — | ☐ |
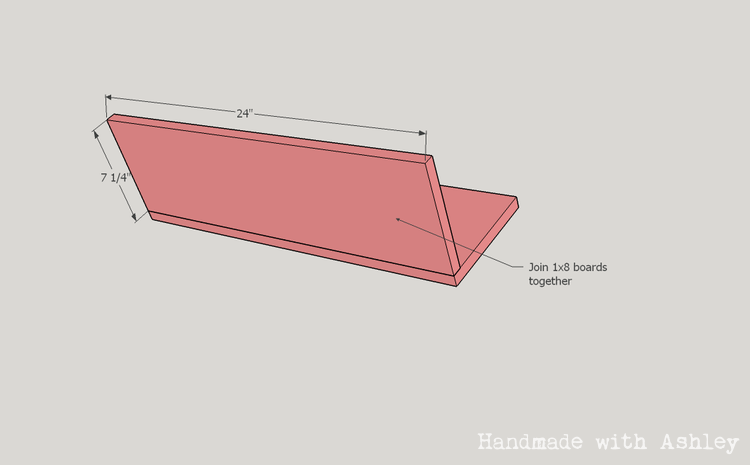
| Shelf | 2 | 3/4" × 7 1/4" × 14" | — | ☐ |
Materials
| Item | Qty | ✓ |
|---|---|---|
| Board, 1x8 48" | 1 board | ☐ |
| Plywood, 3/4" Thick Quarter Sheet | 1 board | ☐ |
| Pint of Black Paint | 1 each | ☐ |
| Pint of Gray Paint | 1 each | ☐ |
| 1" Painter's Tape | 1 each | ☐ |
Overall cost: $$. Lumber varies by region, species, and season, so we give a band rather than a figure.
Tools
- Circular Saw
- Drill / Driver
- Jigsaw
- Pocket Hole Jig
- Random Orbit Sander
- Bar / Pipe Clamps — optional
Instructions
1. Cut out the TIE Fighter wing shape
- The TIE figher wings are shaped sorta like a hexagon. Use a jigsaw to cut out the shape. Draw a line from the midpoint of each side.
- Measure 2" from the corner and create a line from that point to the midpoint.
- Cut along the diagonal lines
2. Drill pocket holes
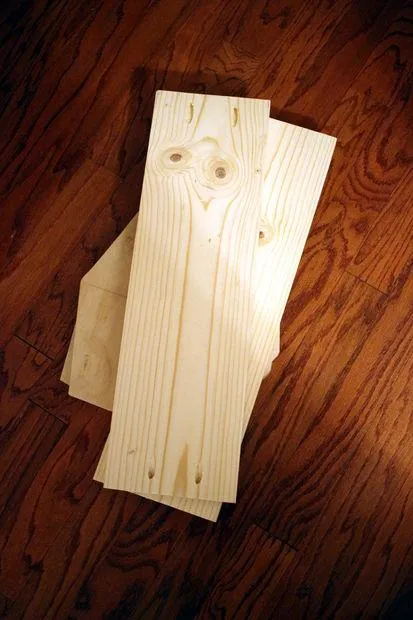
Create pocket hole joints to join the boards. Create 3 pocket holes on the long side of one of the 1x8 boards. Create 2 pocket holes on the each short side of the 1x8 boards.
3. Assemble the Shelf
Join the 1x8 boards at 90 degrees
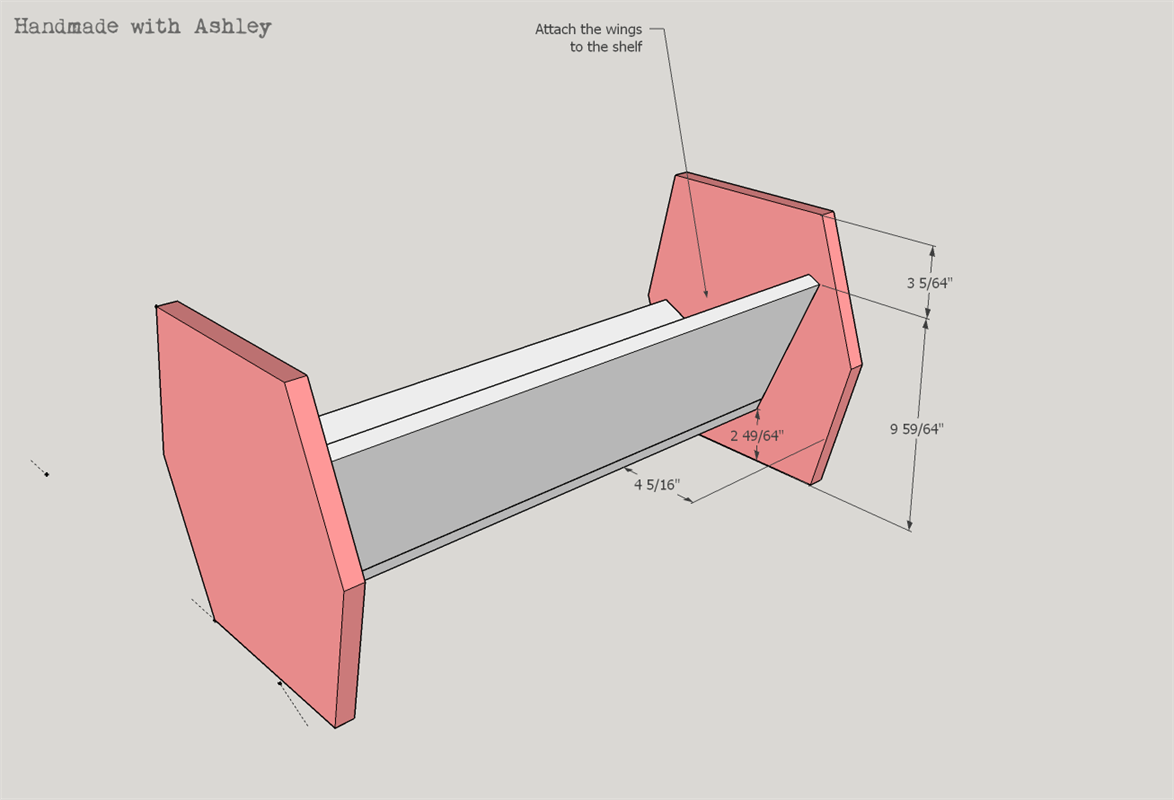
4. Attach the wings
Attach the shelf to each wing. For more pictures, check out the link in the extras tab.
5. Paint the shelf
- Sand and prep the surface for painting.
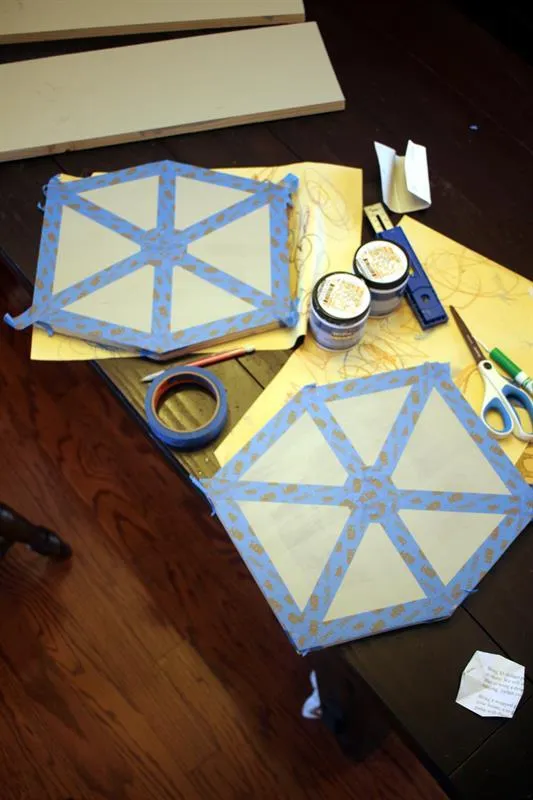
- First paint the shelf with a base of gray paint. Use black paint for the the wing details and cockpit. Use painters tape to mark of the sections of the TIE fighter. For detailed painting instructions visit the "Extras" tab. (This step can be completed one the shelf is assembled. I found it easier to paint before assembly.)
6. Visit ashleygrenon.com
Visit ashleygrenon.com for more photos and DIY project tutorials.