Notch
Shallow Wall Shelf
Step-by-step build — 6 steps. Also available as a print sheet.
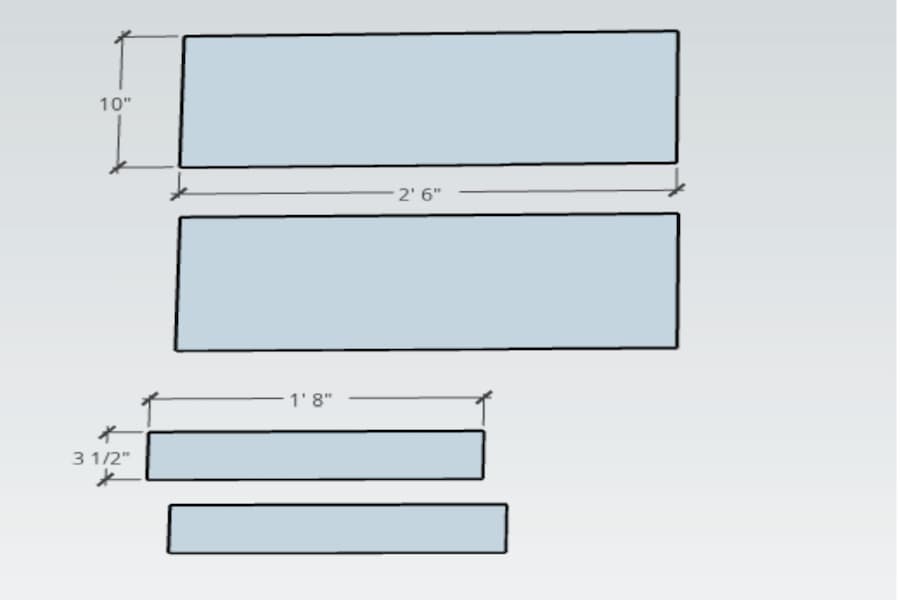
1Prep all of the cuts
To begin, I measured the size I wanted for the back of the shelf. For this project, I chose to make it 30” long and attach two 1x10 pieces together to make it 20” wide. The smaller shelves were then also cut to size (20”) to be attached to that backing board.
2Drill pocket holes
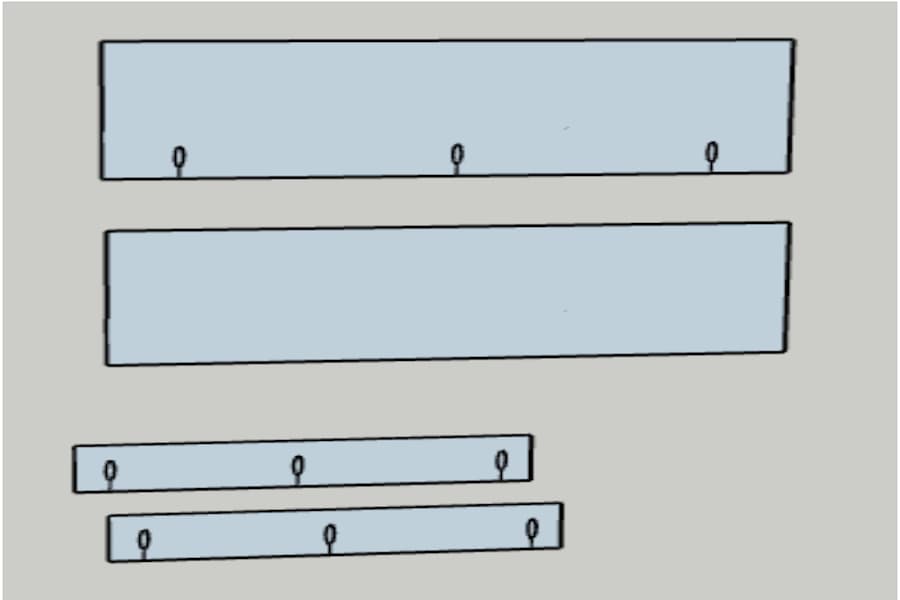
Three pocket holes are needed on one of the 1x10 pieces and on the bottom of both 1x4 pieces. Depending on the length of your wood, drill more holes if necessary.
3Attach back pieces
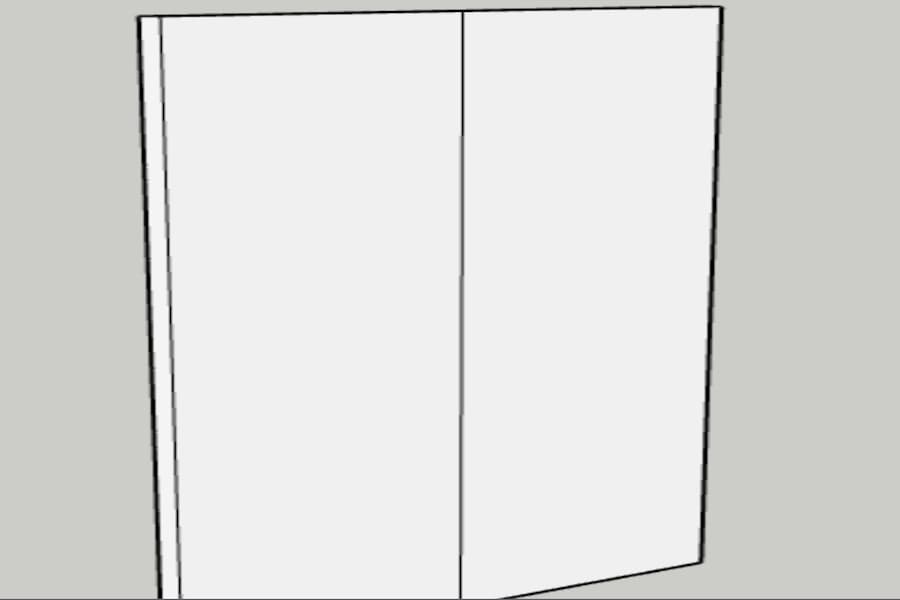
Using 1.5” Kreg wood screws, attach the two 1x10 pieces together.
4Add shelves
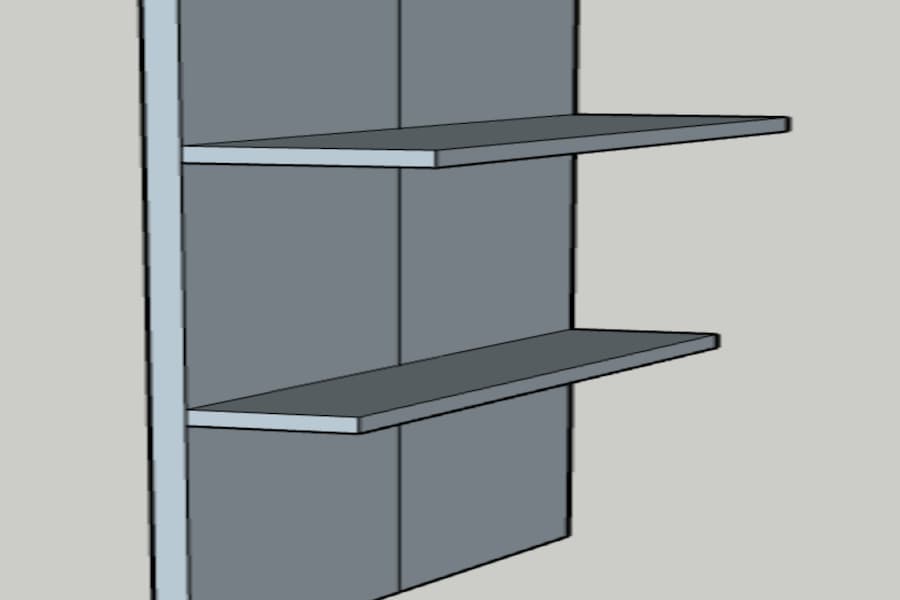
Using 1” Kreg wood screws, attach 1x4 pieces to the larger back piece. I allowed 11” on the bottom and middle, leaving a smaller piece on top.
5Add hooks
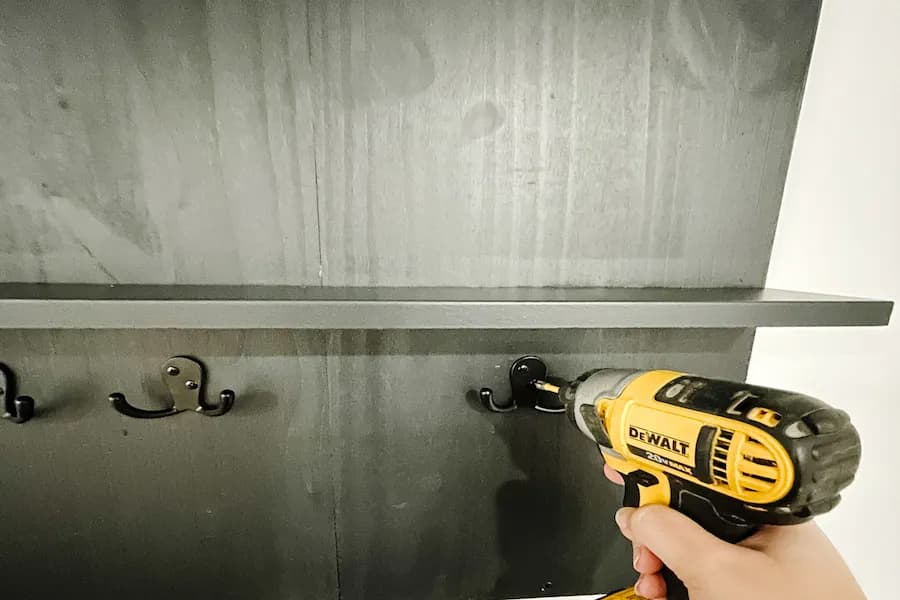
Finally, add in any hooks you want for hanging bike shoes, towels, resistance bands, etc.
6Organize your things!
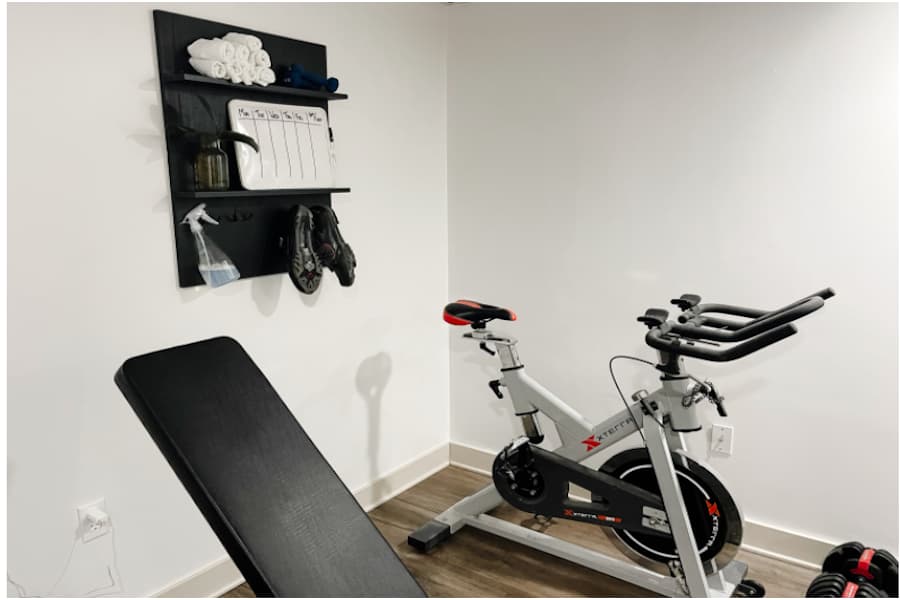
Now’s the time to hang up those shoes, roll up the towels, and even add in a small plant for good measure. It’s great to have something that looks great and also functions so well for this space. The shelf being so shallow means we don’t have to worry about bumping into it, and it’s been so nice keeping these things off of the floor!