 Notch
- Difficulty
- Easy
- Time
- 2–3.8 hours
- Cost
- $$$
About this build
Give all those things piled on your floor a home with this beginner-friendly, functional DIY shelf. Customize it to make it work for you by adding hooks, racks, or more shelves.
Tools
Essential
- Impact Driver
- Miter Saw
- Pocket Hole Jig
Materials
| Item | Qty |
|---|---|
| Primed MDF boards, 1 x 4 | 2 board |
| Pine or MDF boards, 1 x 10 | 2 board |
| Box of 1" Wood Screws (See tools list) | 1 each |
| Box of 1.5" Wood Screws (See tools list) | 1 each |
| Box of Kreg Paint Grade Wooden Plugs (See tools list) | 1 each |
| Paint of Choice | 1 each |
| Small Paint Roller | 1 each |
| Utility Hooks | 1 each |
Overall cost: $$$. Lumber prices vary by region, species, and season, so we give a band rather than a figure we would only be pretending to know.
Cut list
| Part | Qty | T × W × L |
|---|---|---|
| Back pieces | 2 | 1" × 10" × 30" |
| Shelves | 2 | 1" × 4" × 20" |
What to buy
Buy 2 boards at 8 ft.
1" × 10"
1 board
1" × 4"
1 board
Assumes 8 ft stock, a 1/8" saw kerf, and buying each part at its own width. Change the board size or kerf on the full board plan →
Instructions
1Prep all of the cuts
To begin, I measured the size I wanted for the back of the shelf. For this project, I chose to make it 30” long and attach two 1x10 pieces together to make it 20” wide. The smaller shelves were then also cut to size (20”) to be attached to that backing board.
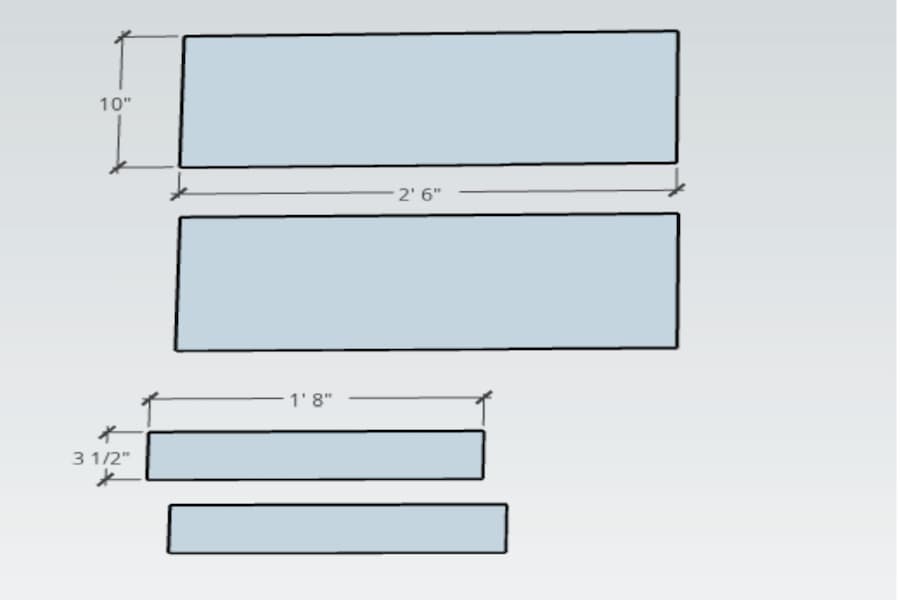
2Drill pocket holes
Three pocket holes are needed on one of the 1x10 pieces and on the bottom of both 1x4 pieces. Depending on the length of your wood, drill more holes if necessary.
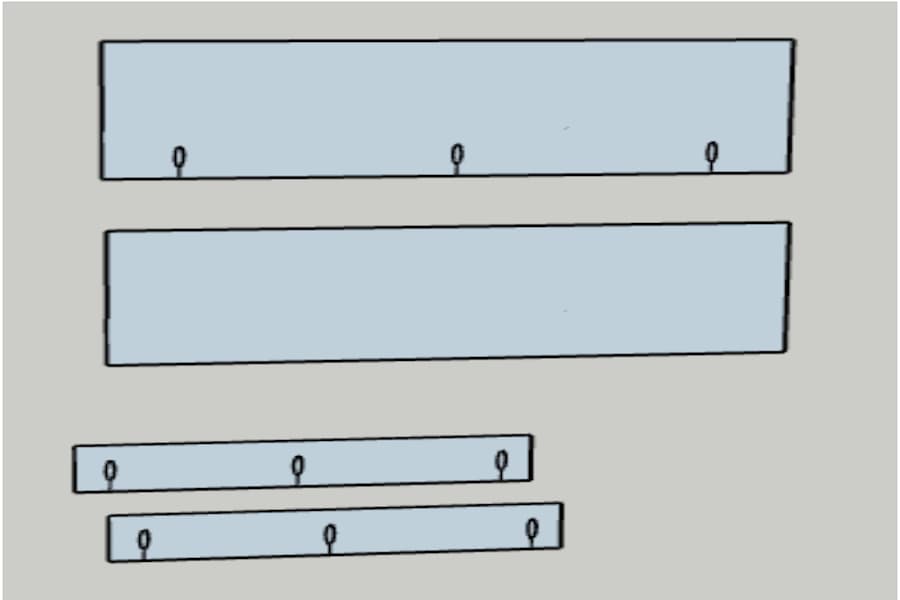
3Attach back pieces
Using 1.5” Kreg wood screws, attach the two 1x10 pieces together.
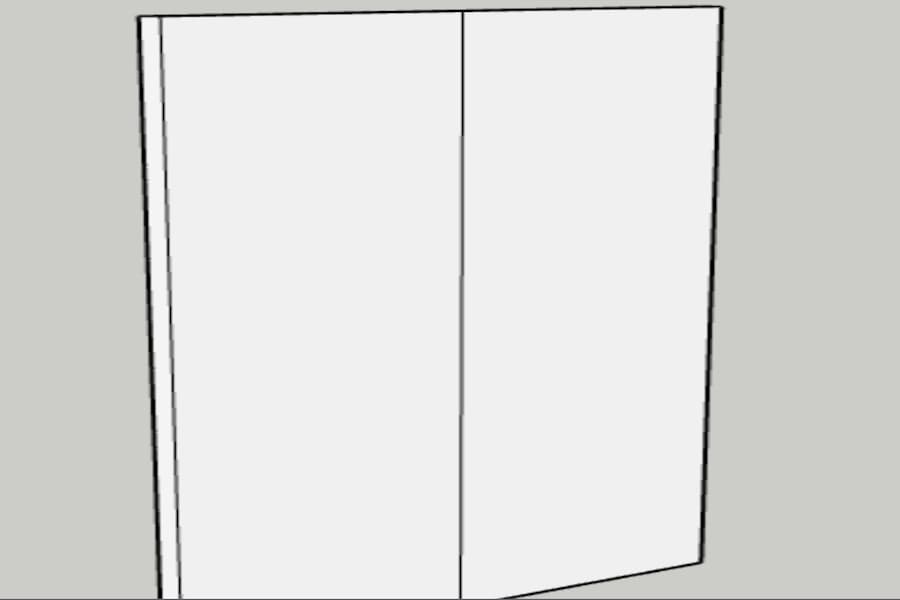
4Add shelves
Using 1” Kreg wood screws, attach 1x4 pieces to the larger back piece. I allowed 11” on the bottom and middle, leaving a smaller piece on top.
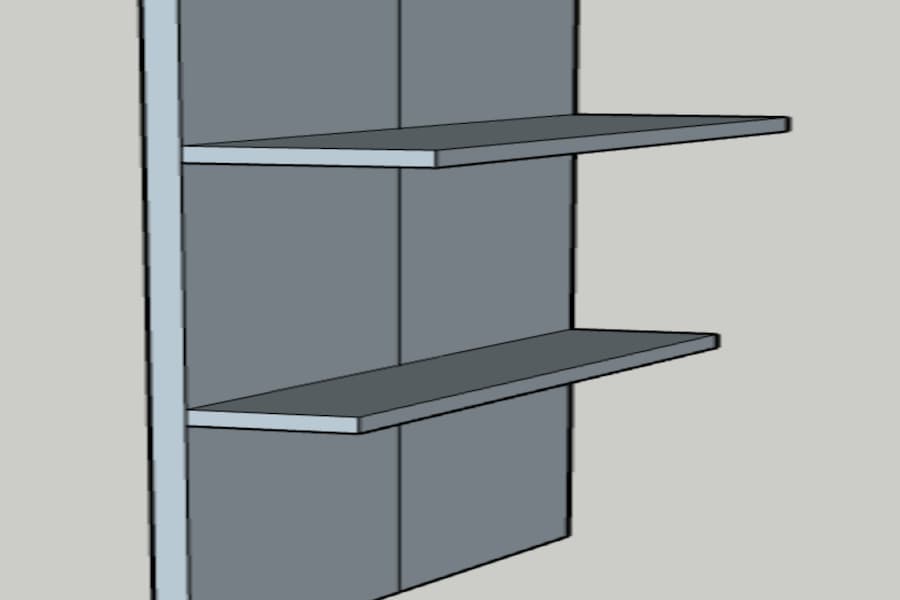
5Add hooks
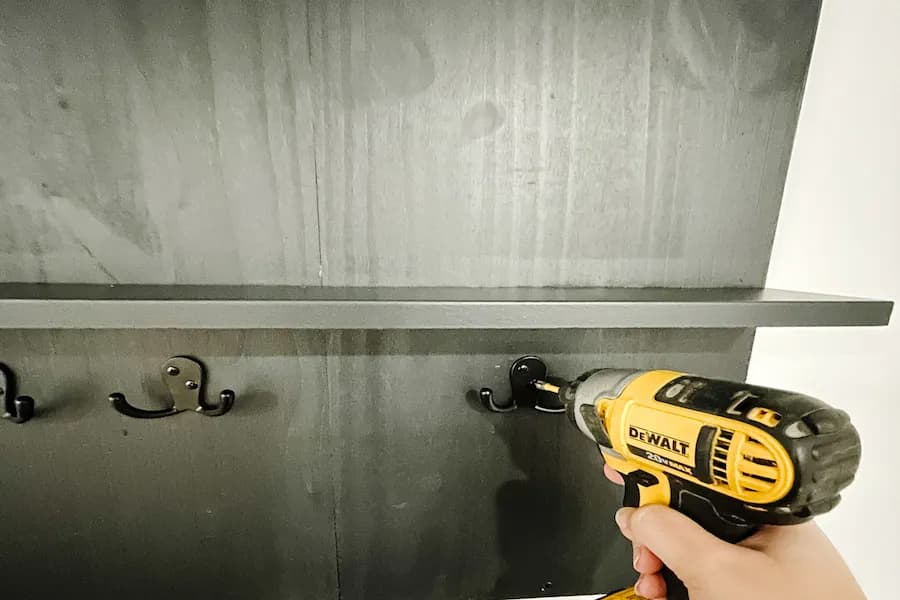
Finally, add in any hooks you want for hanging bike shoes, towels, resistance bands, etc.
6Organize your things!
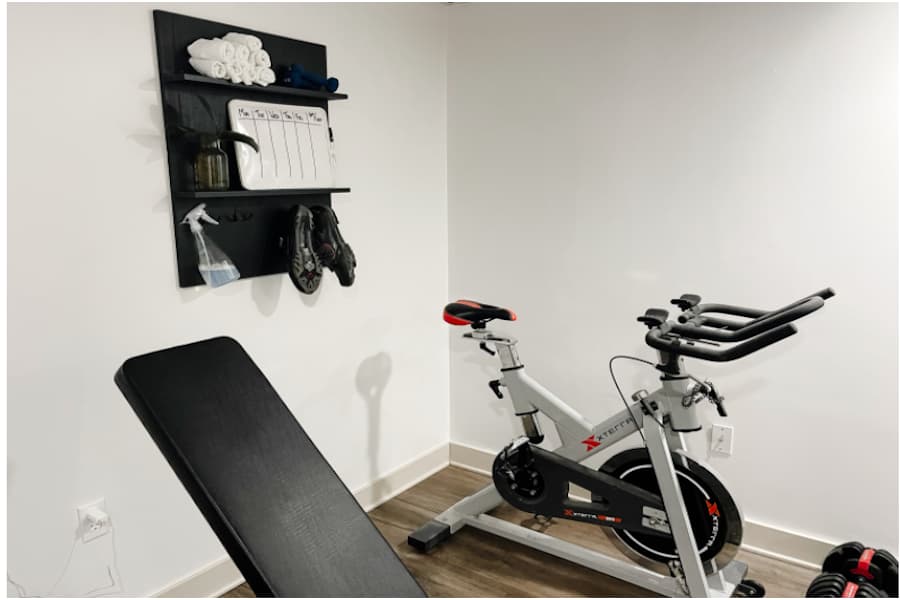
Now’s the time to hang up those shoes, roll up the towels, and even add in a small plant for good measure. It’s great to have something that looks great and also functions so well for this space. The shelf being so shallow means we don’t have to worry about bumping into it, and it’s been so nice keeping these things off of the floor!
Tags
- Father's Day Gifts
- Beginner
Reviews & builds
No reviews yet
Sign in to review this plan or share your build.
No reviews yet. Be the first to build this.