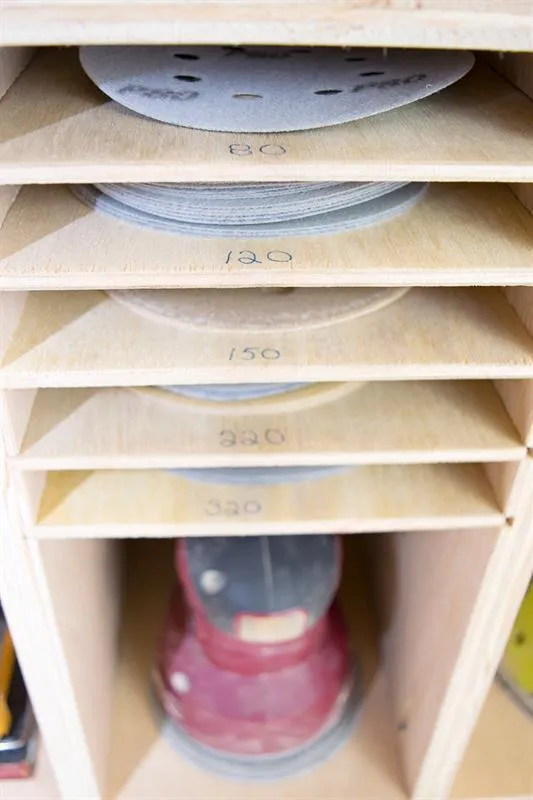
Notch
Sander and Sandpaper Storage
Step-by-step build — 7 steps. Also available as a print sheet.
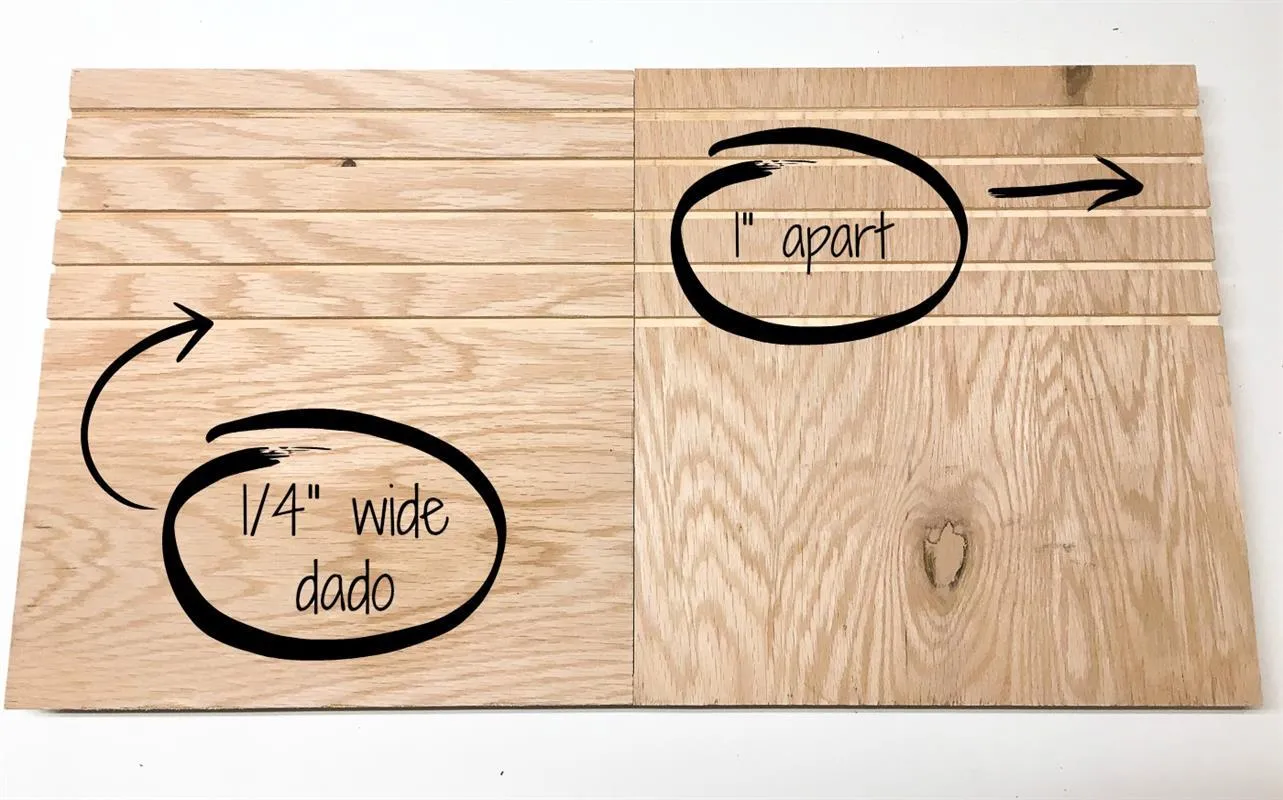
1Cut dados for shelves
Cut five 1/4" dados, 1" apart, on the top half of the vertical supports. Two of the vertical supports should have dados on both sides.
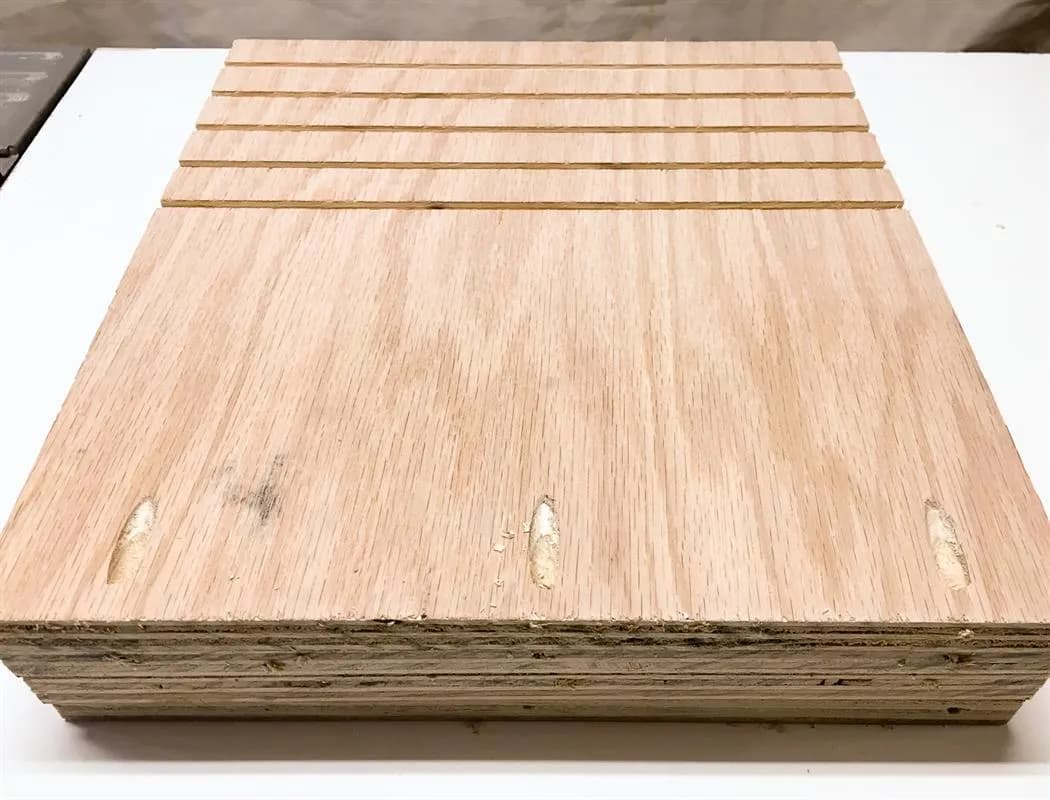
2Drill pocket holes
Drill pocket holes at the bottom of each vertical support on the same side as the dados.
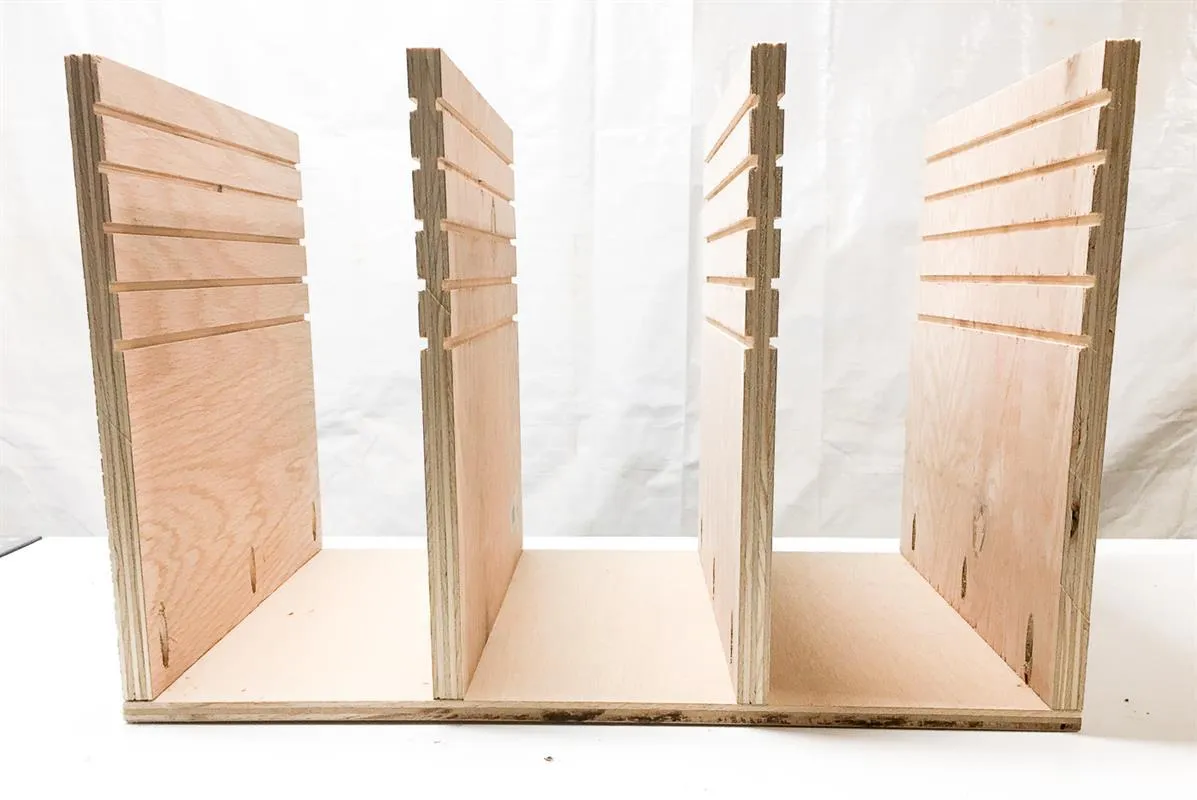
3Attach vertical supports to bottom
Attach the vertical supports to the bottom piece with 1 1/4" screws. The vertical supports should be spaced 6 1/4" apart.
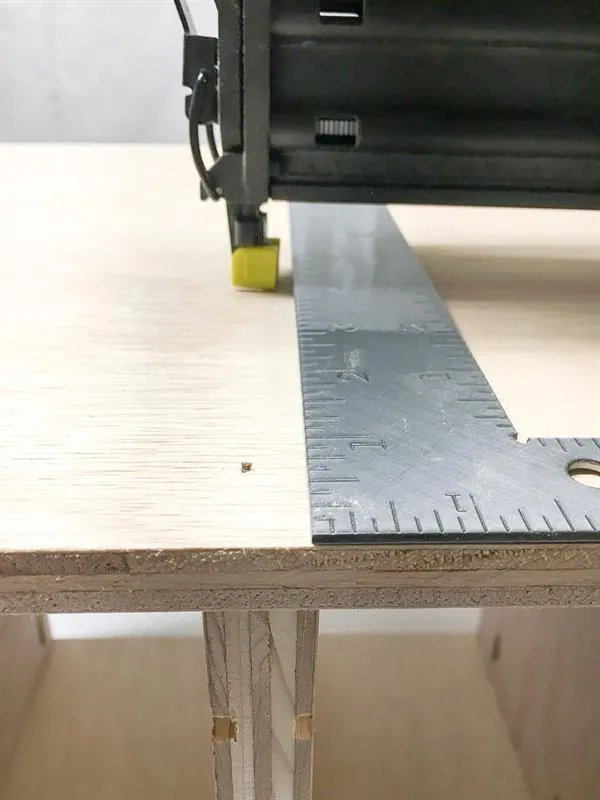
4Nail top in place
Nail the top of the box in place through the vertical supports.
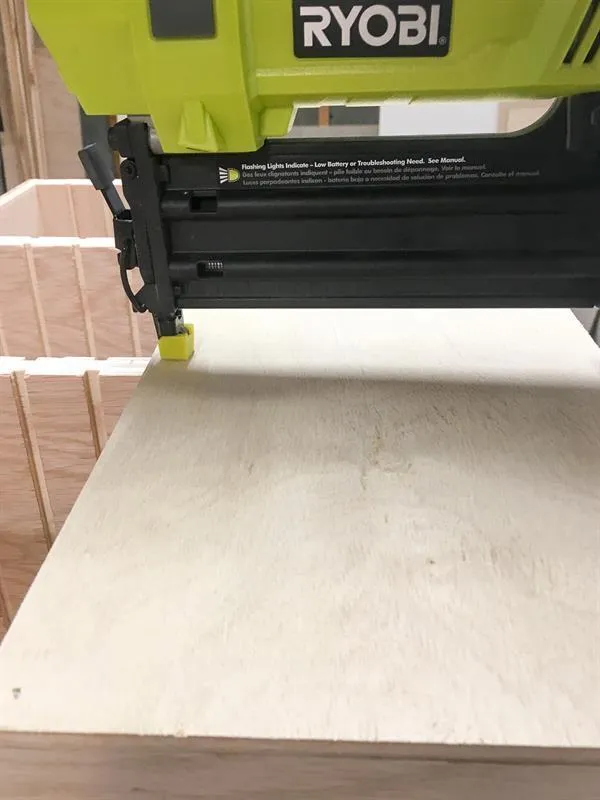
5Nail back in place
Nail the back of the box in place.
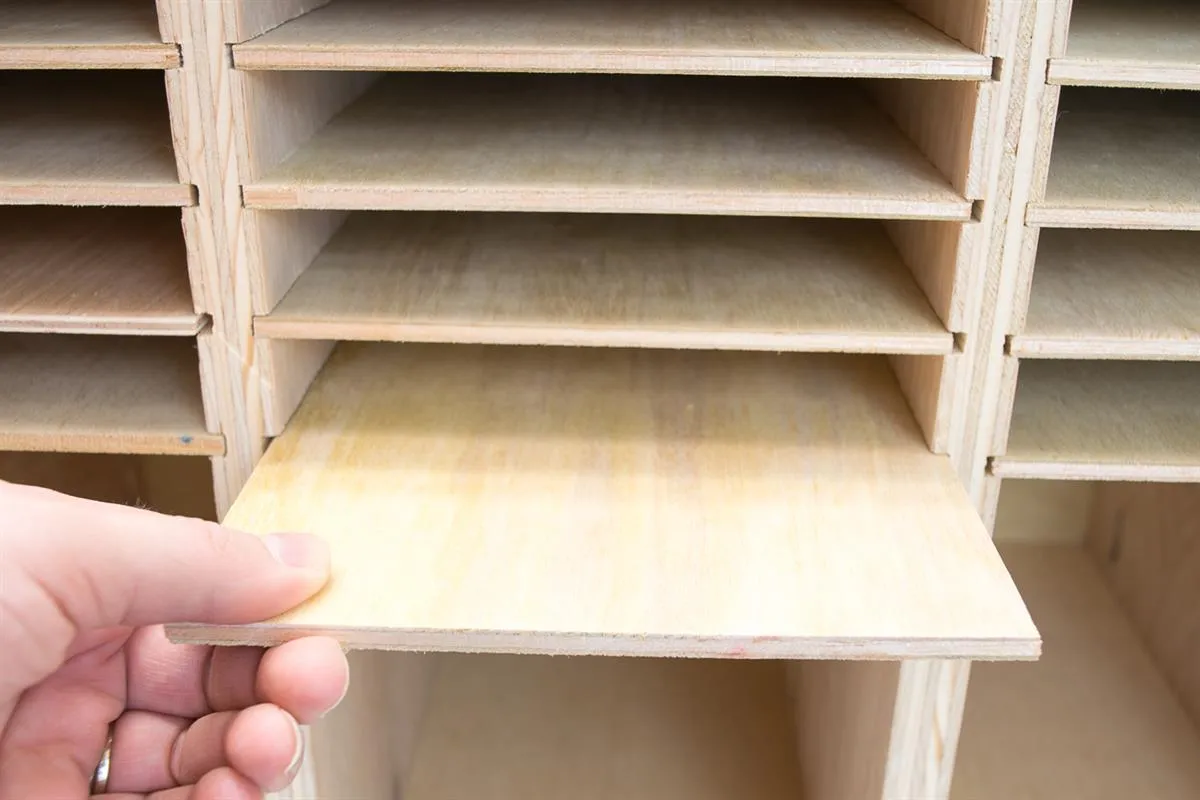
6Slide shelves in place
Slide each of the 1/4" plywood shelves in place. If they have trouble fitting, sand the top and bottom until it moves freely.
7Label sandpaper grits
Don't forget to label each shelf with the grit number. Now you can easily see when you're running low on your favorites!