 Notch
- Difficulty
- Intermediate
- Time
- 2.8–5.5 hours
- Cost
- $$
About this build
Keep all your sanders and sandpaper in one compact space! This storage unit is sized to fit perfectly on the bottom shelf of the Kreg workbench.
Tools
Essential
- Brad Nailer
- Drill / Driver
- Pocket Hole Jig
- Random Orbit Sander
- Table Saw
Optional / nice to have
- Combination Square
- Tape Measure
Materials
| Item | Qty |
|---|---|
| Plywood, 3/4" Thick Half Sheet | 1 board |
| Plywood, 1/4" Thick Half Sheet | 1 board |
| 1 1/4" pocket hole screws | 1 each |
| Brad nails | 1 each |
Overall cost: $$. Lumber prices vary by region, species, and season, so we give a band rather than a figure we would only be pretending to know.
Cut list
| Part | Qty | T × W × L |
|---|---|---|
| Top and bottom | 2 | 3/4" × 13" × 21" |
| Vertical supports | 4 | 3/4" × 13" × 13" |
| Back | 1 | 1/4" × 15" × 21" |
| Shelves | 15 | 1/4" × 6" × 13" |
What to buy
Buy 5 boards at 8 ft.
3/4" × 13"
1 board
1/4" × 15"
1 board
1/4" × 6"
3 boards
Assumes 8 ft stock, a 1/8" saw kerf, and buying each part at its own width. Change the board size or kerf on the full board plan →
Instructions
1Cut dados for shelves
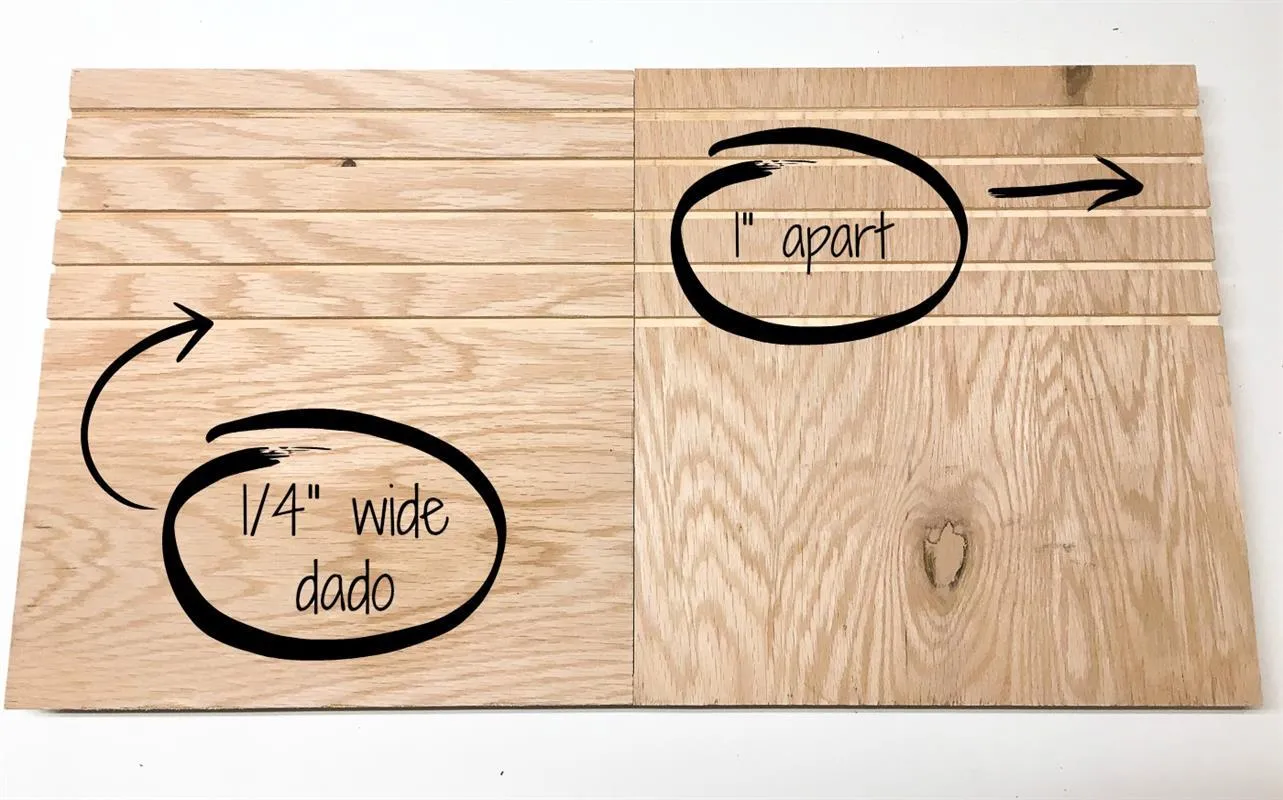
Cut five 1/4" dados, 1" apart, on the top half of the vertical supports. Two of the vertical supports should have dados on both sides.
2Drill pocket holes
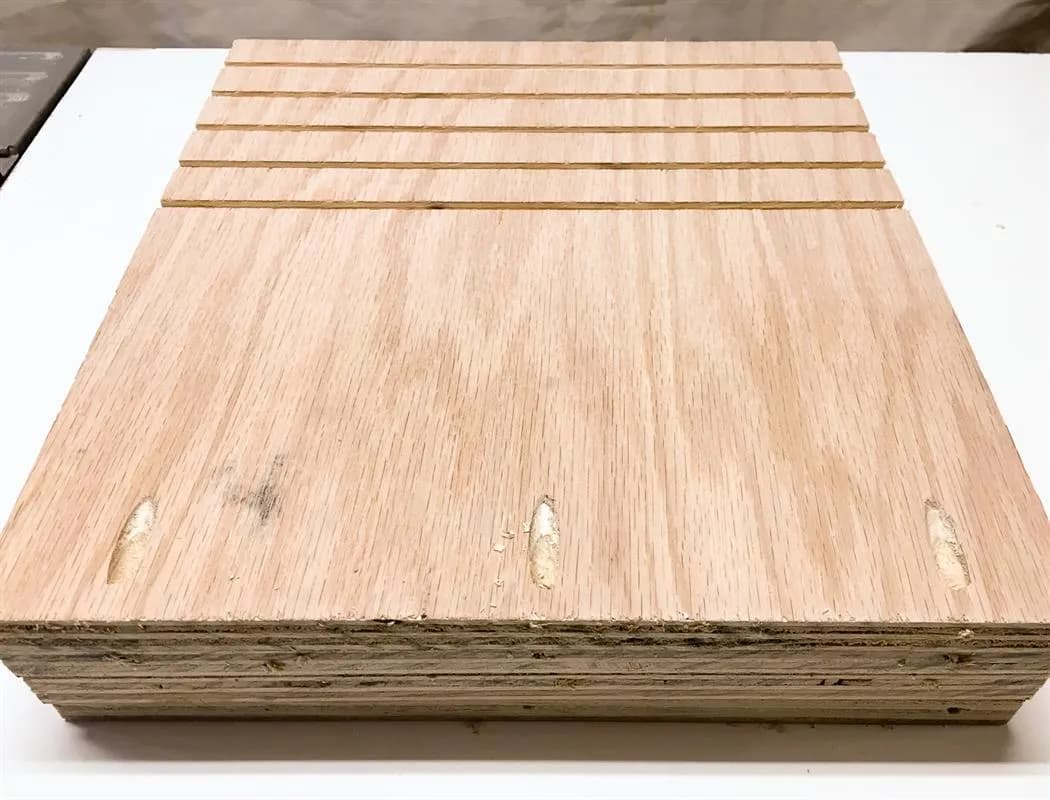
Drill pocket holes at the bottom of each vertical support on the same side as the dados.
3Attach vertical supports to bottom
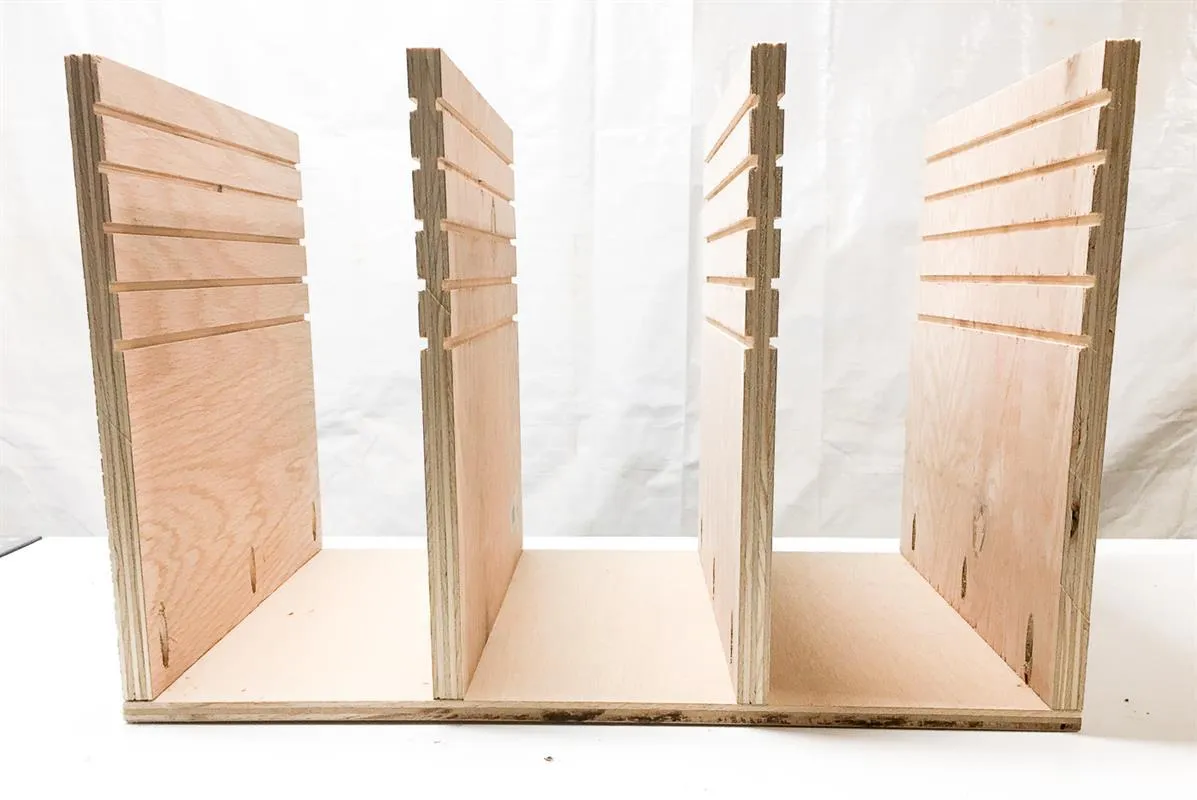
Attach the vertical supports to the bottom piece with 1 1/4" screws. The vertical supports should be spaced 6 1/4" apart.
4Nail top in place
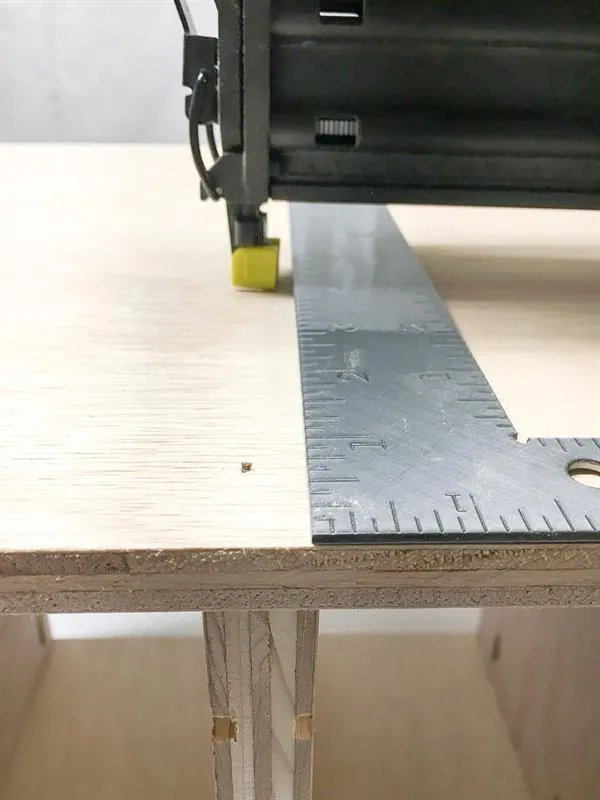
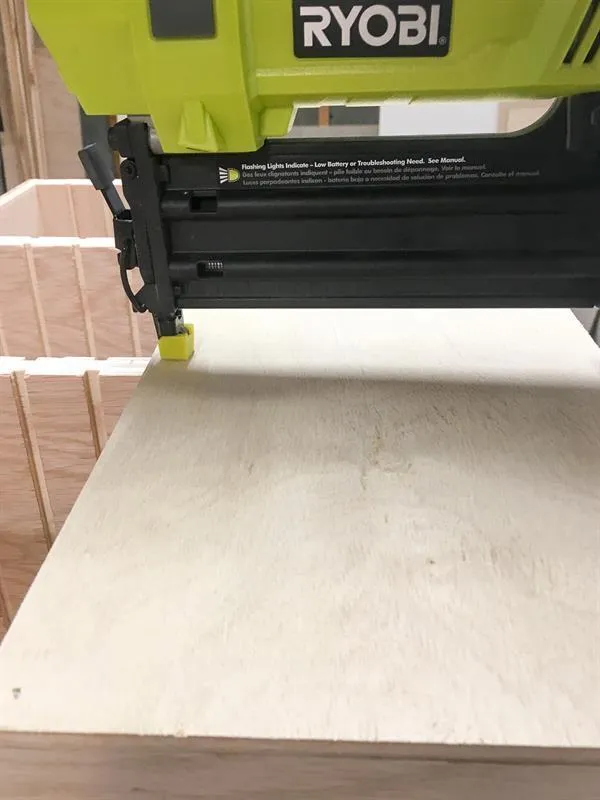
Nail the top of the box in place through the vertical supports.
5Nail back in place
Nail the back of the box in place.
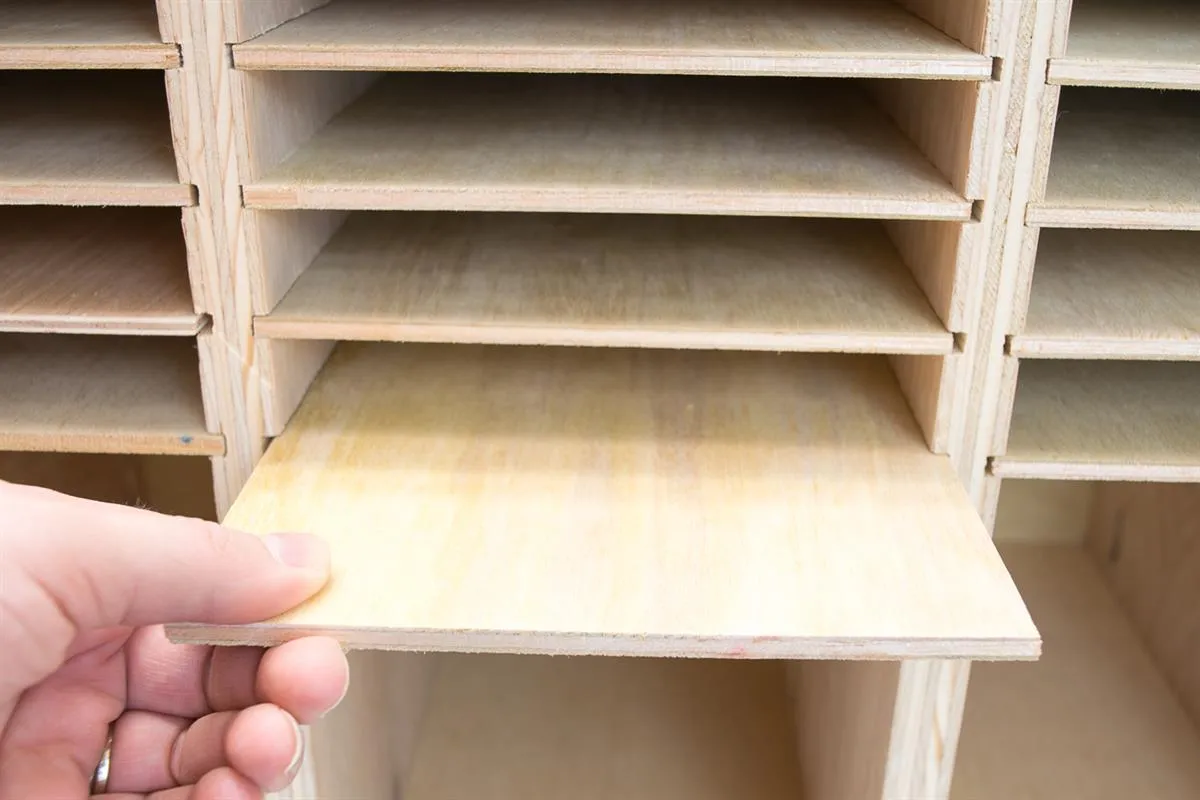
6Slide shelves in place
Slide each of the 1/4" plywood shelves in place. If they have trouble fitting, sand the top and bottom until it moves freely.
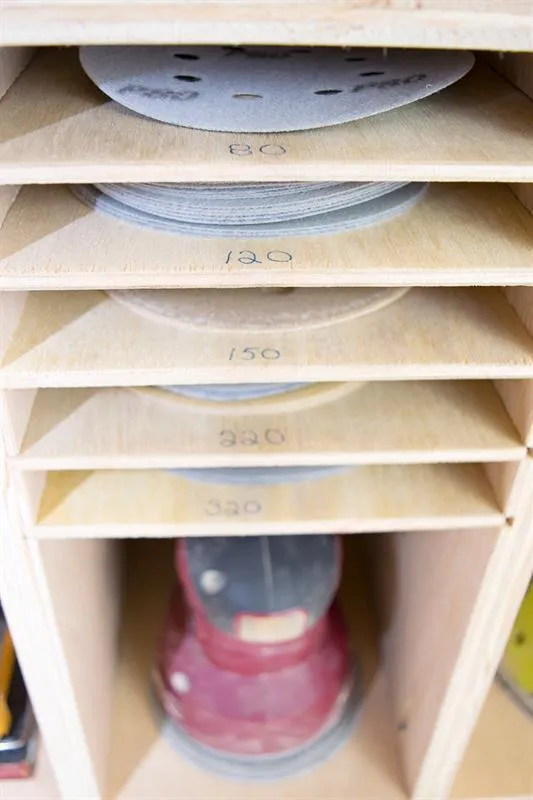
7Label sandpaper grits
Don't forget to label each shelf with the grit number. Now you can easily see when you're running low on your favorites!
Tags
- Storage and Organizing
- Intermediate
Reviews & builds
No reviews yet
Sign in to review this plan or share your build.
No reviews yet. Be the first to build this.