Notch
NotchUse your browser's Print (Ctrl/Cmd + P) and choose Save as PDF. This page works offline once you've opened it with a signal.
Privacy Screen for Hiding AC Unit
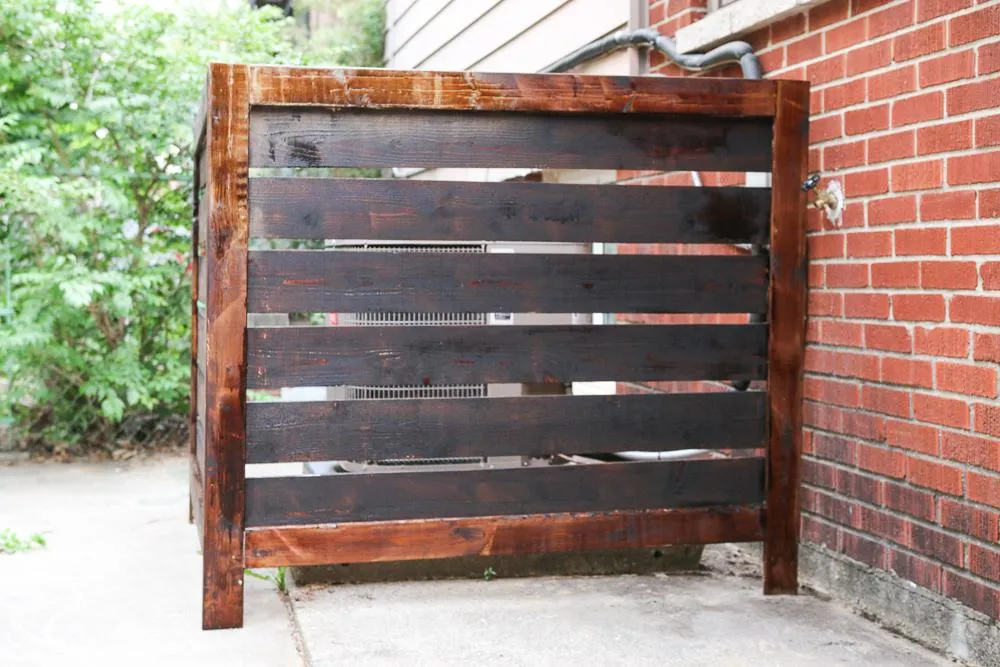
Learn how to make this easy, customizable outdoor screen to hide an air conditioning unit.
- Difficulty
- Easy
- Time
- 2.3–4.3 hours
- Cost
- $$$
Cut list
| Part | Qty | T × W × L | Material | ✓ |
|---|---|---|---|---|
| Frame Boards | 8 | 1" × 4" × 48" | — | ☐ |
| Fence Boards | 12 | 1" × 6" × 53" | — | ☐ |
Materials
| Item | Qty | ✓ |
|---|---|---|
| Board, 1x4 96" | 6 board | ☐ |
| Cedar Fencing Boards, 1x6 72" | 12 board | ☐ |
| Outdoor Wood Glue | 1 each | ☐ |
| Wood Stain or Paint | 1 each | ☐ |
| Outdoor Urethane | 1 each | ☐ |
| Blue Coat 1" Kreg Screws | 16 each | ☐ |
| Pack of 1" Brad Nails | 1 each | ☐ |
| Pencil | 1 each | ☐ |
| Eye Protection | 1 each | ☐ |
| Box of 1.25" Exterior Screws | 1 each | ☐ |
Overall cost: $$$. Lumber varies by region, species, and season, so we give a band rather than a figure.
Tools
- Brad Nailer
- Drill / Driver
- Miter Saw
- Pocket Hole Jig
- Random Orbit Sander
- Bar / Pipe Clamps — optional
- Tape Measure — optional
Instructions
1. Cut Pieces to Desired Length
- Check with your air conditioning unit's user manual to be sure your privacy screen doesn't impede air flow. This screen gives our air conditioning unit 12 inches of space between the screen, plus plenty of airflow between the slats.
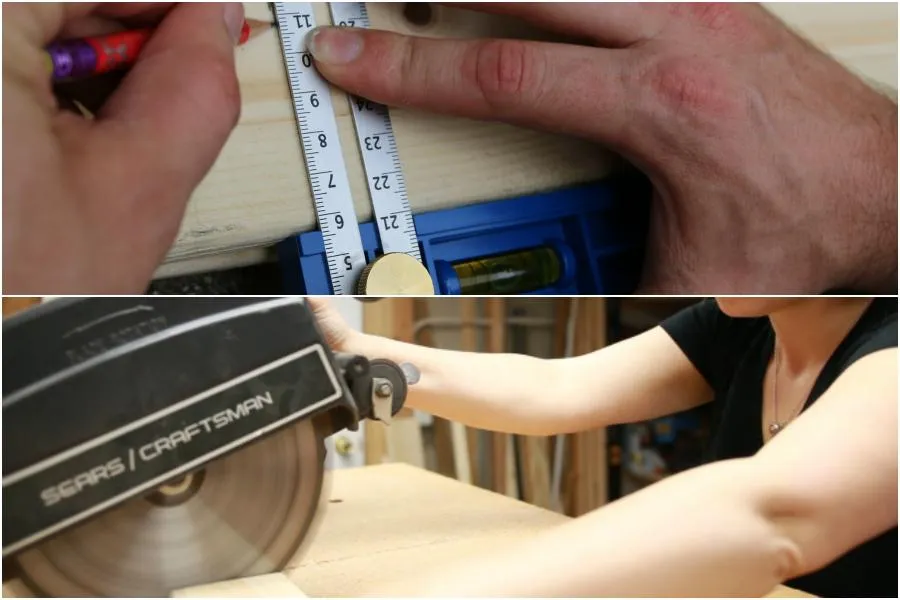
- Cut your wood to your desired length, and sand any rough edges.
2. Assemble the Frame
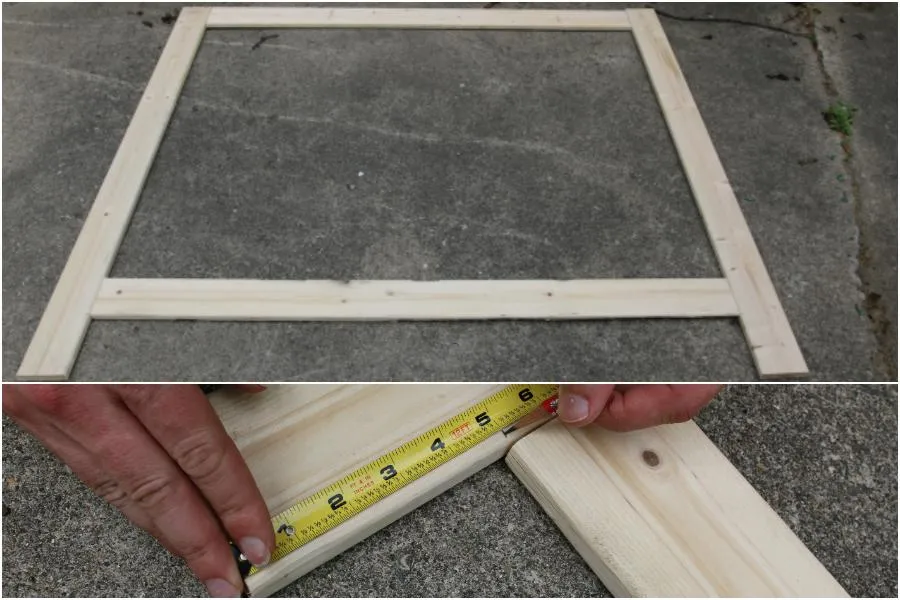
- Lay out your frame on a flat surface, and decide the length of your legs. We chose to make our legs 5 inches.
- Mark your leg length on each end.
3. Drill Pocket Holes
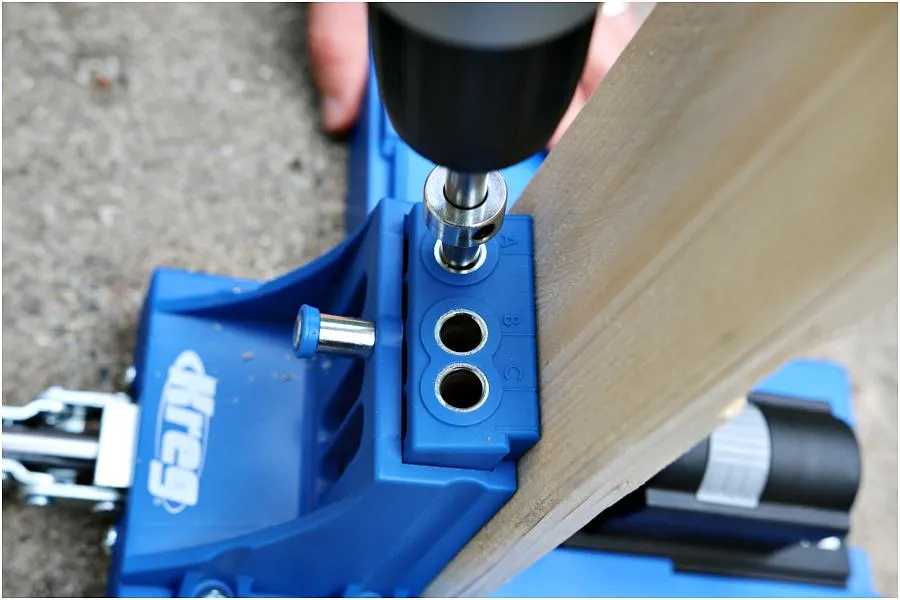
Using your Kreg Jig, drill two pocket holes on each end of the horizontal boards. I used holes 'a' and 'c'.
4. Add Kreg Screws
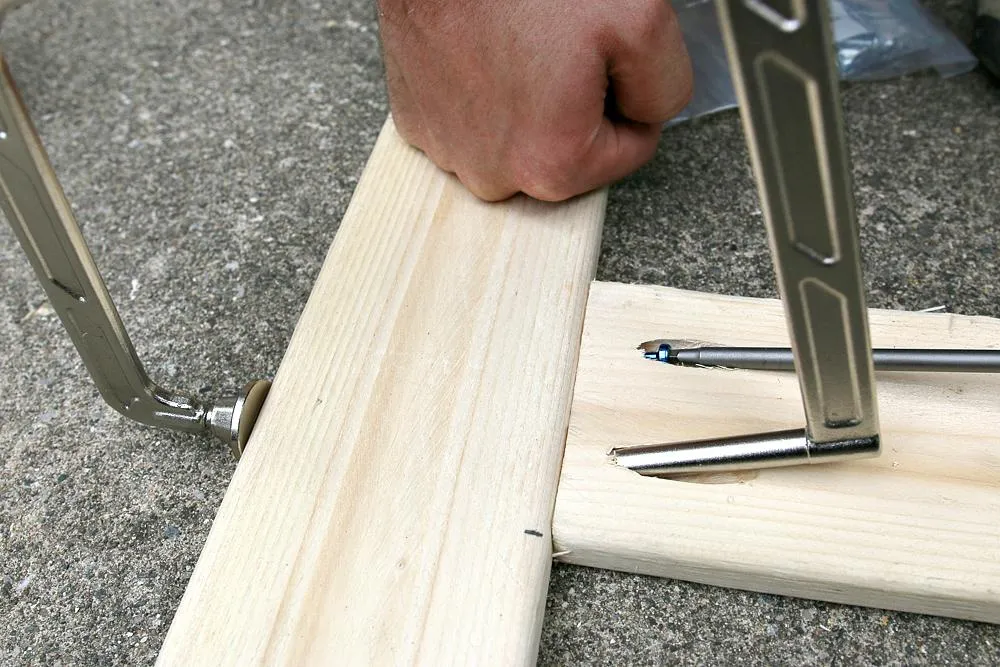
Add construction adhesive to your boards, then secure the frame with your kreg screws. Using a right angle clamp helped keep the boards secure while attaching.
5. Nail Fence Boards
- Space out your fence boards until you have a desired look. Be sure to keep the boards spaced far enough to allow proper airflow through your privacy screen.
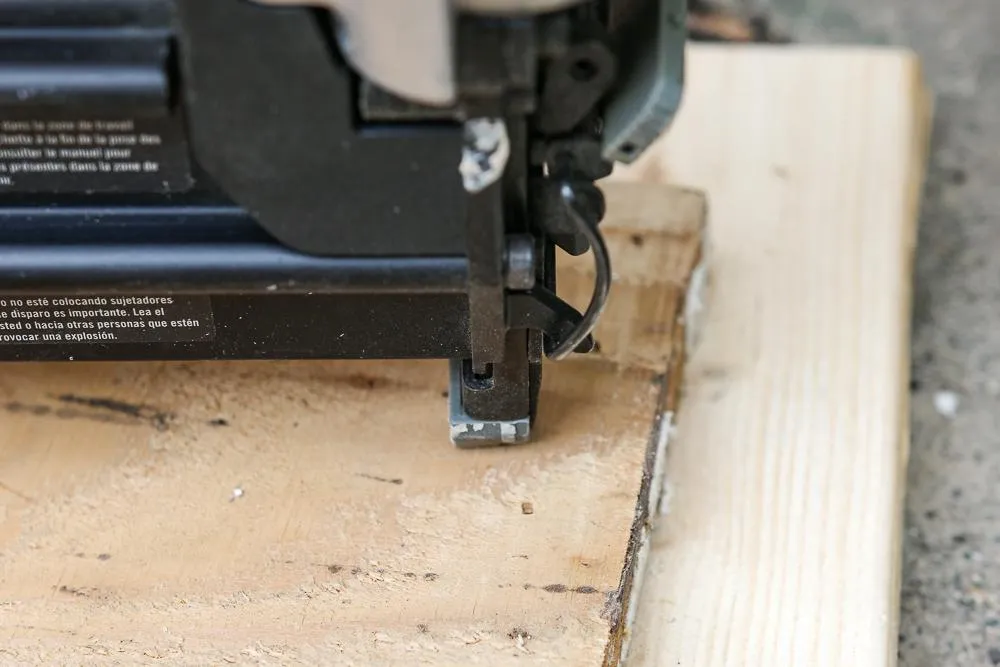
- Add construction adhesive to the boards along the frame, and attach boards with nails using a brad nailer.
6. Paint or Stain as Desired
Paint or stain your privacy screen as desired. This could be done at any step. We chose a stained look and finished with an outdoor sealer.
7. Connect Frames with Screws
Once all of your frames are assembled, connect the frames using adhesive and screws. You can screw right from face of one frame into the side of another to secure them together.