Notch
← Back to the plan
Use your browser's Print (Ctrl/Cmd + P) and choose Save as PDF. This page works offline once you've opened it with a signal.
Plywood Shelves for Closet
Make that closet space function like it should with easy plywood shelving.
- Difficulty
- Beginner
- Time
- 1.5–3 hours
- Cost
- $$
Cut list
| Part | Qty | T × W × L | Material | ✓ |
|---|---|---|---|---|
| Shelves | 5 | 3/4" × 13" × 23" | — | ☐ |
| Wall cleats | 10 | 1" × 2" × 13" | — | ☐ |
| Shelf trim | 5 | 1" × 3" × 22" | — | ☐ |
Materials
| Item | Qty | ✓ |
|---|---|---|
| Plywood, 3/4" Thick Full Sheet | 1 board | ☐ |
| Board, 1x2 96" | 2 board | ☐ |
| Board, 1x3 96" | 2 board | ☐ |
| 2" finish nails | 50 each | ☐ |
| 1 1/4" finish nails | 25 each | ☐ |
Overall cost: $$. Lumber varies by region, species, and season, so we give a band rather than a figure.
Tools
- Brad Nailer
- Circular Saw
- Miter Saw
- Combination Square — optional
- Tape Measure — optional
Instructions
1. Step 1
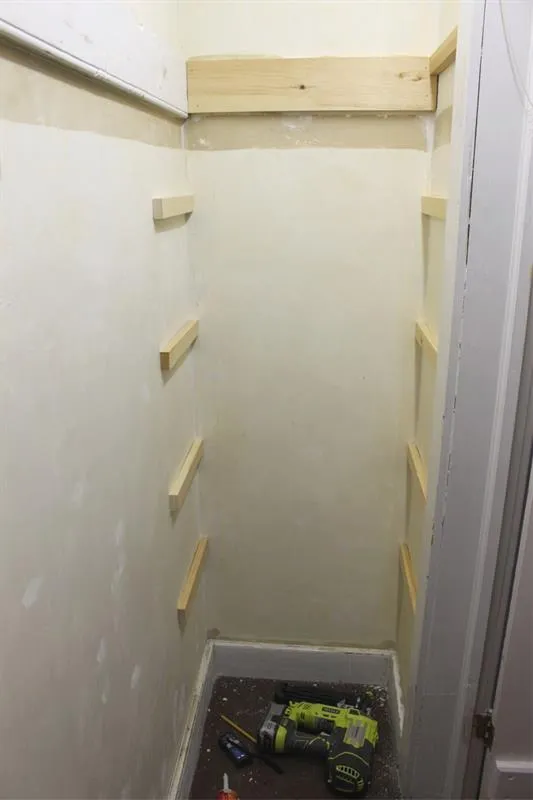
Cut 1x2 wall cleats to fit the depth of your closet space. Two cleats per shelf.
2. Step 2
Attach 1x2 cleats to wall using construction adhesive and 2" finish nails. Be sure to use a level and keep cleats in pairs.
3. Step 3
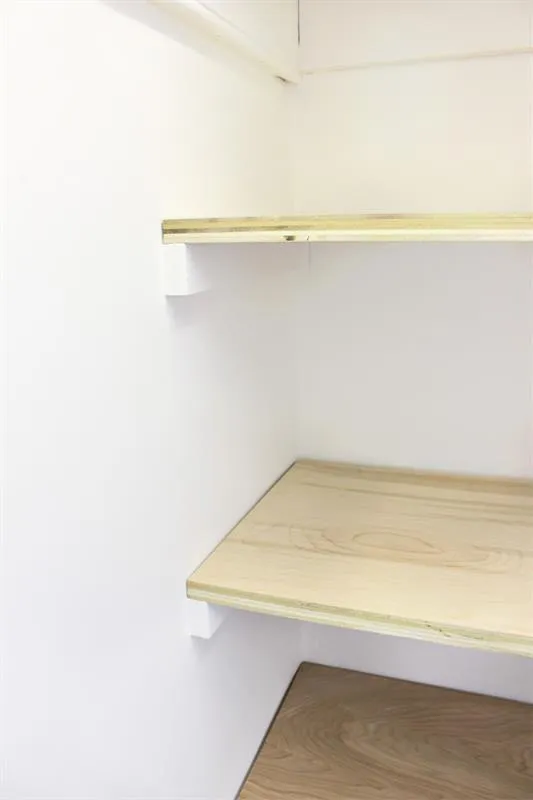
- Cut plywood shelves to fit.
- Measure depth of space x width of closet space.
- Place shelves into position on 1x2 cleats.
4. Step 4
Cut 1x3 front trim to fit each shelf front.