Notch
Use your browser's Print (Ctrl/Cmd + P) and choose Save as PDF. This page works offline once you've opened it with a signal.
Plywood Chair Set
Making a piece of furniture from a single sheet of plywood is quite the feat.
- Difficulty
- Intermediate
- Time
- 3.8–7.3 hours
- Cost
- $$
Cut list
| Part | Qty | T × W × L | Material | ✓ |
|---|---|---|---|---|
| See Full Plans in "Extras" | 1 | 3/4" × 48" × 96" | — | ☐ |
Materials
| Item | Qty | ✓ |
|---|---|---|
| Plywood, 3/4" Thick Full Sheet | 1 board | ☐ |
| 1-1/4" Pocket Screws | 28 each | ☐ |
| 1-1/4" Brad nails | 99 each | ☐ |
Overall cost: $$. Lumber varies by region, species, and season, so we give a band rather than a figure.
Tools
- Brad Nailer
- Circular Saw
- Drill / Driver
- Pocket Hole Jig
- Random Orbit Sander
Instructions
1. Breaking down the plywood
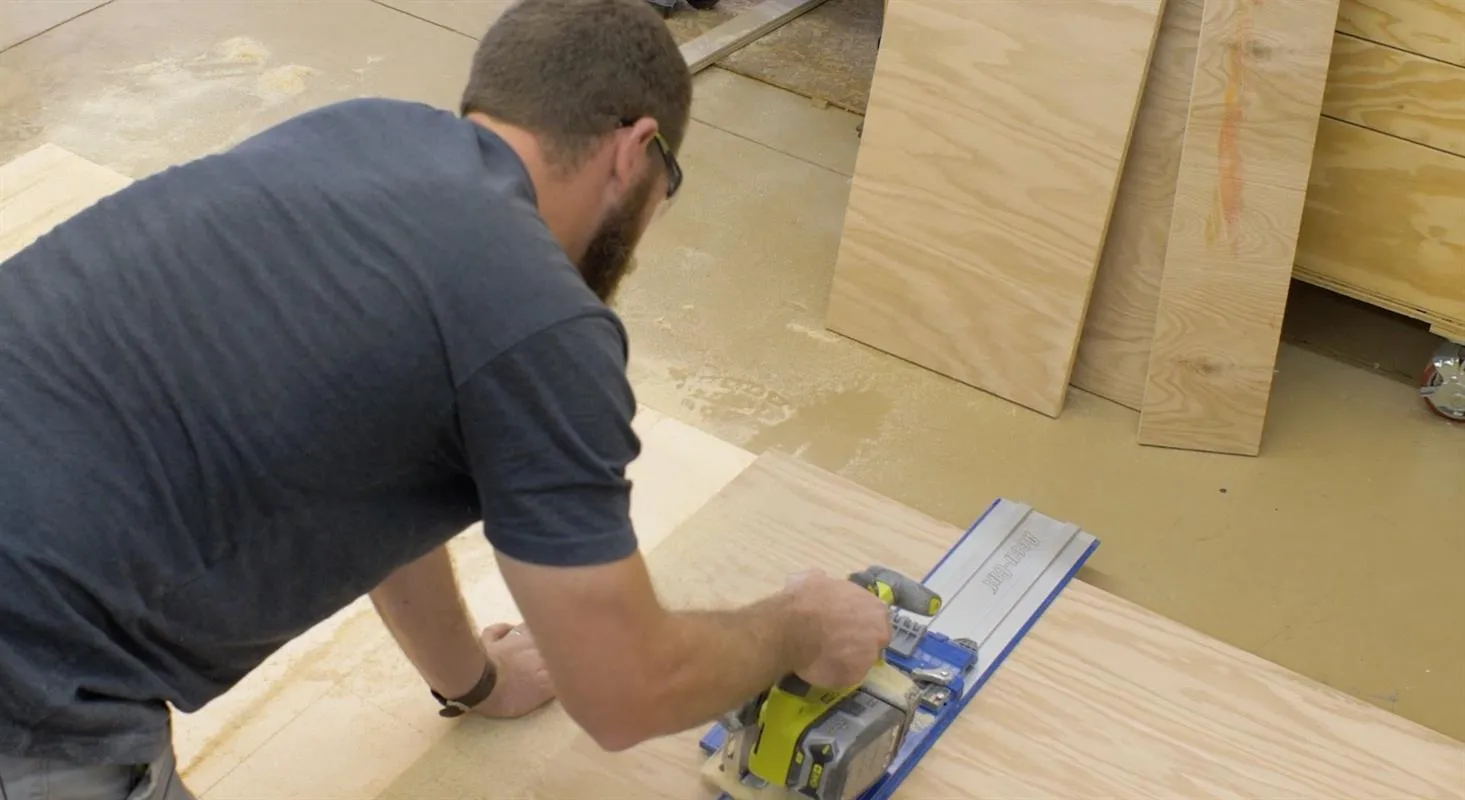
Start by breaking down the plywood using a circular saw and the rip cut and accu-cut saw guides. Downloadable plans and templates can be found in the "Extras" tab.
2. Adhering the Templates
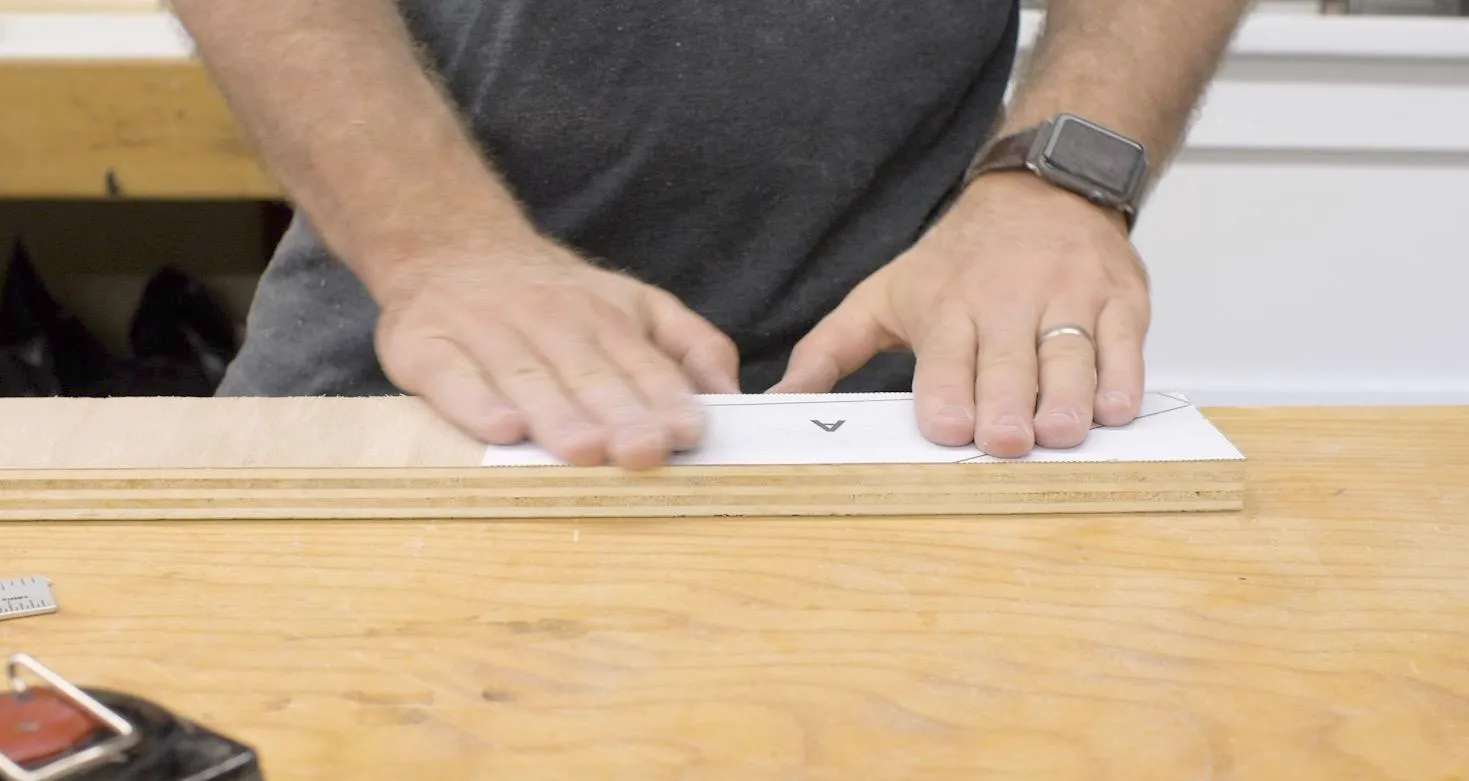
Some of the boards cut from the plywood are going to trimmed up into pieces for parts used to makes the sides. The templates are provide in the plans (https://rogueengineer.com/diy-1-sheet-plywood-chair-set-plans/) and should be adhered to the appropriate boards using spray adhesive.
3. Cutting out the Parts
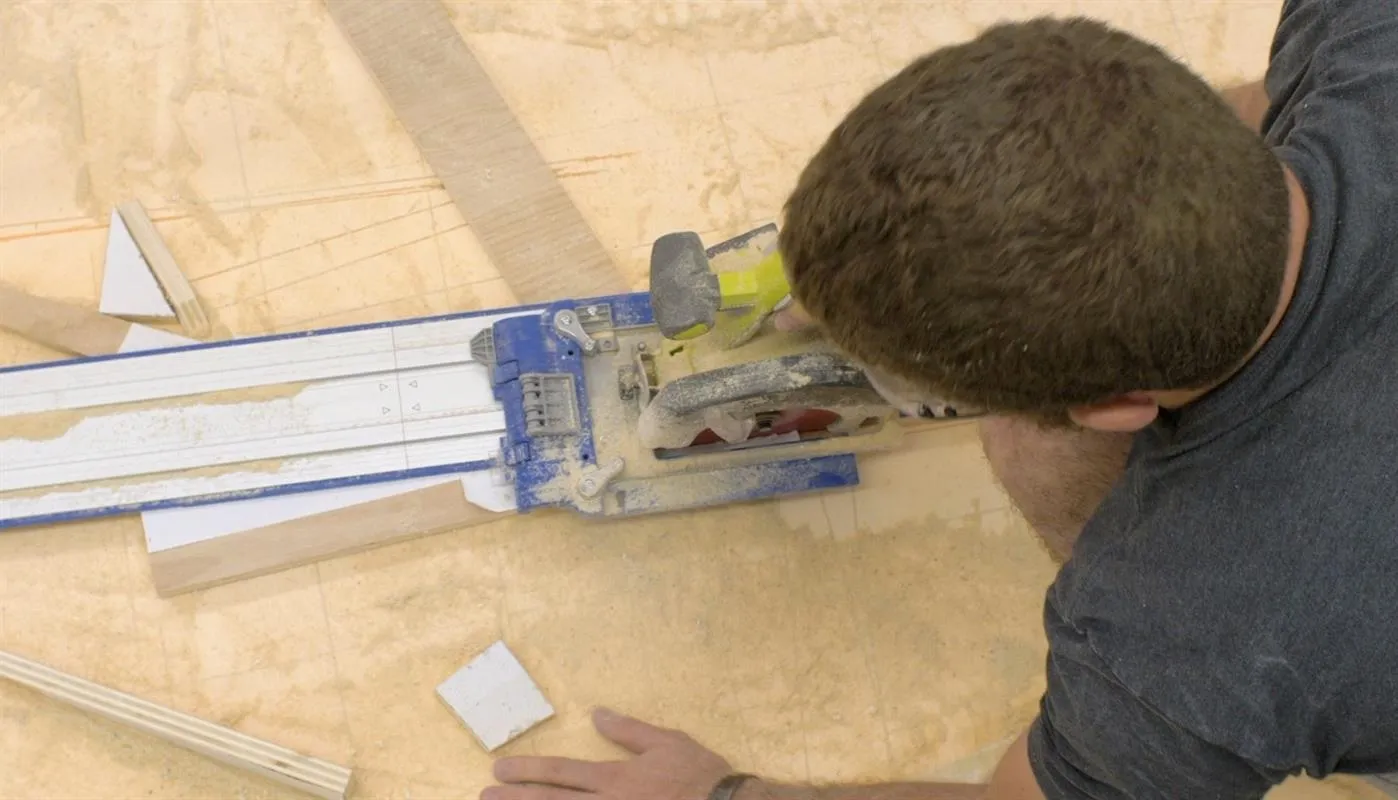
With the templates adhered, I used the accu-cut, supporting the track on both ends to cut out all the parts.
4. Aligning the sides
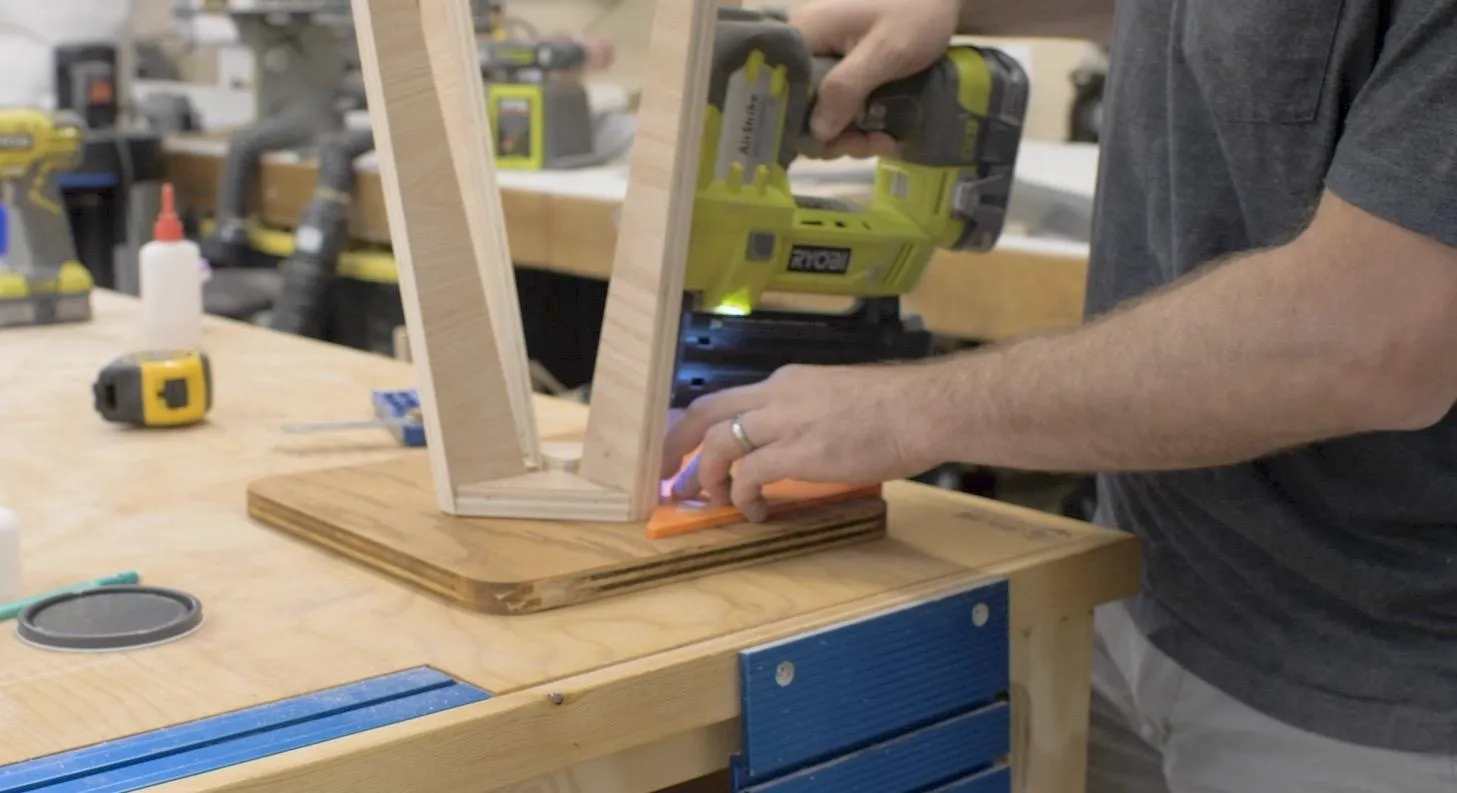
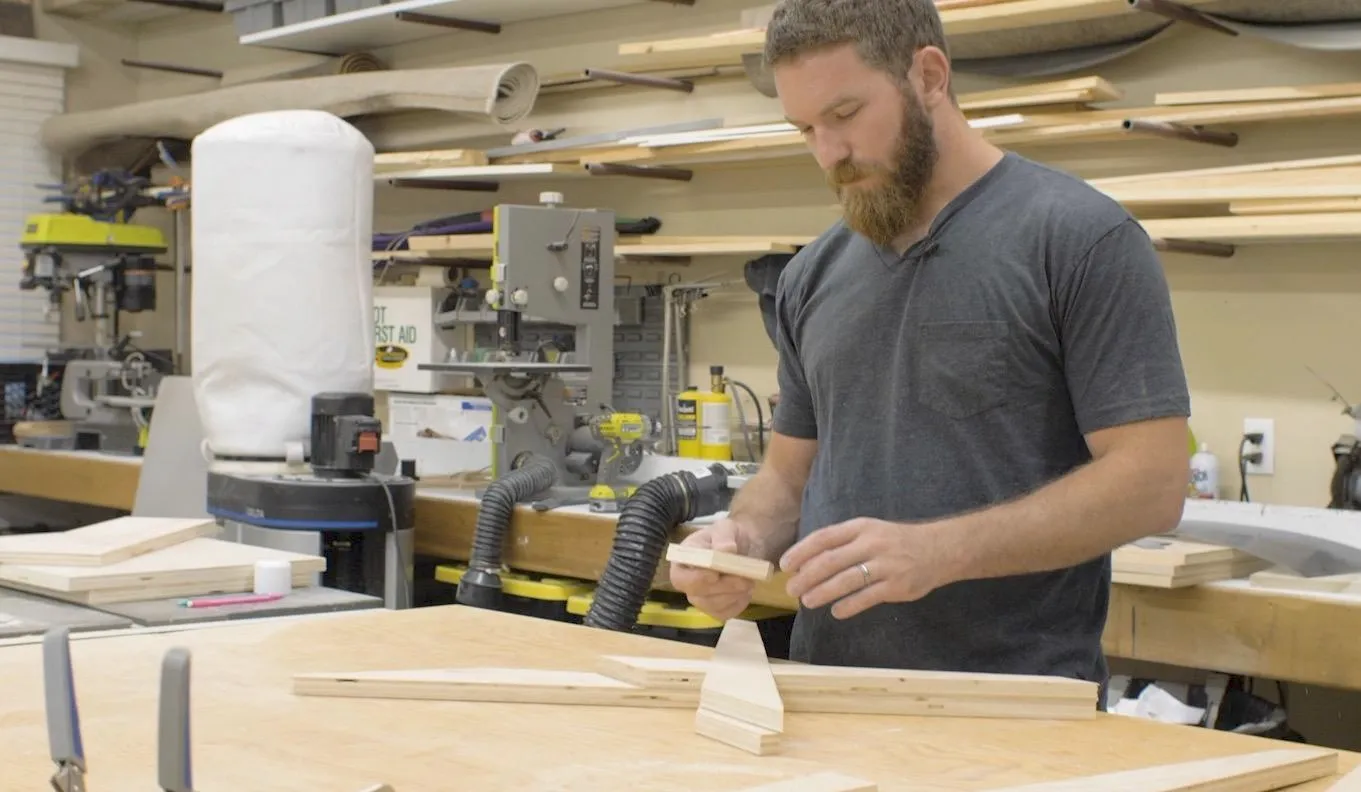
Gather all the parts and align the sides using a straight edge to keep the feet flat. Make sure the half lap joint is nice and tight.
5. Assembling the Legs
Lift up the parts on top and then adhere them into place with wood glue.
6. Assembling the Sides
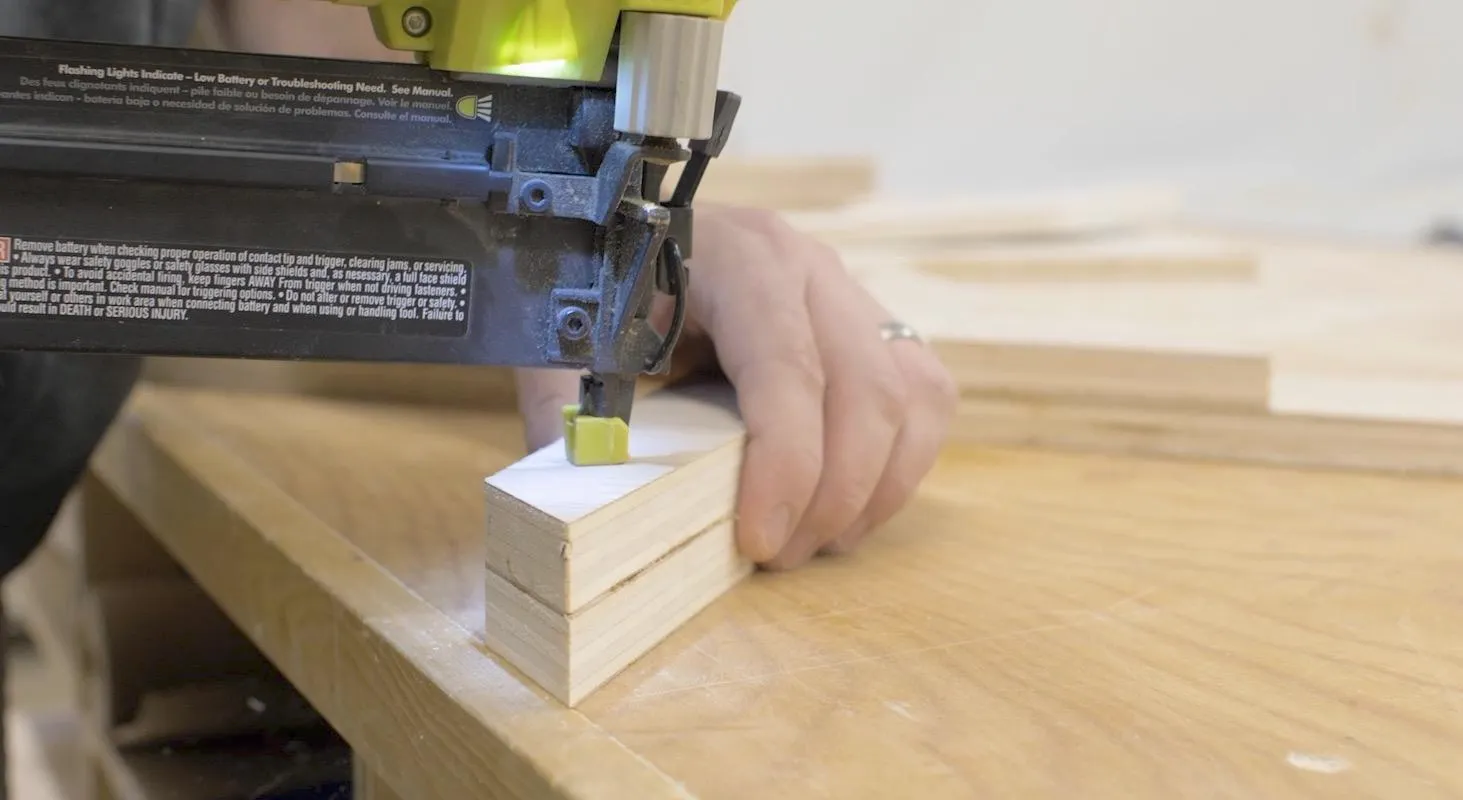
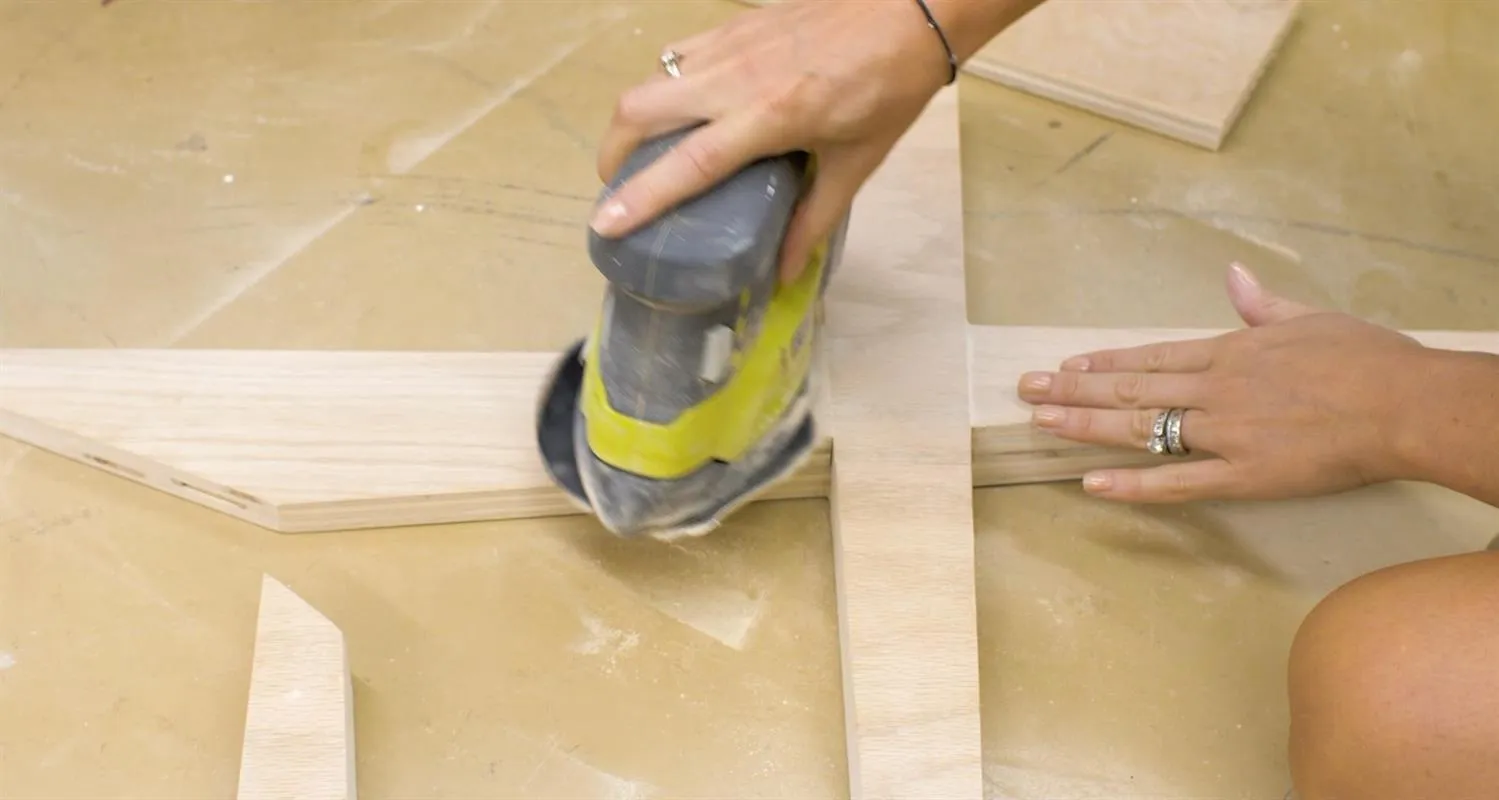
Glue and nail the half lap joint together. Then fill and sand the seams flush.
7. Install Back Support
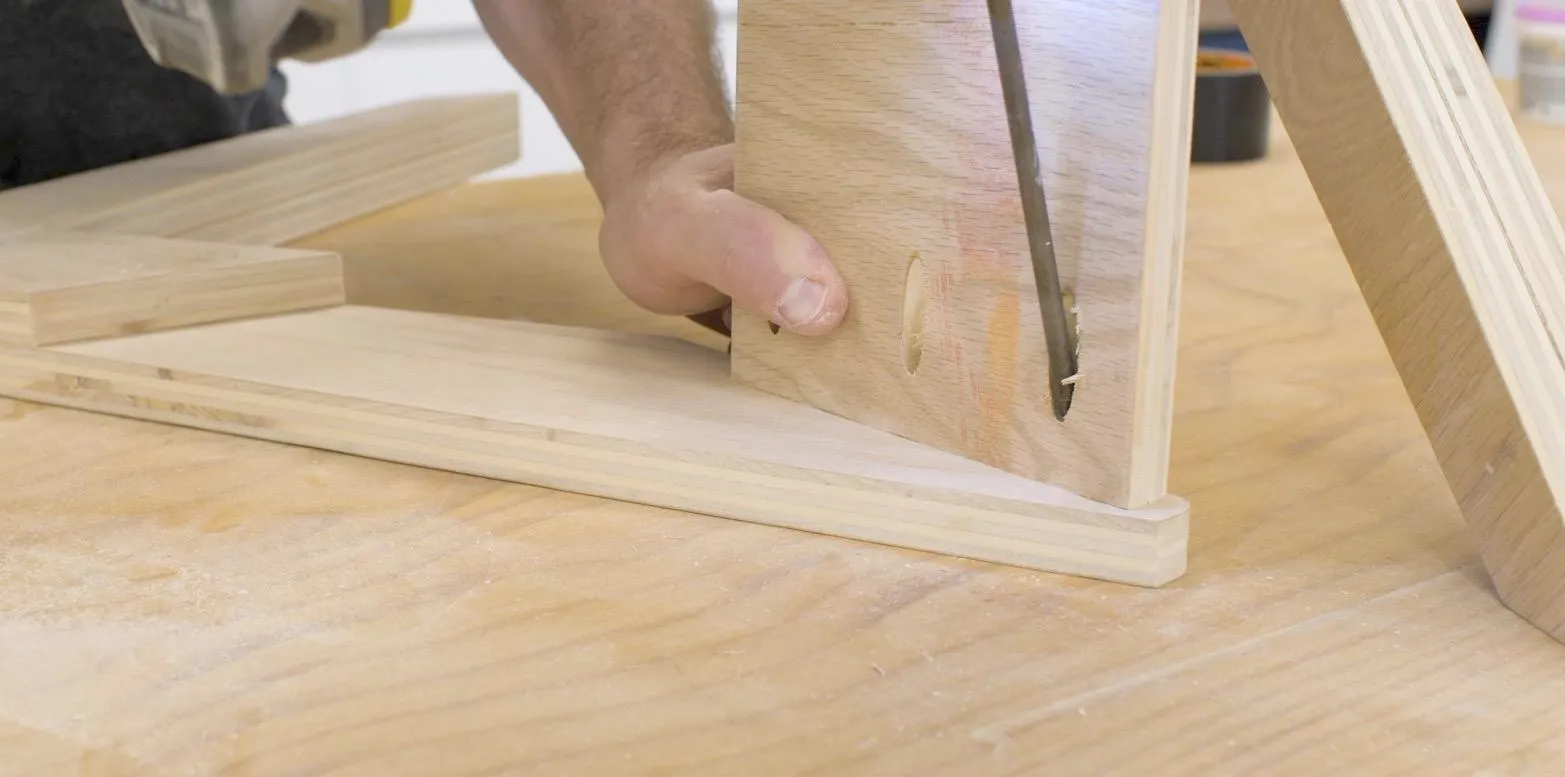
Drill pocket holes and install the back support to the sides using 1-1/4" pocket screws.
8. Install the Seat
Set the seat in place and mark the pocket hole locations. Drill the pocket holes and install the seat using 1-1/4" pocket screws.
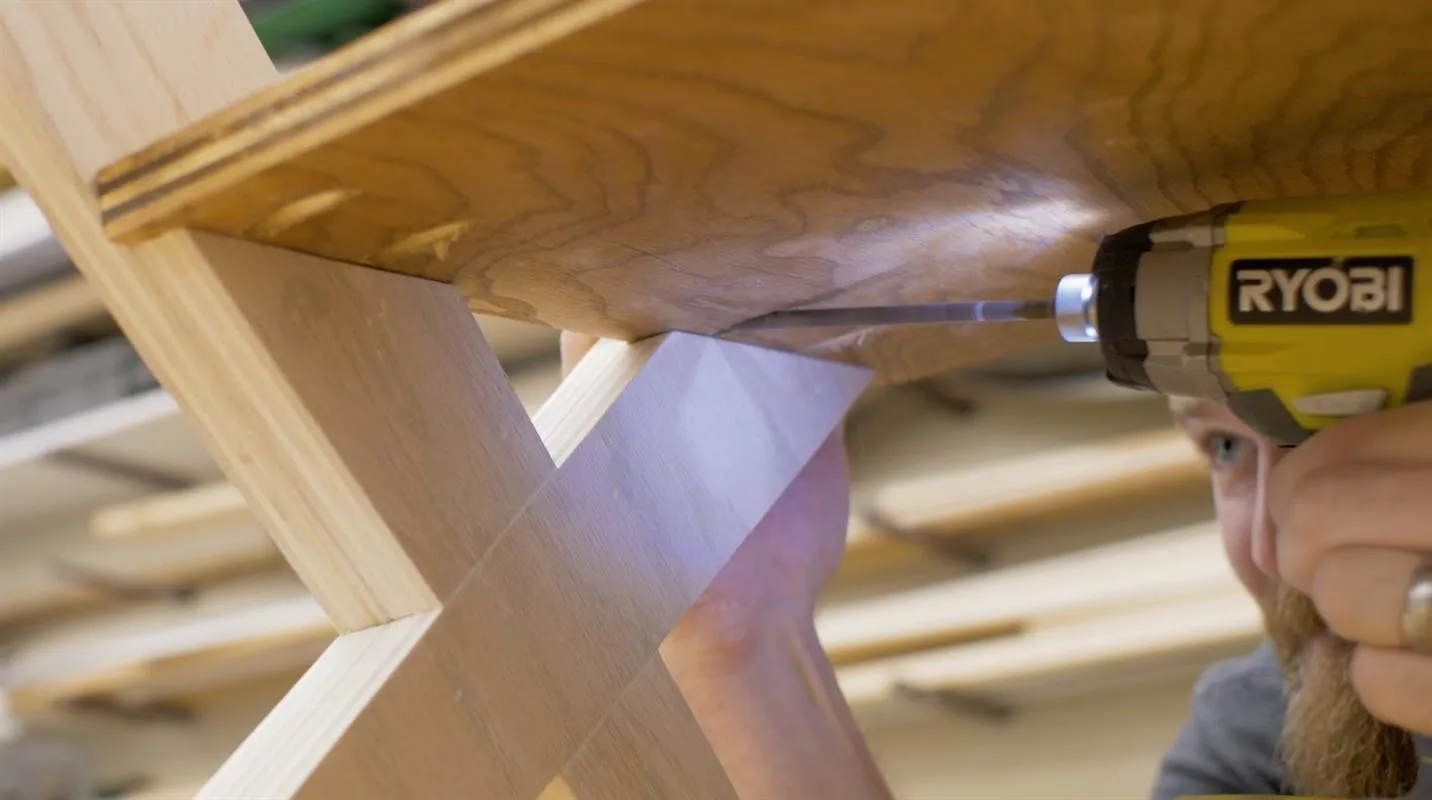
9. Install the Back
I slid the back in from the top of the chair and squirted some glue in the gap then clamped the back in place until the glue cured.
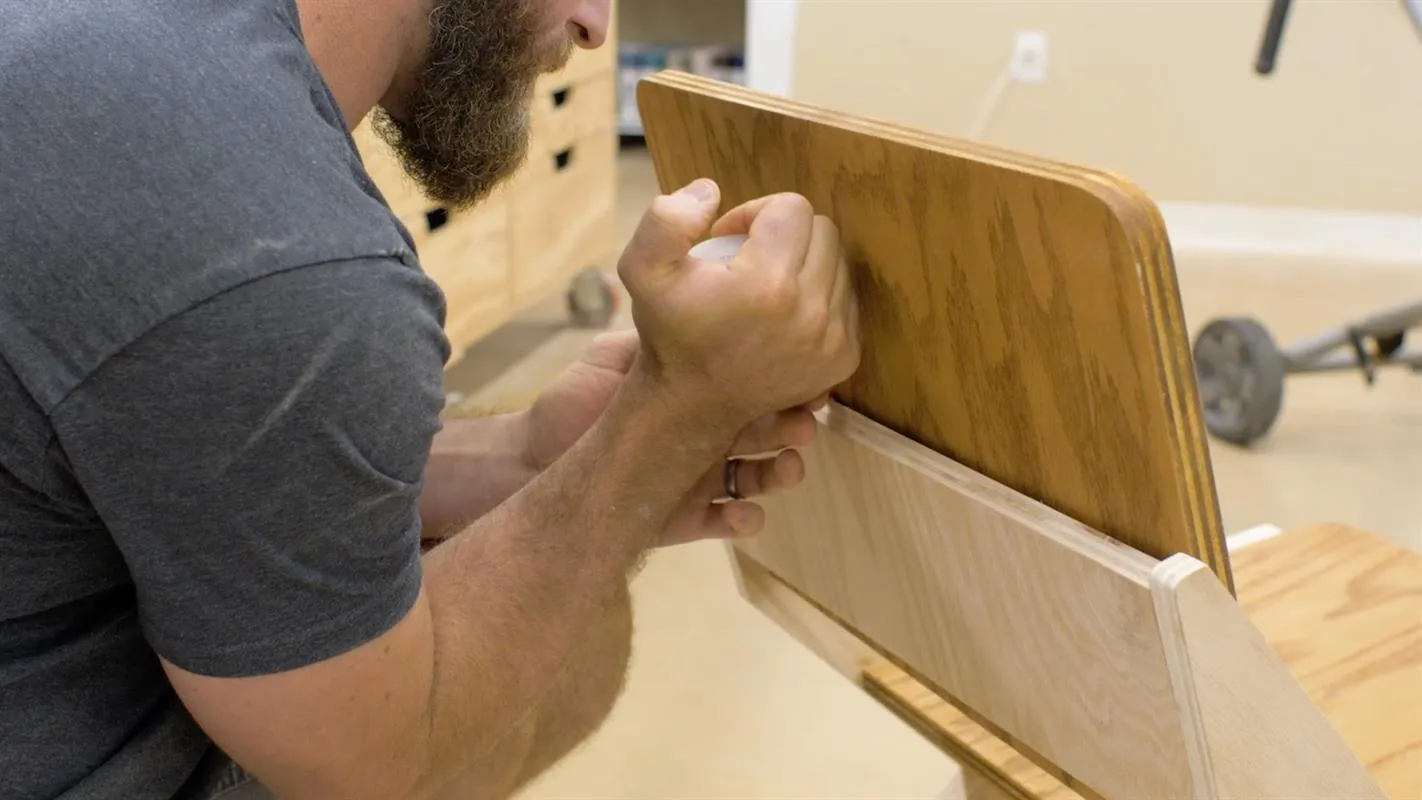
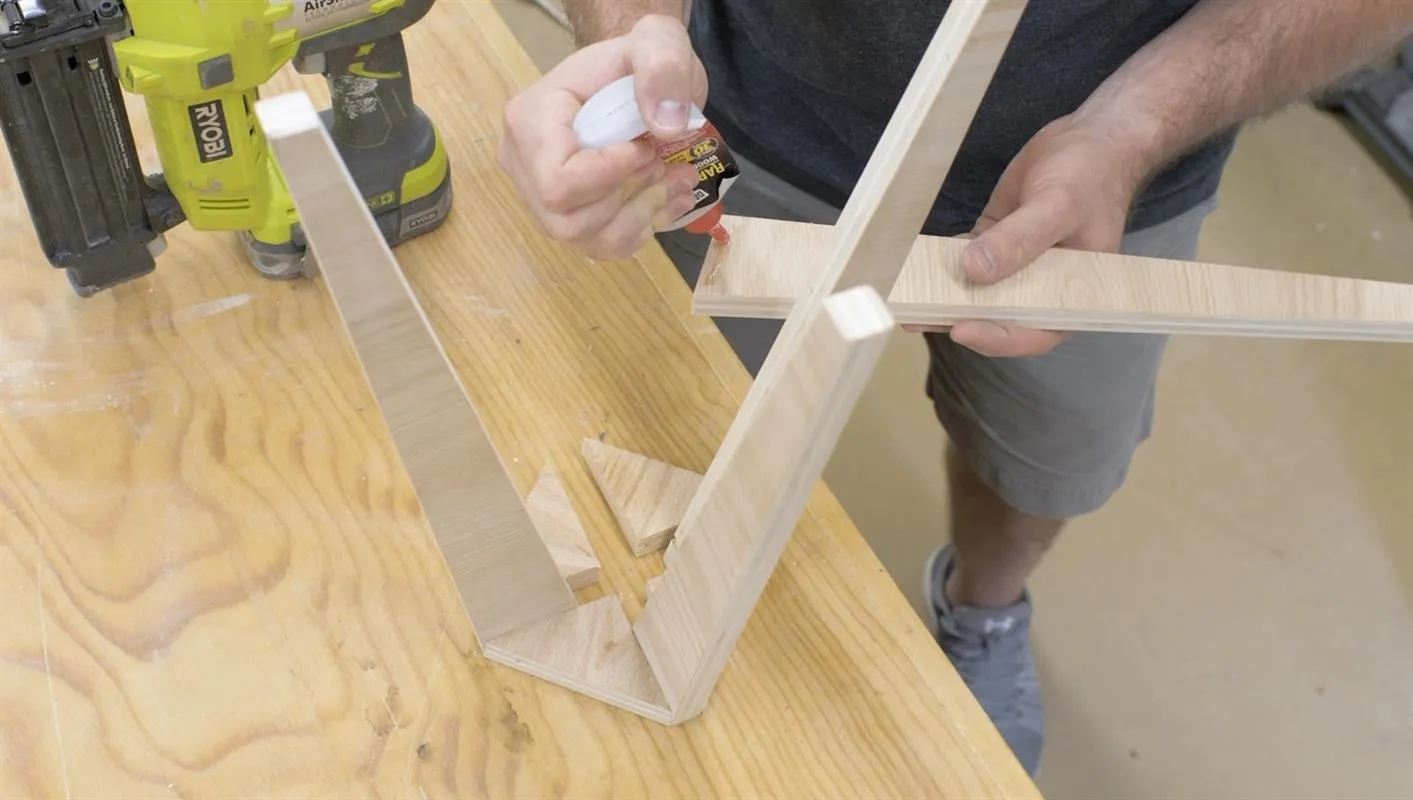
10. Assembling the Table Base
Assemble the table base using wood glue and 1-1/2" brad nails.
11. Assemble the Side Table
Install the base to the table top using wood glue and 1-1/4" brad nails.