Notch
Use your browser's Print (Ctrl/Cmd + P) and choose Save as PDF. This page works offline once you've opened it with a signal.
Personalized Blanket Ladder
Project No.
- Difficulty
- Beginner
- Time
- 1.8–3.5 hours
- Cost
- $
Cut list
| Part | Qty | T × W × L | Material | ✓ |
|---|---|---|---|---|
| Side Poles | 2 | 1" × 4" × 5" | — | ☐ |
| Top & Bottom Rail | 2 | 1" × 4" × 16" | — | ☐ |
| Ladder Rails | 3 | 1" × 3" × 16" | — | ☐ |
Materials
| Item | Qty | ✓ |
|---|---|---|
| Board, 1x4 96" | 2 board | ☐ |
| Board, 1x3 96" | 1 board | ☐ |
| Kreg Screws - 1-1/4" | 1 each | ☐ |
| Wood Stain - Weathered Oak | 1 each | ☐ |
Overall cost: $. Lumber varies by region, species, and season, so we give a band rather than a figure.
Tools
- Drill / Driver
- Miter Saw
- Pocket Hole Jig
- Bar / Pipe Clamps — optional
- Tape Measure — optional
Instructions
1. Step 1:
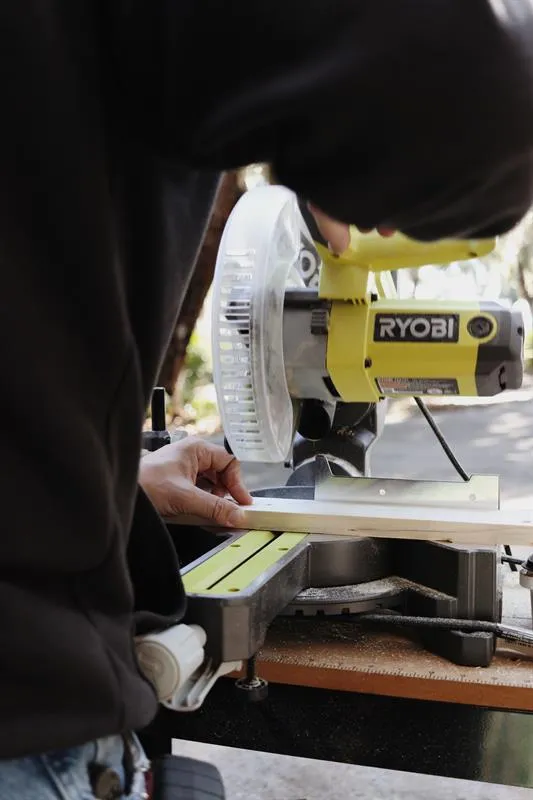
Cut your 1" x 4" boards to (2) at 5' in length and (2) at 16" in length. The (2) 5' boards, you will cut a 10 degree angle on one end of each board using your miter saw. This will be the end of the boards that sits on the floor. You will then cut your 1" x 3" boards to (4) at 16" in length.
2. Step 2:
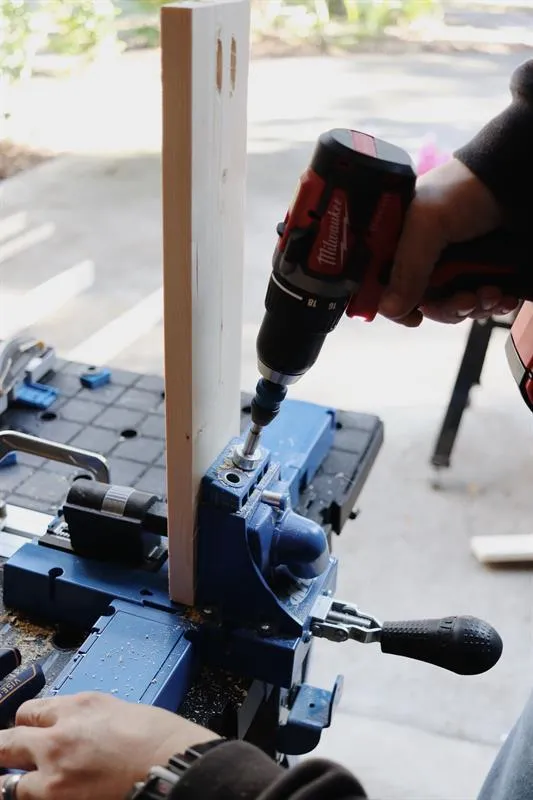
After your wood is cut, drill (2) pocket holes into each end of all of your 16" length boards.
3. Step 3:
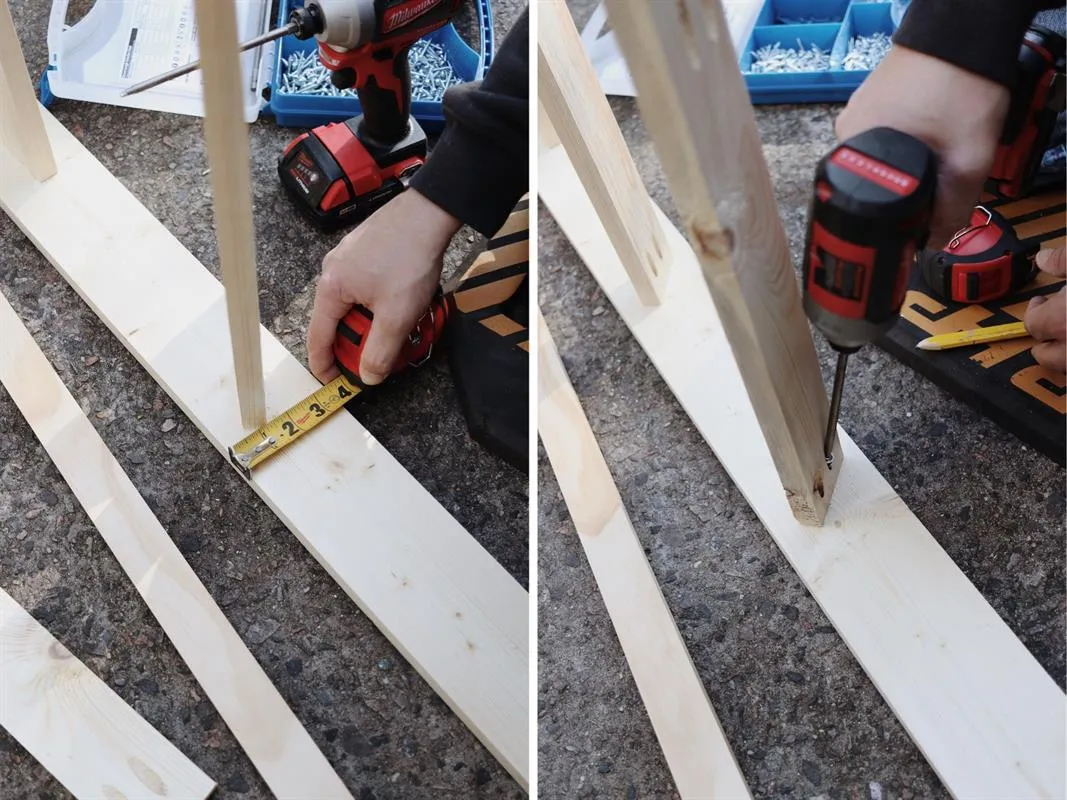
- Now you are ready for assembly: 1.
- Lay one of your 1" x 4" x 5' flat on the ground or a flat work surface. 2.
- Place your 1" x 4" x 16" boards centered in the middle of you 1" x 4" x 5' boards, (1) being placed 3" down from the top of the ladder and the other (1) being placed 5" up from the bottom of the ladder and screw into place with using Kreg screws. 3.
- Next, space your (3) 1" x 3" x 16" boards evenly between the two of the rails you just installed, spacing them 9" apart, but angled at a 30 degree.
- Then screw into place using Kreg screws.
4. Step 4:
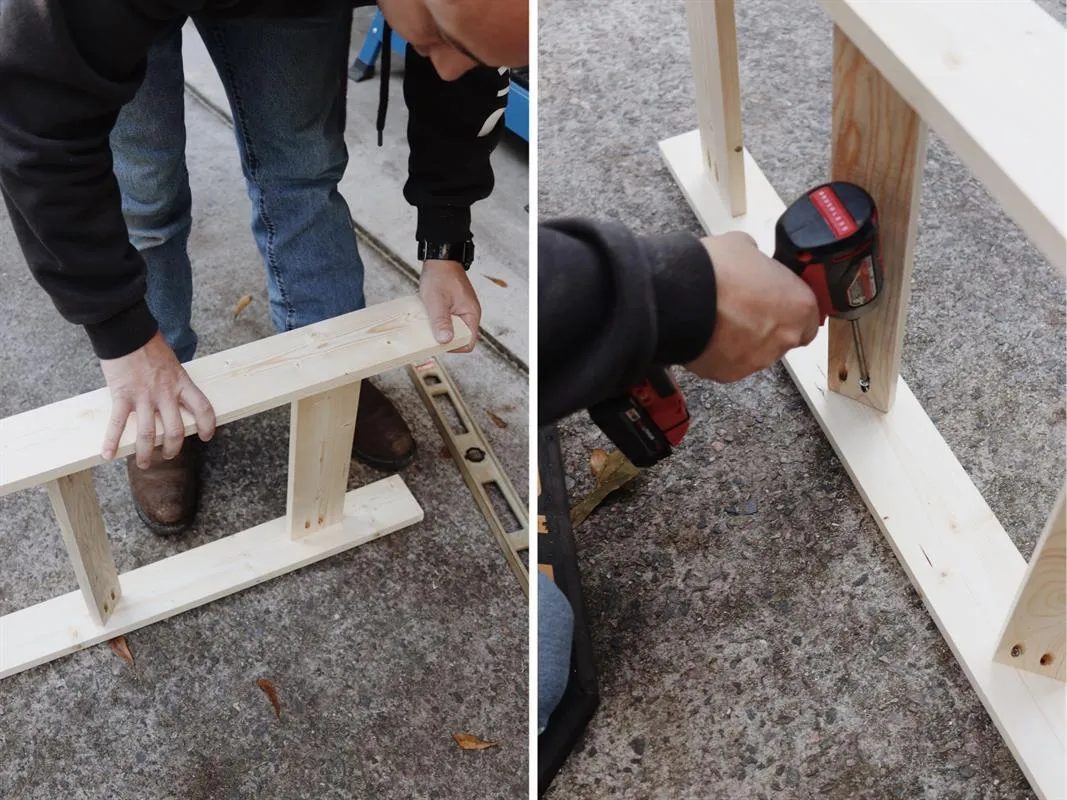
Now that all of your rails are screwed into place on one side, take your other 1" x 4" x 5' side and place it level with the other side. Then screw all of the ends of your rails into the side post using Kreg screws and then you are finished!
5. Make It Personal:
- After your ladder is assembled and stained or painted, go the extra mile by making it personal.
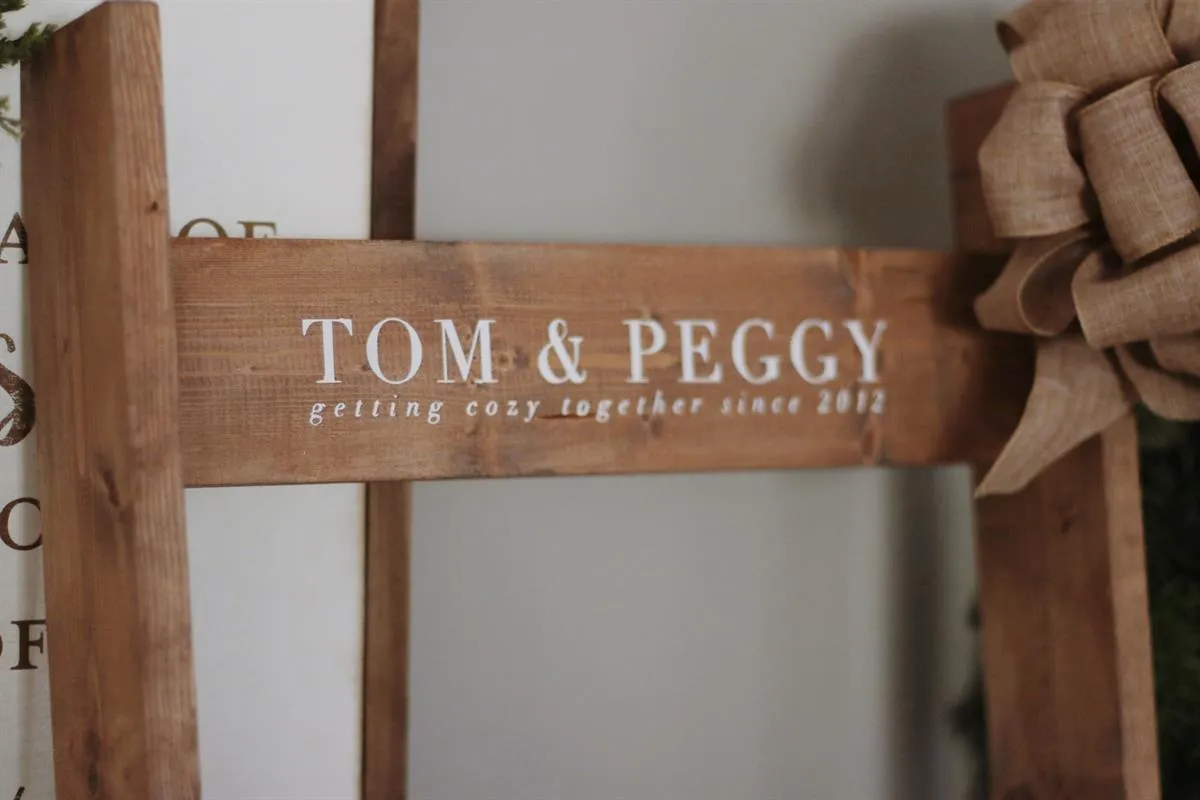
- Add your gift recipient's name(s), a wedding date, or personal saying. For this project I used my Silhouette Cameo machine to make a vinyl template then painted over the wording.
- Once complete, you have a beautiful and personalized gift for anyone on your list!