Notch
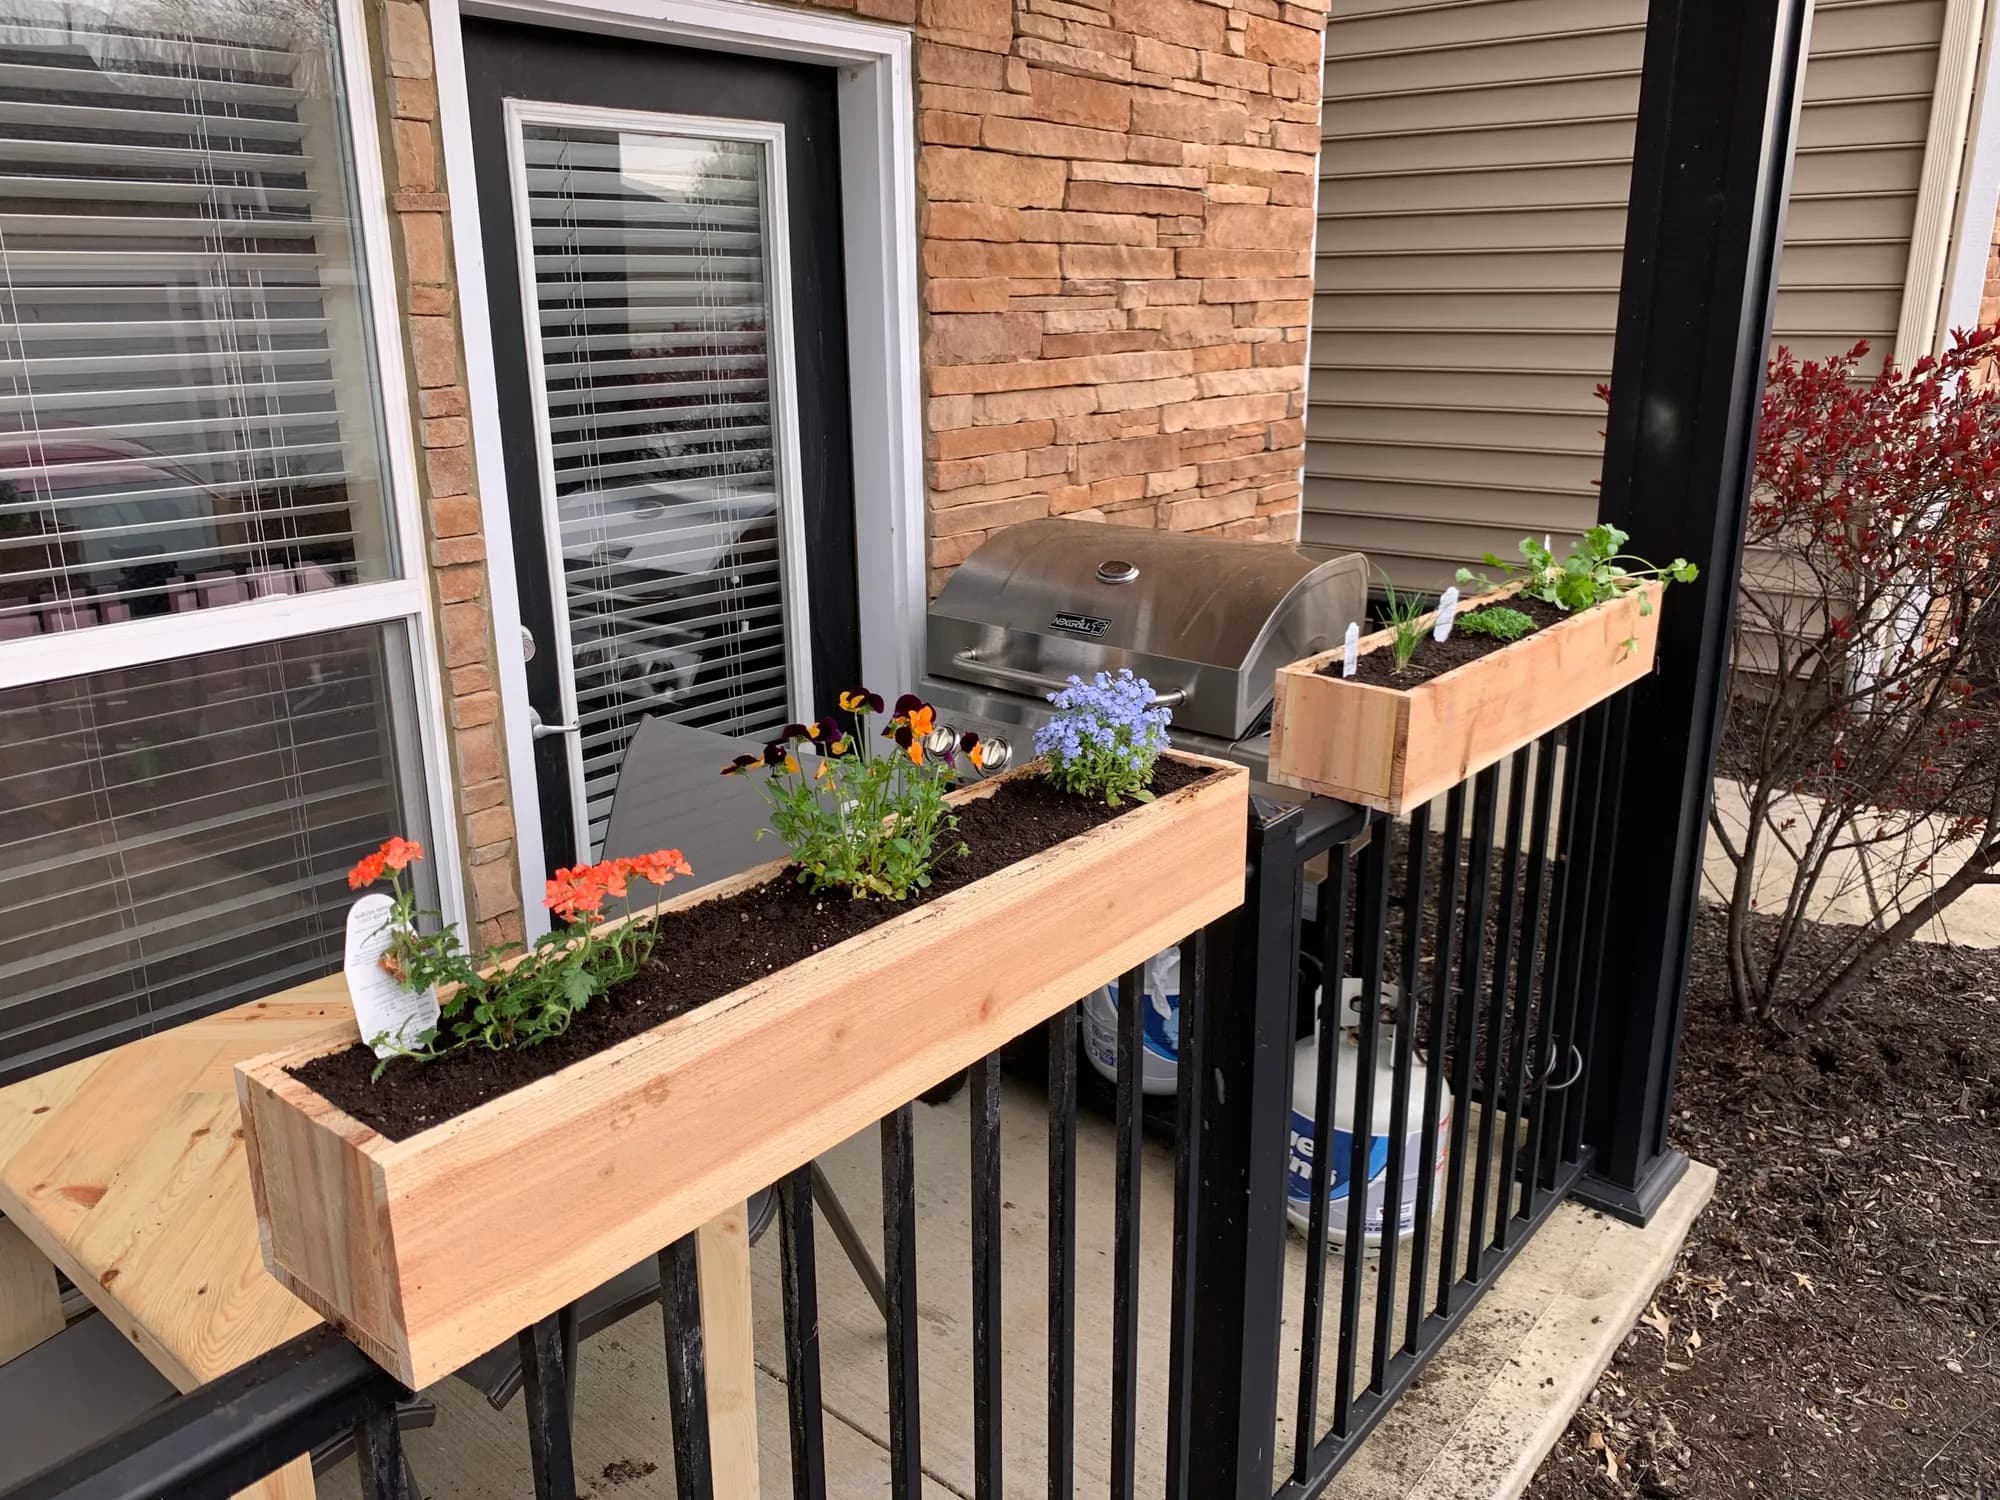
Over Railing DIY Planter Boxes
Step-by-step build — 10 steps. Also available as a print sheet.
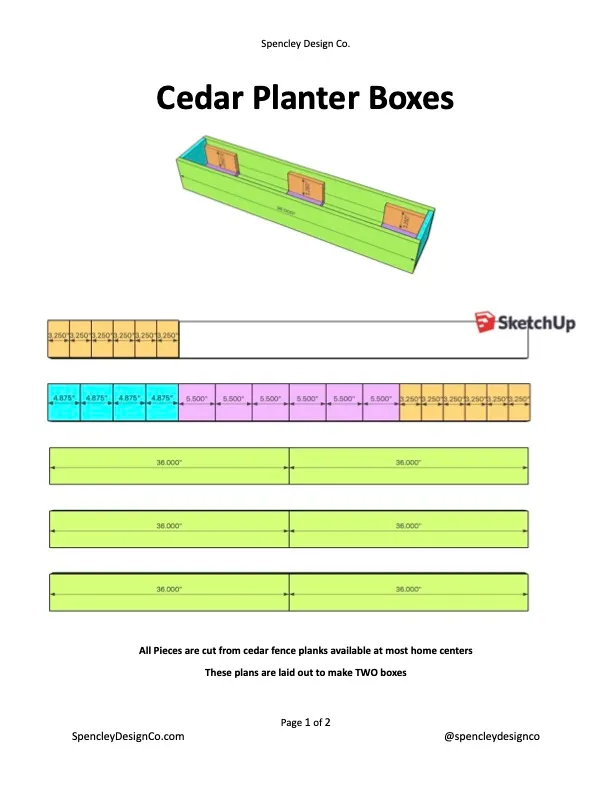
1Cut Parts
Using the cut list provided, cut down all of the pieces needs for the planters
Tip: Note Please note that these plans are outlined to make TWO planter boxes
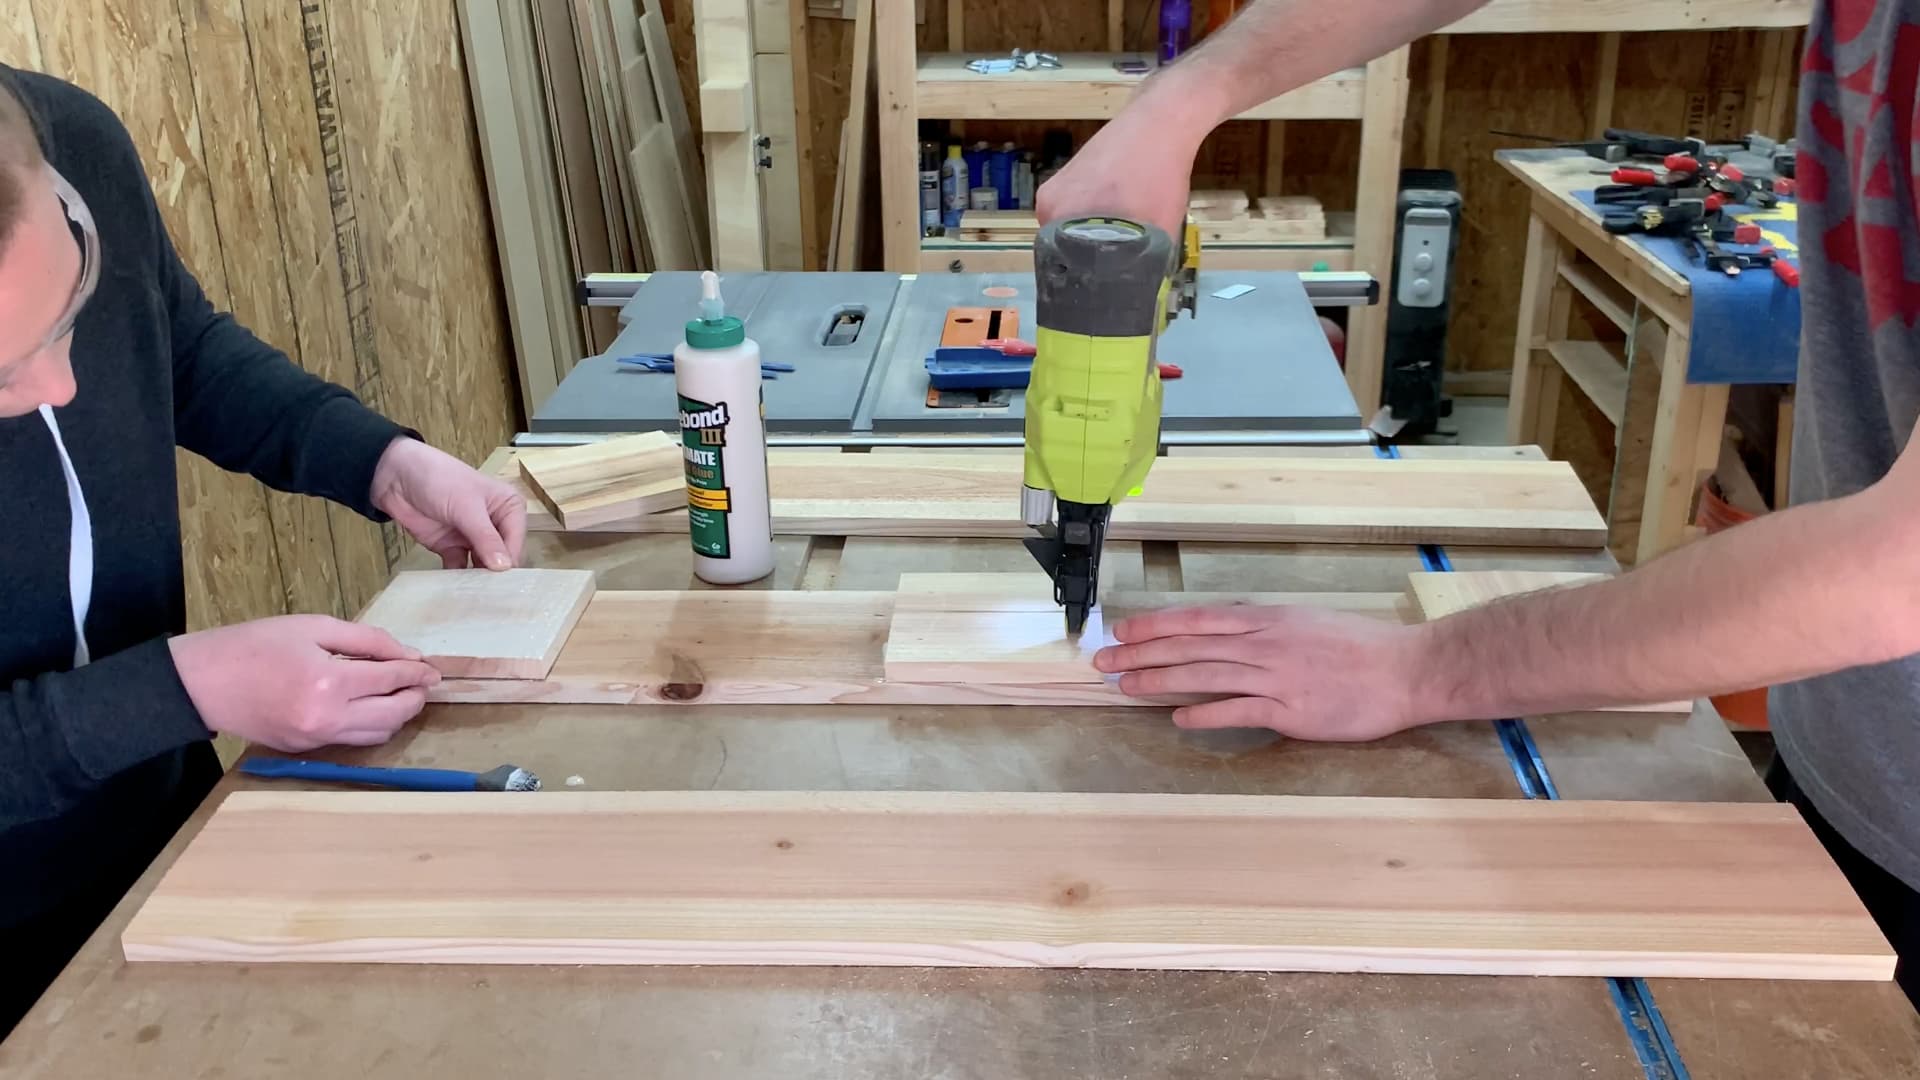
2Attach Bottom Supports
Using brad nails or screws, attach the bottom supports to one of the exterior pieces
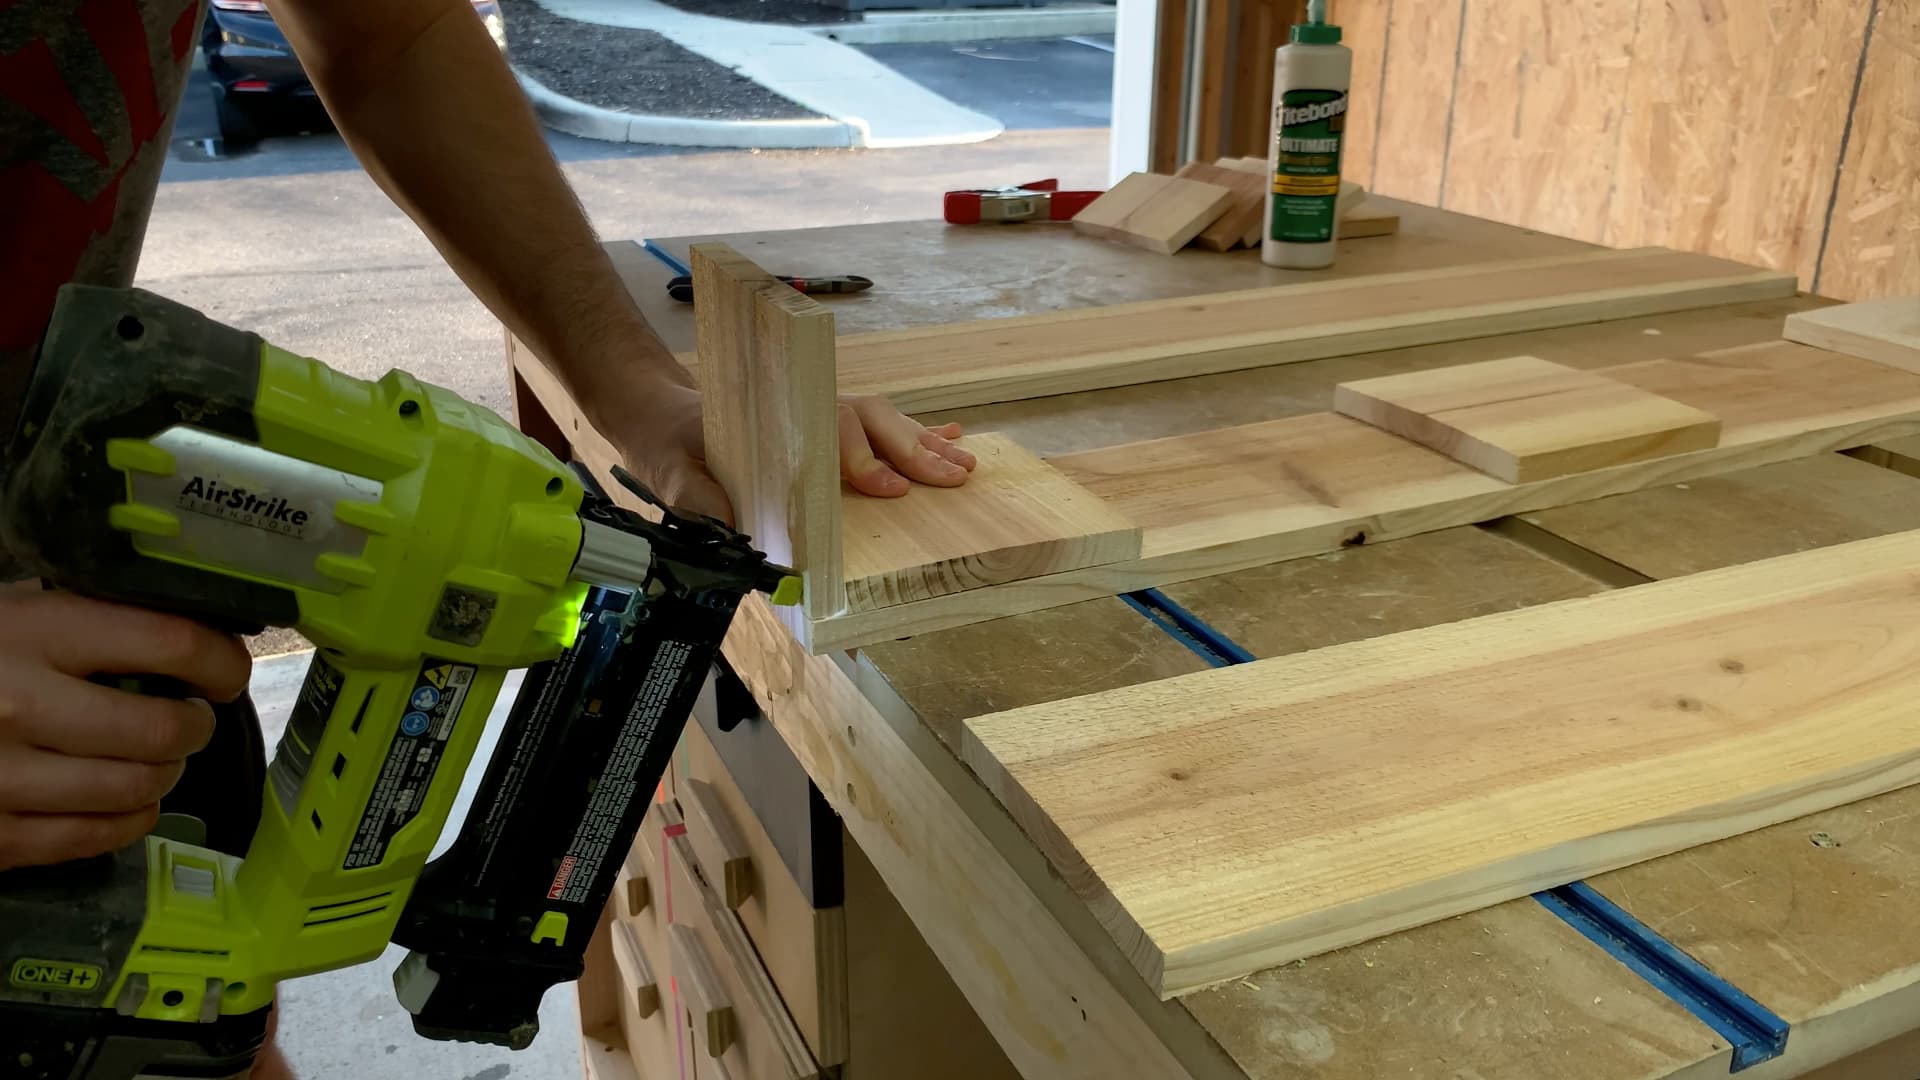
3Attach Sides
Using brad nails or pocket hole screws, attach the sides to the bottom support and exterior piece
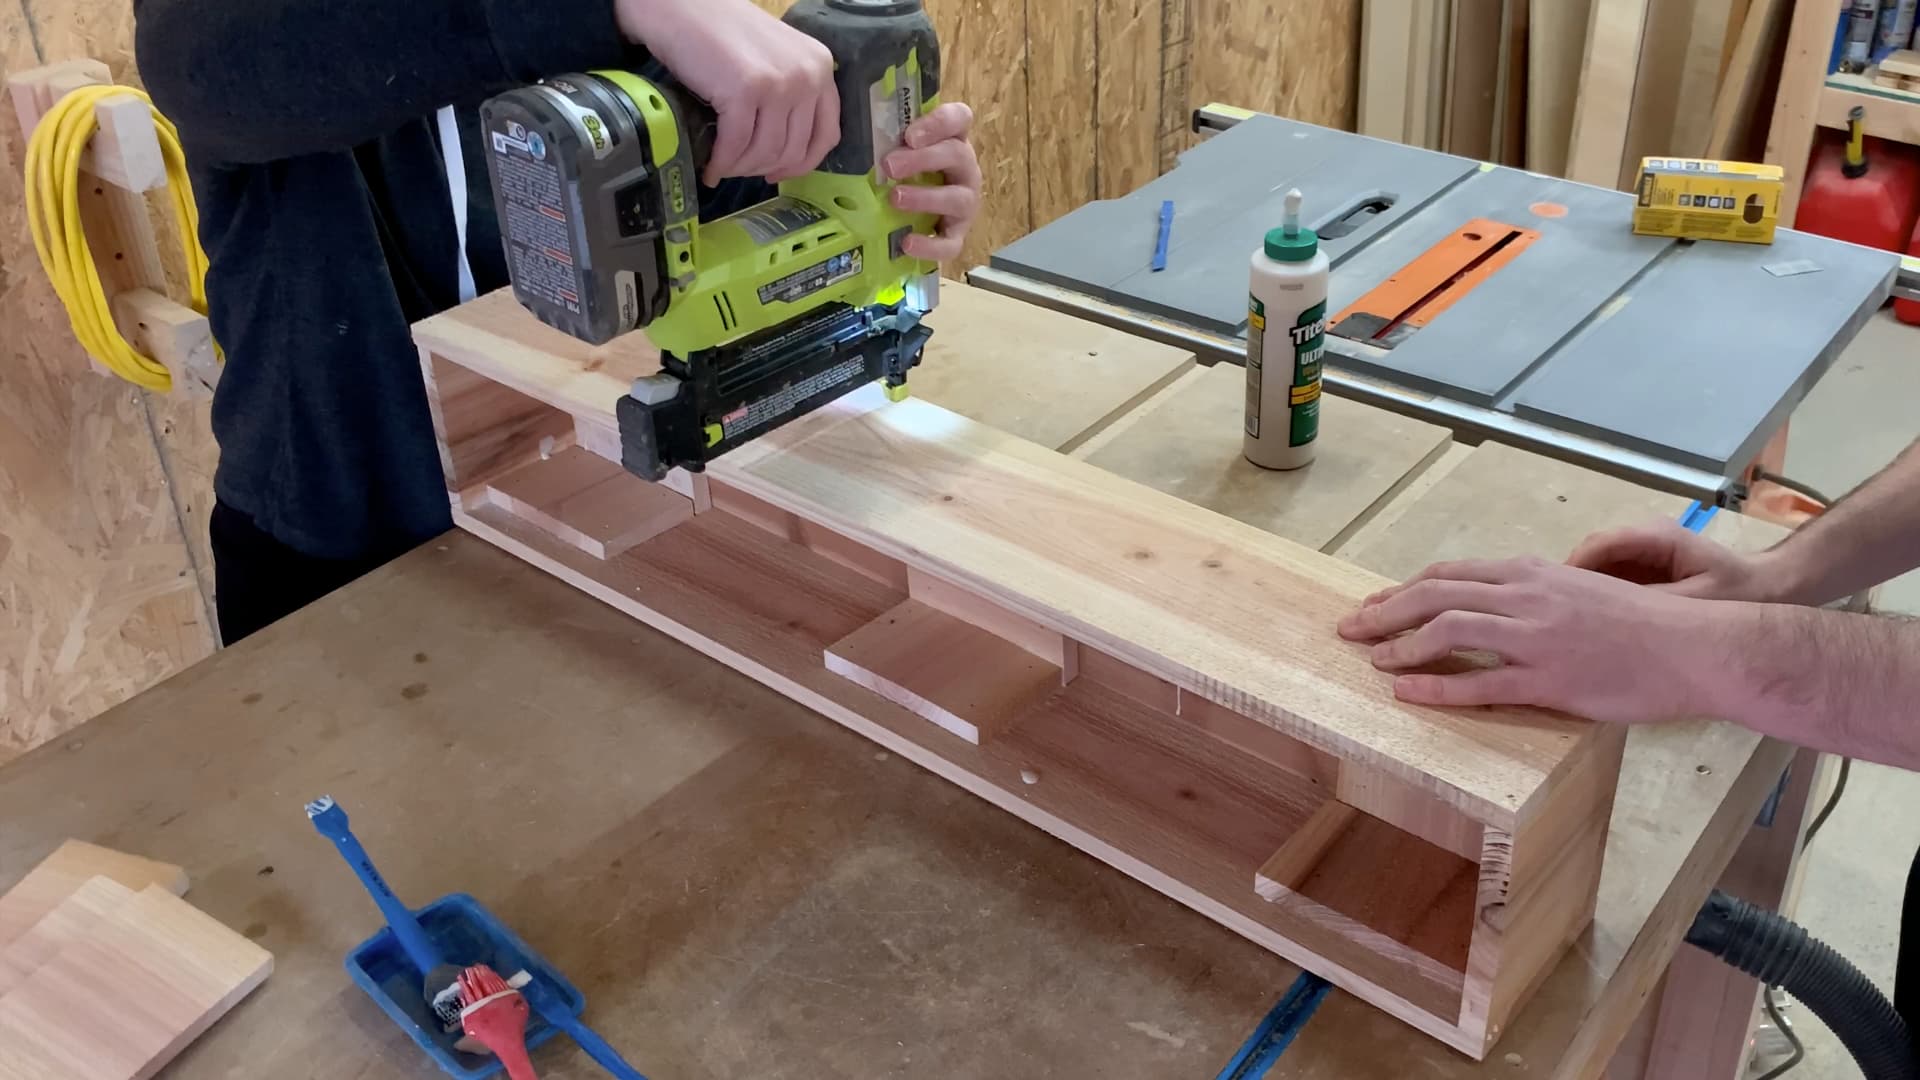
4Attach 1 Exterior Side
Using brad nails or pocket hole screws, attach one exterior side to the bottom support and bottom exterior piece
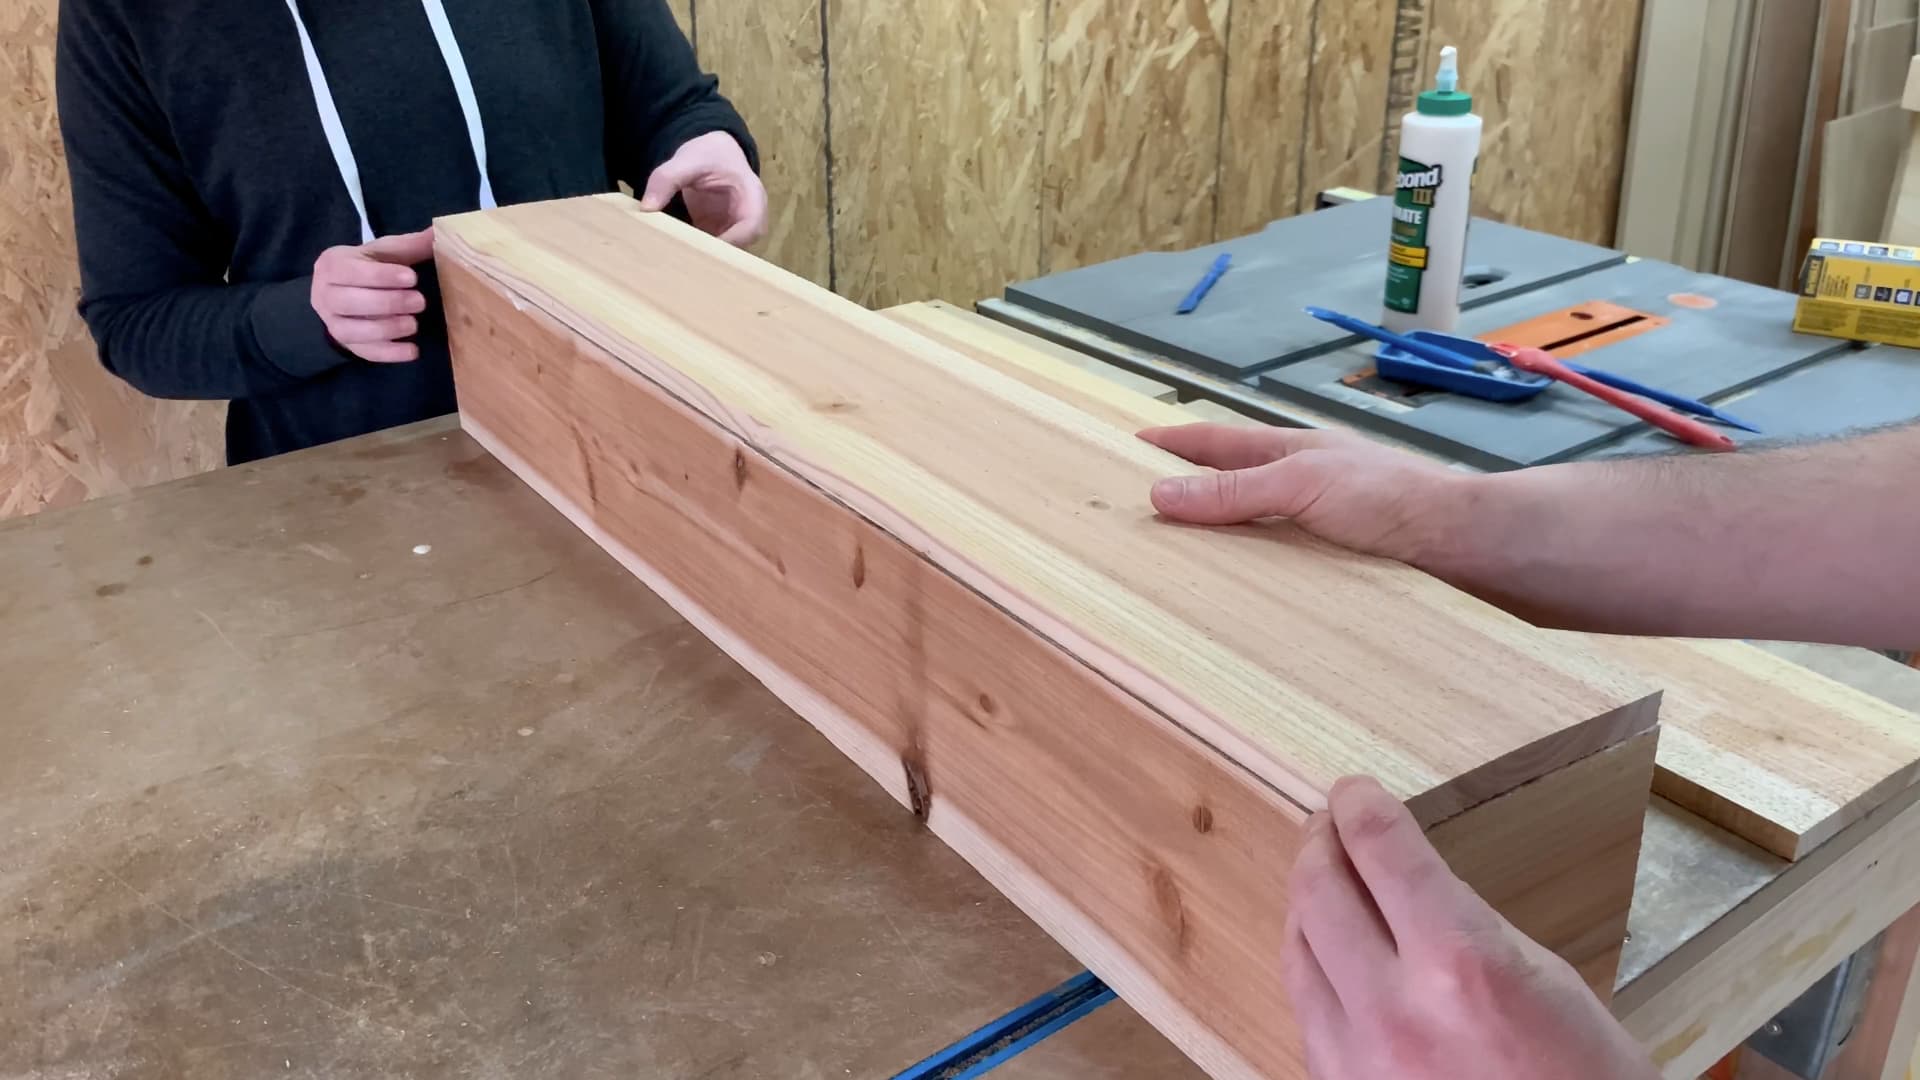
5Attach Side Supports
Using brad nails or pocket hole screws, attach the sides to the side supports to the exterior pieces
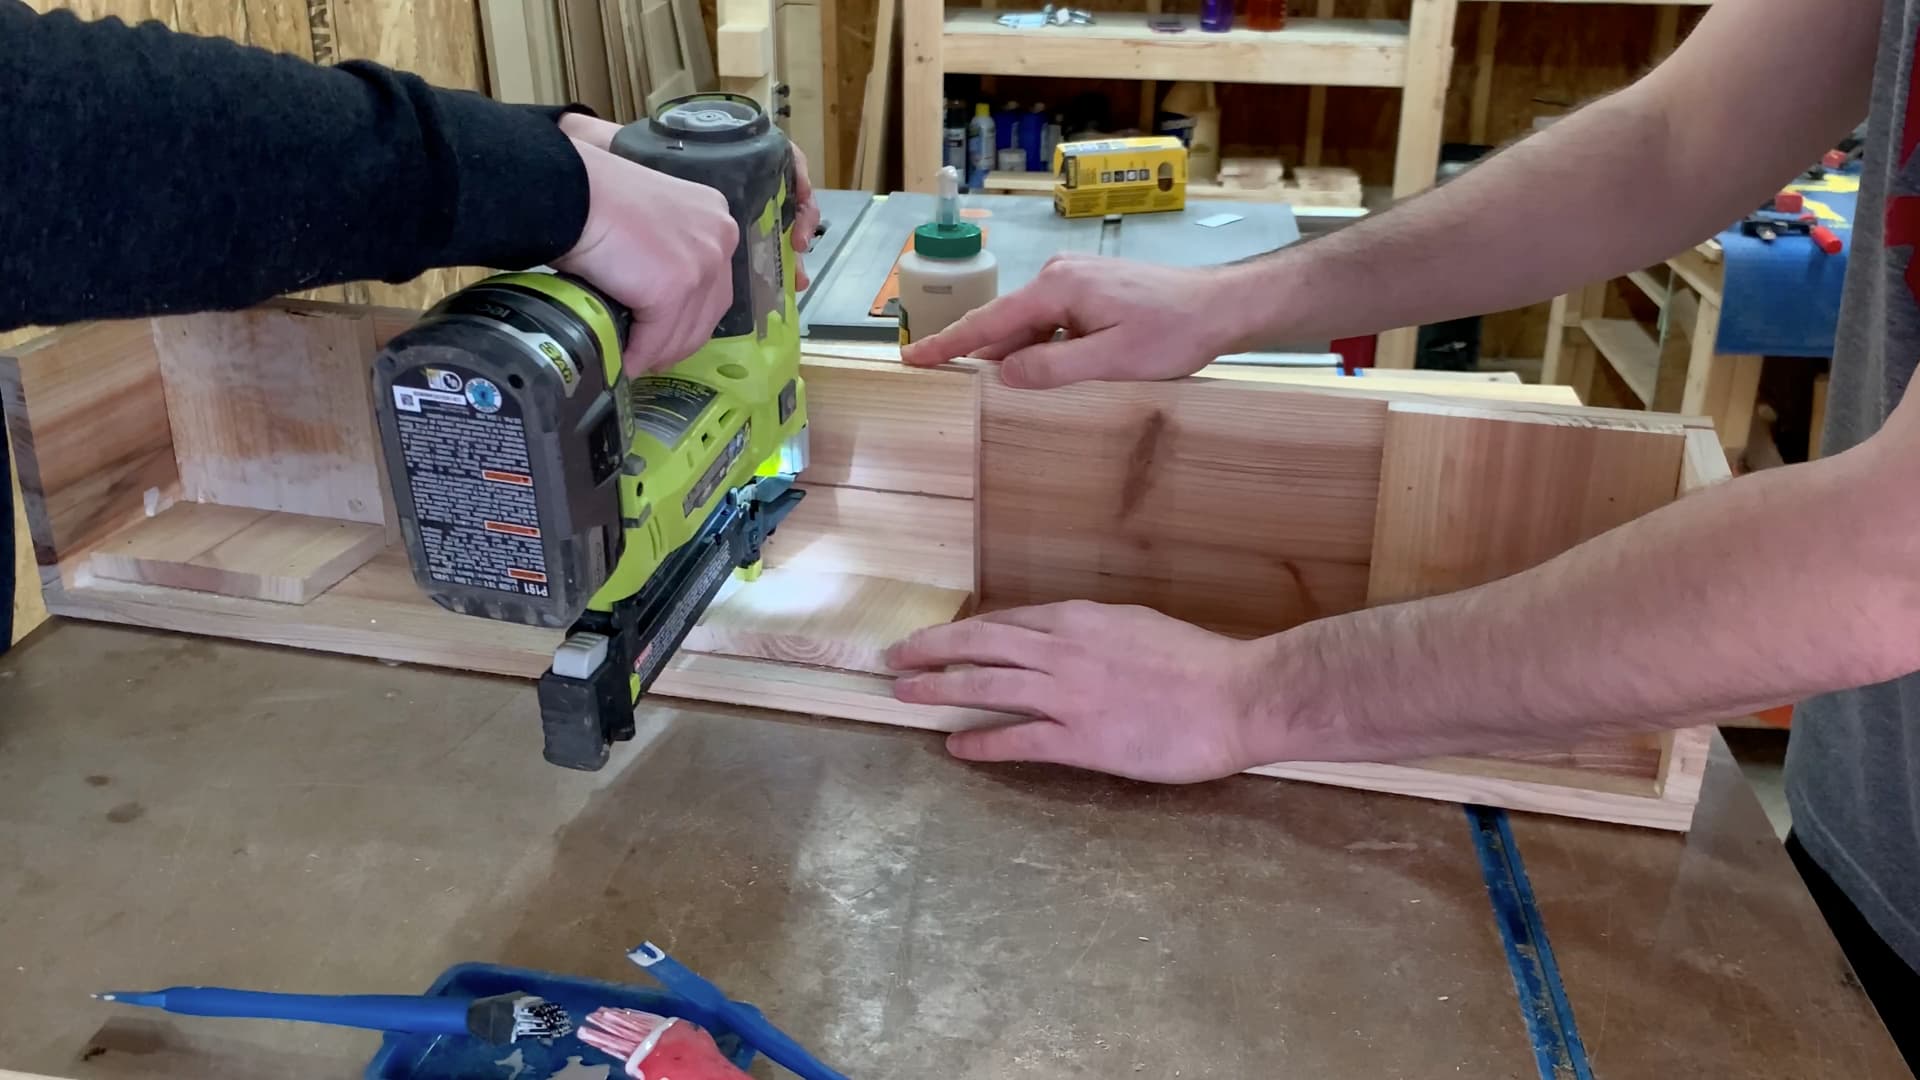
6Attach Other Side
Using brad nails or pocket hole screws, attach the last exterior piece to close in the side
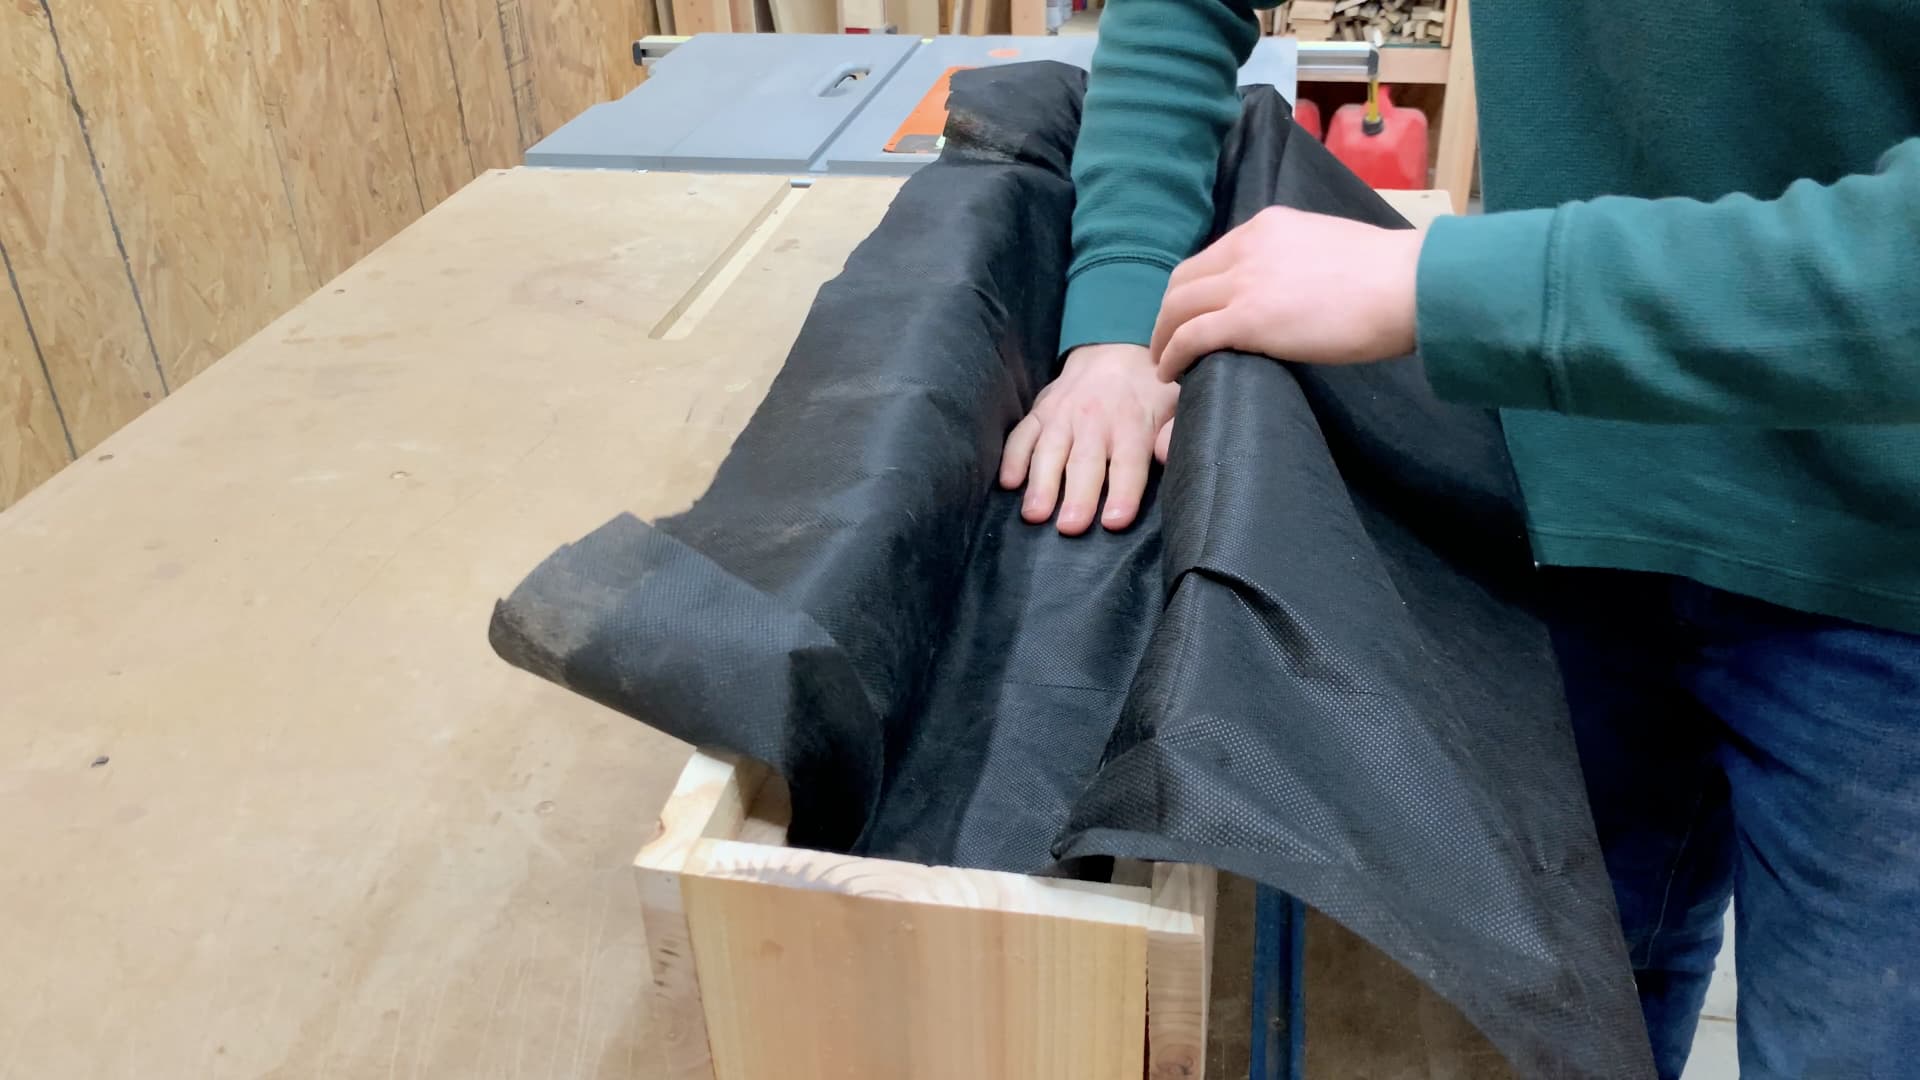
7Attach Landscape Fabric
Using staples, attach the landscape fabric to prevent all of the soil from being washed away during watering and rain
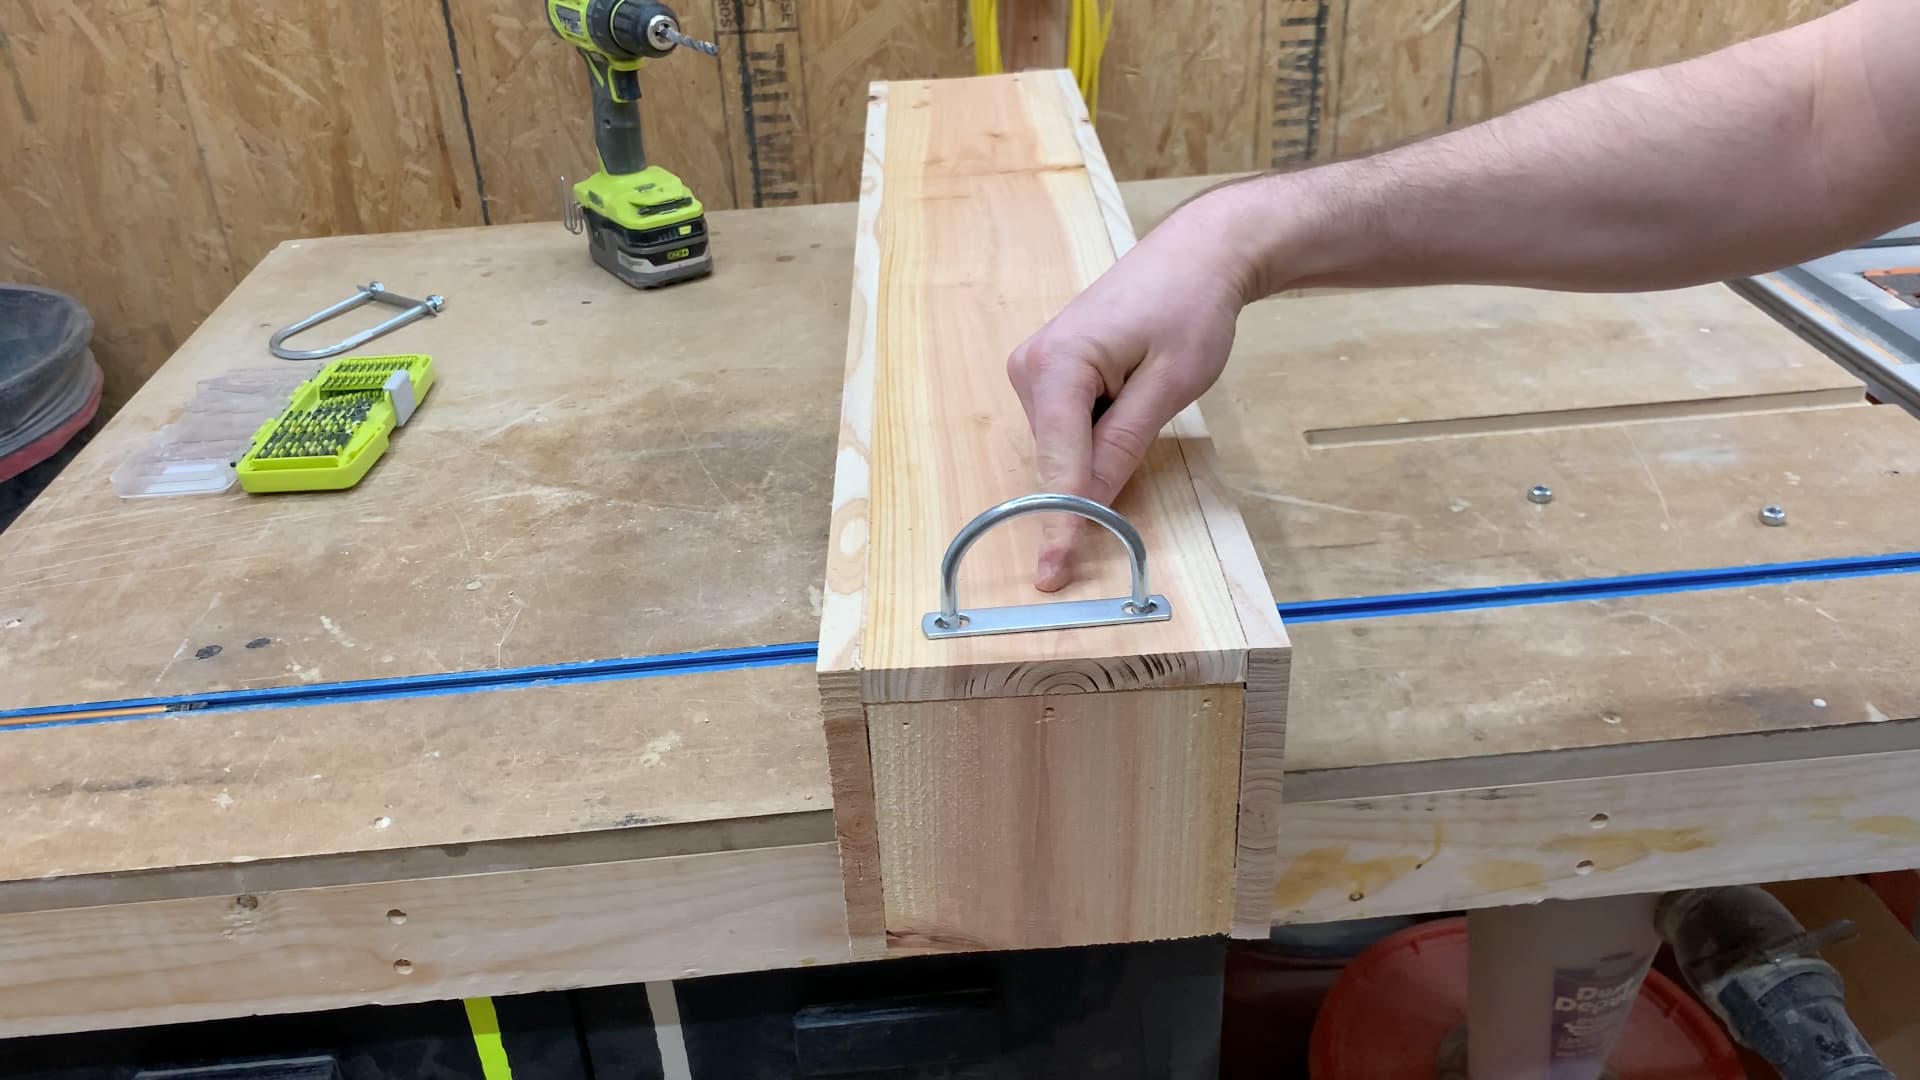
8Attach Hardware
Drill out holes in the bottom of the planter box to accept the hardware to attach to the railing
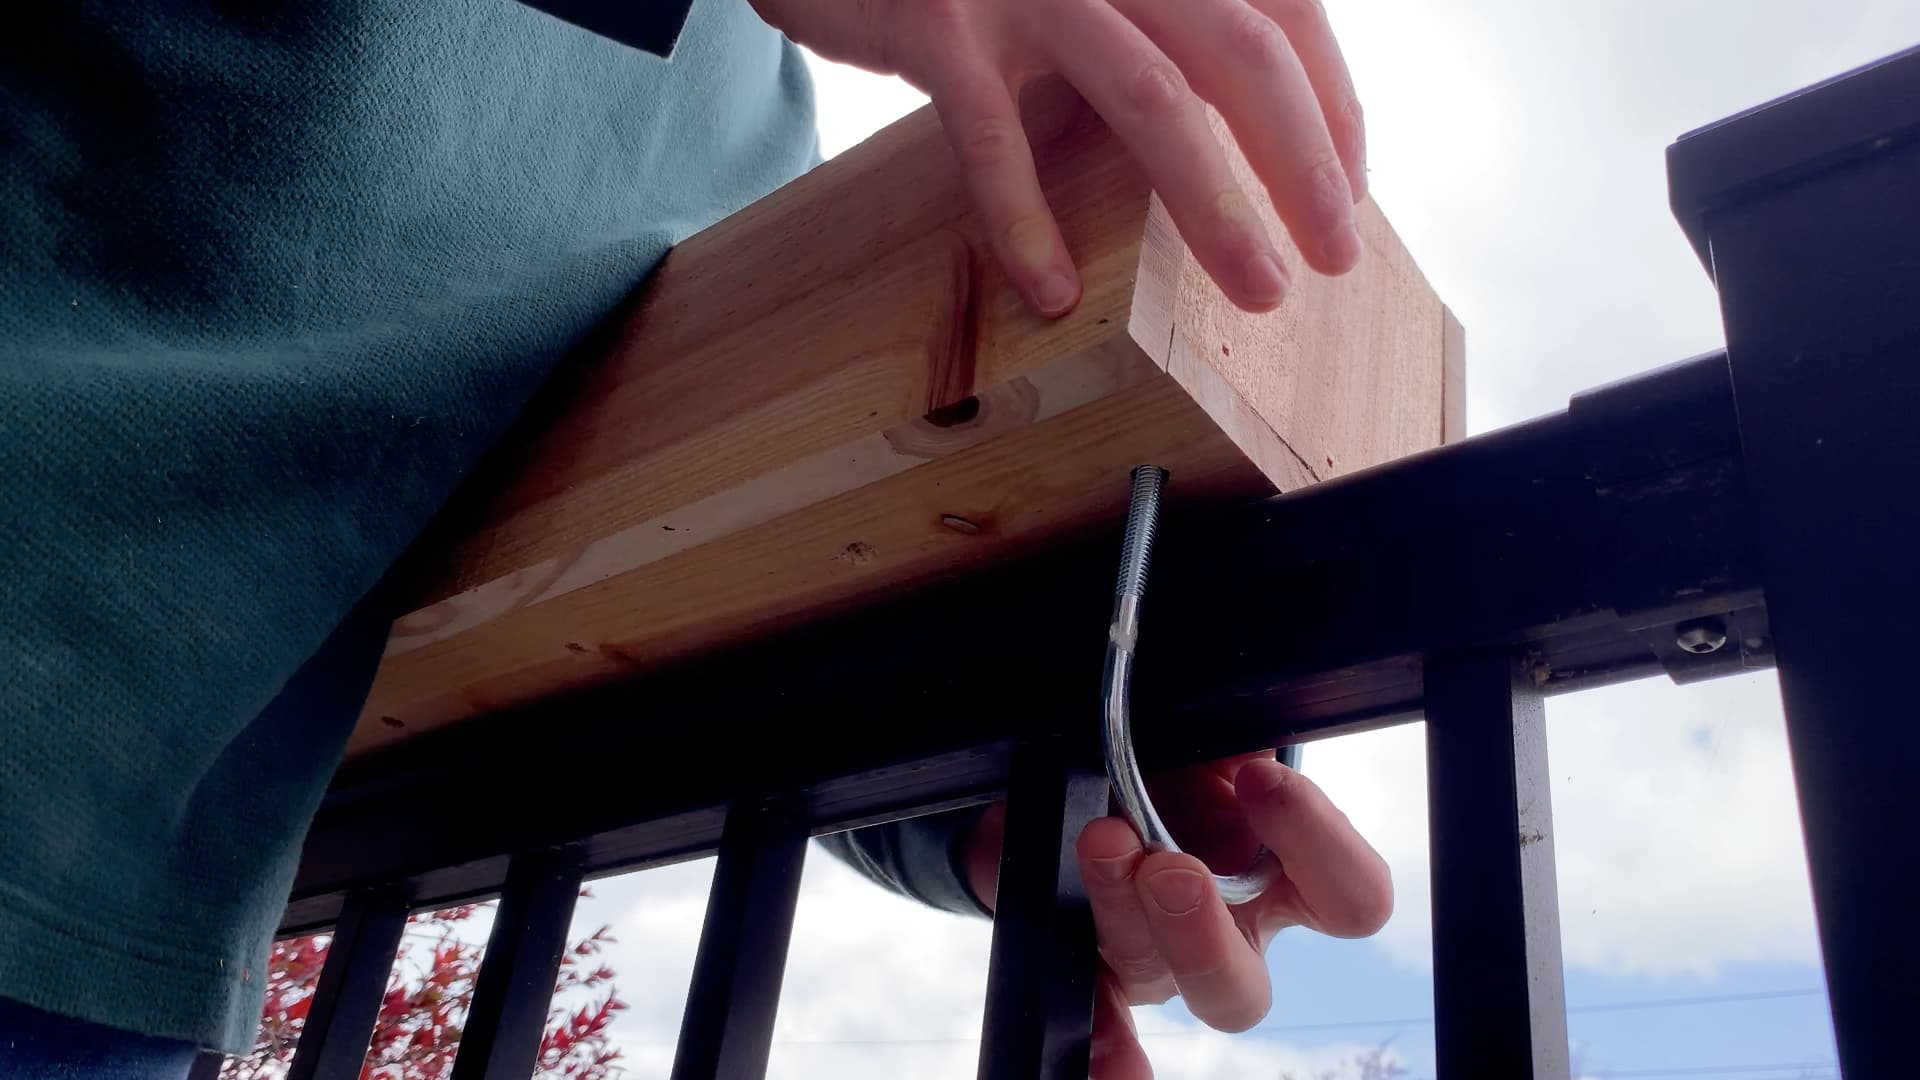
9Attach to Railing
Using the hardware from the previous step, attach the planter boxes over the railing
10Start Gardening!
Your planter boxes are now done and ready for you to plant anything you want!