 Notch
- Difficulty
- Easy
- Time
- 3.3–6 hours
- Cost
- $
About this build
These DIY planter boxes are the perfect entry level project and can be made with very basic materials from the home center!
Tools
Essential
- Brad Nailer
- Miter Saw
- Pocket Hole Jig
Materials
| Item | Qty |
|---|---|
| Cedar Dog-Ear Fence Picket, 19/32 in. D x 5-1/2 in. W x 6 ft. H | 5 board |
| 1" Pocket Hole Screws | 1 each |
| 1" Brad Nails | 1 each |
Overall cost: $. Lumber prices vary by region, species, and season, so we give a band rather than a figure we would only be pretending to know.
Cut list
| Part | Qty | T × W × L |
|---|---|---|
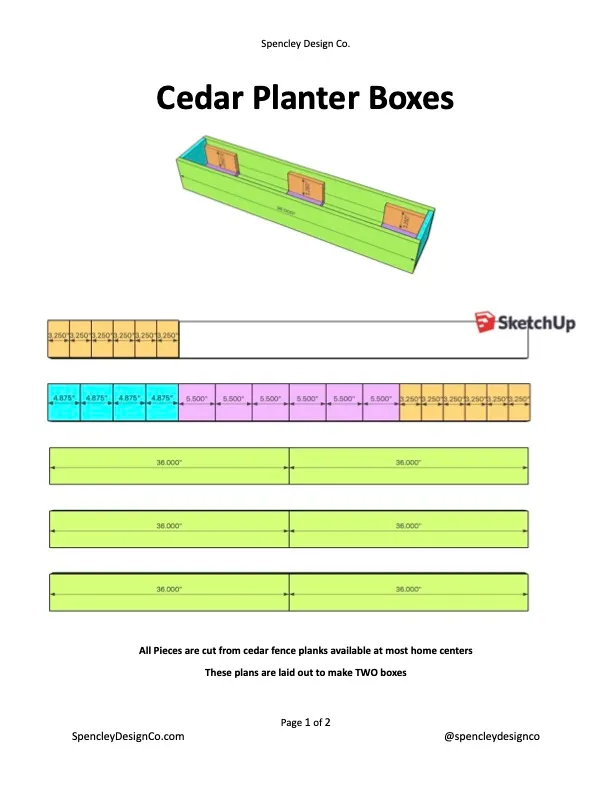
| Side Supports | 12 | 5/8" × 3" × 5" |
| Bottom Supports | 6 | 5/8" × 5" × 5" |
| Ends | 4 | 5/8" × 4" × 5" |
| Exterior Pieces | 6 | 5/8" × 5" × 36" |
What to buy
Buy 5 boards at 8 ft.
5/8" × 5"
3 boards
5/8" × 4"
1 board
5/8" × 3"
1 board
Assumes 8 ft stock, a 1/8" saw kerf, and buying each part at its own width. Change the board size or kerf on the full board plan →
Instructions
1Cut Parts
Using the cut list provided, cut down all of the pieces needs for the planters
Tip: Note Please note that these plans are outlined to make TWO planter boxes
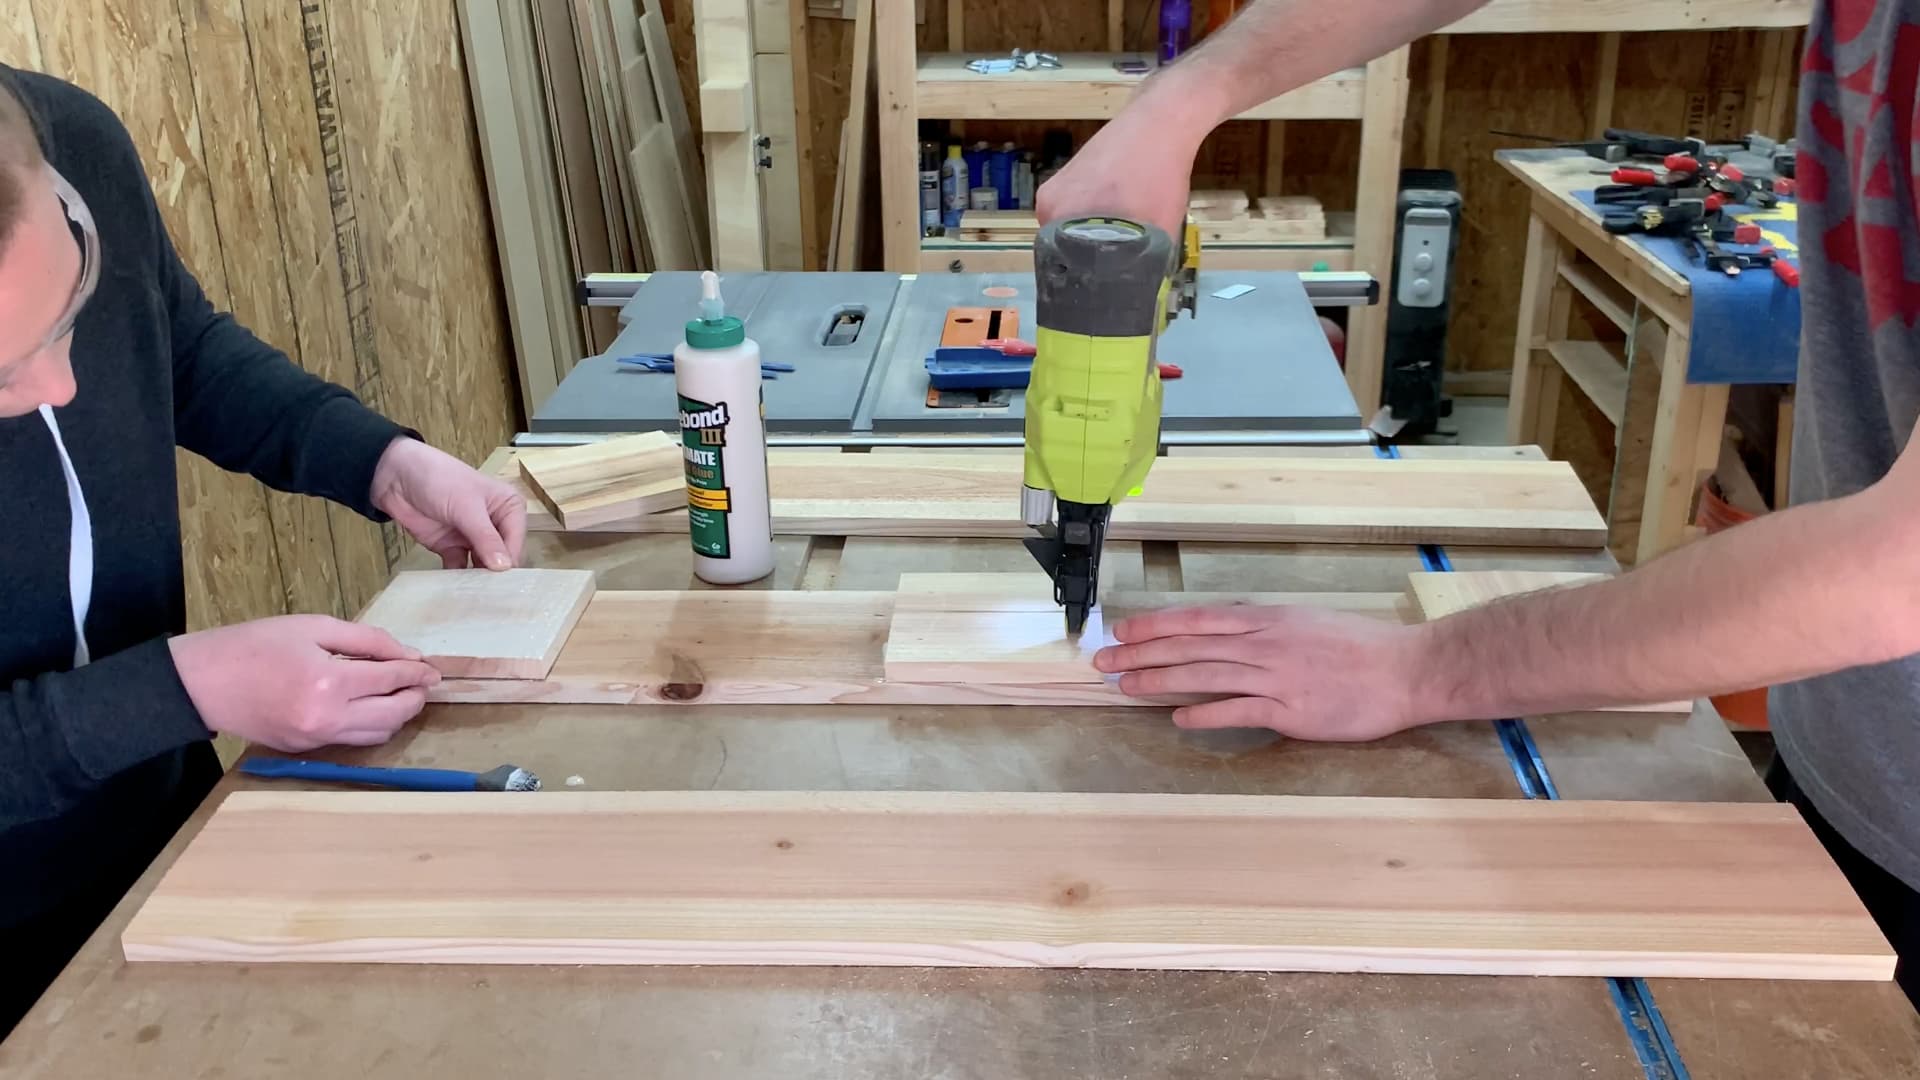
2Attach Bottom Supports
Using brad nails or screws, attach the bottom supports to one of the exterior pieces
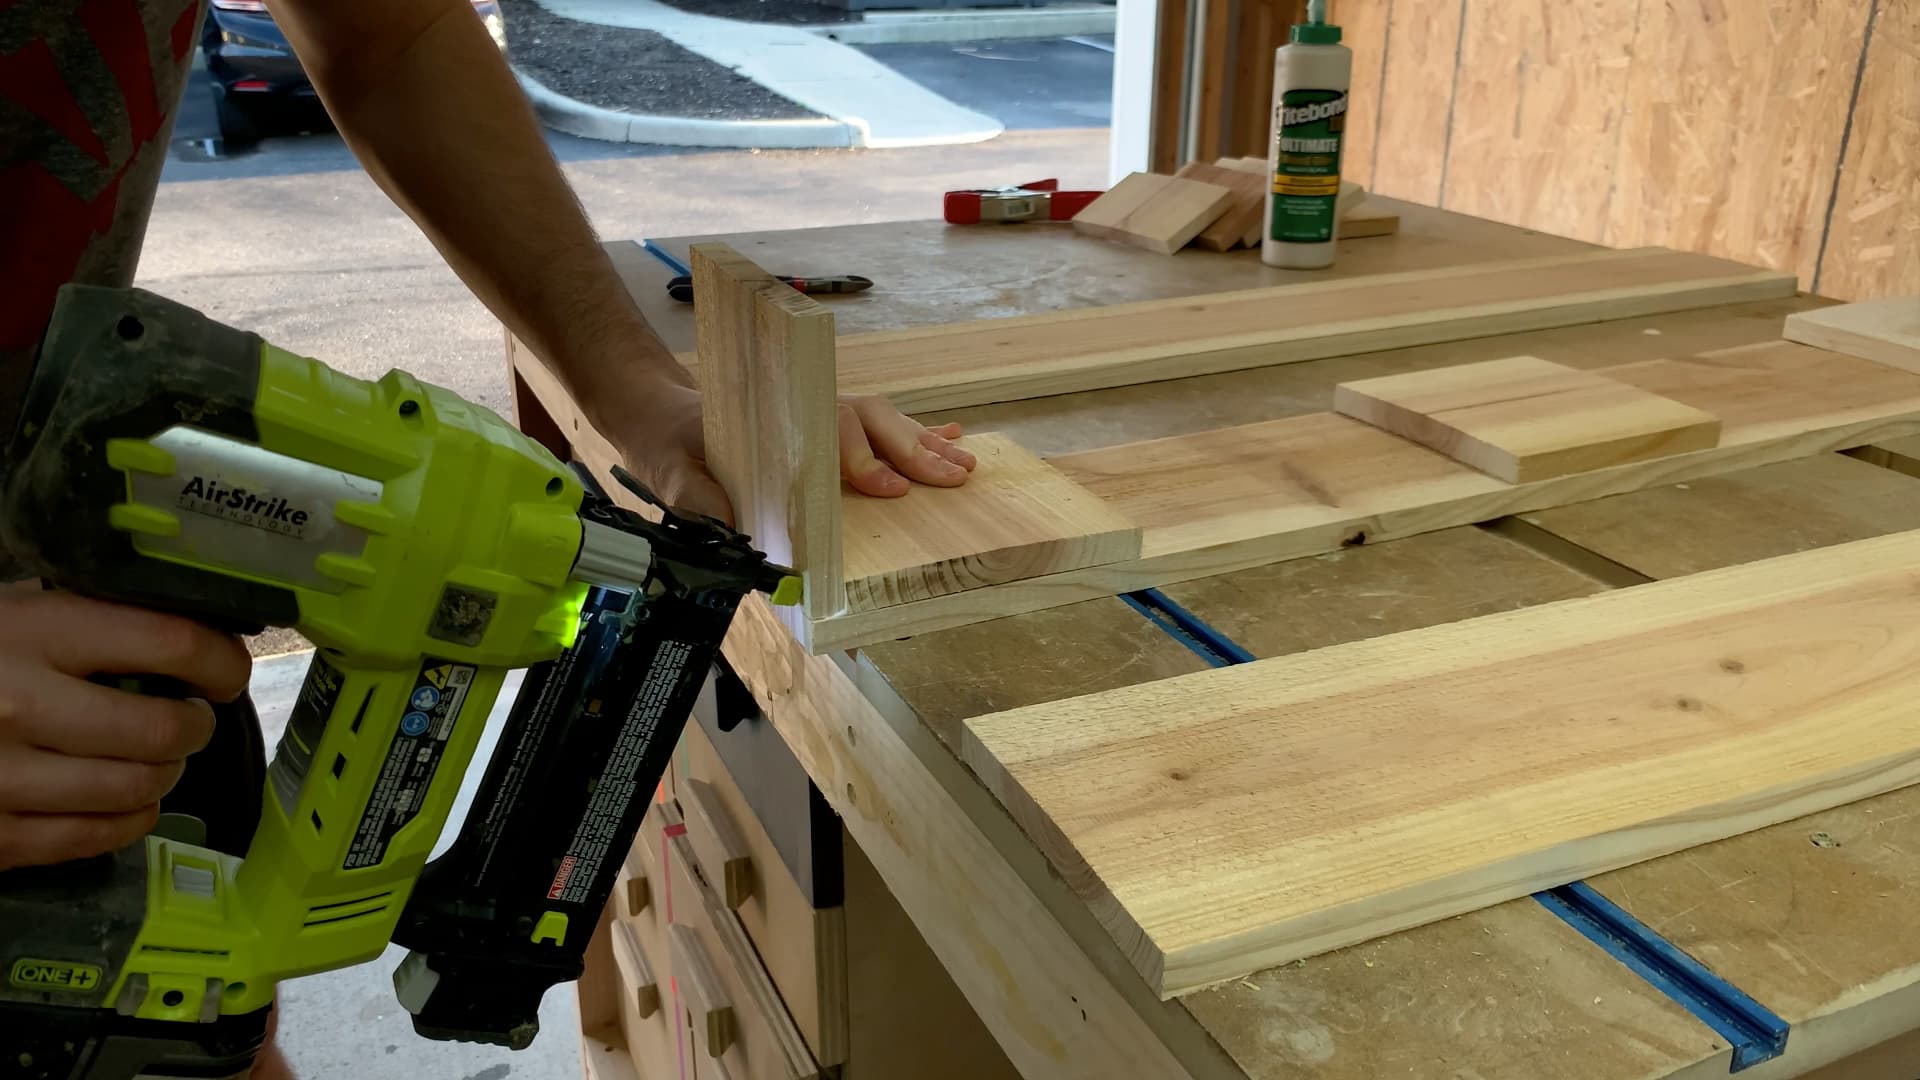
3Attach Sides
Using brad nails or pocket hole screws, attach the sides to the bottom support and exterior piece
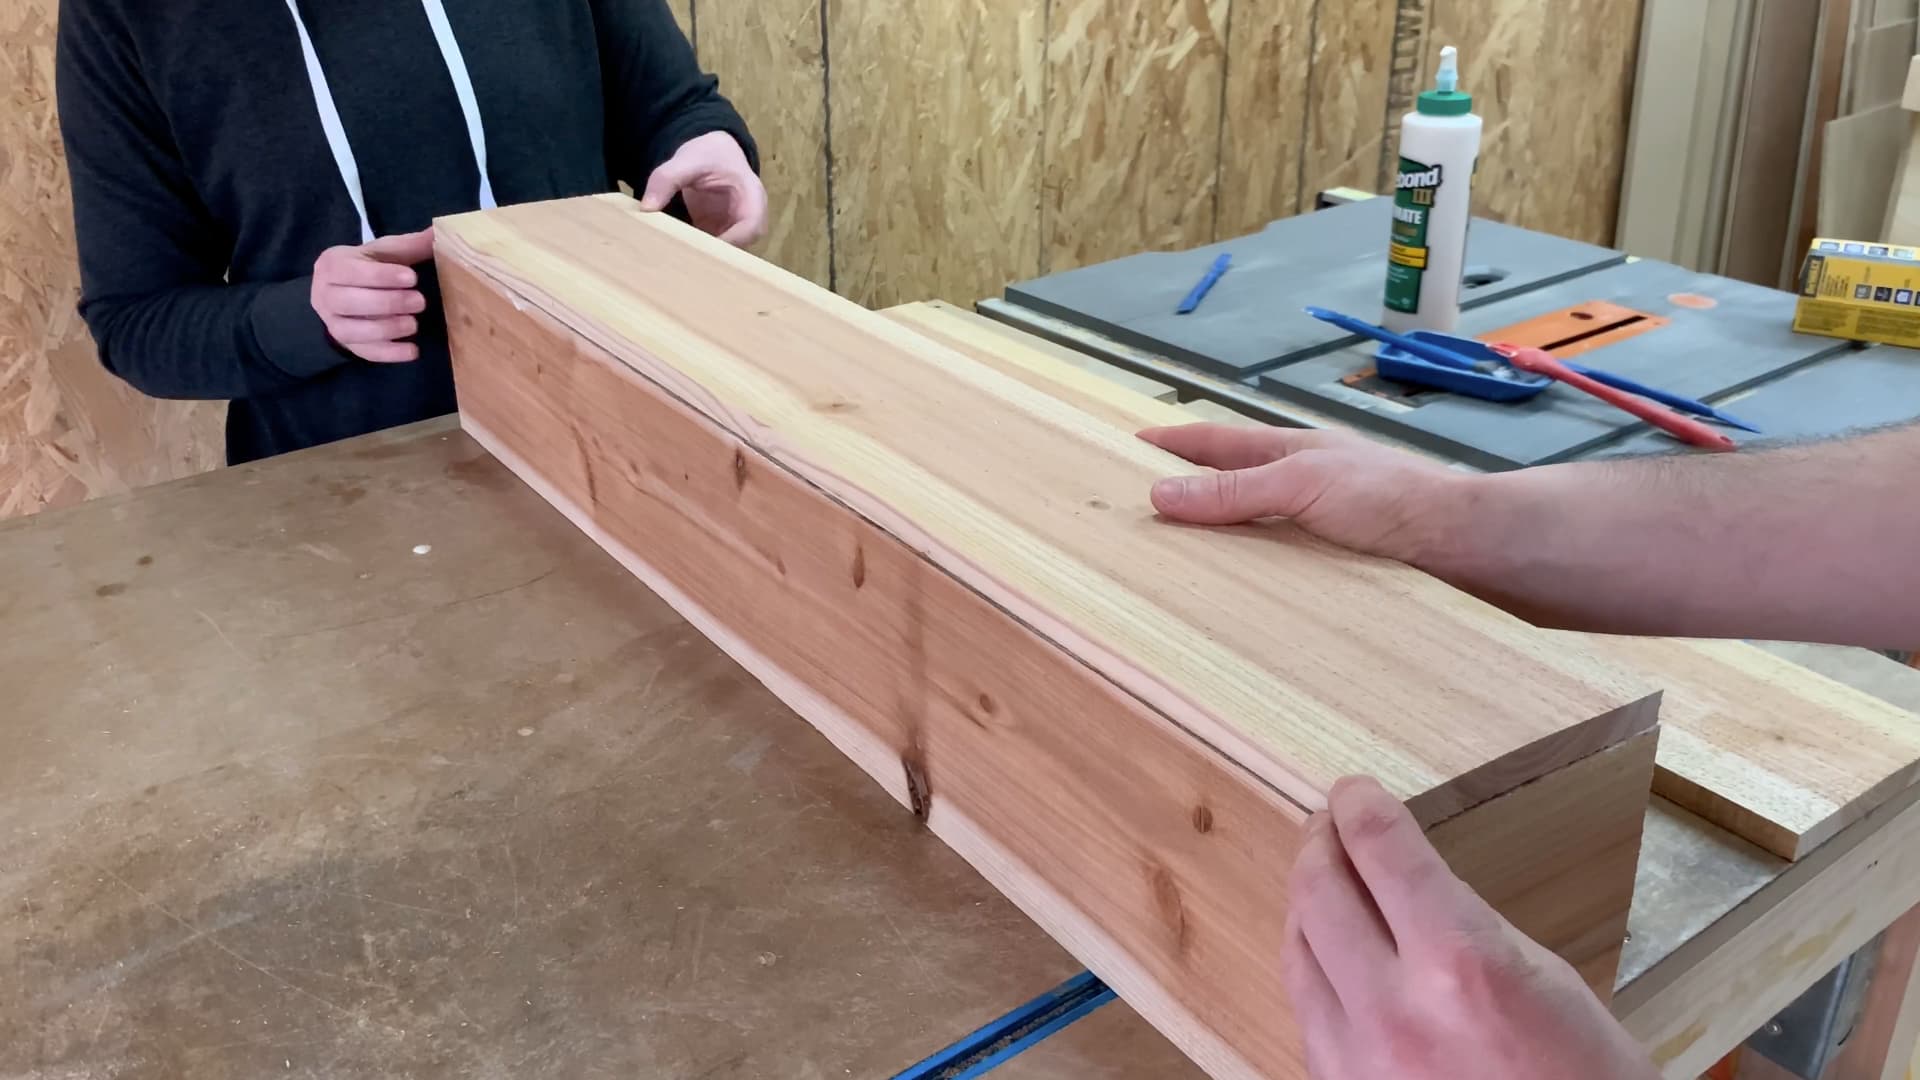
4Attach 1 Exterior Side
Using brad nails or pocket hole screws, attach one exterior side to the bottom support and bottom exterior piece
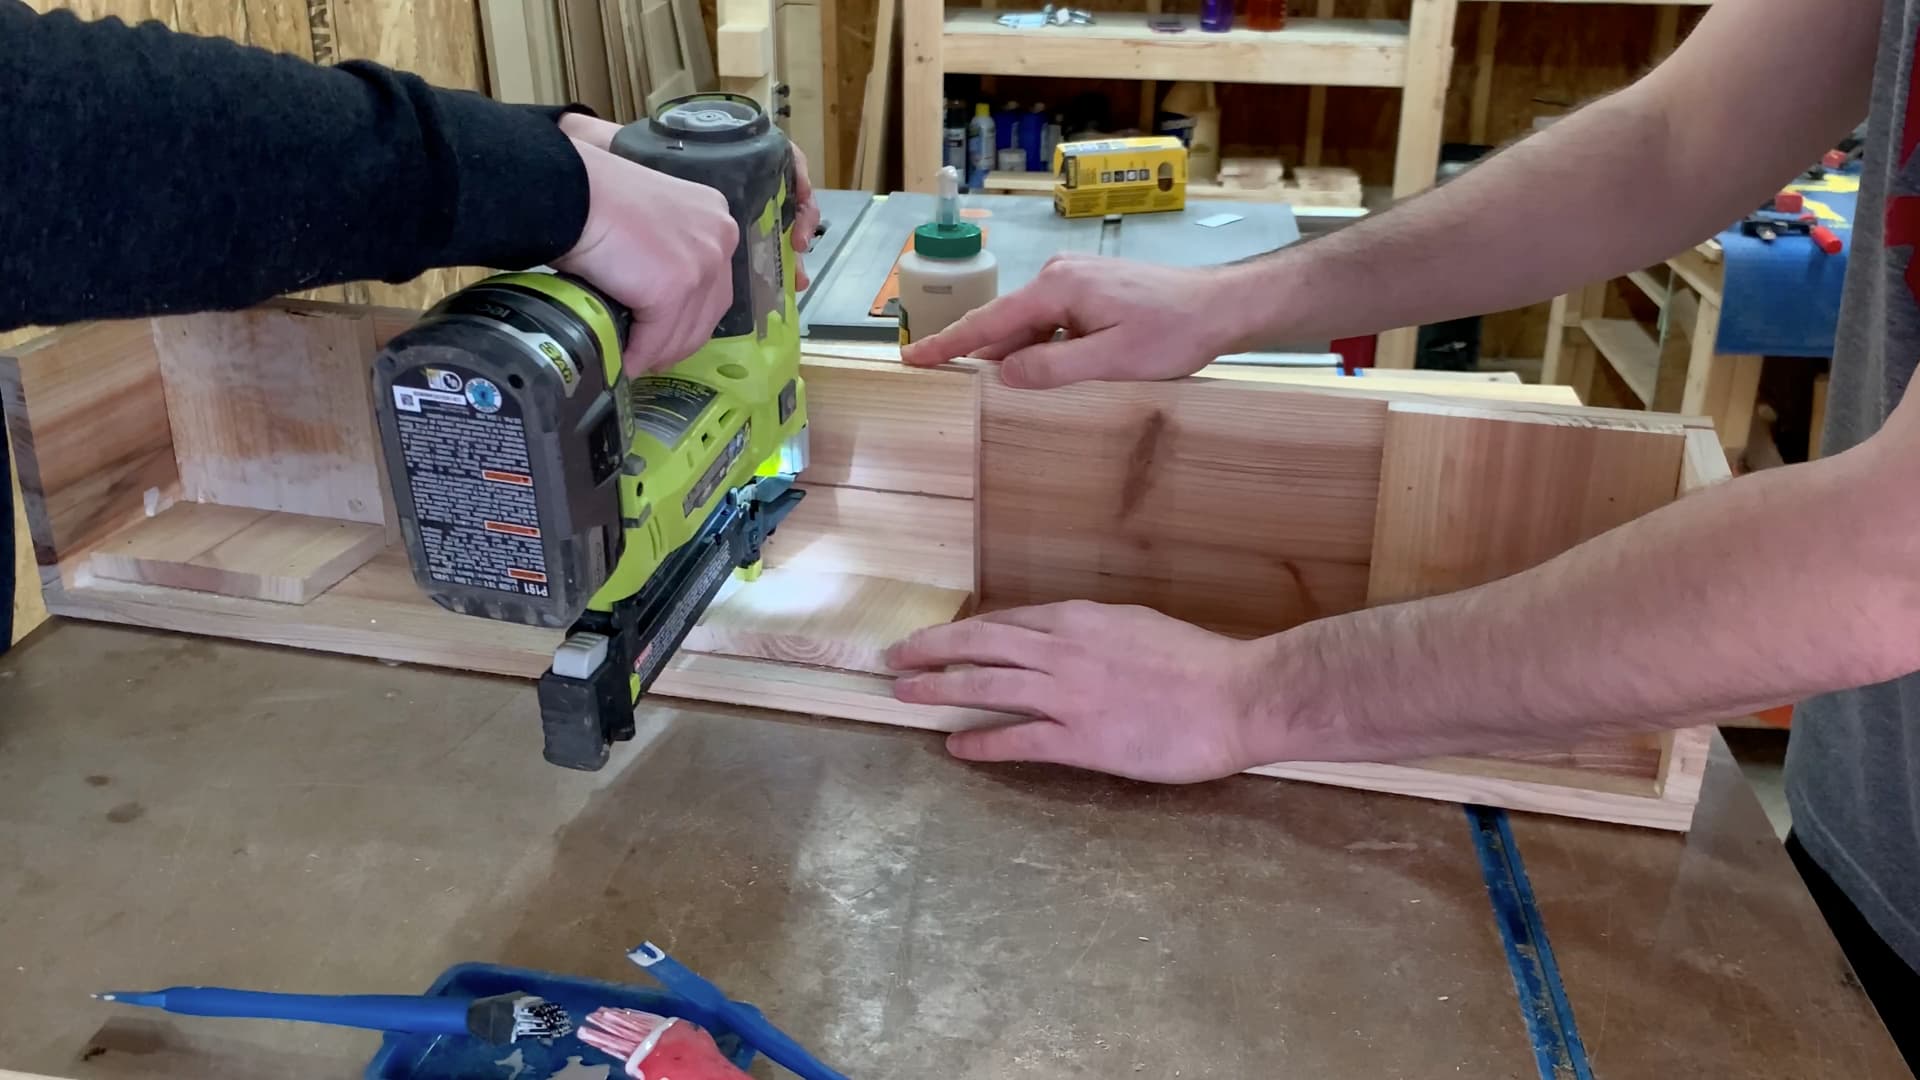
5Attach Side Supports
Using brad nails or pocket hole screws, attach the sides to the side supports to the exterior pieces
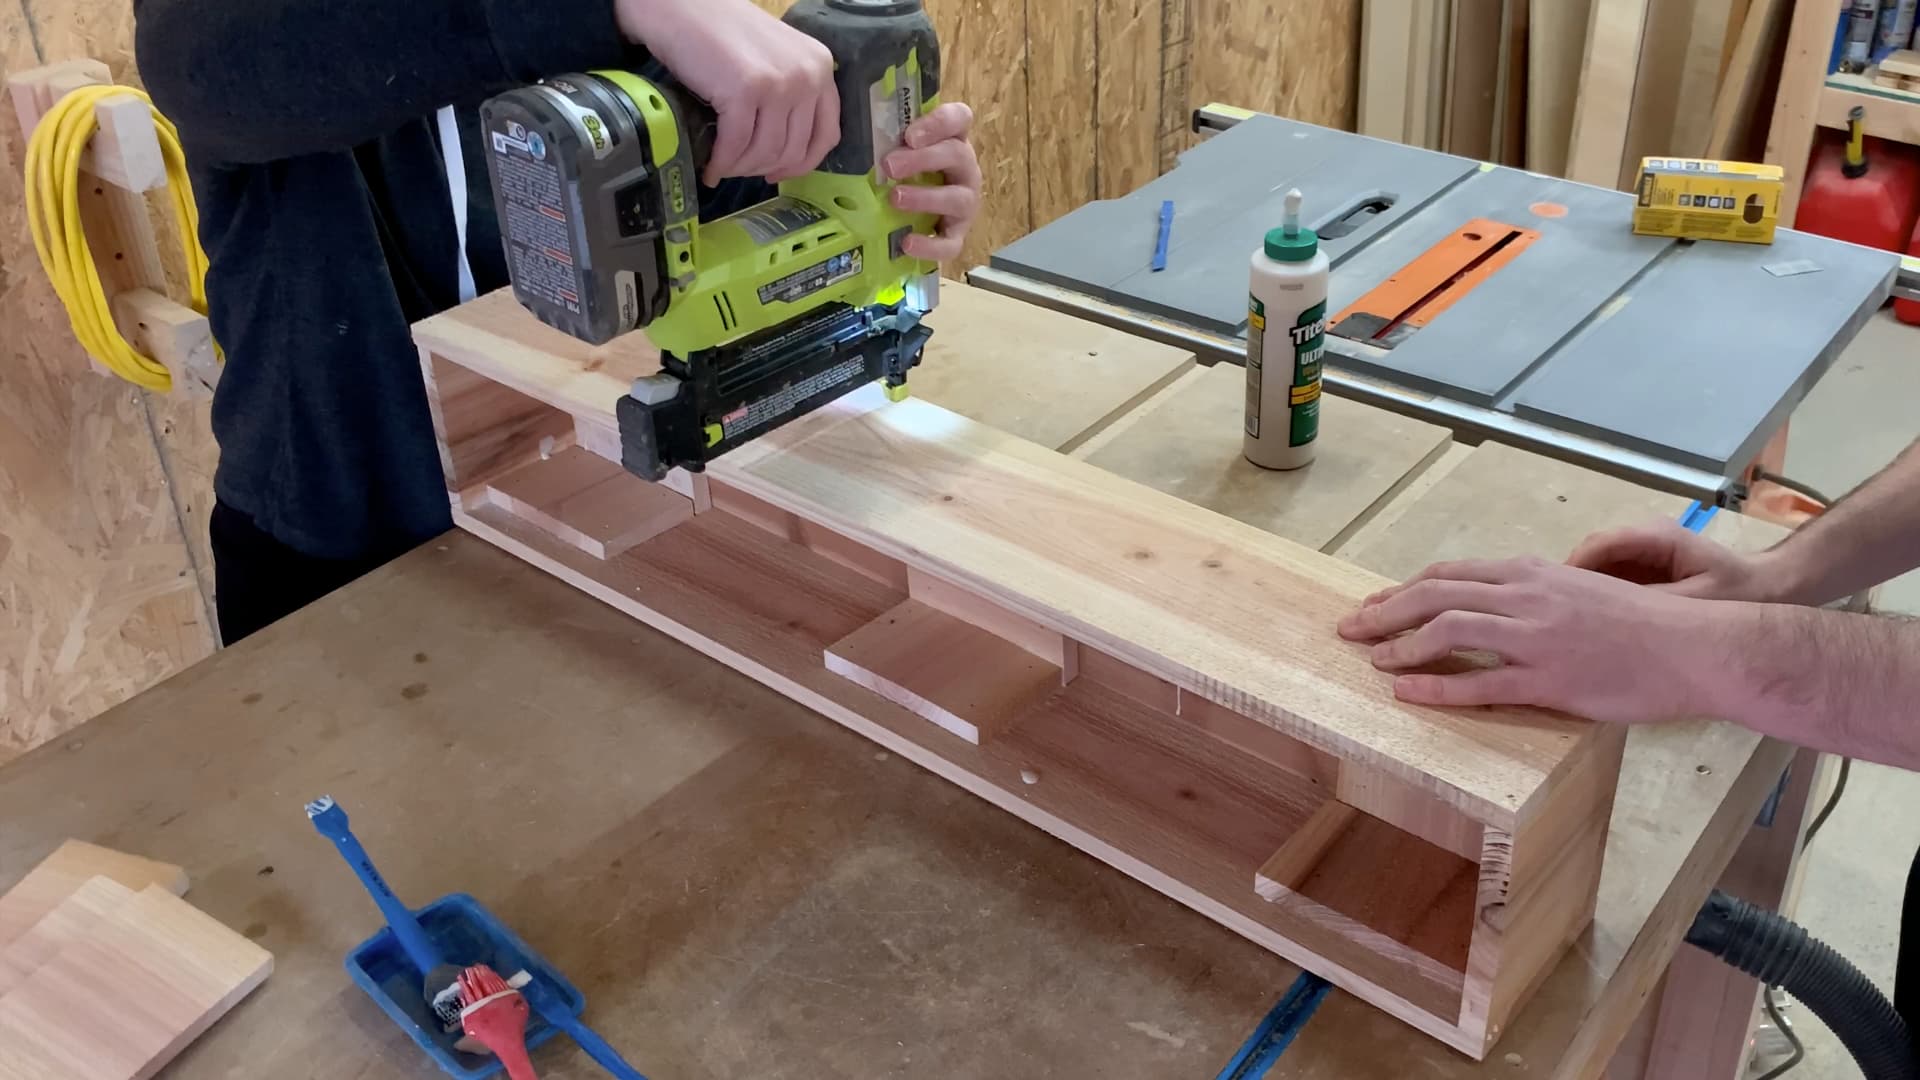
6Attach Other Side
Using brad nails or pocket hole screws, attach the last exterior piece to close in the side
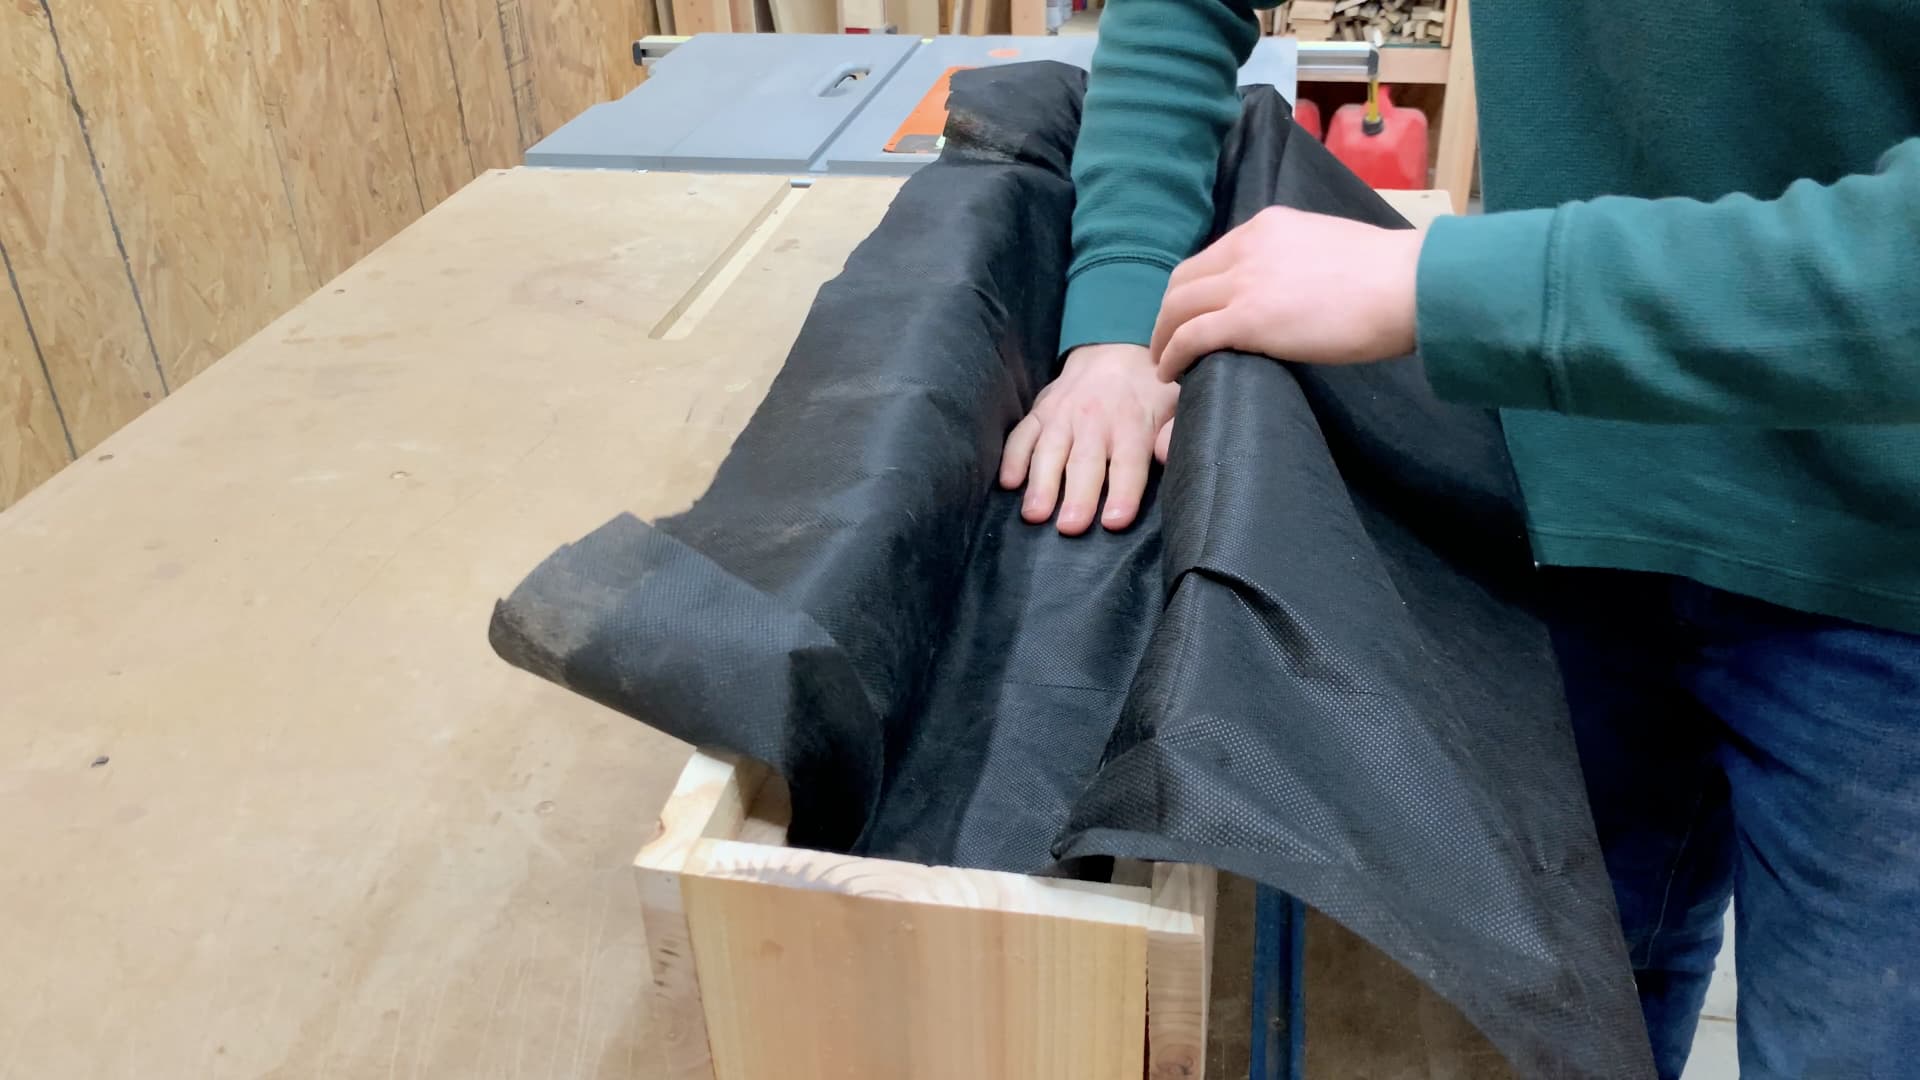
7Attach Landscape Fabric
Using staples, attach the landscape fabric to prevent all of the soil from being washed away during watering and rain
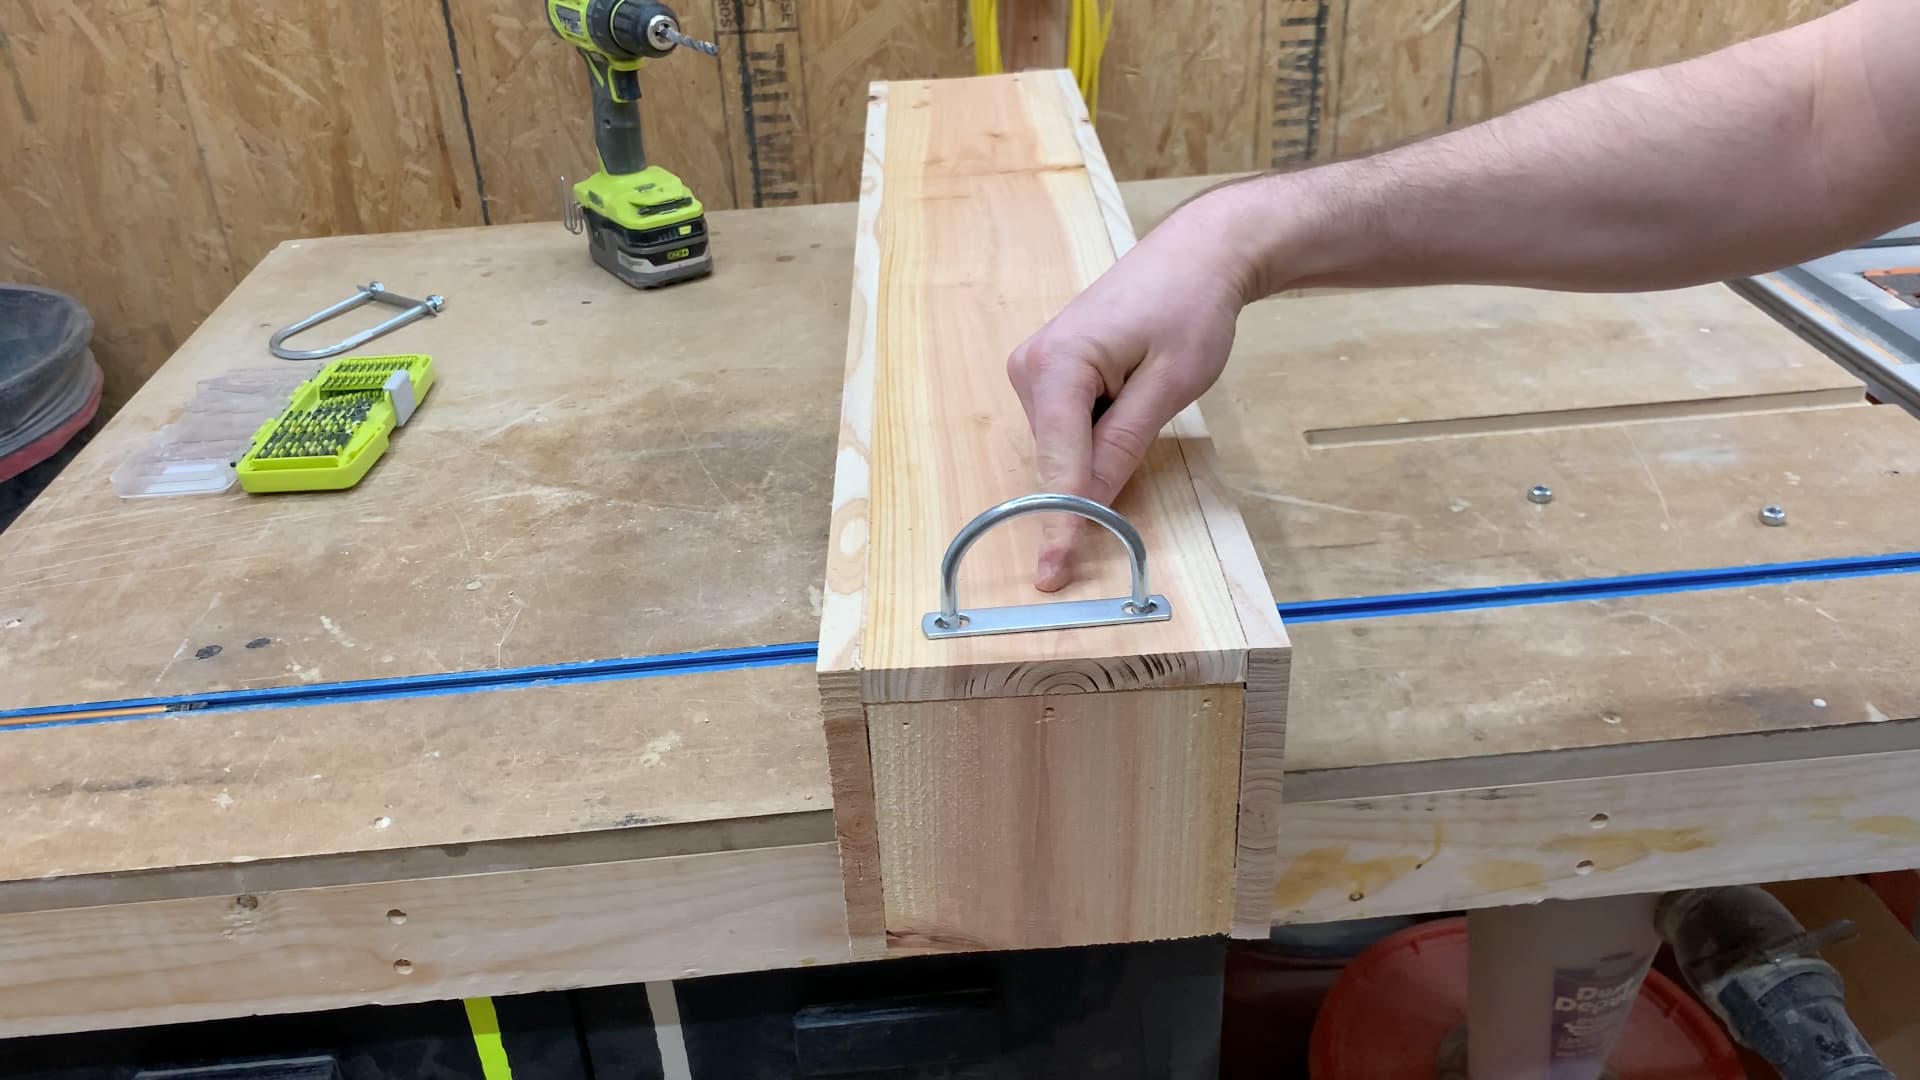
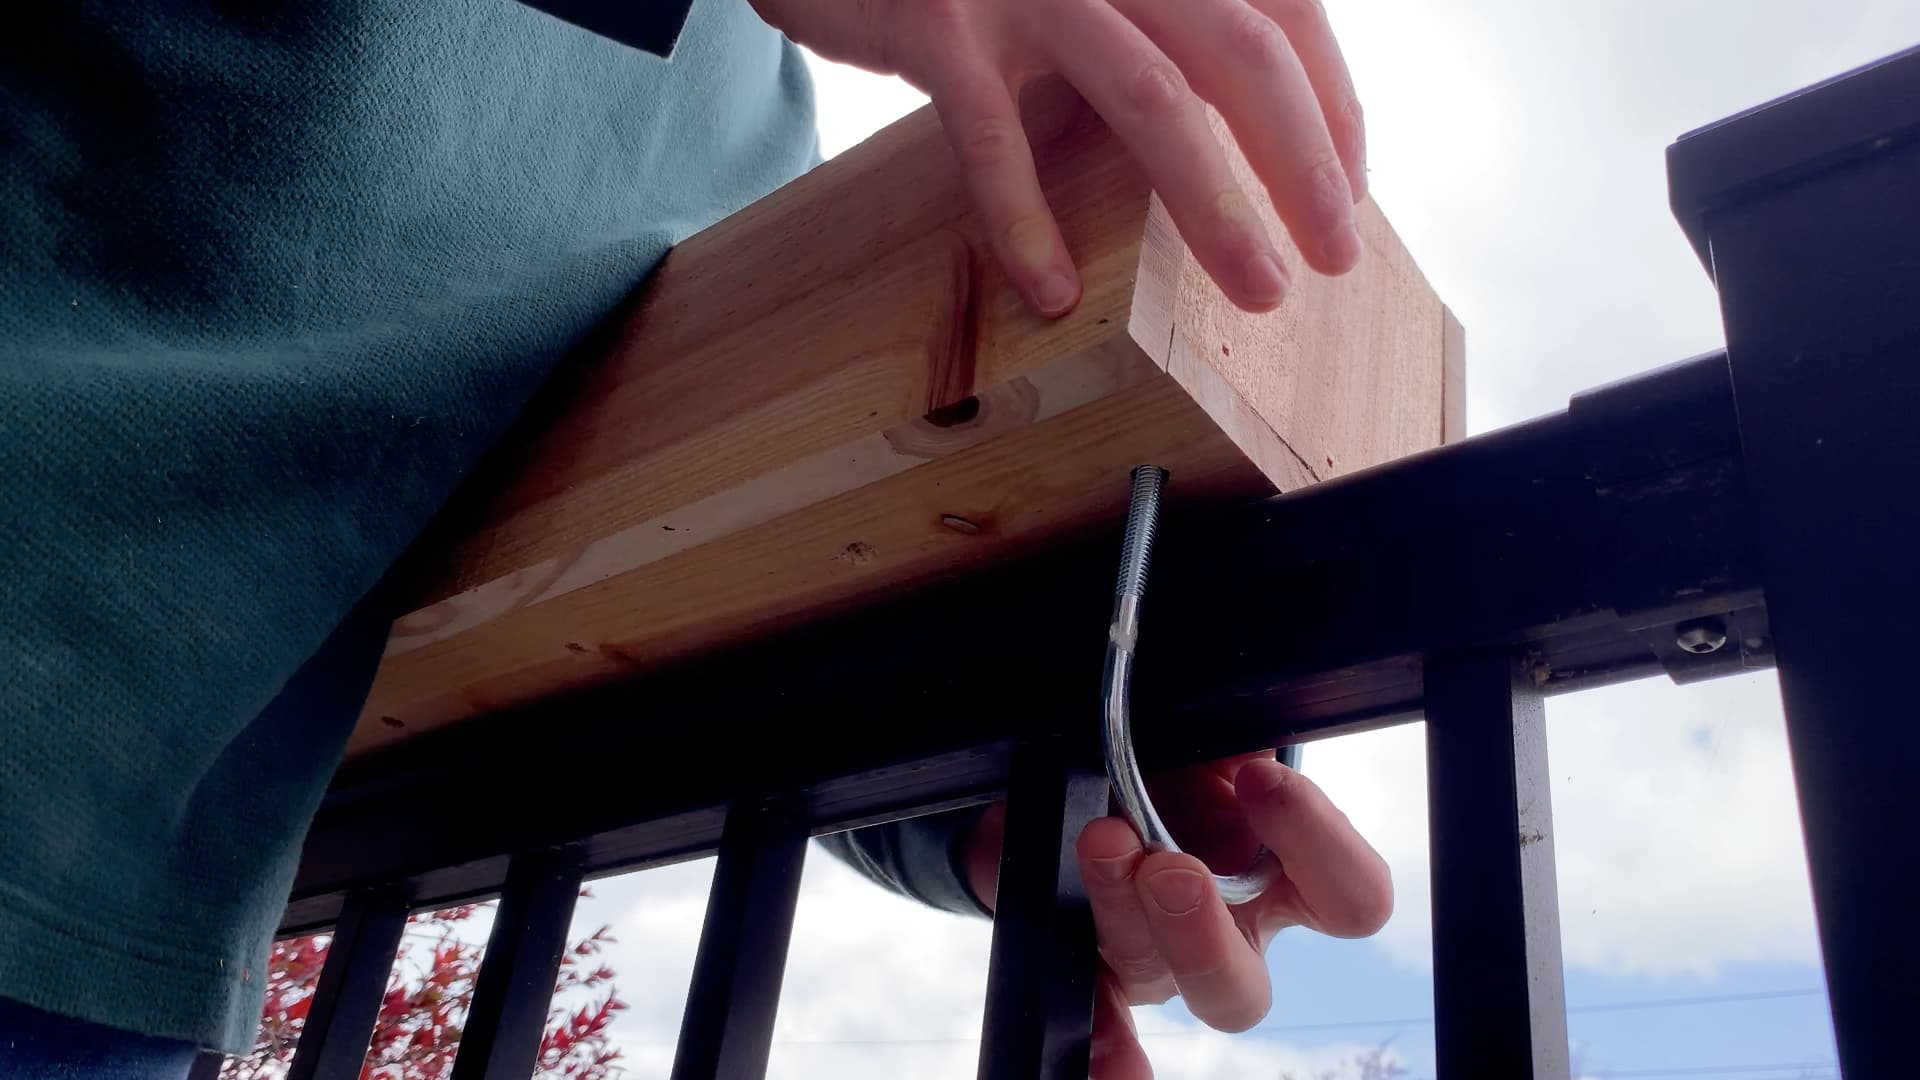
8Attach Hardware
Drill out holes in the bottom of the planter box to accept the hardware to attach to the railing
9Attach to Railing
Using the hardware from the previous step, attach the planter boxes over the railing
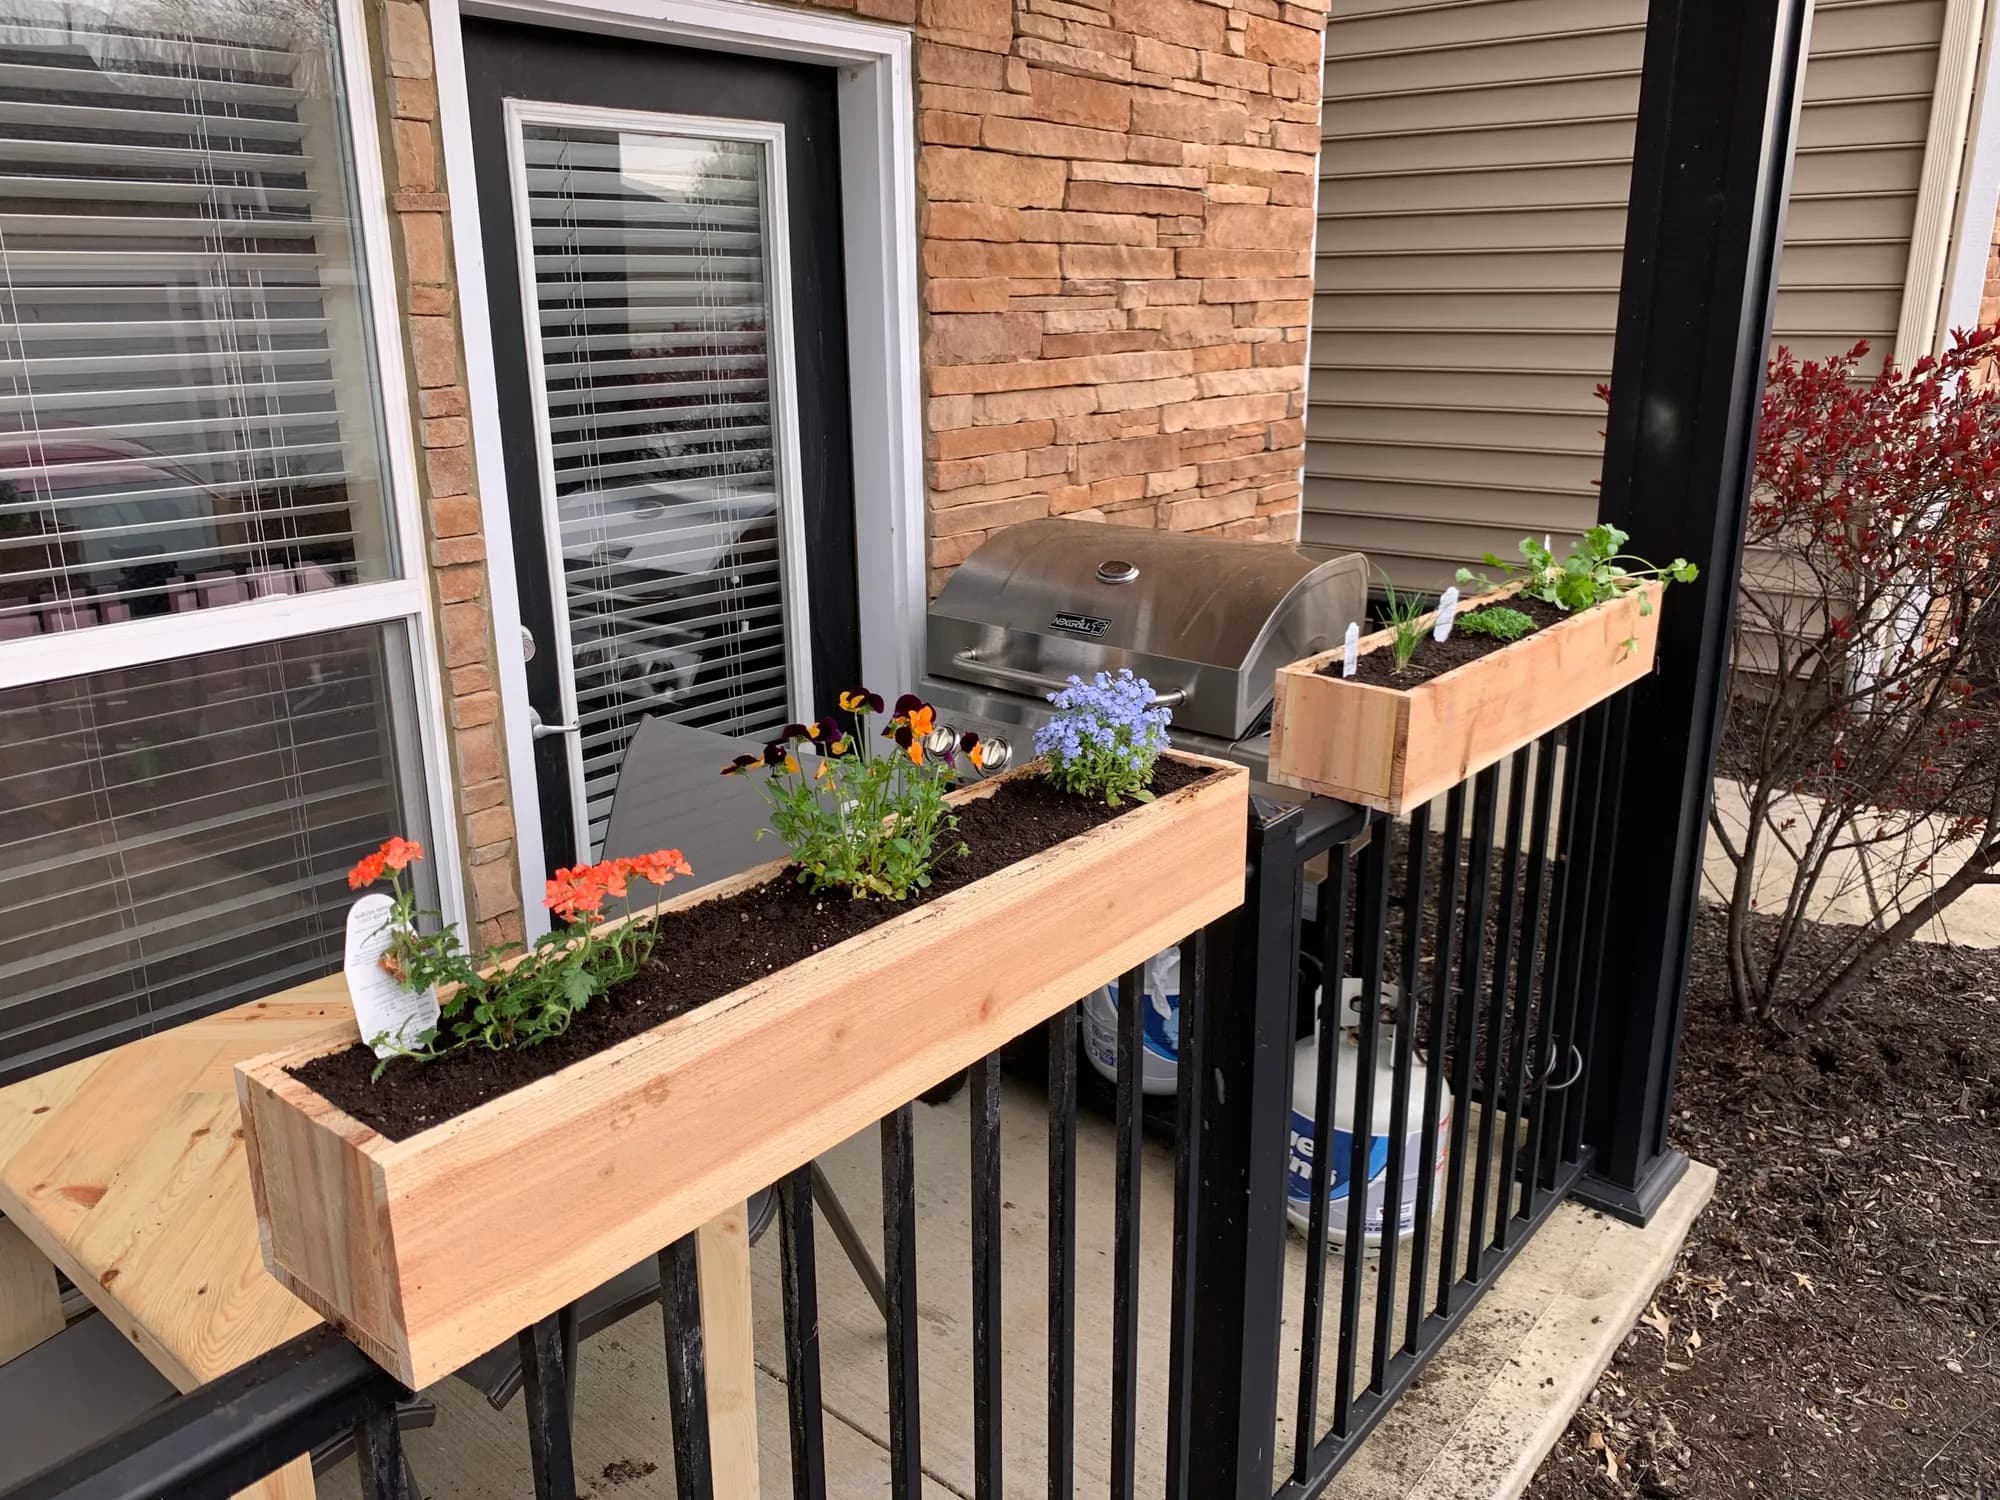
10Start Gardening!
Your planter boxes are now done and ready for you to plant anything you want!
Tags
- Outdoor Living
- Beginner
Reviews & builds
No reviews yet
Sign in to review this plan or share your build.
No reviews yet. Be the first to build this.