 Notch
- Difficulty
- Beginner
- Time
- 2–3.8 hours
- Cost
- $$
About this build
A multi-function outdoor bar table perfect for so many different uses. Add bar stools to use as a bar-height outdoor dining table, place next to a grill to use as an outdoor grill table for holding platters and utensils, or use as an outdoor drink cart for ice and beverages at your next party!
Tools
Essential
- Drill / Driver
- Miter Saw
- Pocket Hole Jig
- Random Orbit Sander
Optional / nice to have
- Bar / Pipe Clamps
- Tape Measure
Materials
| Item | Qty |
|---|---|
| Cedar Board, 1x4 96" | 6 board |
| Cedar Board, 4x4 96" | 2 board |
| 1" Kreg pocket hole screws | 100 each |
Overall cost: $$. Lumber prices vary by region, species, and season, so we give a band rather than a figure we would only be pretending to know.
Cut list
| Part | Qty | T × W × L |
|---|---|---|
| Table top edges | 2 | 1" × 4" × 50 1/4" |
| Table top slats | 12 | 1" × 4" × 22" |
| Long table apron | 2 | 1" × 4" × 42 3/4" |
| Short table apron | 2 | 1" × 4" × 21 1/2" |
| Table legs | 4 | 4" × 4" × 36 1/2" |
What to buy
Buy 8 boards at 8 ft.
4" × 4"
2 boards
1" × 4"
6 boards
Assumes 8 ft stock, a 1/8" saw kerf, and buying each part at its own width. Change the board size or kerf on the full board plan →
Instructions
1Cut Boards
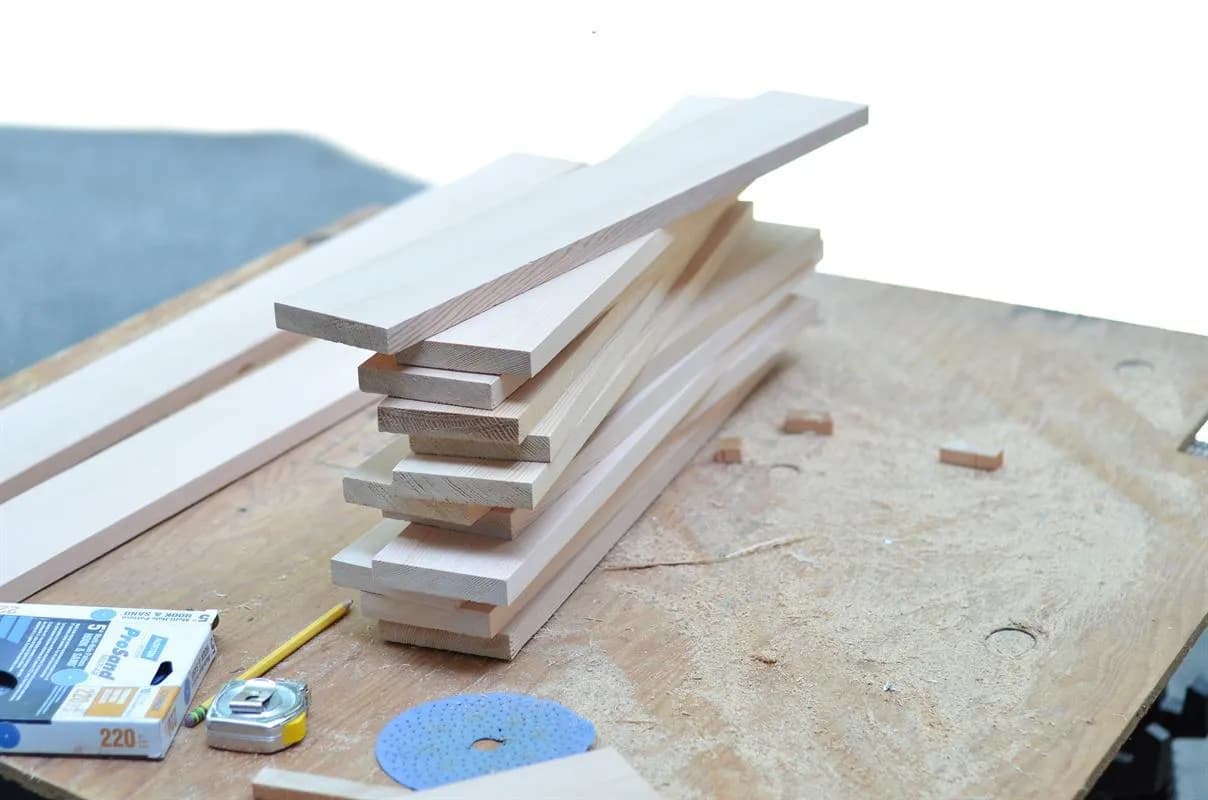
Use a miter saw to cut all of the cedar 1x4 and 4x4 boards to size according to the cut list. Use an electric sander and fine-grit sandpaper to smooth all boards.
2Assemble Table Top
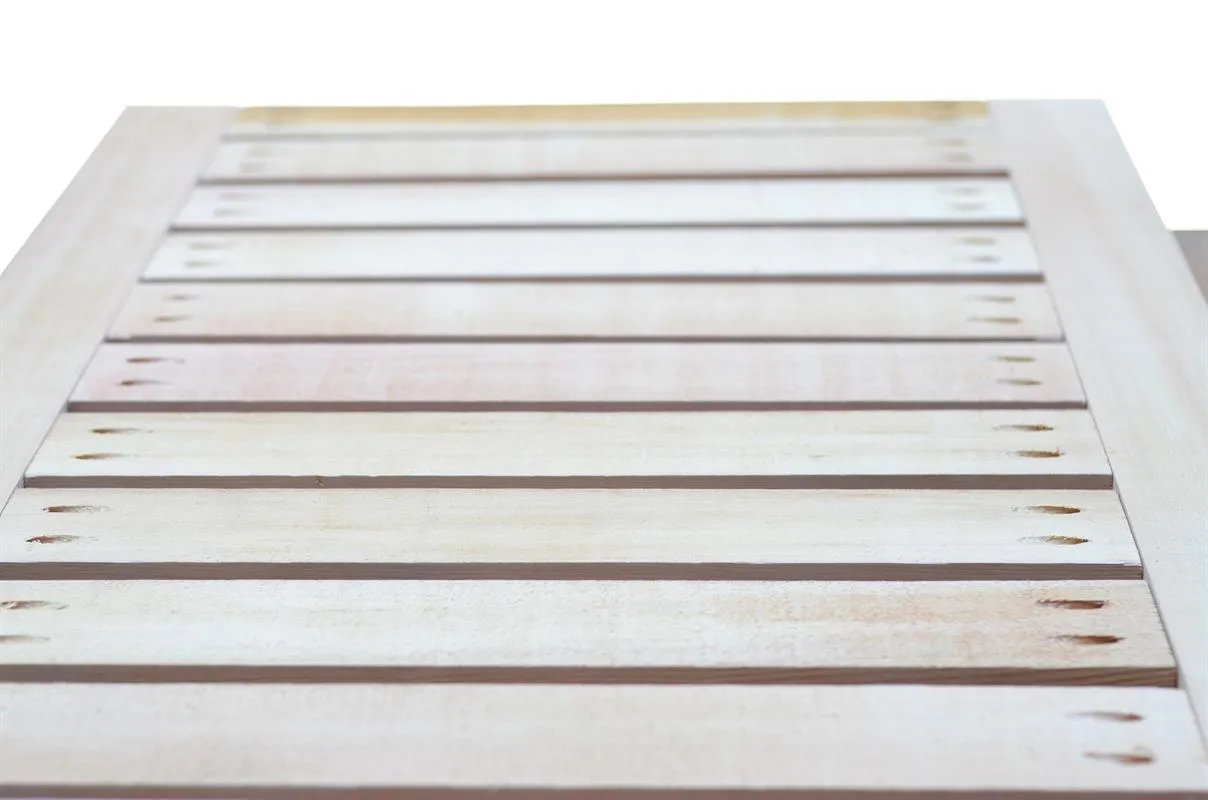
Use a Kreg Jig to drill two 3/4" pocket holes on each end of all twelve 22" cedar 1x4 boards. To make the table top, attach the 22" boards to one of the 50.25" 1x4 boards by lining up a 22" board flush with one end of the 50.25" board. Clamp to hold together flat, and attach using 1 1/4" pocket hole screws and an electric drill fitted with a Kreg screwdriver head. Continue attaching 22" boards, spaced 3/4" apart (use a scrap piece of 1x4 as a spacer). Complete the table top by repeating on the other ends of the 22" boards and the second 50.25" board.
3Drill Holes in Apron Pieces
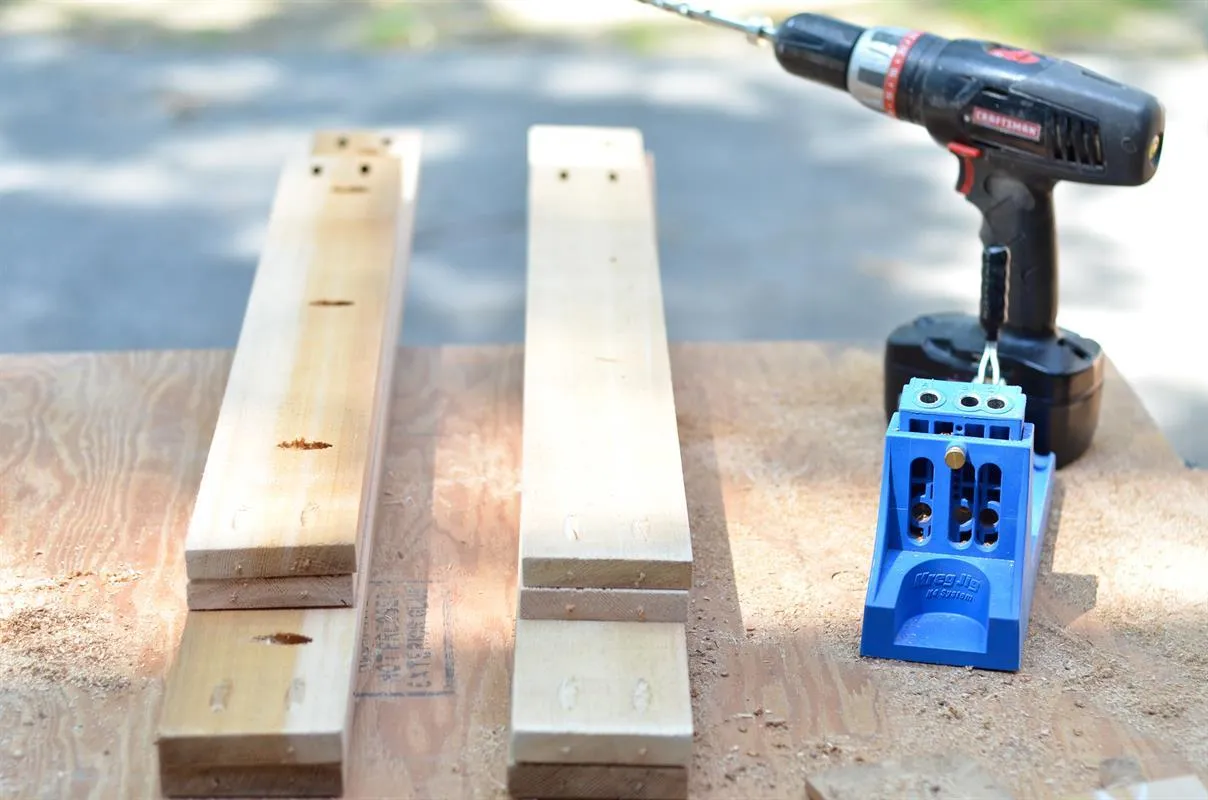
Use a Kreg Jig to drill 3/4" pocket holes in the two 42.75" 1x4 boards and the two 21.5" 1x4 boards. Drill two holes on each end of the boards and three to four holes along one long side of each board.
4Attach Front Side of Apron and Legs
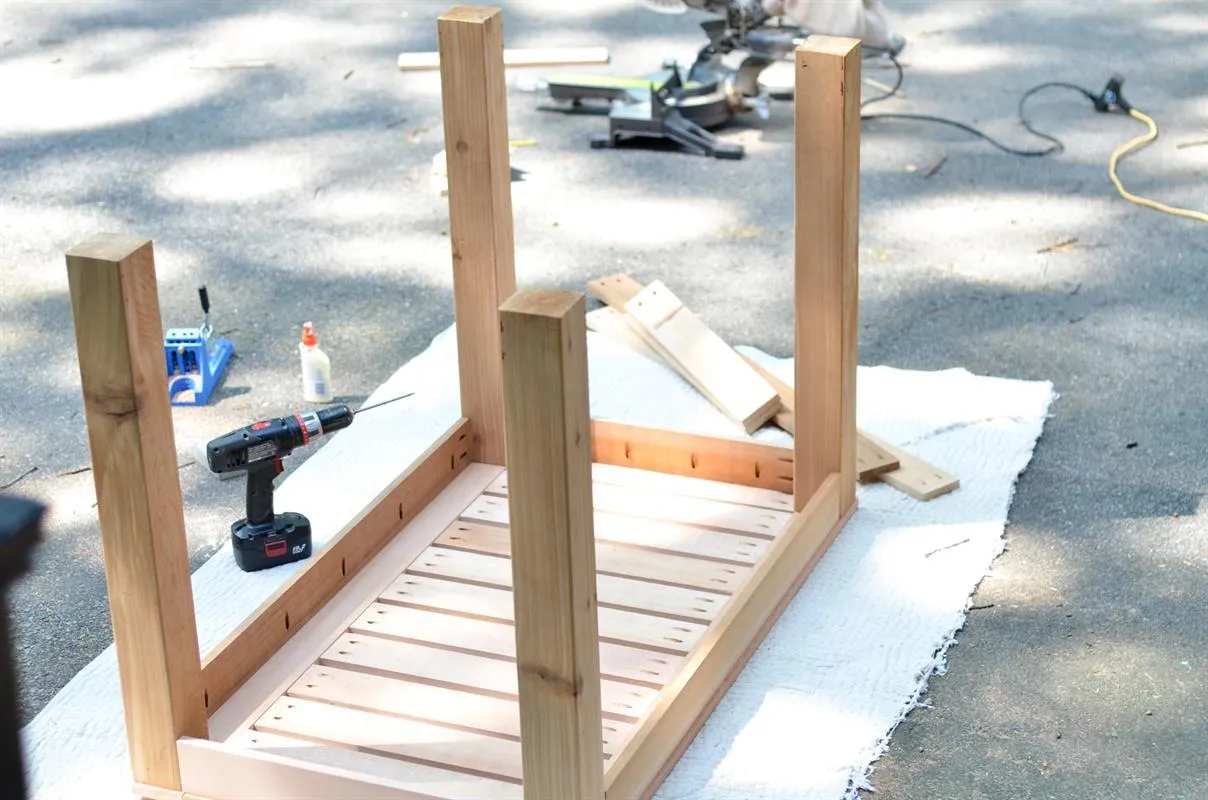
- Lay the table top upside down on a soft flat surface.
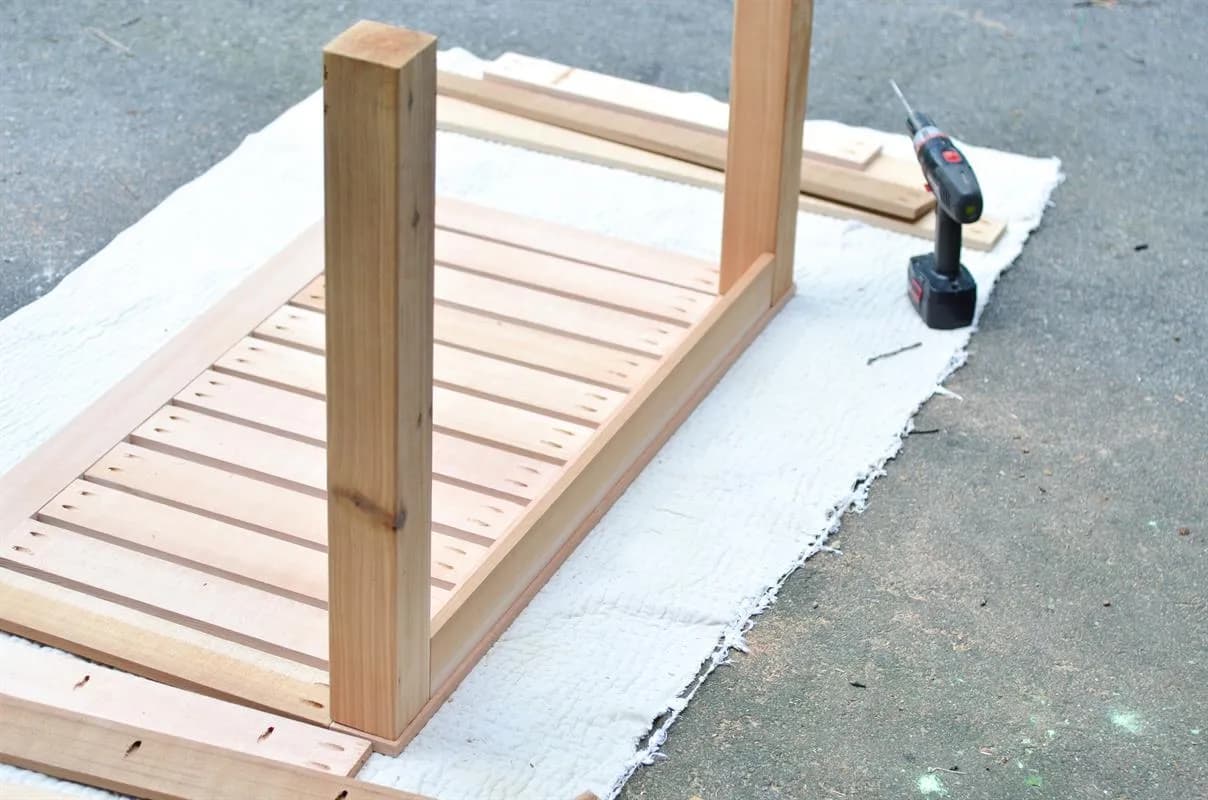
- Measure and mark 1/4" in from each corner. Balance two of the 4x4 boards on two adjacent corners along one of the long sides, inset 1/4"from the front and sides according to the marks you made.
- Place one of the 42.75" boards in between the 4x4 table legs, making sure the holes along the long side of the 1x4 are facing down toward the table top.
- Attach the 1x4 to the table top and to each of the two legs using 1" pocket hole screws.
5Attach Remaining Apron and Legs
- Repeat balancing the remaining two 4x4 legs on the remaining empty corners of the table top, inset 1/4".
- Place a 21.5" 1x4 board between the legs on the short sides of the table and attach to the table top and the legs with 1" pocket hole screws as in the step above.
- Finish by placing the remaining 42.75" piece between the legs and attaching to the table top and the legs.
Tags
- Bars
- Beginner
Reviews & builds
No reviews yet
Sign in to review this plan or share your build.
No reviews yet. Be the first to build this.