Notch
Modern Styled Privacy Screen
Step-by-step build — 8 steps. Also available as a print sheet.
1Cut All Boards To Size
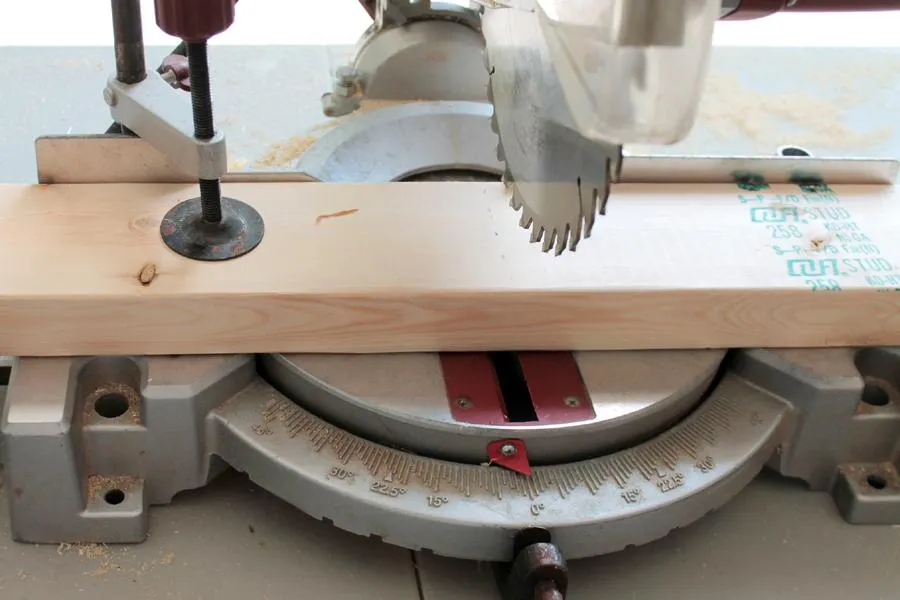
Cut all your wood pieces to size using the cut list for reference. Sand all wood pieces, especially around any rough edges.
2Lay Out Frame
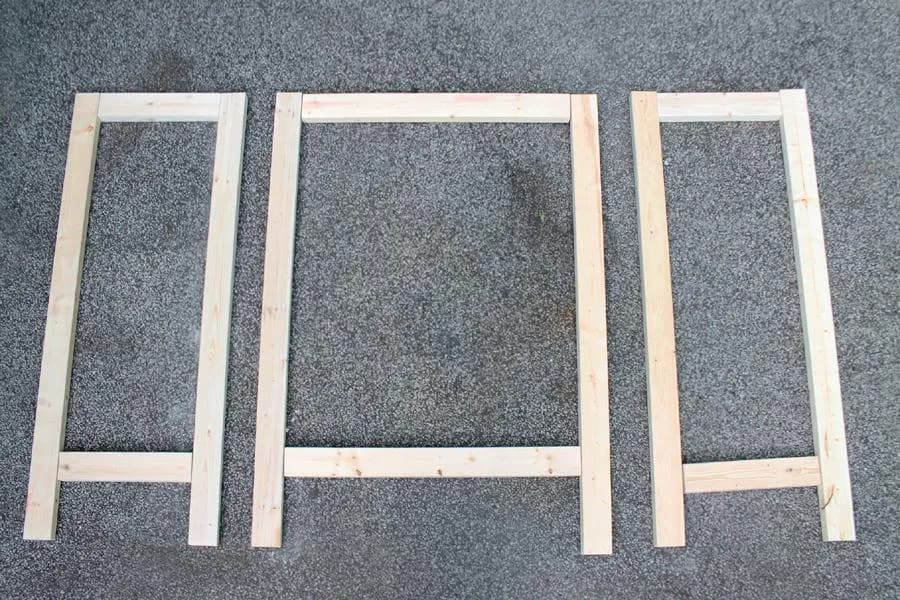
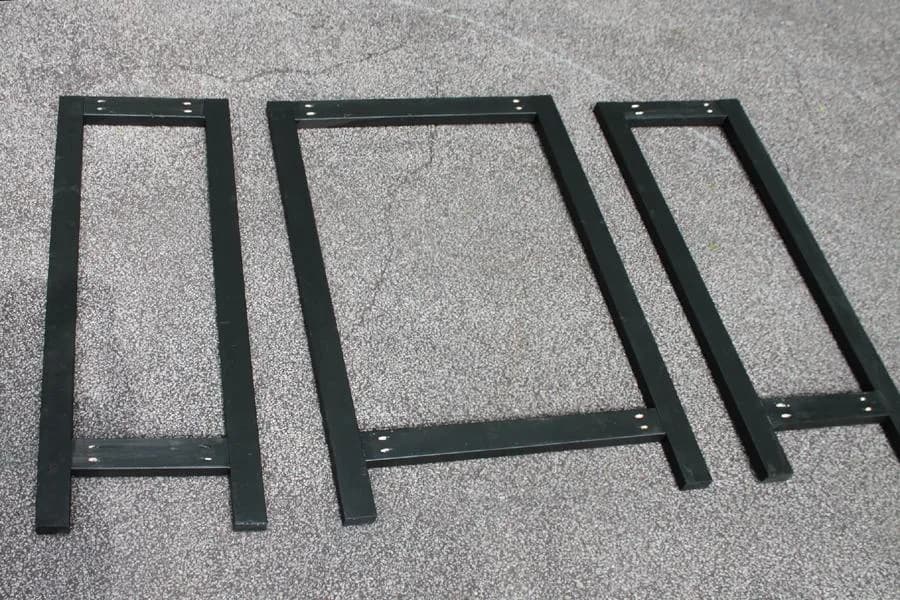
Lay out all your 2"x4" cut wood pieces on level ground to double check your framework. The long 60" boards will create the vertical sides, and shorter cuts (17" and 36") boards lay horizontally between the long pieces. The top horizontal pieces lay flush inside the 60" boards, while the bottom will indent 6 1/4" from the bottom to create feet. These will form three separate frames (as shown).
3Drill Pocket Holes
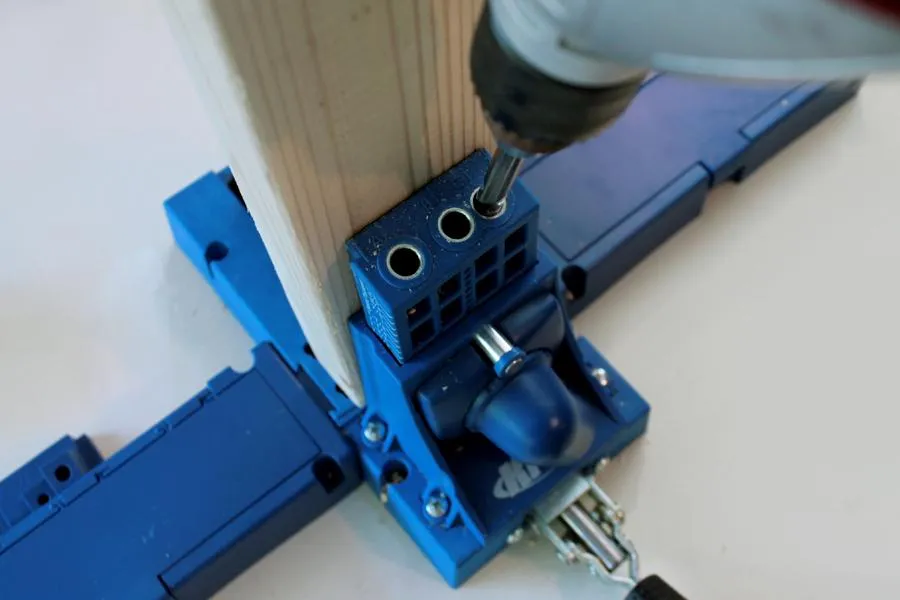
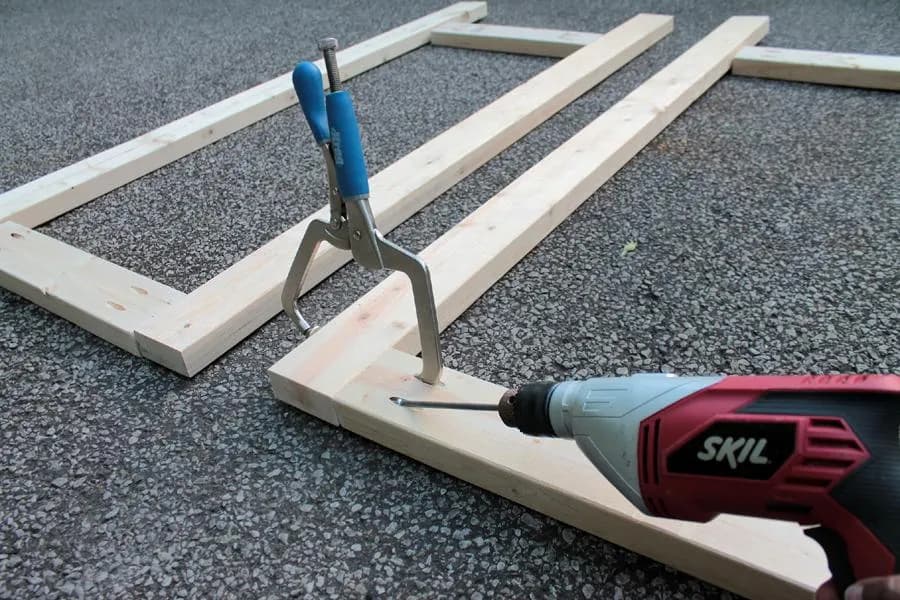
Drill two pocket holes into either side of the 17" and 36" horizontal boards that make up the frame.
4Attach Framework
Using 2" Kreg screws, secure the horizontal boards to the vertical 60" frame boards. Remember, you will be creating three separate frames as you previously laid them out. Use some wood glue on the joining frame pieces before attaching with screws.
5Stain Frame & Privacy Slats
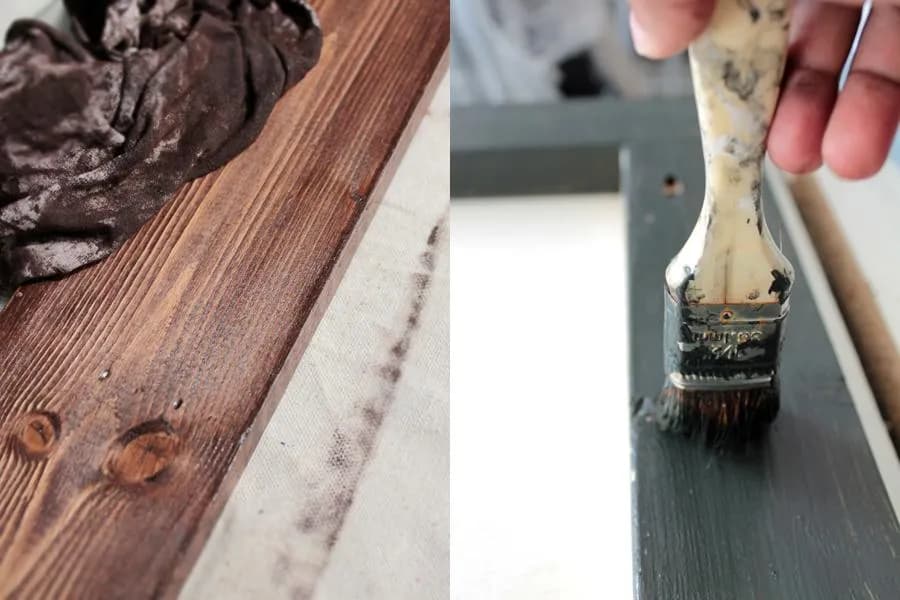
Stain and seal the frame, and the rest of the cut wooden slats. I made my frame a different color than the slats for a great contrast. Remember to stain all sides of the slats, including the ends. Allow them to dry fully before moving forward with your project.
6Lay Frame On Even Surface
Once the stain is completely dried, place your three frames on a flat even surface in order to attach the privacy slats across the front. Place the frame pocket-hole side upward.
7Nail Privacy Slats To Frame
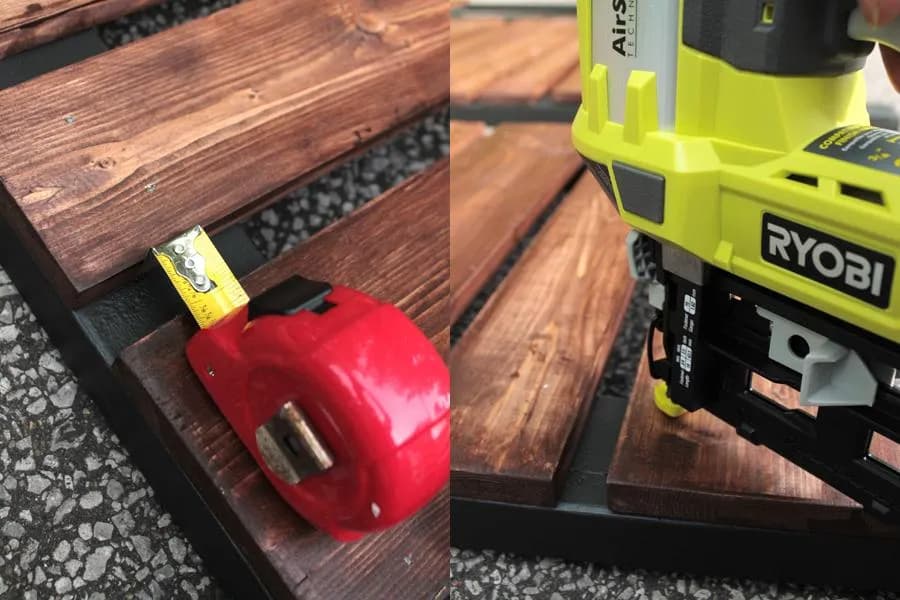
- Start at the top of the frame and attach the privacy slats, alternating between 1"x4" and 1"x6" slats.
- Start with the smaller 1"x4" slat, flush with the top, and nail it to the frame.
- Measure one inch between slats. You will end with a 1"x6" slat flush with the bottom 2"x4" of the frame. The feet will stick out at the bottom.
8Connect Frames With Hinges
- Determine which side of the privacy screen you want to face forward (both sides are beautiful!).
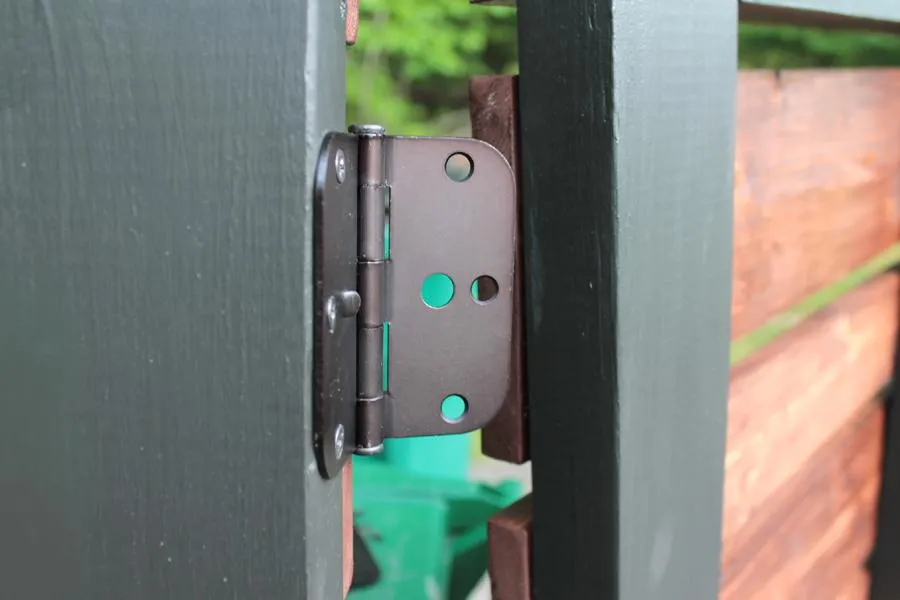
- Then connect the three frames to each other with hinges that open to the front.
- Set your gorgeous new privacy screen upright and enjoy!