 Notch
- Difficulty
- Intermediate
- Time
- 3.3–6.5 hours
- Cost
- $$$
About this build
Learn how to easily make this attractive modern privacy screen, perfect to hide unsightly outdoor garbage/trash cans, recycling bins, air conditioning units or other panels. You could even create a series of screens to bring more privacy to a yard or deck space!
Tools
Essential
- Brad Nailer
- Drill / Driver
- Miter Saw
- Pocket Hole Jig
- Random Orbit Sander
Optional / nice to have
- Bar / Pipe Clamps
- Tape Measure
Materials
| Item | Qty |
|---|---|
| Board, 2x4 96" | 6 board |
| Board, 1x6 96" | 6 board |
| Board, 1x4 96" | 4 board |
| 2" Kreg Screws (coarse thread) | 24 each |
| 2" finishing nails OR nail gun nailers | 108 each |
| Wood Glue (for outdoors) | 1 each |
| Wood Stain (two colors optional) | 2 each |
| Wood Sealer (for outdoors) | 1 each |
| Hinges (3.5" with 5/8" radius) | 4 each |
Overall cost: $$$. Lumber prices vary by region, species, and season, so we give a band rather than a figure we would only be pretending to know.
Cut list
| Part | Qty | T × W × L |
|---|---|---|
| Vertical Frame Pieces | 6 | 2" × 4" × 60" |
| Small Horizontal Frame Pieces | 4 | 2" × 4" × 17" |
| Large Horizontal Frame Pieces | 2 | 2" × 4" × 36" |
| Privacy Slats (for small frames) | 10 | 1" × 4" × 24" |
| Privacy Slats (for small frame) | 10 | 1" × 4" × 24" |
| Privacy Slats (for large frame) | 5 | 1" × 4" × 43" |
| Privacy Slats (for large frame) | 5 | 1" × 6" × 43" |
What to buy
Buy 19 boards at 8 ft.
2" × 4"
7 boards
1" × 6"
3 boards
1" × 4"
9 boards
Assumes 8 ft stock, a 1/8" saw kerf, and buying each part at its own width. Change the board size or kerf on the full board plan →
Instructions
1Cut All Boards To Size
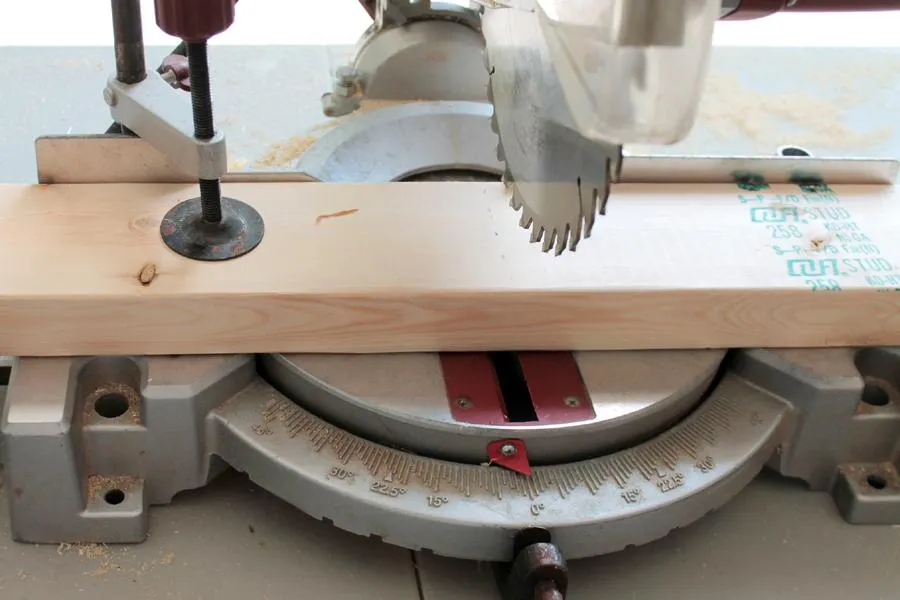
Cut all your wood pieces to size using the cut list for reference. Sand all wood pieces, especially around any rough edges.
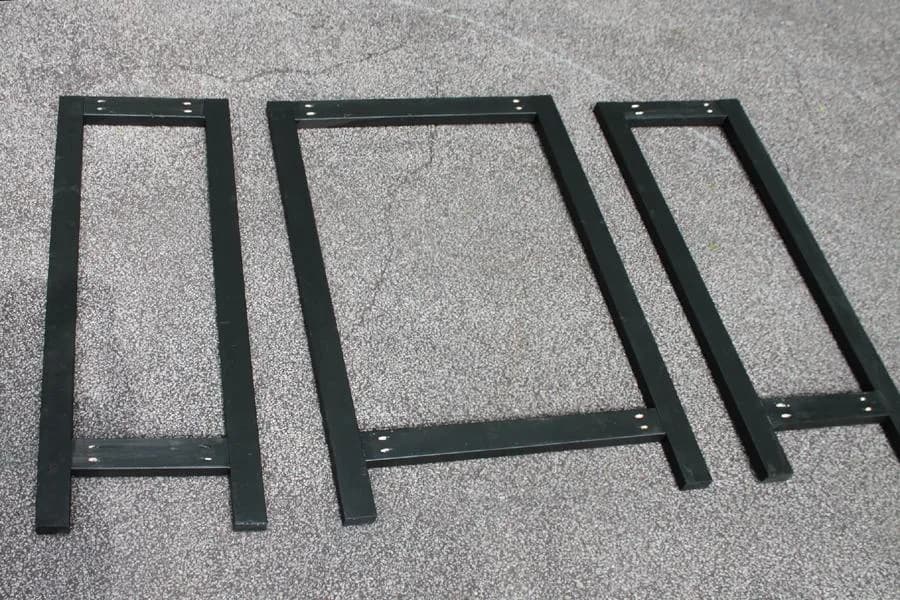
2Lay Out Frame
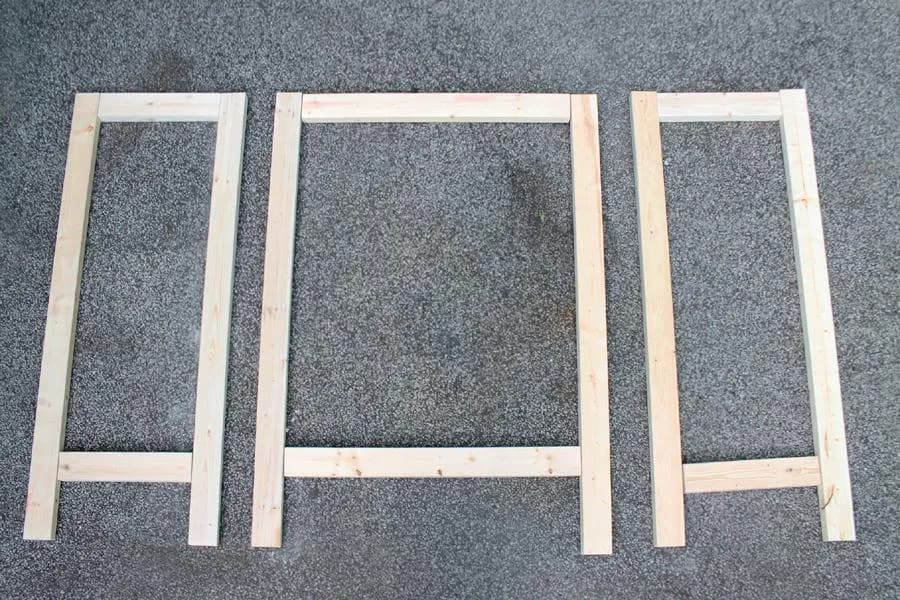
Lay out all your 2"x4" cut wood pieces on level ground to double check your framework. The long 60" boards will create the vertical sides, and shorter cuts (17" and 36") boards lay horizontally between the long pieces. The top horizontal pieces lay flush inside the 60" boards, while the bottom will indent 6 1/4" from the bottom to create feet. These will form three separate frames (as shown).
3Drill Pocket Holes
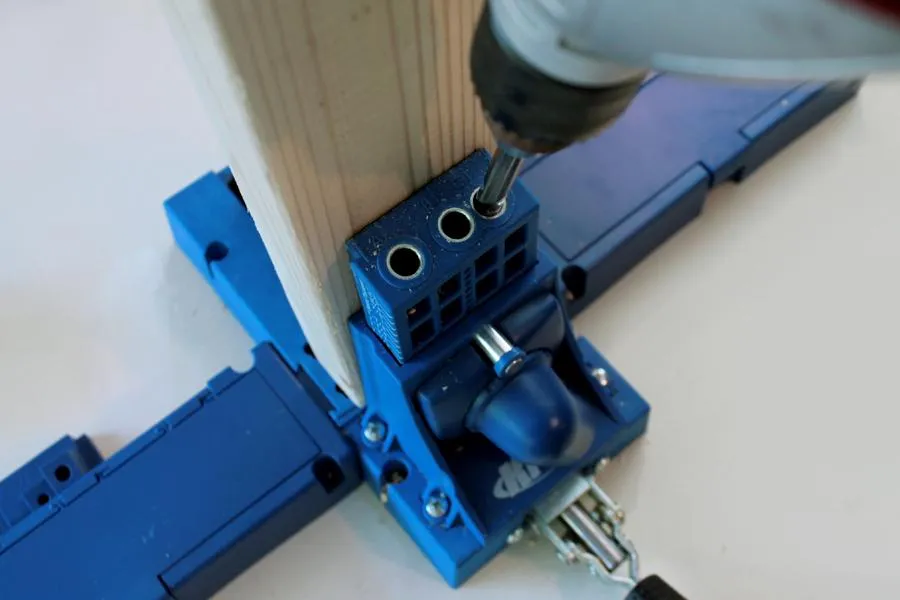
Drill two pocket holes into either side of the 17" and 36" horizontal boards that make up the frame.
4Attach Framework
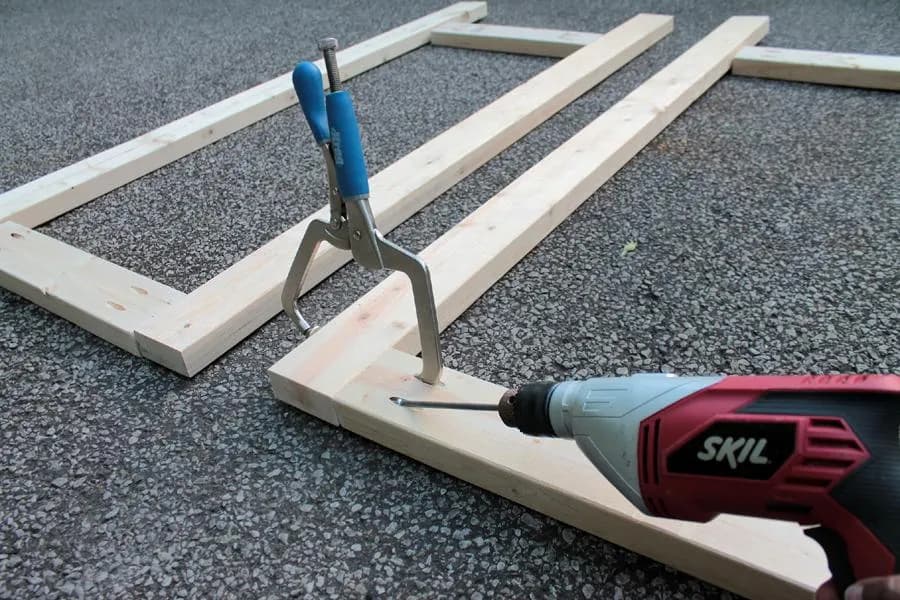
Using 2" Kreg screws, secure the horizontal boards to the vertical 60" frame boards. Remember, you will be creating three separate frames as you previously laid them out. Use some wood glue on the joining frame pieces before attaching with screws.
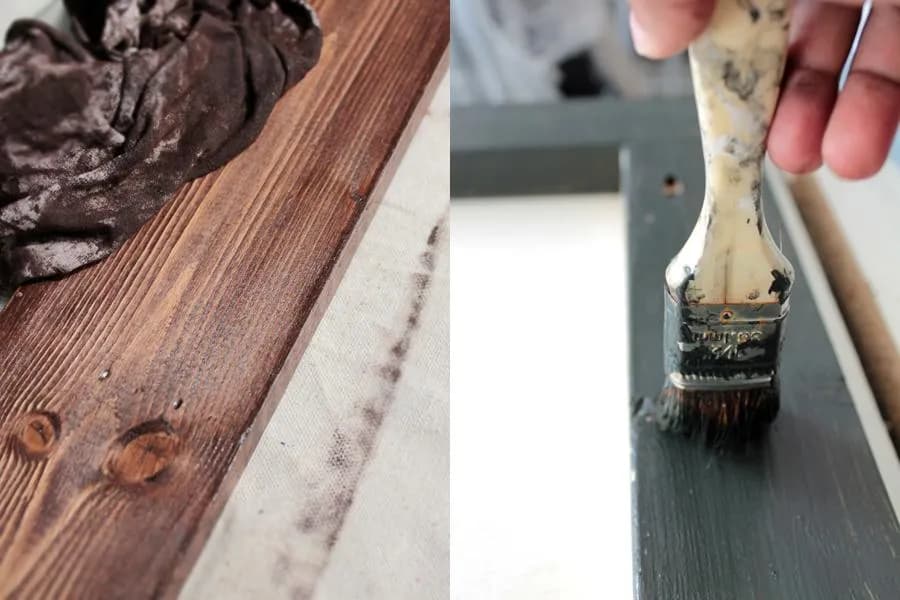
5Stain Frame & Privacy Slats
Stain and seal the frame, and the rest of the cut wooden slats. I made my frame a different color than the slats for a great contrast. Remember to stain all sides of the slats, including the ends. Allow them to dry fully before moving forward with your project.
6Lay Frame On Even Surface
Once the stain is completely dried, place your three frames on a flat even surface in order to attach the privacy slats across the front. Place the frame pocket-hole side upward.
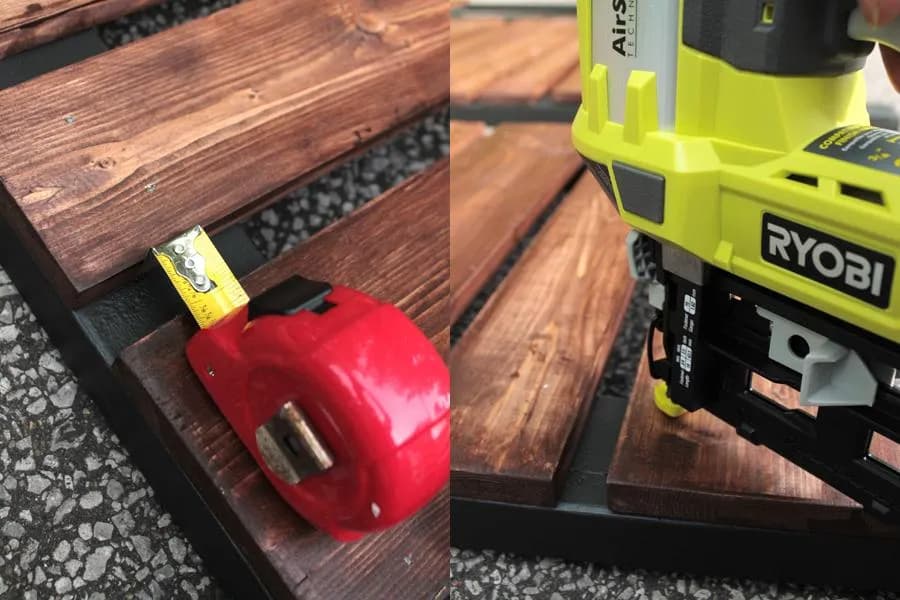
7Nail Privacy Slats To Frame
- Start at the top of the frame and attach the privacy slats, alternating between 1"x4" and 1"x6" slats.
- Start with the smaller 1"x4" slat, flush with the top, and nail it to the frame.
- Measure one inch between slats. You will end with a 1"x6" slat flush with the bottom 2"x4" of the frame. The feet will stick out at the bottom.
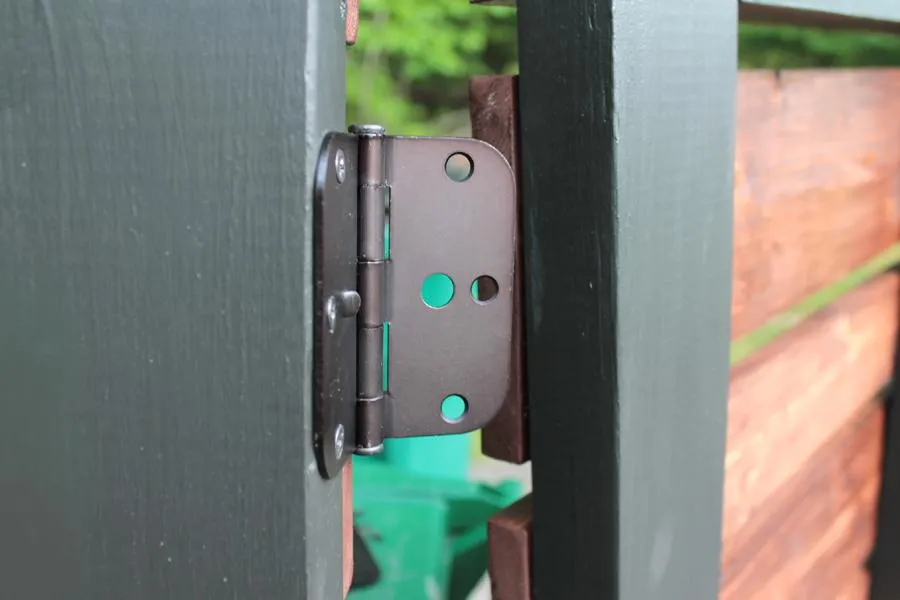
8Connect Frames With Hinges
- Determine which side of the privacy screen you want to face forward (both sides are beautiful!).
- Then connect the three frames to each other with hinges that open to the front.
- Set your gorgeous new privacy screen upright and enjoy!
Tags
- Outdoor Living
- Intermediate
Reviews & builds
No reviews yet
Sign in to review this plan or share your build.
No reviews yet. Be the first to build this.