Notch
NotchUse your browser's Print (Ctrl/Cmd + P) and choose Save as PDF. This page works offline once you've opened it with a signal.
Kid’s Stepping Stool
This easy-to-build wooden step stool is perfect for your little ones.
- Difficulty
- Intermediate
- Time
- 3.3–6.5 hours
- Cost
- $$
Cut list
| Part | Qty | T × W × L | Material | ✓ |
|---|---|---|---|---|
| Pine- Back Legs | 2 | 1" × 1" × 3" | — | ☐ |
| Pine- Front Legs | 2 | 1" × 1" × 3" | — | ☐ |
| Pine- Top & Bottom Box Frame Long Side | 4 | 1" × 3" × 9" | — | ☐ |
| Pine- Bottom Box Frame Short Side | 2 | 1" × 3" × 7" | — | ☐ |
| Pine- Top Box Side Support | 2 | 1" × 3" × 5" | — | ☐ |
| Pine Stair Tread- Top Step | 1 | 1" × 8" × 11" | — | ☐ |
| Pine Stair Tread- Bottom Step | 1 | 1" × 1" × 9" | — | ☐ |
Materials
| Item | Qty | ✓ |
|---|---|---|
| Select Pine, 1” x 3” x 8’ | 2 board | ☐ |
| Unfinished Pine Stair Tread, 1” x 11 1/4” x 48” | 1 board | ☐ |
| Box of 1 ¼” Kreg Pocket Hole Softwood Screws (see tools list) | 1 each | ☐ |
| Box of 2 ¼” Finish nails | 1 each | ☐ |
| Box of 2” Finish nails | 1 each | ☐ |
| Box of 80 and 150 sandpaper | 1 each | ☐ |
| Wood glue | 1 each | ☐ |
| Pencil | 1 each | ☐ |
| Tape measure | 1 each | ☐ |
| Level or straight edge | 1 each | ☐ |
| Spray primer | 1 each | ☐ |
| Spray paint | 1 each | ☐ |
Overall cost: $$. Lumber varies by region, species, and season, so we give a band rather than a figure.
Tools
- Brad Nailer
- Drill / Driver
- Impact Driver
- Miter Saw
- Pocket Hole Jig
- Random Orbit Sander
- Table Saw
- Bar / Pipe Clamps — optional
Instructions
1. Cut wood
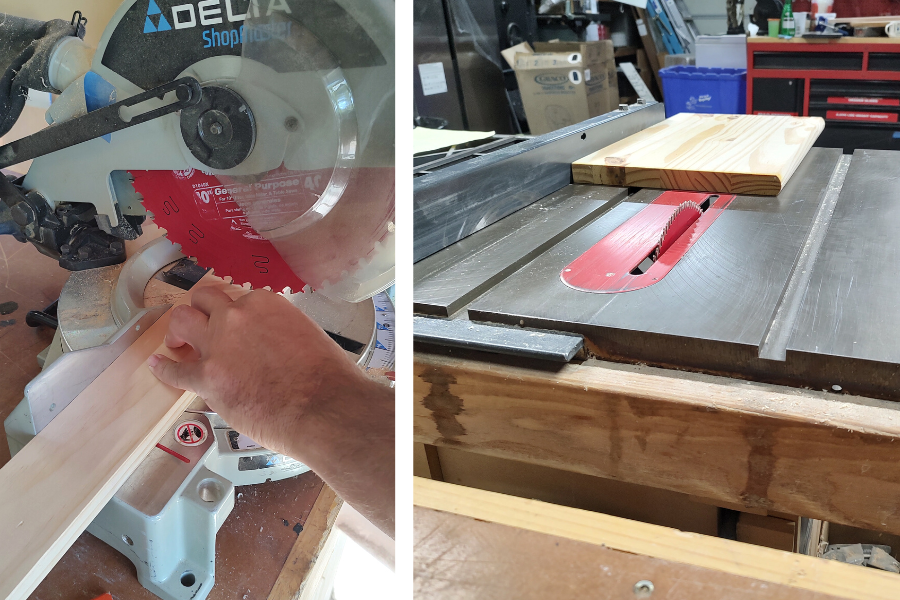
- Cut wood according to the visual cut list in the woodworking plans PDF with a table saw and miter saw.
- Cut the lengths of the pine boards with a miter saw and be sure to cut angles properly.
- Then you’ll want to rip down the stair tread boards to the proper width for the top and bottom steps, getting rid of the rounded front edge, with a table saw. You’ll also need to rip down the Select Pine boards to the correct width according to the plans.
Tip: Note: The bottom step has an area of overhang on the front edge. If you are using engineered stair treads for steps, like we were, you want to be sure the bottom steps are cut lengthwise for more strength and stability on the area that overhangs. You’ll see in the photos that the wood grain on the bottom step is going vertical and the wood grain on the top step is going horizontal.
2. Drill pocket holes
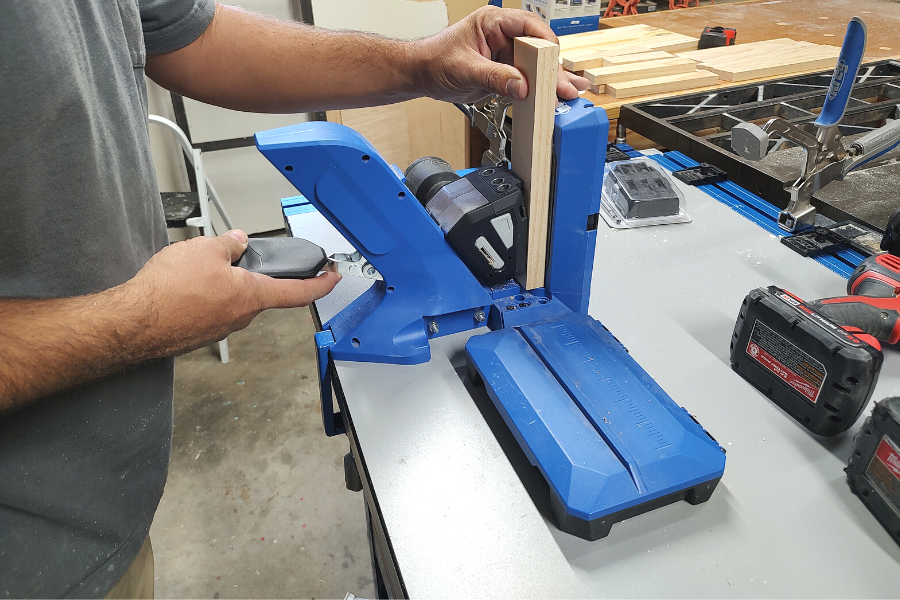
Drill pocket holes as shown in the woodworking plans. We used the Kreg 720 Pro.
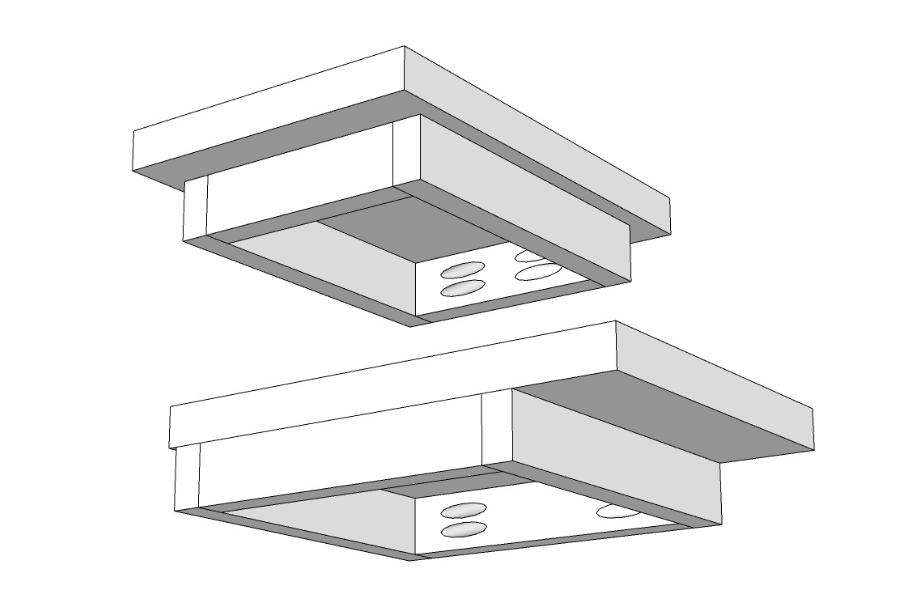
3. Assemble the box frames
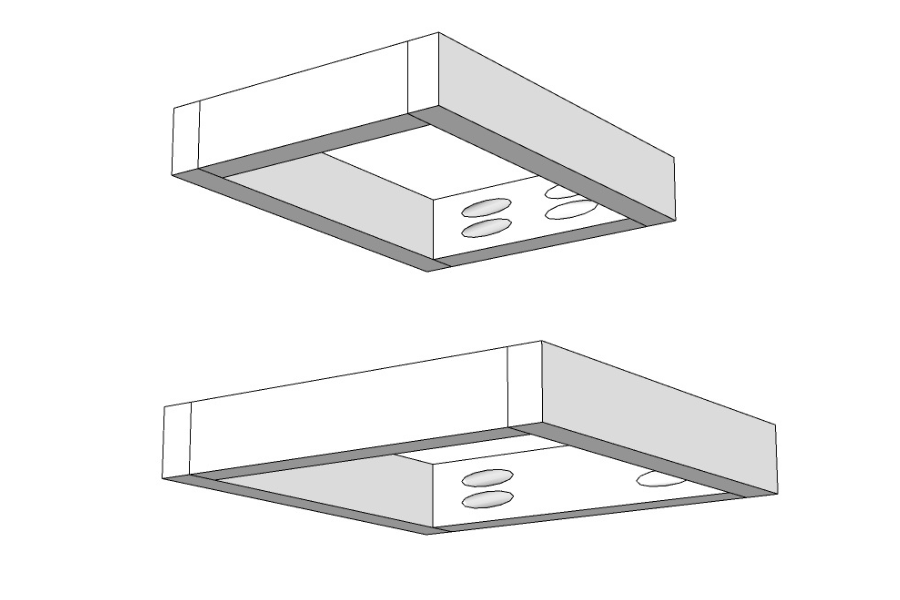
With the pocket holes drilled, start assembling the two frame boxes for each step. The Kreg 90-degree Pocket-Hole driver is great here to get into tight spaces. The top and the bottom steps are different sizes, so you’ll have two different size box frames, which support the steps. Once assembled, sand smooth with an orbital sander at 80 grit sandpaper followed by 150 grit.
4. Attach the stair tread to the box frames
Using clamps and a tape measure line up the box frames on the bottom of the stair treads. Once lined up clamp them down and attach them securely with 2” finish nails from the top of the steps.
5. Add legs to the top step
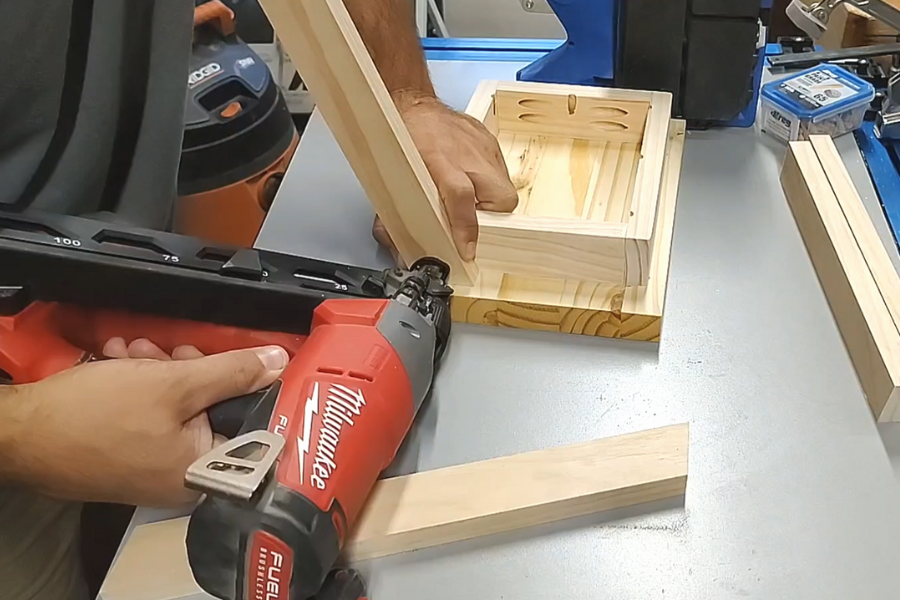
Start adding the legs to the box frame on the top step with the finish nailer using at least four 2 ¼” finish nails in each corner.
6. Add the bottom step to the legs
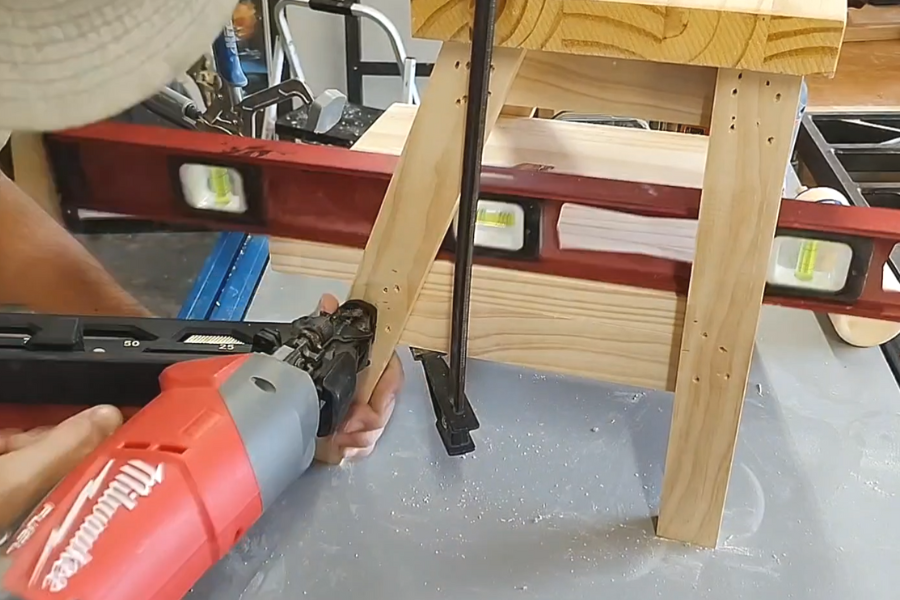
- Take your tape measure and mark 6 ¾” up from the floor on your legs. This is where the top of your bottom step should be.
- Clamp your bottom stair at your marks and use the finish nailer to secure with 2 ¼” finish nails with 4 nails in each corner.
7. Fill nail holes and sand
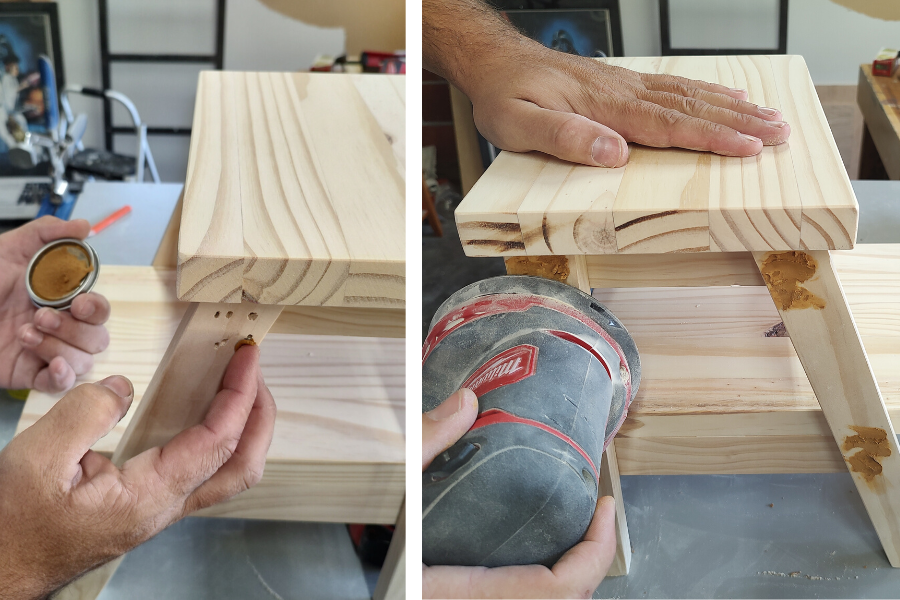
- Use wood filler and a putty knife and fill in all the nail holes. Wait for them to dry.
- Next, use a random orbital sander and sand down the dried wood filler.
- Also, sand the rest of the stool until smooth with 80 grit sandpaper followed by 150 grit.
- Wipe away all sanding dust when finished.
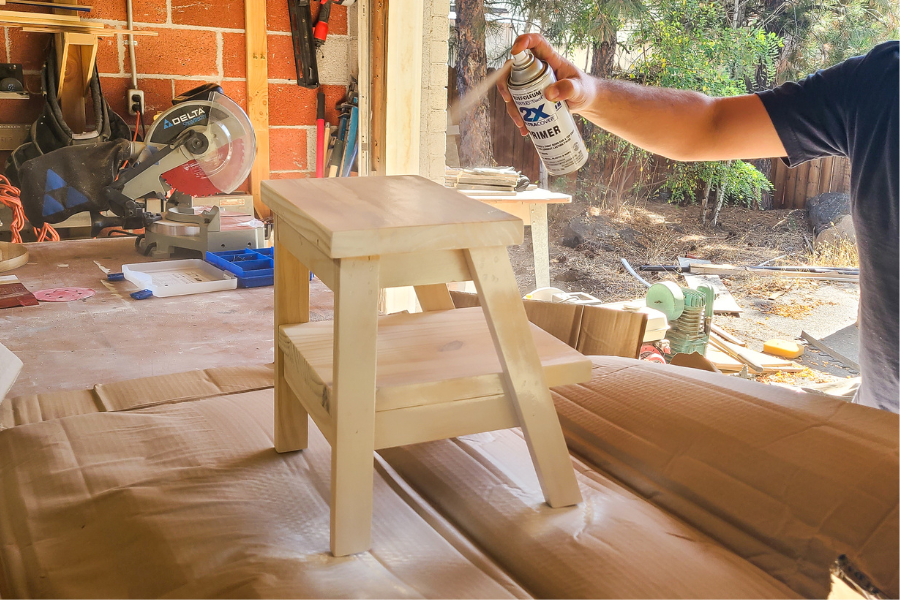
8. Prime and paint the stool
- Prime the stool with spray primer and apply light coats until it is completely covered.
- Then take your spray paint (color of your choice) and start coating your stool until it is completely covered. It will probably take about 3 coats. We recommend using high-gloss spray paint for extra durability. Let it dry and cure completely before using.