Notch
NotchUse your browser's Print (Ctrl/Cmd + P) and choose Save as PDF. This page works offline once you've opened it with a signal.
Kids Cedar Picnic Set
An easy to build outdoor kids picnic table and benches.
- Difficulty
- Intermediate
- Time
- 3.3–6 hours
- Cost
- $$
Cut list
| Part | Qty | T × W × L | Material | ✓ |
|---|---|---|---|---|
| Table Top Boards | 6 | 1" × 4" × 48" | — | ☐ |
| Table Top Supports | 3 | 1" × 3" × 21" | — | ☐ |
| Table Legs | 4 | 1" × 3" × 28" | — | ☐ |
| Table Leg Supports | 2 | 1" × 3" × 22" | — | ☐ |
| Bench Top Boards | 6 | 1" × 4" × 40" | — | ☐ |
| Bench Top Supports | 6 | 1" × 3" × 10" | — | ☐ |
| Bench Legs | 8 | 1" × 3" × 12" | — | ☐ |
| Bench Leg Supports | 4 | 1" × 3" × 17" | — | ☐ |
Materials
| Item | Qty | ✓ |
|---|---|---|
| Board, 1x4 48" | 12 board | ☐ |
| Board, 1x3 48" | 8 board | ☐ |
| Wood Glue | 1 each | ☐ |
| 1 1/4" Kreg Screws | 150 each | ☐ |
Overall cost: $$. Lumber varies by region, species, and season, so we give a band rather than a figure.
Tools
- Chisels
- Drill / Driver
- Miter Saw
- Pocket Hole Jig
- Bar / Pipe Clamps — optional
- Combination Square — optional
- Tape Measure — optional
Instructions
1. Mark The Supports for the Tabletop
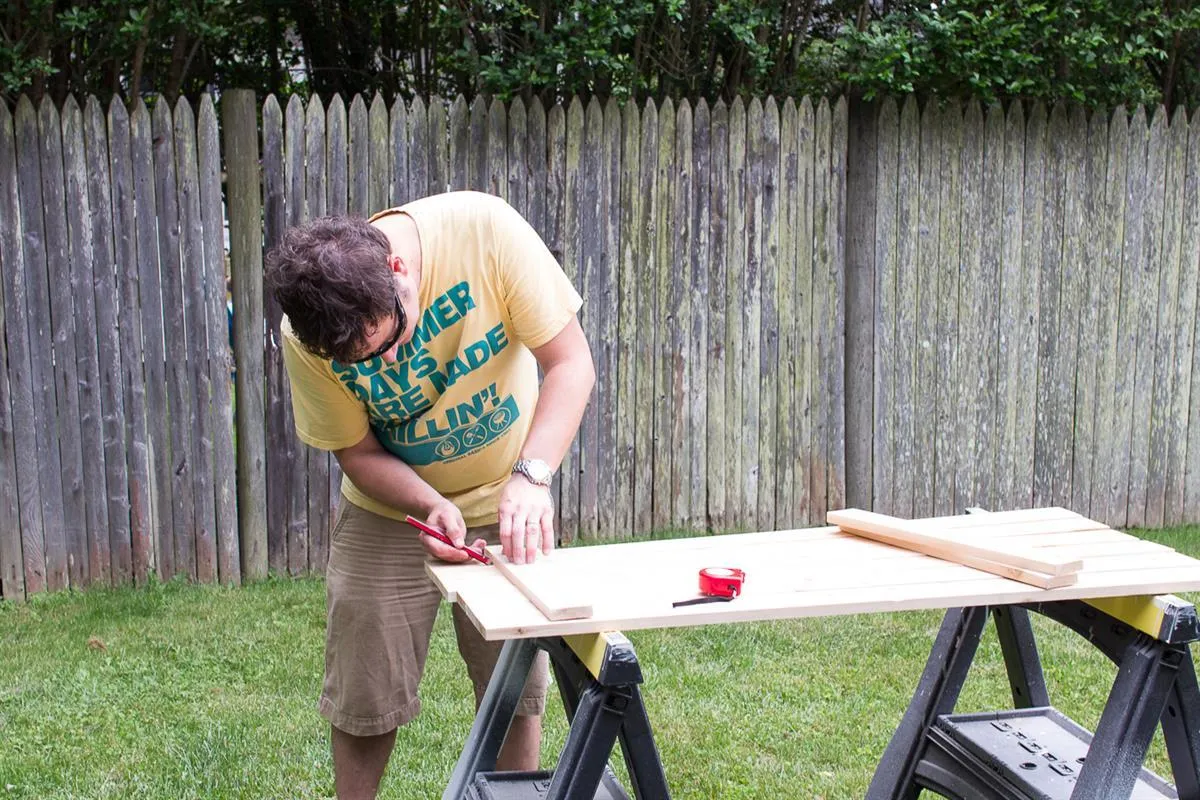
- Take the six 48" lengths of 1x4 and lay next to a each other with the tops facing down.
- Leave a gap of 1/8" between each. Use one of 1x3 21" length and lay evenly across the top, marking the gaps in between the 1x4's. Copy the marks onto the other two 21" lengths of 1x3.
2. Drill Pocket Holes in Supports
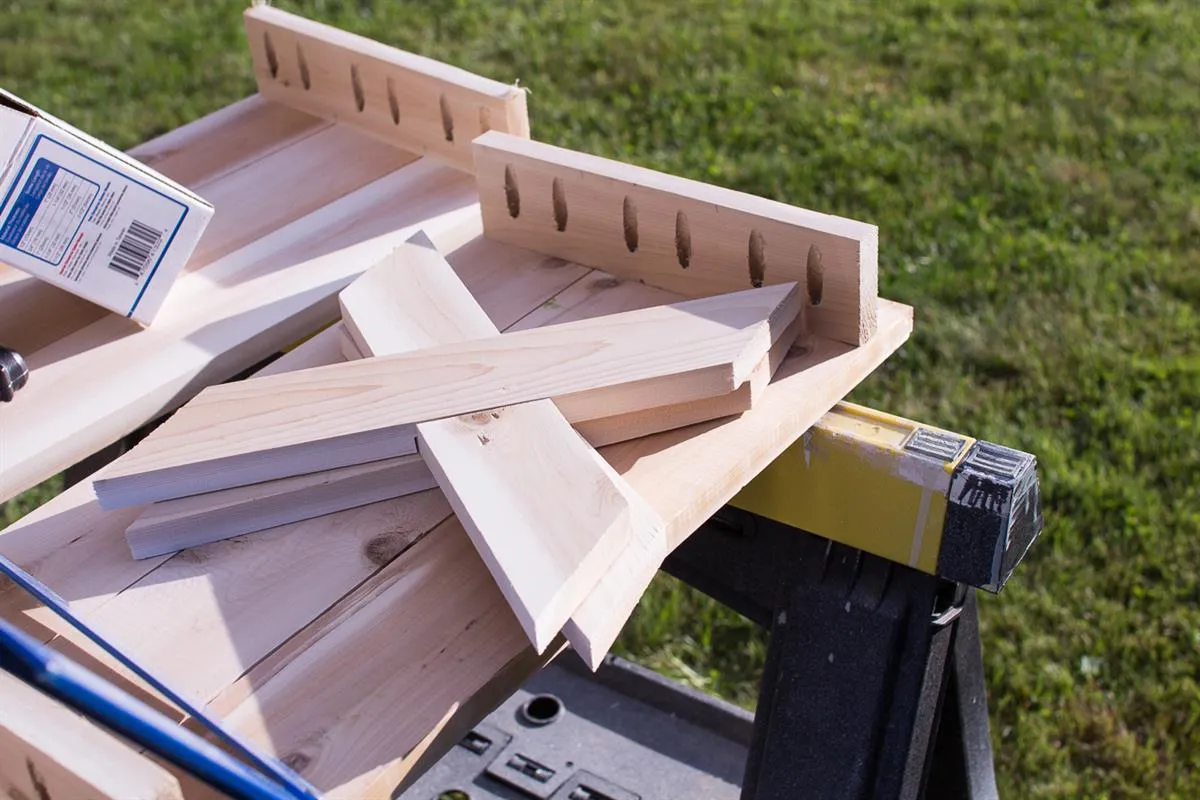
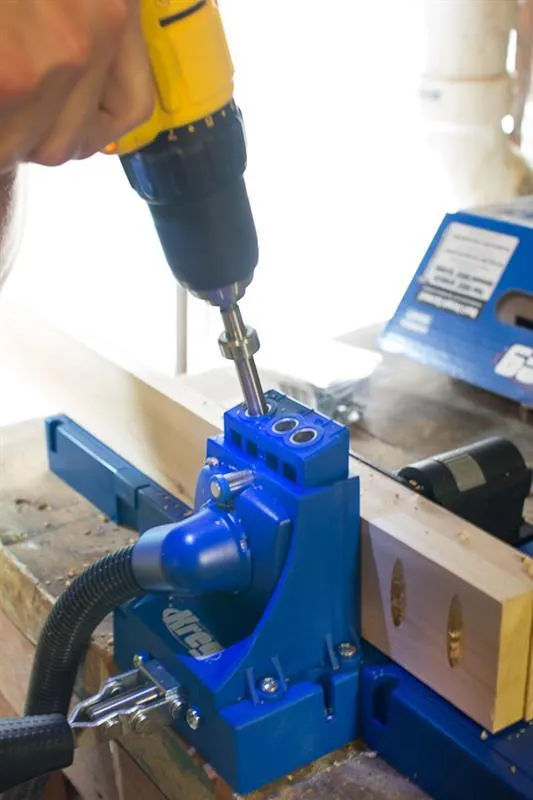
Drill two pocket holes in between each of the marks on all three lengths.
3. Attach the Supports to the Top
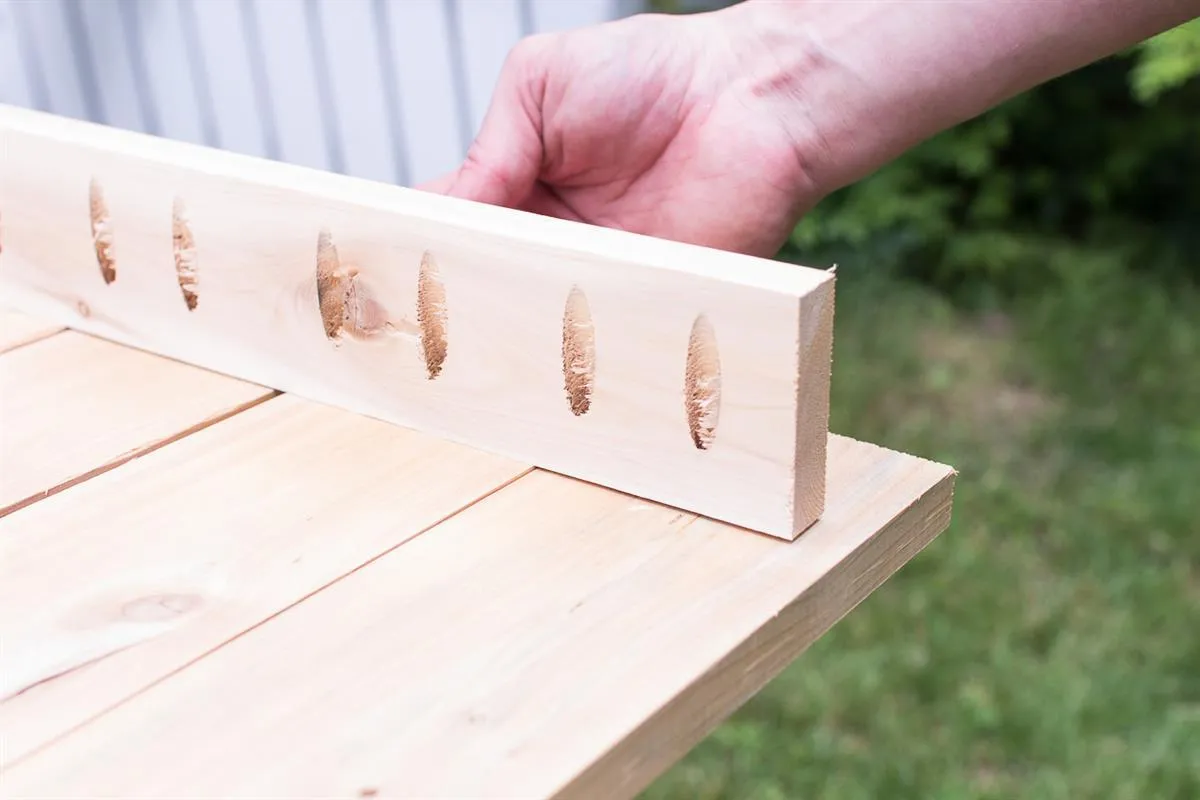
Place two of the lengths 1 1/2" in from the ends tabletop, making sure the pocket holes are on the inside. Take the third piece of 1x3 and attach across the middle.
4. Create Legs
- Lay two of the leg pieces (28" length of 1x3 cut at 40º angles).
- Mark where they meet and cut cross halving joint in each using either a miter saw and chisel or a router. The cuts should be 10º from perpendicular.
- Attach to each other with wood glue.
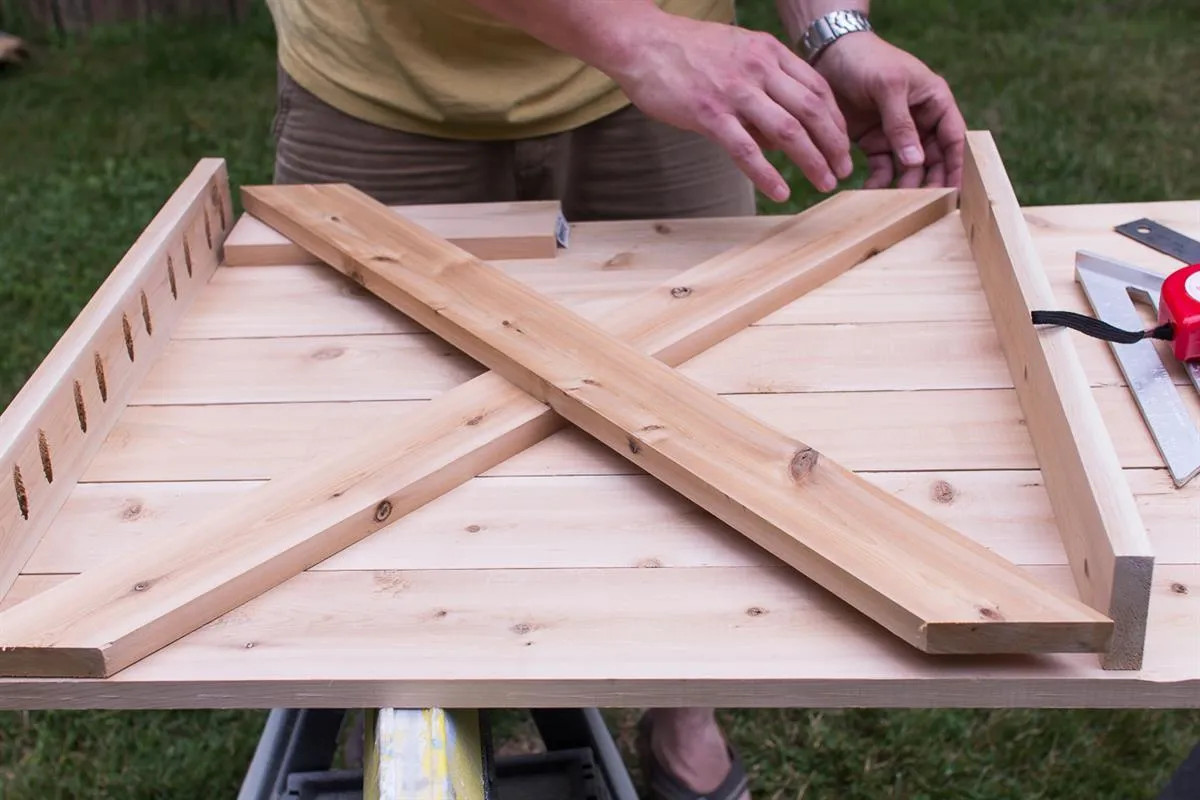
5. Attach Legs to Table
Cut pocket holes on the inside of the tops of the legs and attach.
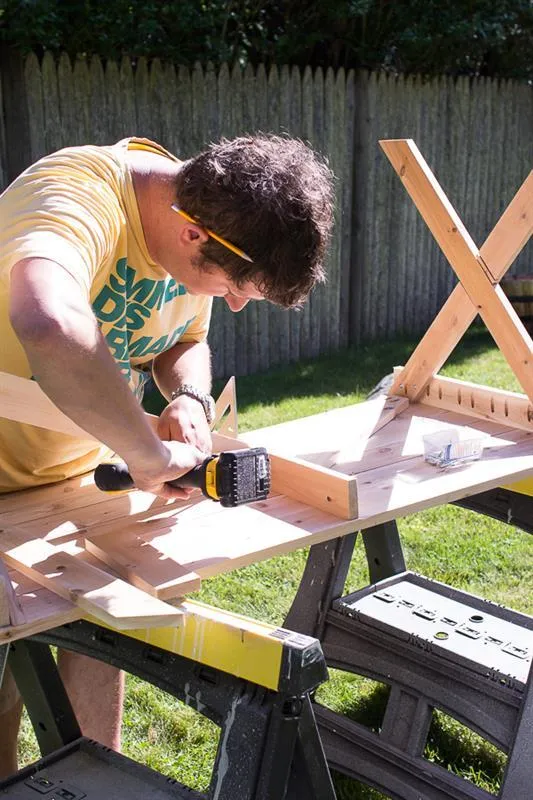
6. Attach Leg Supports
Take the two leg supports (22 7/8" of 1x3, cut at 25º from perpendicular), drill pocket holes into each end and attach between the cross of a leg and the center tabletop support.
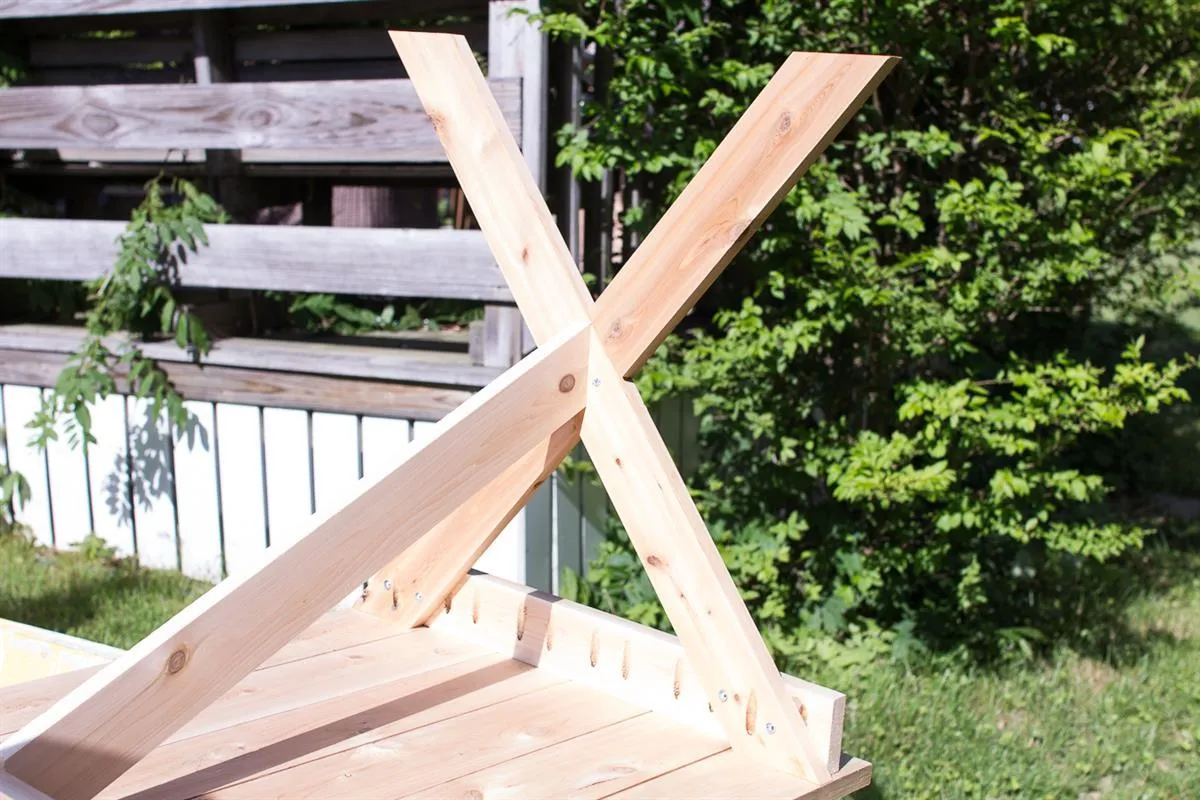
7. Create Benches
Repeat above steps but with three 40" lengths of 1x4 and the smaller supports and the leg pieces detailed in the cut list. Note: if you want higher benches, the lengths of the legs, the leg supports and the cut angles will be different.