Notch
NotchUse your browser's Print (Ctrl/Cmd + P) and choose Save as PDF. This page works offline once you've opened it with a signal.
Industrial Beverage Cart
This industrial rolling beverage cart is the perfect addition to your outdoor living space!
- Difficulty
- Intermediate
- Time
- 5.3–10 hours
- Cost
- $$$
Cut list
| Part | Qty | T × W × L | Material | ✓ |
|---|---|---|---|---|
| Shelf Bottoms | 6 | 1" × 10" × 26" | — | ☐ |
| Shelf Edge, Back | 3 | 1" × 3" × 26" | — | ☐ |
| Shelf Edge, Sides | 6 | 1" × 3" × 19 1/4" | — | ☐ |
Materials
| Item | Qty | ✓ |
|---|---|---|
| Cedar, 1x10 36" | 6 board | ☐ |
| Cedar, 1x3 96" | 3 board | ☐ |
| 1" x 36" Angle Iron | 4 each | ☐ |
| Casters | 4 each | ☐ |
| 1 1/4" Kreg Screws | 33 each | ☐ |
| 3/4" Wood Screws | 40 each | ☐ |
| 120 Grit Sandpaper | 1 each | ☐ |
| Stain of your Choice | 1 each | ☐ |
| Outdoor Clear Coat Spray | 1 each | ☐ |
| Kreg Wood Plugs | 6 each | ☐ |
Overall cost: $$$. Lumber varies by region, species, and season, so we give a band rather than a figure.
Tools
- Drill / Driver
- Impact Driver
- Miter Saw
- Pocket Hole Jig
- Random Orbit Sander
- Table Saw
- Bar / Pipe Clamps — optional
Instructions
1. Cut 1"x10" Wood Boards To Size
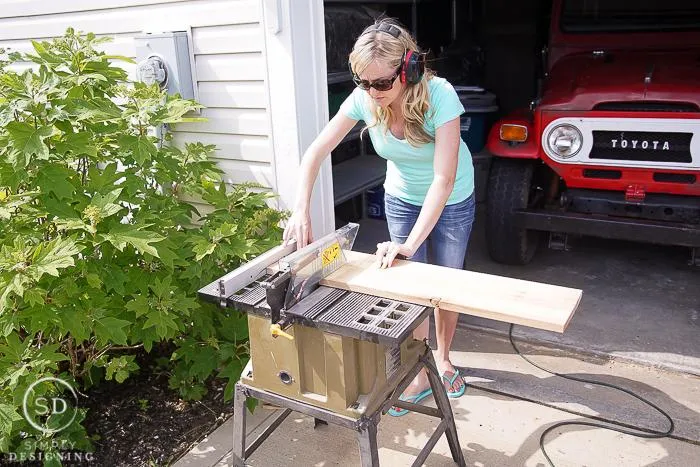
We began by cutting our (6) 1" x 10" x 36" cedar boards to 26" in length using a table saw.
2. Cut 1"x3" Wood Boards to Size
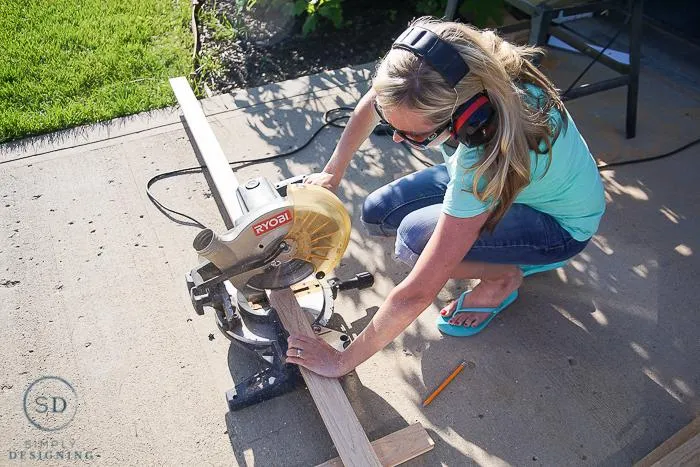
Then we cut our 1"x3" boards down so that we had (6) 19.25" lengths and (3) 26" lengths using a compound miter saw.
3. Drill Pocket Holes in 1"x10" boards
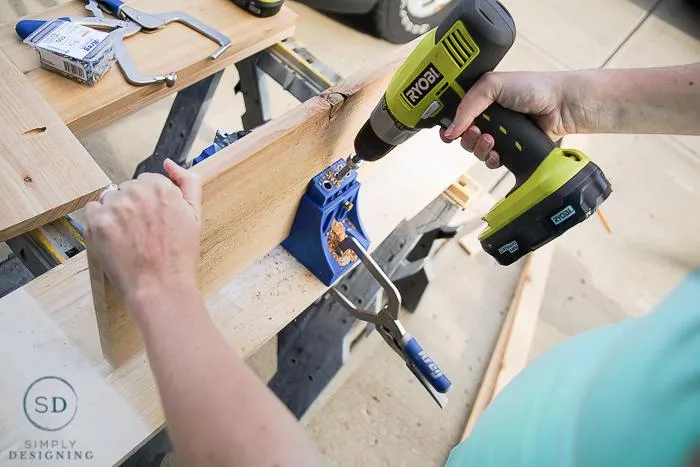
Then we used the Kreg Jig to place pocket holes into the 1" x 10" x 26" boards. In (3) boards we added two pocket holes along the lengths, and in (3) boards we added one pocket hole in the middle of the length.
4. Join 1"x10" Boards Together
Then we joined (2) 1" x 10" x 26" boards together using 1 1/4" Kreg screws. This will make up the bottom of each shelf. You will have 3 shelves total.
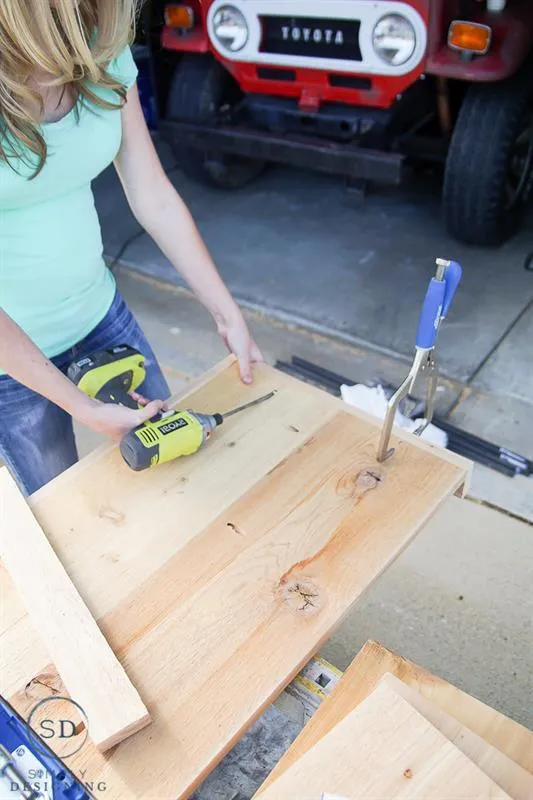
5. Drill Pocket Holes in 1"x3"
We drilled pocket holes in each end of the 1" x 3" x 26" boards.
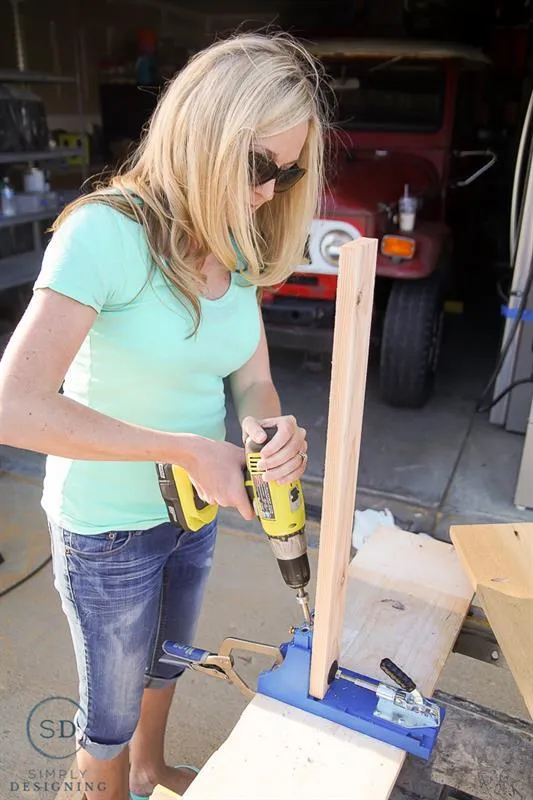
6. Attach Shelf Edge to Shelf Bottom
- On the bottom of each shelf, we added two more pocket holes on each of the ends of the boards and the back.
- Then we attached the 1" x 3" x 19.25" boards to each side of the bottom by screwing Kreg screws into the pocket holes and into the 1" x 3" x 19.25" boards.
- Then we attached the 1" x 3" x 26" board to the back of the shelf using the pocket holes and Kreg screws. We used a Kreg right angle clamp to help hold the edges in place while we attached them to the bottom of the shelf.
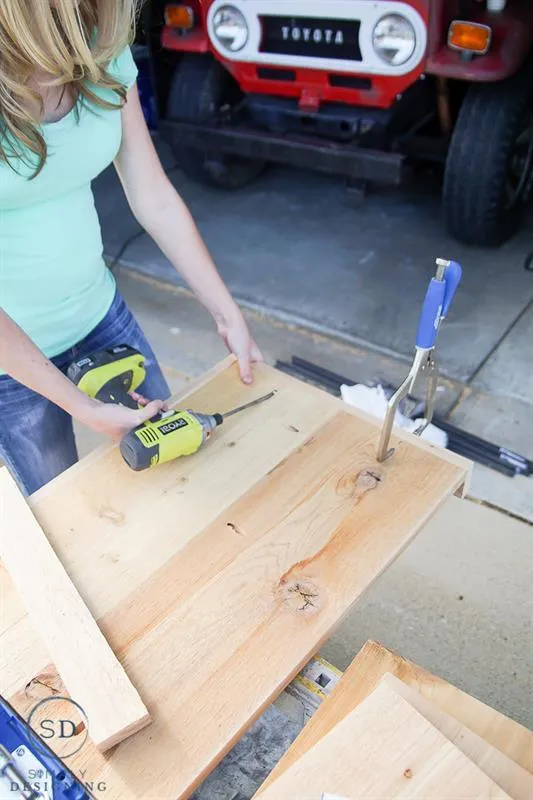
7. Join Edges Together
We then joined the back 1" x 3" x 26" to the 1" x 3" x 19.25" boards using the pocket holes we drilled previously.
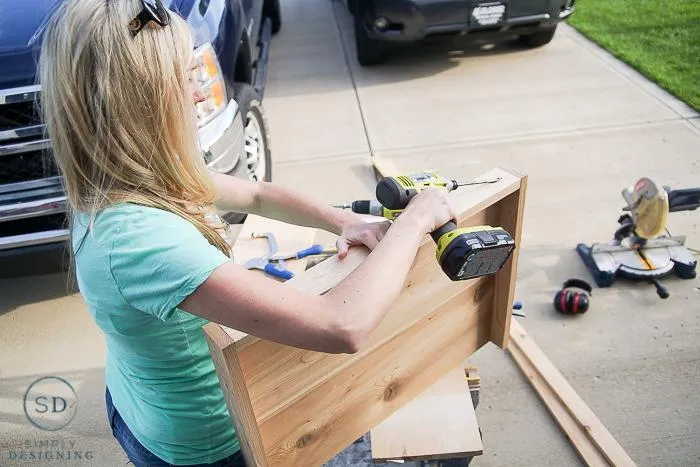
8. Add Glue into Pocket Holes
We placed a bit of wood glue into the pocket holes that we wanted to fill with Kreg Pocket Hole Plugs.
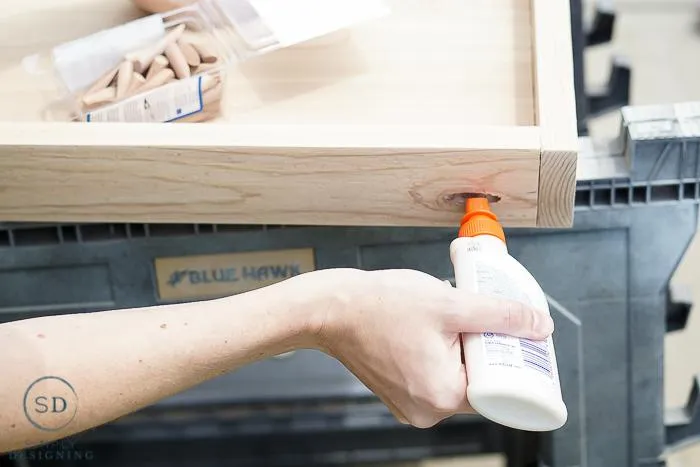
9. Add Wood Plugs
Then we placed the Kreg cedar Pocket Hole Plugs into the pocket holes. You can add them to the bottom of each shelf, but we choose not to and we just added them into the back of the shelf edges.
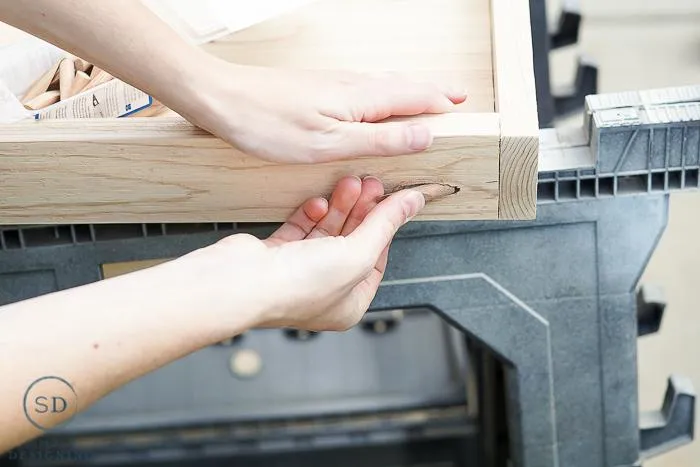
10. Sand
We sanded the shelves with an electric sander and fine grit sand paper until they were smooth.
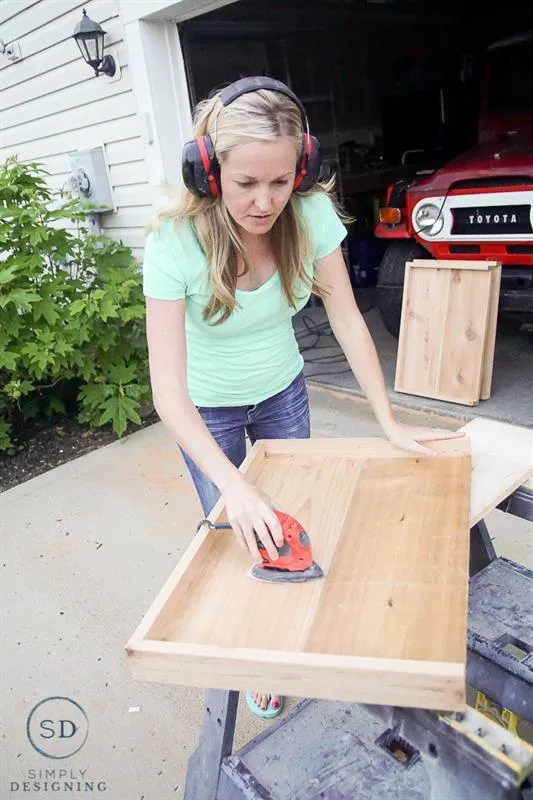
11. Stain
Then we stained the shelves using a rag. I recommend wearing gloves and using two coats of stain. You can use a stain suitable for outdoor use or add an outdoor clear coat if your cart will be in an area that will be exposed to the elements.
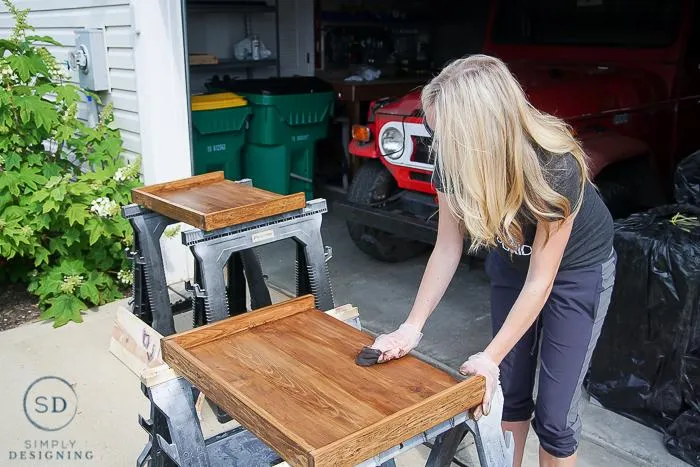
12. Drill Holes in Angle Iron
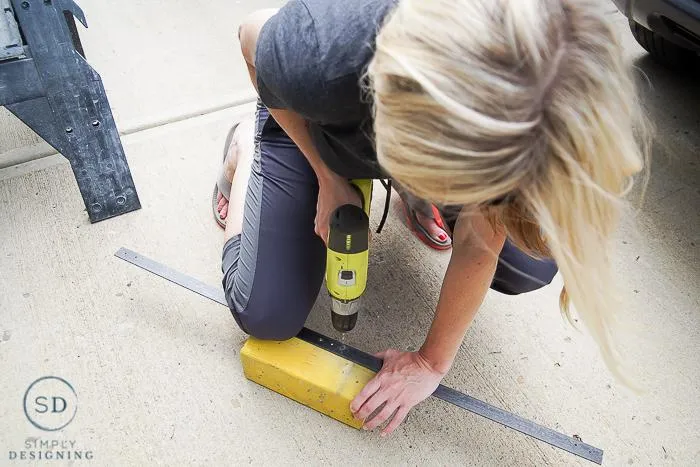
While the stain was drying, we used a drill to drill holes into the angle iron where our shelves would be attached. We placed two holes near the top and two near the bottom and two in the middle.
13. Clear Coat Angle Iron
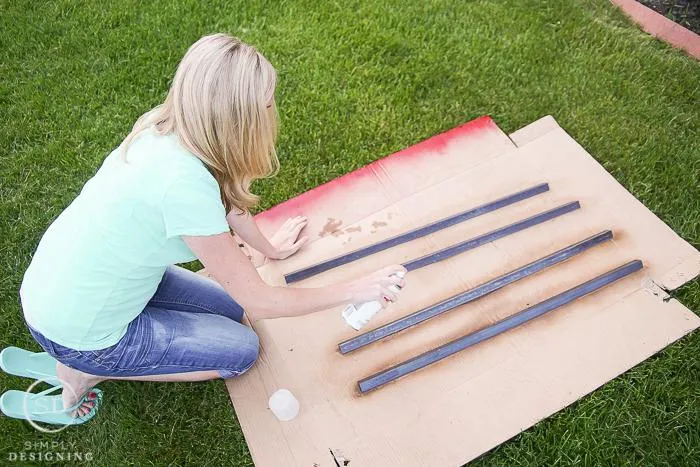
Then we sprayed an outdoor clear coat on the angle iron.
14. Attach Angle Iron to Shelves
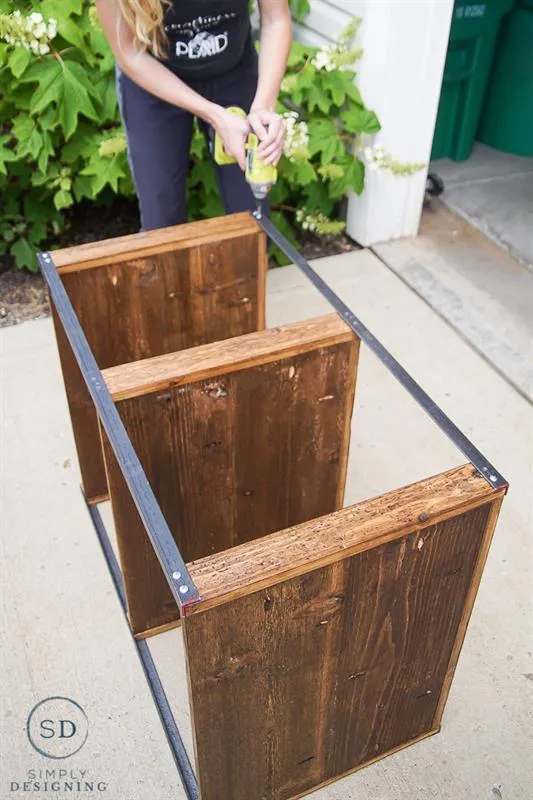
We attached the angle iron to the corners of the shelves using a drill and screws. We used a level to ensure the shelves are level.
15. Add Casters
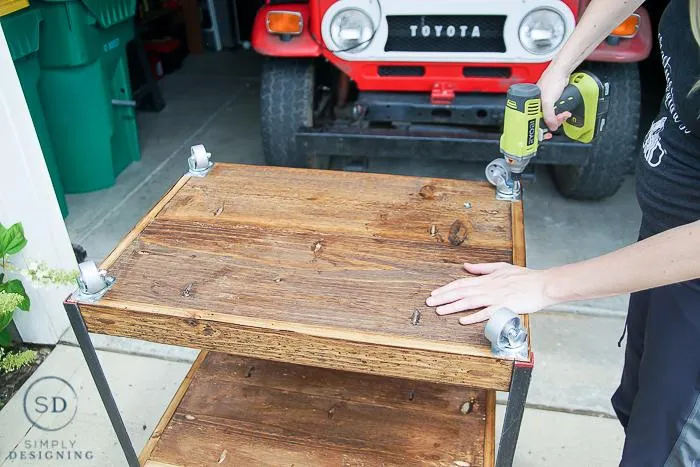
To make the beverage cart portable, we added (4) casters to the bottom of the cart using screws and a drill.