Notch
NotchUse your browser's Print (Ctrl/Cmd + P) and choose Save as PDF. This page works offline once you've opened it with a signal.
Homestead Inspired Rustic Centerpiece
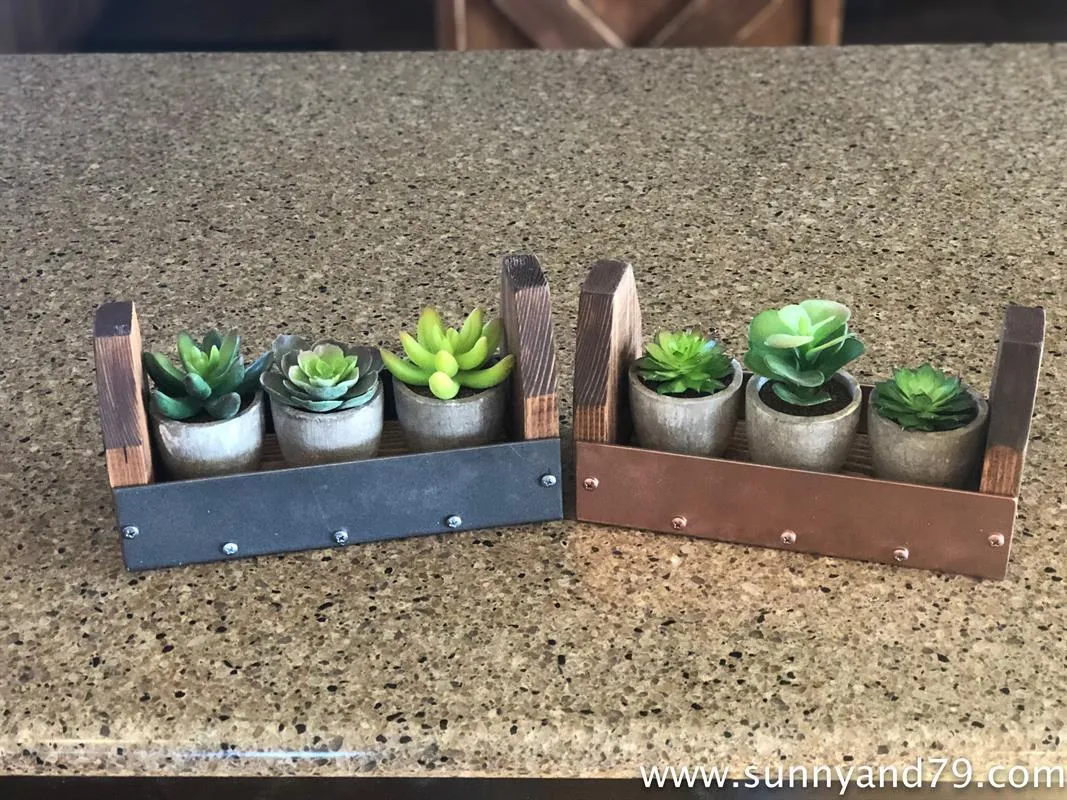
This DIY Rustic Centerpiece is super simple, cute, and inspired by some old chicken feeders we found in an old barn on our ranch.
- Difficulty
- Intermediate
- Time
- 4.5–8.8 hours
- Cost
- $$
Cut list
| Part | Qty | T × W × L | Material | ✓ |
|---|---|---|---|---|
| End Pieces | 2 | 1" × 4" × 5" | — | ☐ |
| Base Piece | 1 | 1" × 4" × 7" | — | ☐ |
| Ends | 2 | 1/8" × 2" × 9" | — | ☐ |
Materials
| Item | Qty | ✓ |
|---|---|---|
| Board, 1x4 48" | 1 board | ☐ |
| Flat Metal Bar- 1/8"x2"x9" | 2 each | ☐ |
| 3/4" Phillips Pan Head Screws | 10 each | ☐ |
| 1 1/4" nails | 10 each | ☐ |
Overall cost: $$. Lumber varies by region, species, and season, so we give a band rather than a figure.
Tools
- Brad Nailer
- Drill / Driver
- Jigsaw
- Miter Saw
- Random Orbit Sander
- Tape Measure — optional
Instructions
1. Mark Angles to Cut on Wood Ends
First up, let's cut the angles for the 2 ends. You only need 2- 5" pieces of 1x4, but I really prefer cutting the angles from a longer length of wood before cutting the pieces down to size. To do this, make a mark 1"in from the side on one end of the board.
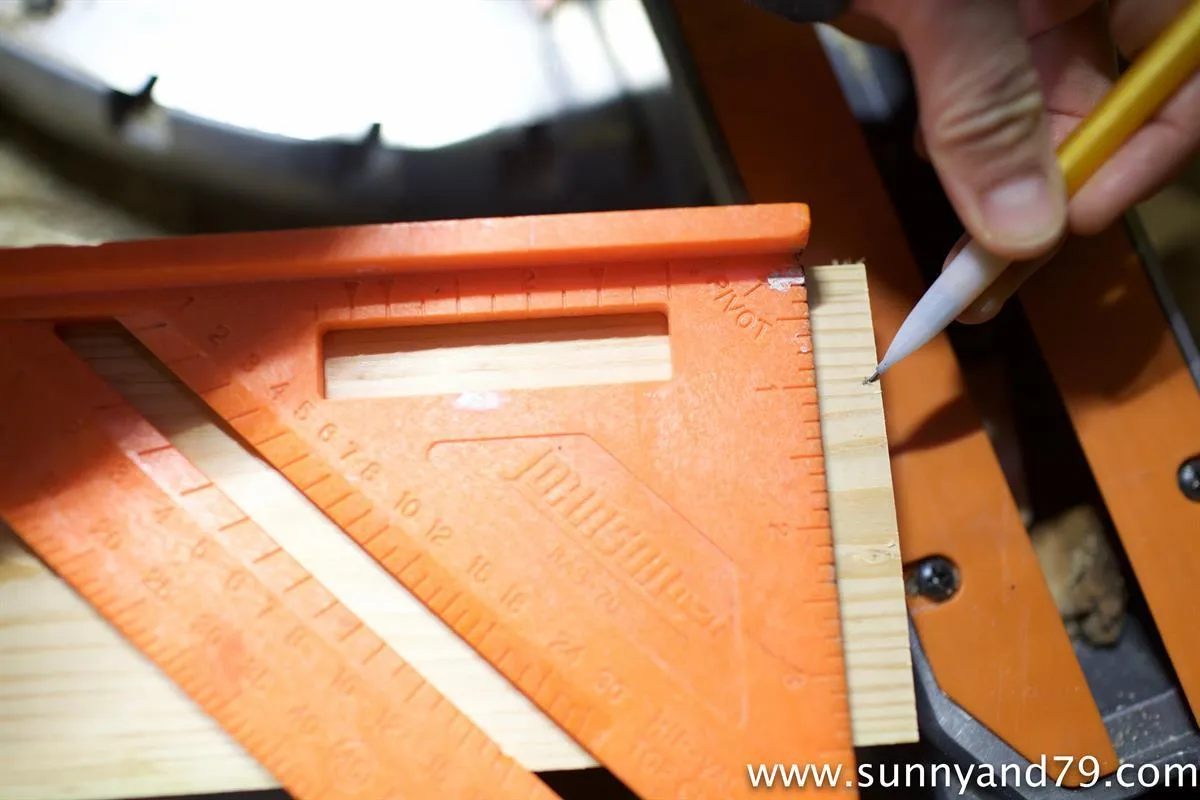
2. Mark for Angle Cuts-2
Then make another mark 2" down from the side.
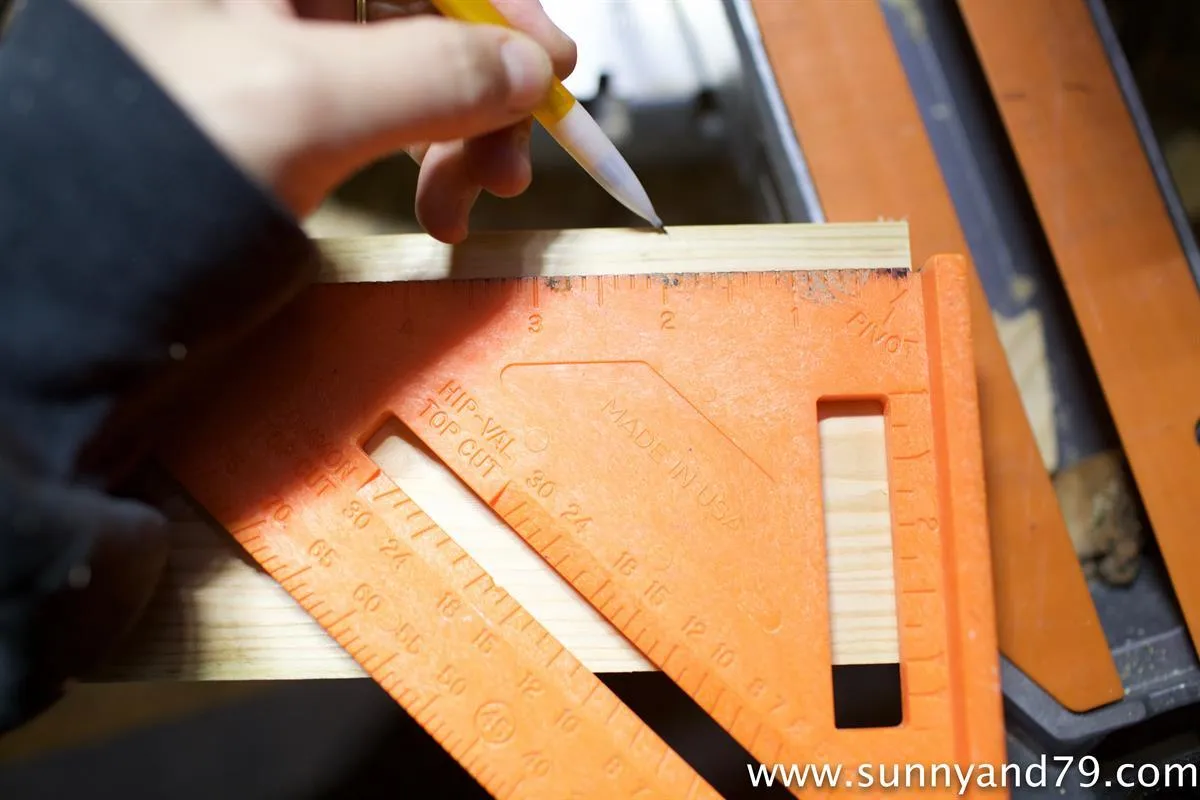
3. Mark for Angle Cuts-3
Connect these marks to show the lines you want to cut. Repeat on the other side.
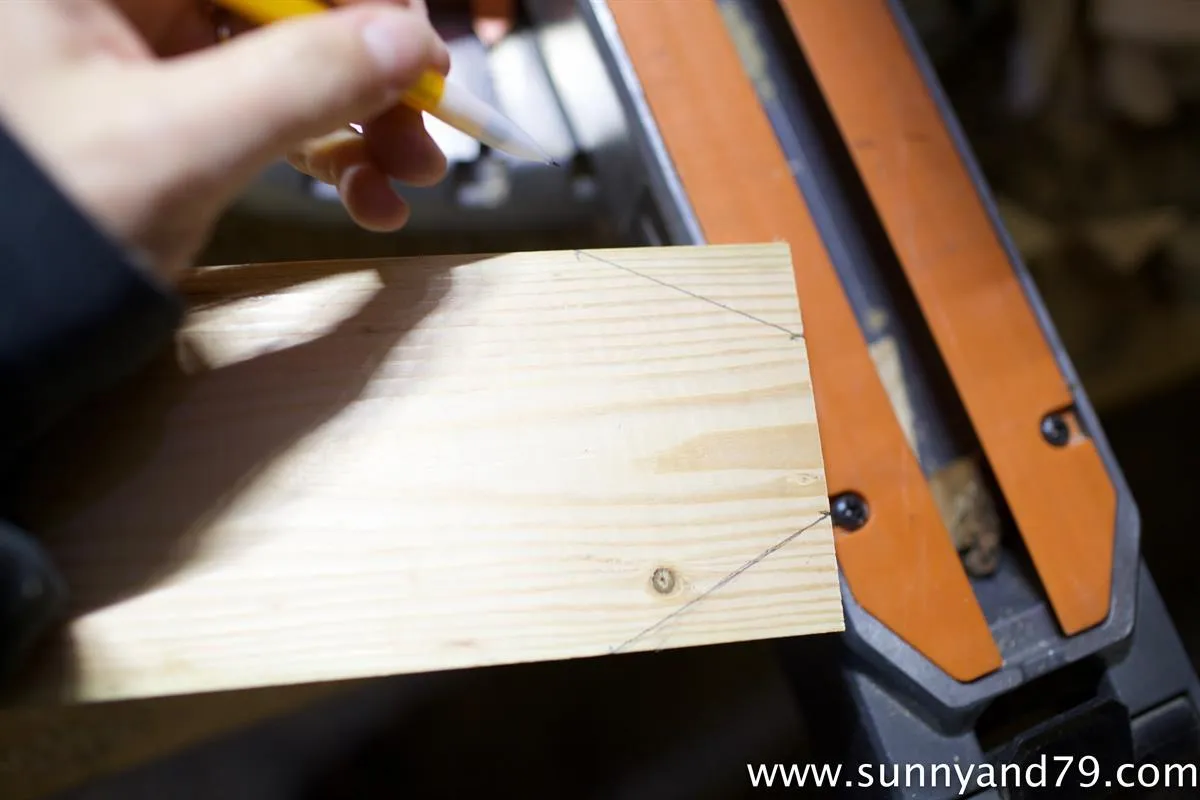
4. Cut Angles
Now, make your angle cuts. I set my miter saw at 64 degrees, but you can also do this with a jigsaw, or even a band saw.
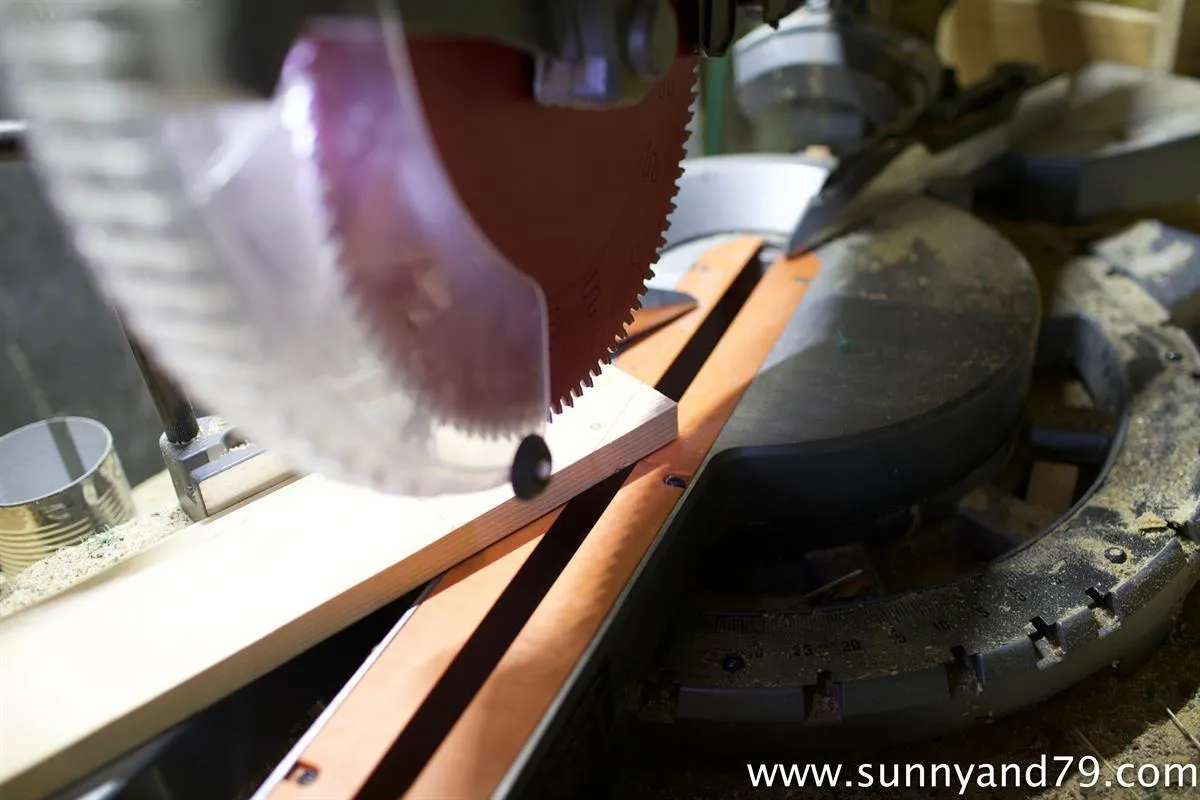
5. Cut End Pieces
Now, mark 5" from the top of that piece down, and make a straight cut- giving you a little house-shaped piece that is 5" from top to bottom. You need 2 of these pieces.
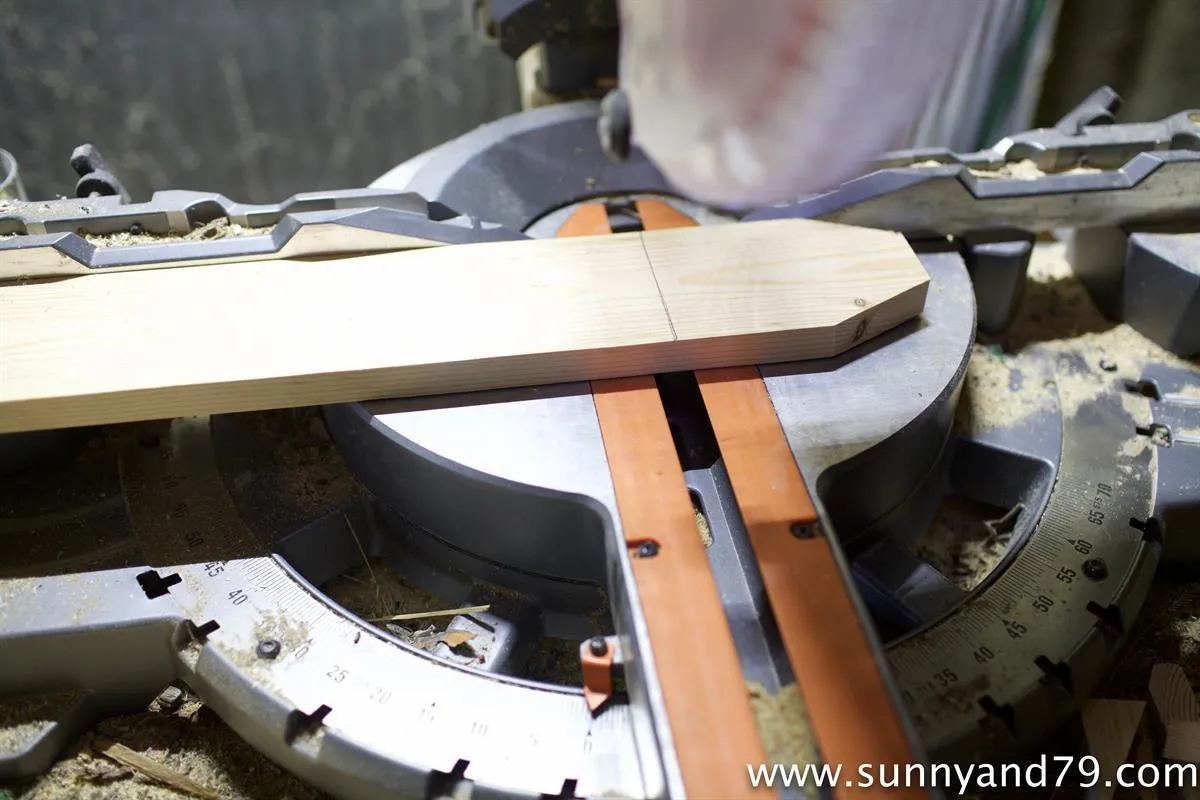
6. Attach Ends to Base Piece
Now, attach the end pieces you just made to the 7 1/2" base piece using 1 1/4" nails and wood glue.
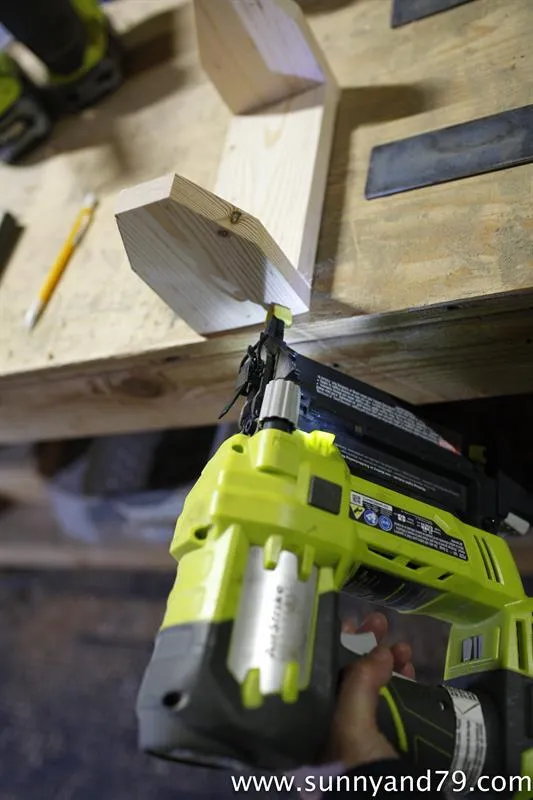
7. Mark Where to Drill Holes In Steel
- Now, you can sand the wood base as needed and grab your steel pieces.
- Lay one along the bottom of one side of the base to line up where you need to drill holes in the steel. I put 3 holes along the bottom, just over 1/4" up from the bottom edge of the steel- at 2 3/4", 4 1/2", and 6 3/4", then a hole centered along each side, a little over 1/4" from the edge of the steel.
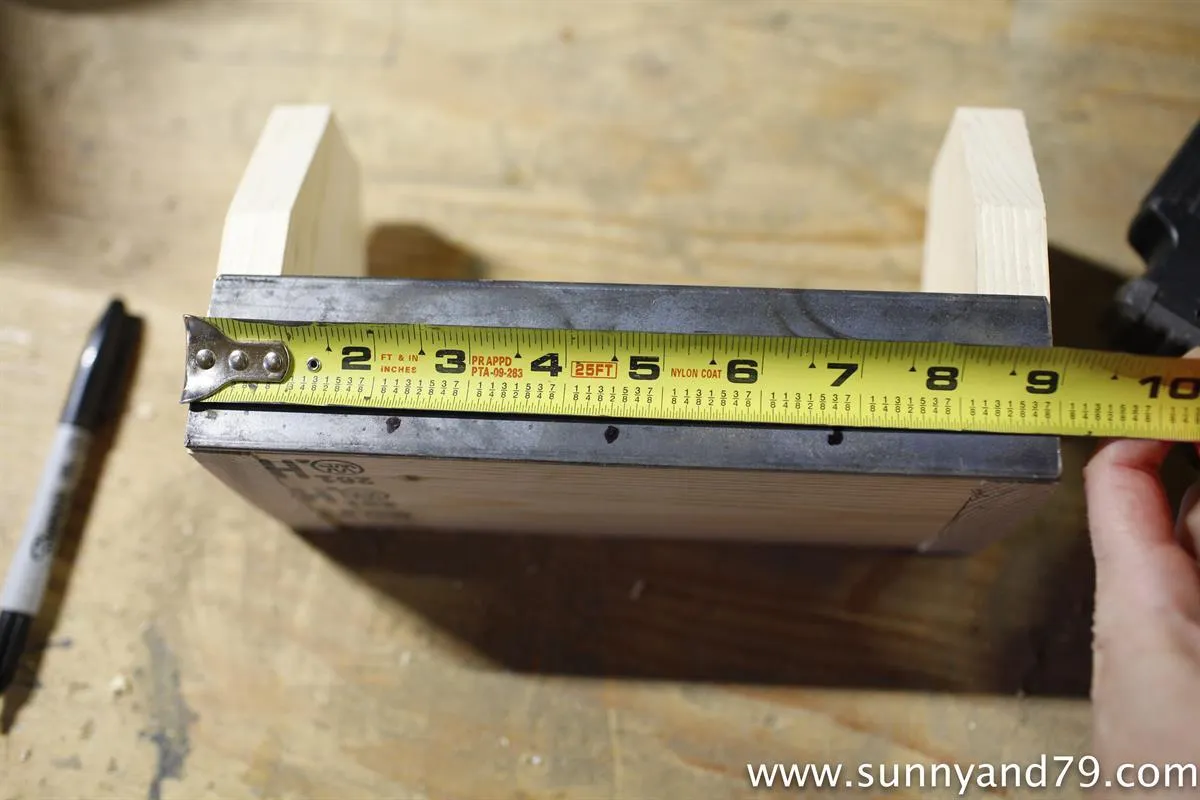
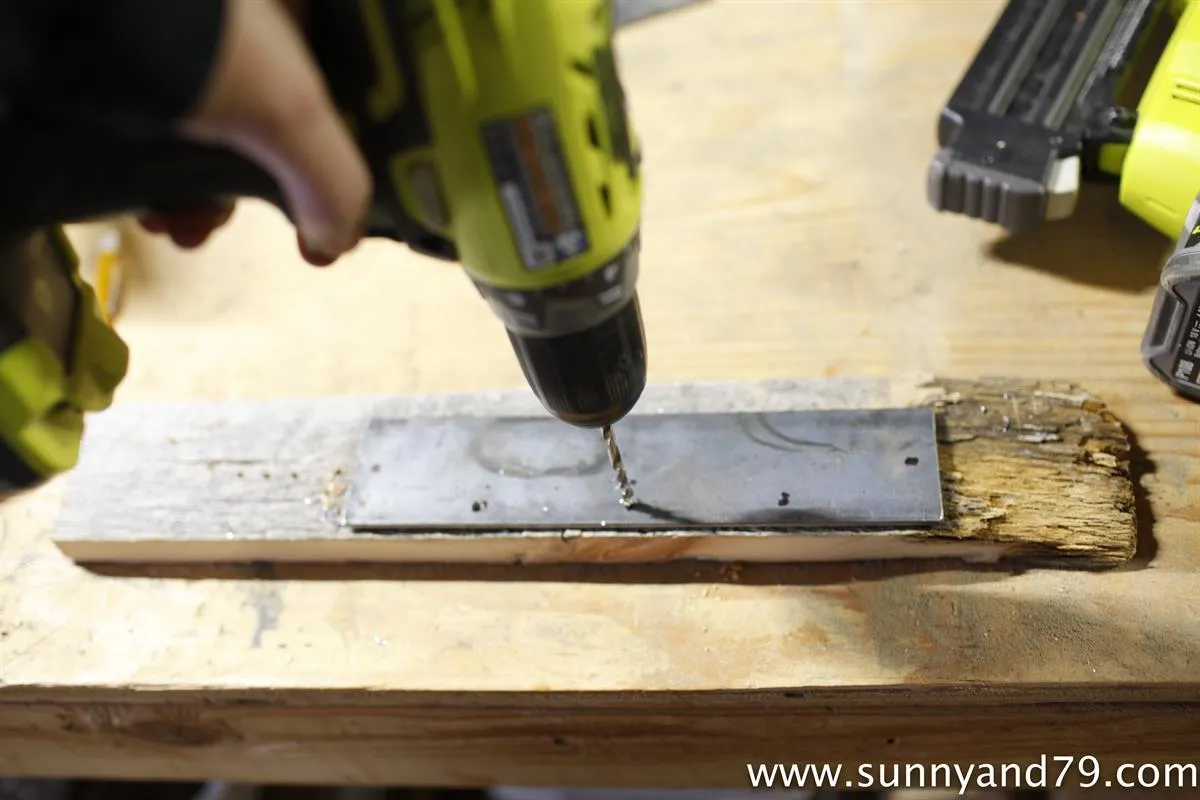
8. Drill Pilot Holes In Steel
Now, lay your steel on a piece of scrap wood and drill pilot holes with a sturdy metal bit that is just big enough for your screws to fit through. Repeat for both pieces.
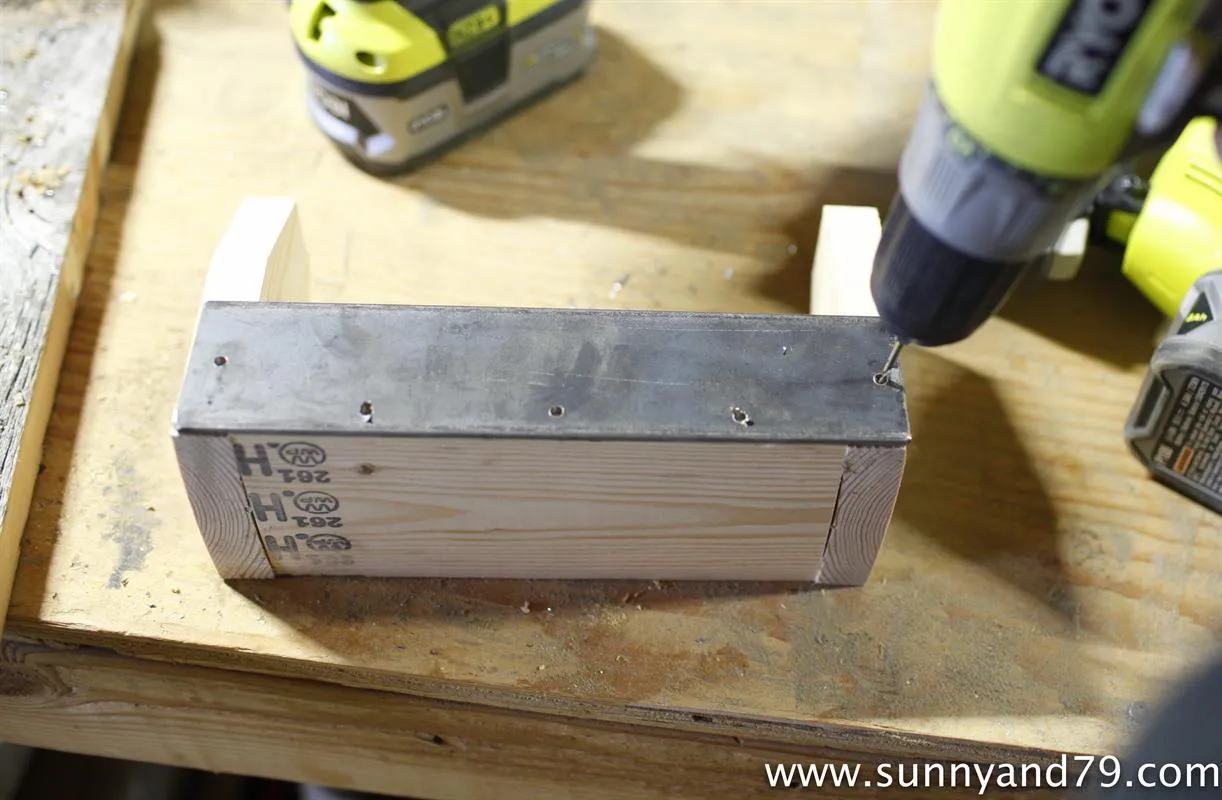
9. Predrill holes in base
Now, set your steel back in place along the base and pre-drill smaller holes through the steel holes into the wood for attaching everything later.
10. Stain and Paint
Go ahead and do any painting and staining you want to your wood, steel, and screws. I stained my bases in Rustoleum Dark Walnut, and painted the steel and screws in Rustoleum Soft Iron and some in Rustoleum Copper.
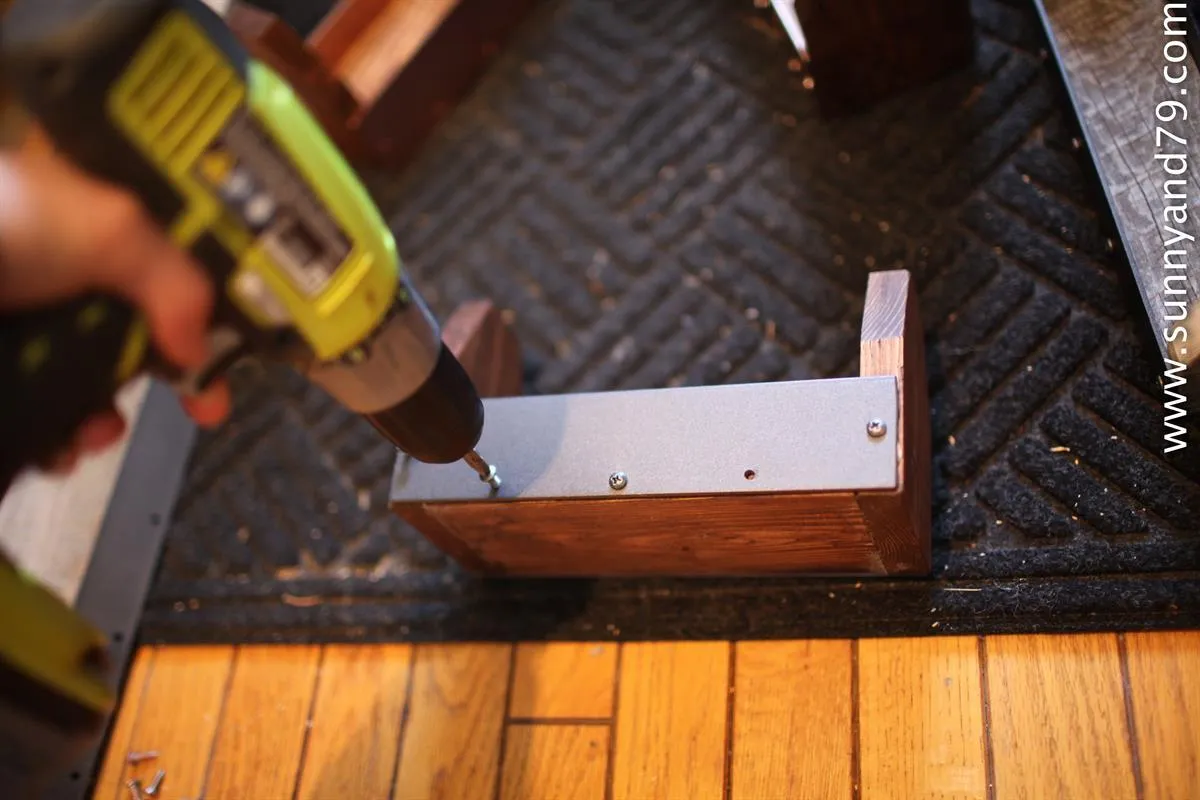
11. Attach Metal to Base
- Once everything is dry, it's time to attach the steel! This is totally optional, but I decided to add a little hot glue before I screwed my steel to the bases just to help sturdy it up a little more.
- Then, you can go ahead and screw your metal onto the bases!
12. All Finished!
Nice Work!
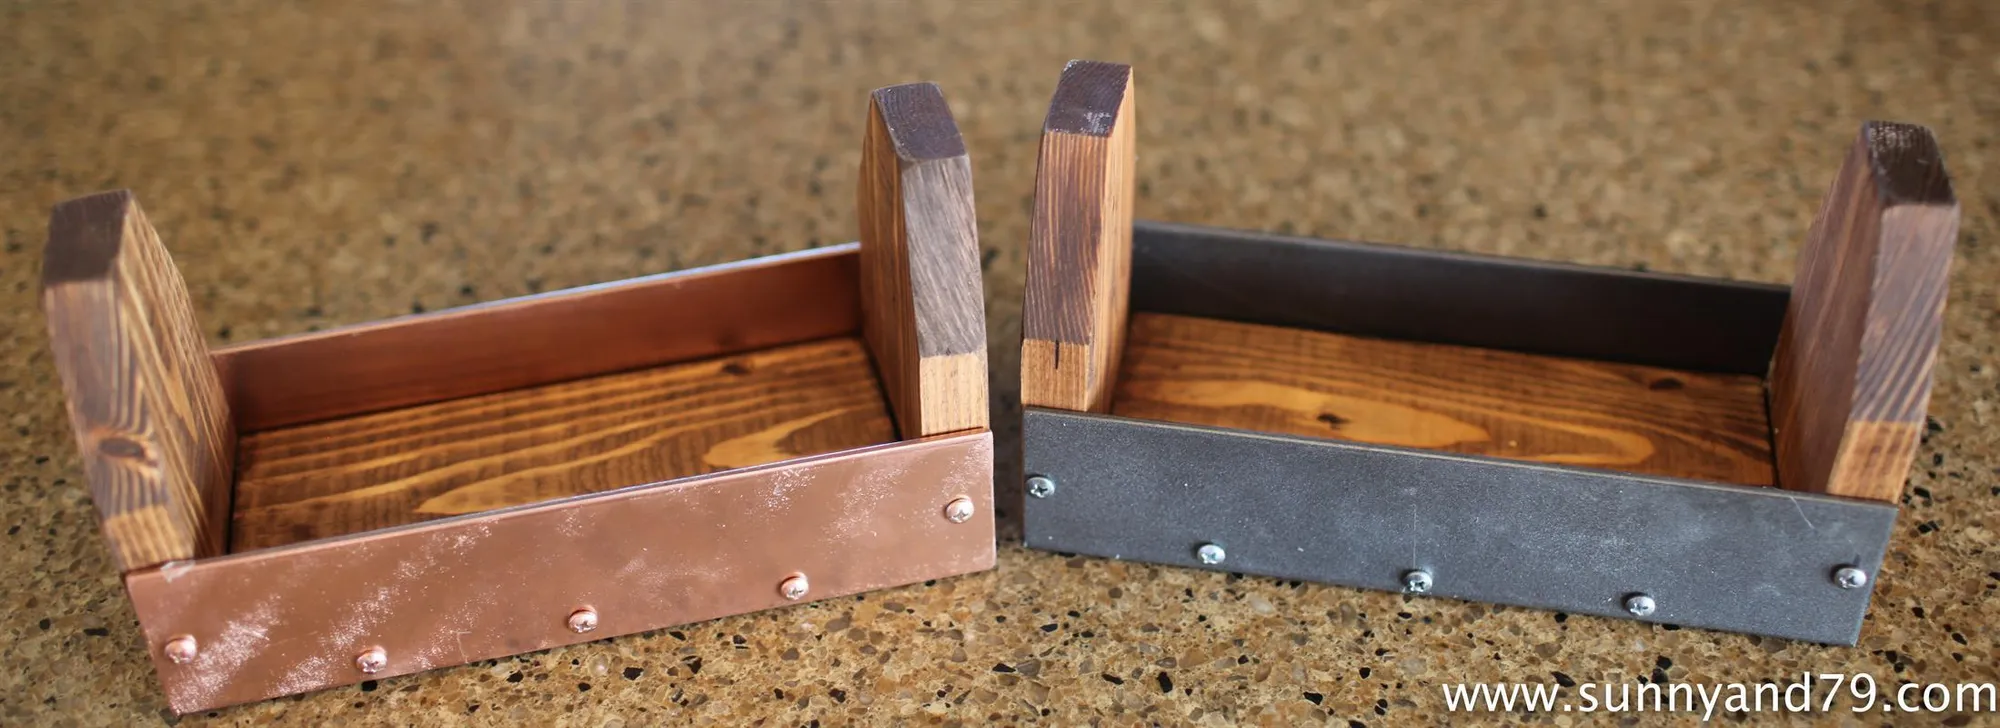
13. Enjoy!
Now, you can add succulents, or any other decoration you'd like and enjoy! I'd love to see what ideas you come up with! You can make these is all different sizes- just make your bases and steel longer or shorter- and you can keep the ends the same :) Thanks for checking out this project!! For a lot more pictures, and links to the items I used- including the succulents- please visit www.sunnyand79.com and search "Centerpiece".