 Notch
Notch- Difficulty
- Intermediate
- Time
- 7.3–14 hours
- Cost
- $$$
About this build
A grasscloth console table perfect for an entryway, sideboard, or even an oversized nightstand. Classic parsons table style with a shelf for added storage. High end look (similar styles retail for around $1200) that you can make yourself for much, much less!
Tools
Essential
- Circular Saw
- Drill / Driver
- Pocket Hole Jig
- Random Orbit Sander
- Staple Gun
Optional / nice to have
- Bar / Pipe Clamps
- Tape Measure
Materials
| Item | Qty |
|---|---|
| Plywood, 3/4" Thick Half Sheet | 1 board |
| Board, 1x2 96" | 3 board |
| Board, 2x2 48" | 4 board |
| 1" pocket hole screws | 60 each |
| 3" cabinet screws | 12 each |
| 3/32 drill bit | 1 each |
| 5/16 drill bit | 1 each |
| Coarse and fine sandpaper pads for sander | 1 each |
| Single roll grasscloth wallpaper | 1 each |
| Ruler | 1 each |
| Scissors | 1 each |
| Paper towels | 1 each |
| Heavy duty wallpaper paste | 1 each |
| Foam paintbrush | 1 each |
| Wallpaper smoothing tool | 1 each |
| Painters tape | 1 each |
| Sharp razor blade | 1 each |
| Water based poly | 1 each |
Overall cost: $$$. Lumber prices vary by region, species, and season, so we give a band rather than a figure we would only be pretending to know.
Cut list
| Part | Qty | T × W × L |
|---|---|---|
| Plywood Tabletop and Shelf | 2 | 3/4" × 14 1/2" × 46 1/2" |
| 2x2 Legs | 4 | 2" × 2" × 32" |
| 1x2 Frame | 2 | 1" × 2" × 48" |
| 1x2 Frame | 2 | 1" × 2" × 14 1/2" |
| 1x2 Frame | 2 | 1" × 2" × 13" |
| 1x2 Frame | 2 | 1" × 2" × 45" |
What to buy
Buy 6 boards at 8 ft.
2" × 2"
2 boards
1" × 2"
3 boards
3/4" × 14 1/2"
1 board
Assumes 8 ft stock, a 1/8" saw kerf, and buying each part at its own width. Change the board size or kerf on the full board plan →
Instructions
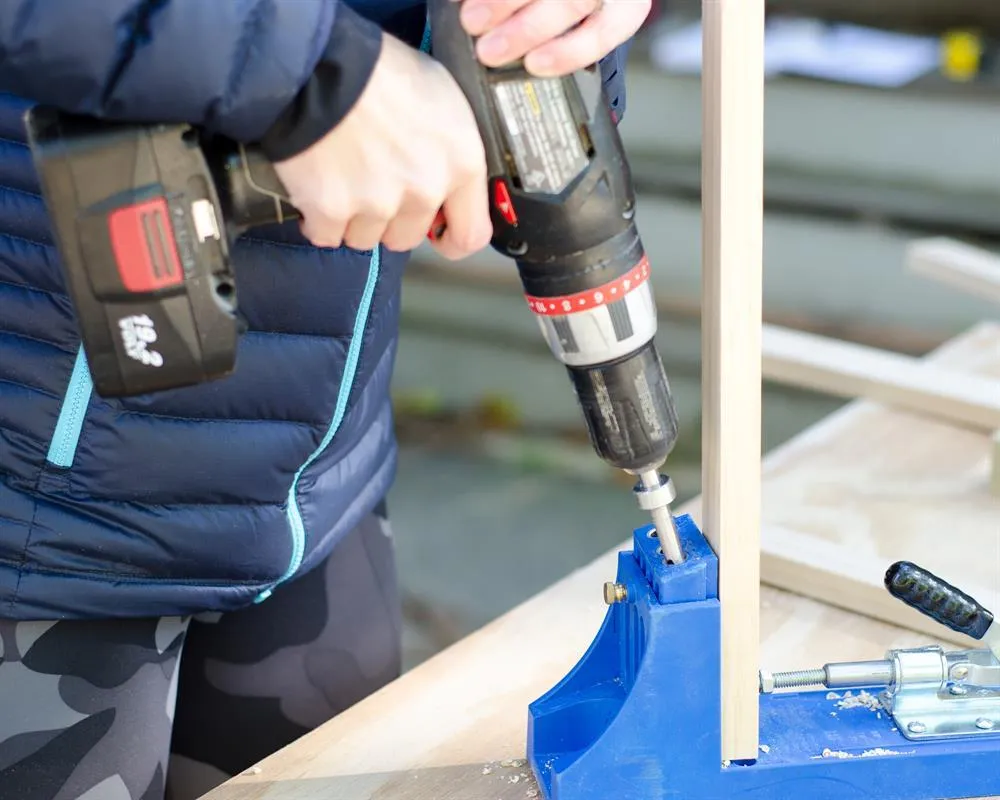
1Drill pocket holes in 1x2s
Drill pocket holes in the following 1x2s from the cut list: - 14.5" – two pocket holes in each end - 13" and 45" – one pocket hole in each end, off-center (make sure the pocket holes at each end of the same 1x2 are spaced toward the same edge for attaching purposes later).
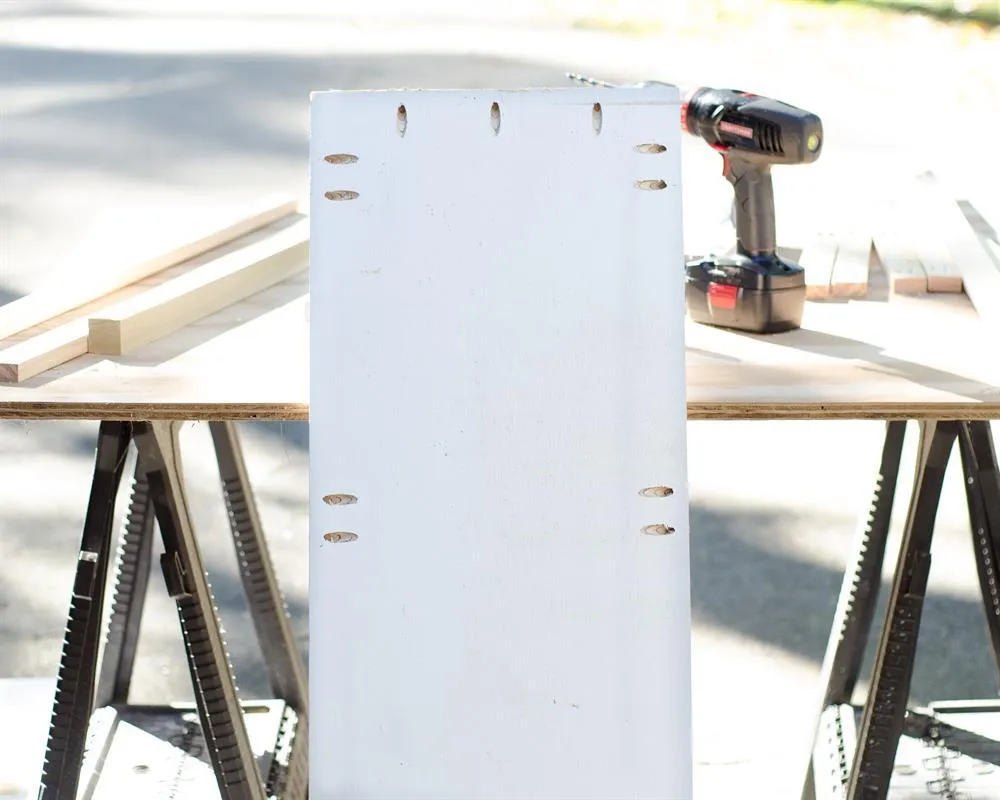
2Drill pocket holes in plywood
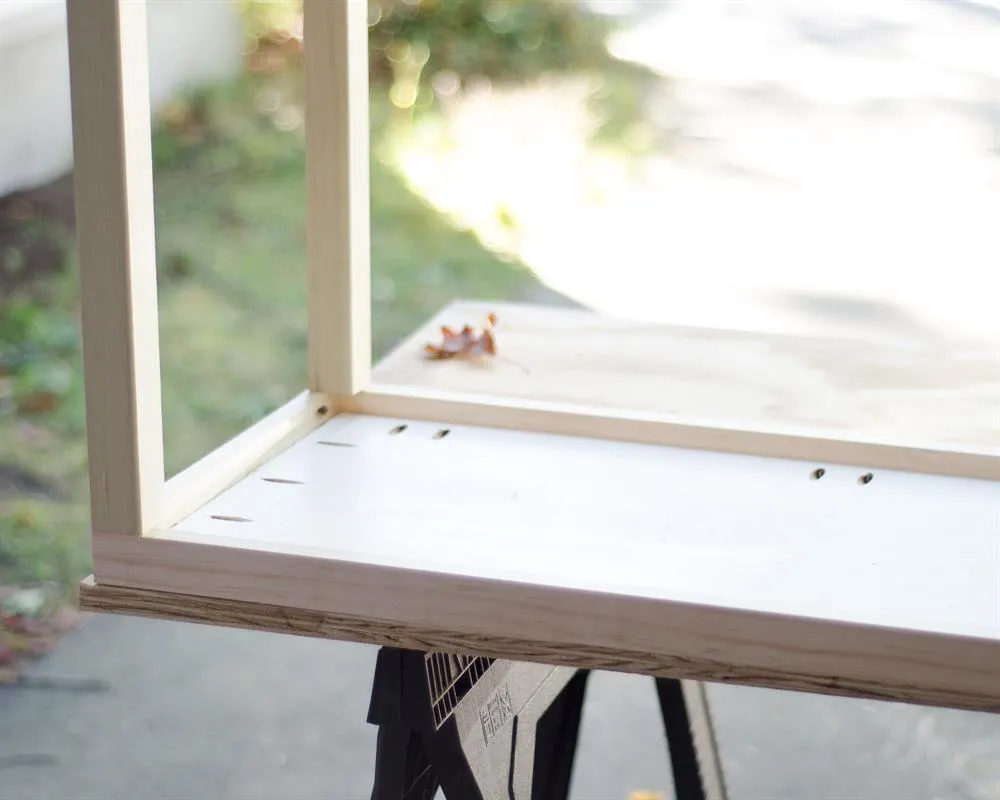
Drill pocket holes along all edges of the two plywood sheets, with three holes on the short sides and six-eight holes on the long sides.
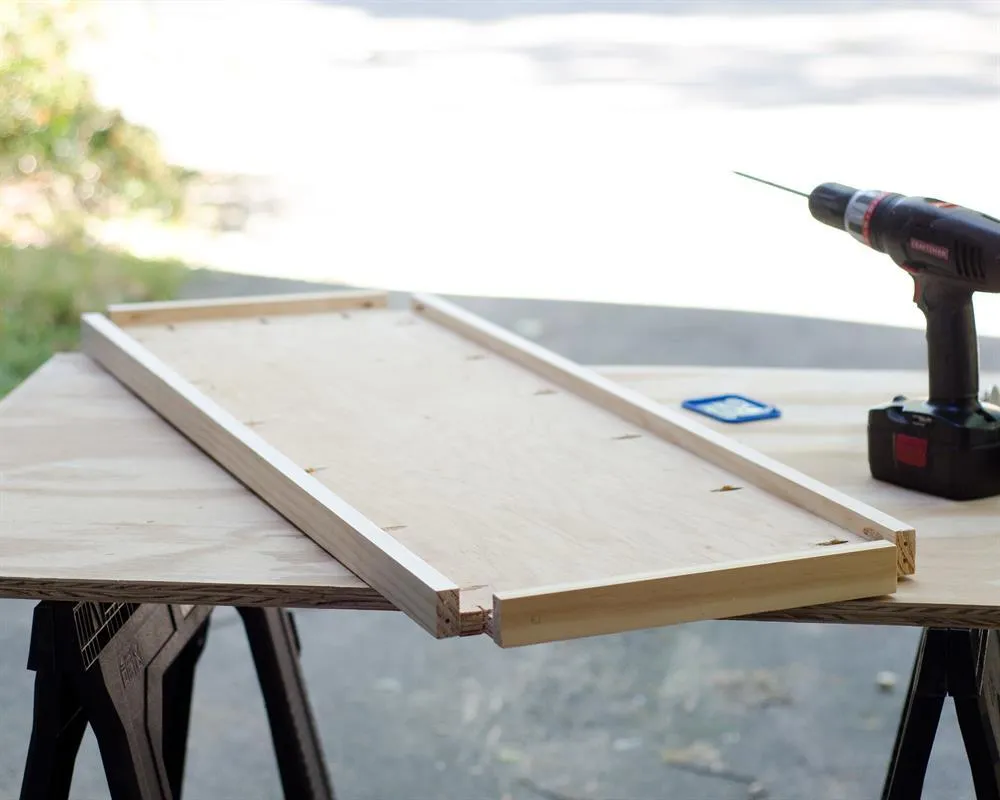
3Assemble shelf
Assemble the shelf by attaching the 13" and 45" 1x2s to the notched plywood with 1" pocket hole screws, making sure that the pocket holes in the 1x2s are accessible and not hidden behind the plywood edge once attached.
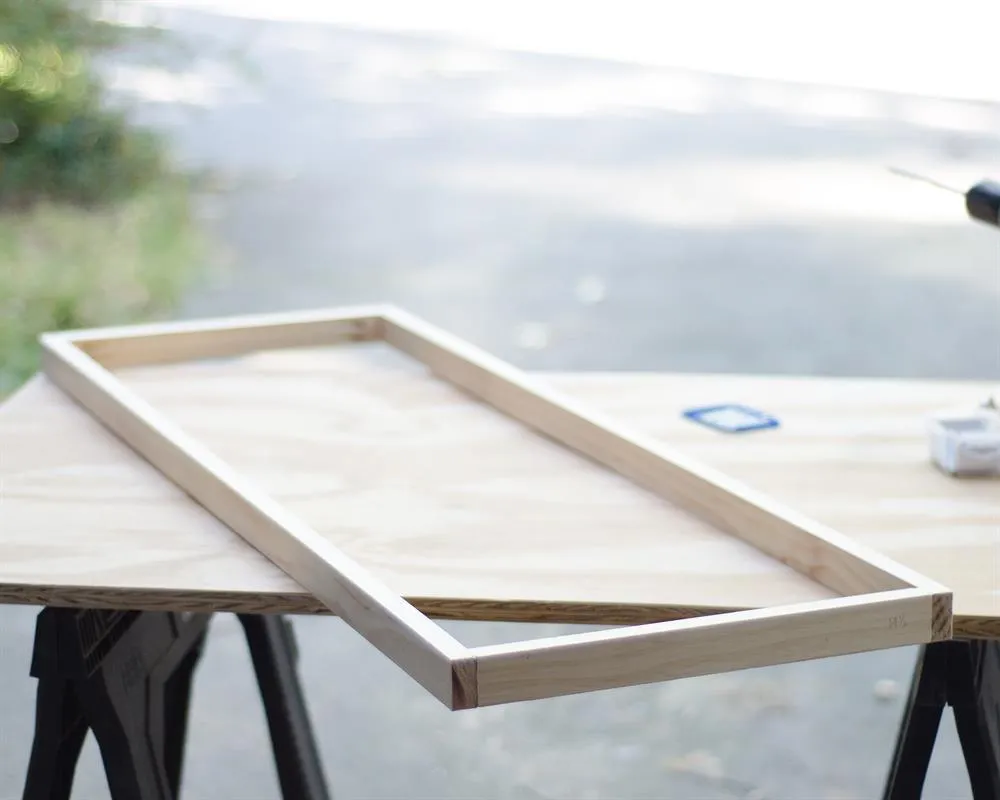
4Assemble tabletop frame
Assemble the frame for the tabletop by attaching the 14.5" 1x2s to the 48" 1x2s using 1" pocket hole screws.
5Drill holes in the frame
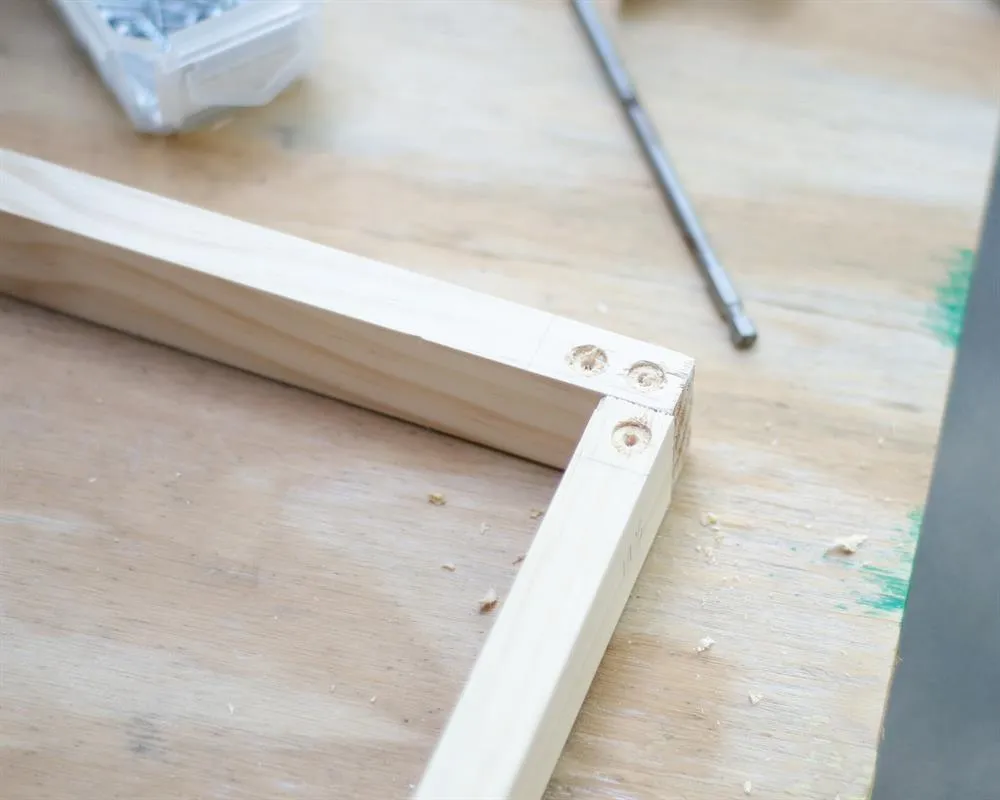
Drill three countersunk holes in each corner of the frame. To do this, first drill pilot holes with a 3/32 drill bit and then a shallow hole centered over the top with a 5/16 drill bit.
6Attach tabletop frame to legs
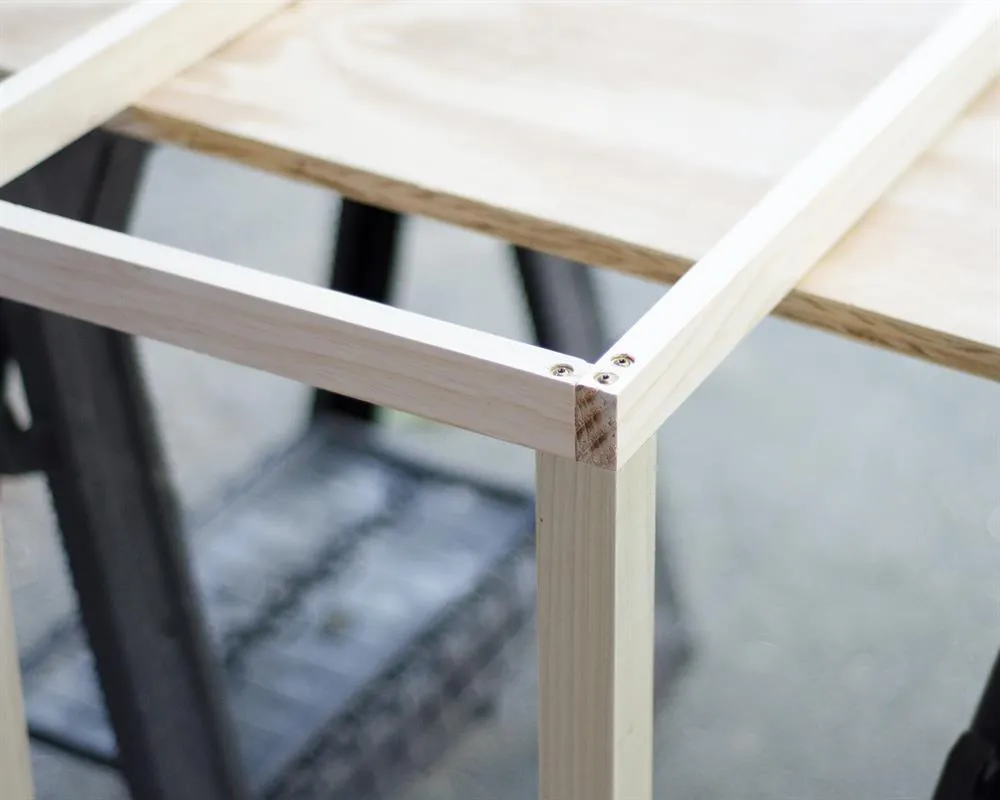
Attach the tabletop frame to the legs by drilling 3" cabinet screws through each of the tabletop frame's pilot holes and into the 2x2 legs. Make sure the edges of the legs are flush with the edges of the tabletop frame.
7Assemble tabletop
Assemble the tabletop by attaching the remaining piece of plywood to the tabletop frame using 1" pocket hole screws.
8Sand table
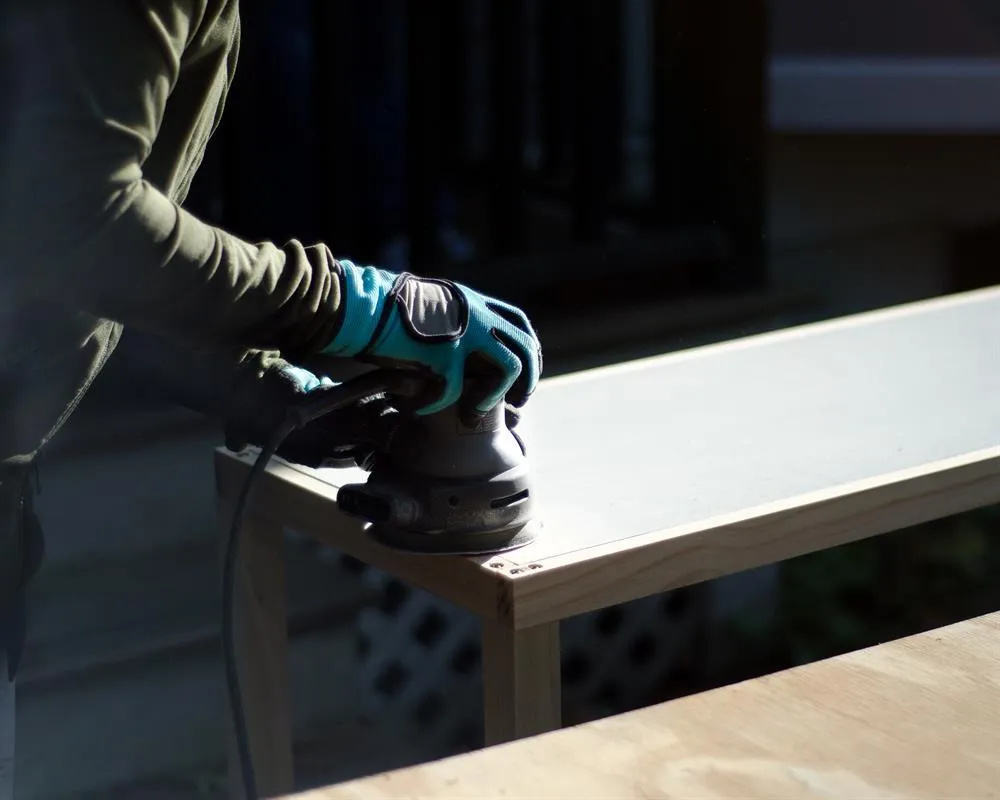
Use a pad sander to sand any rough areas of the table, first with coarse sandpaper and then with fine grit. The grasscloth will show bumps so get any uneven edges and surfaces as smooth as possible,
9Mark and cut grasscloth for tops
- Cut two pieces of grasscloth wallpaper to 53" x 21".
- Center the shelf upside down on one of the pieces of grasscloth and trace the outer edges, including the notched corners. Use a ruler to draw a straight line from each wallpaper corner to the inner corners of the notches.
- Cut the corner lines with scissors.
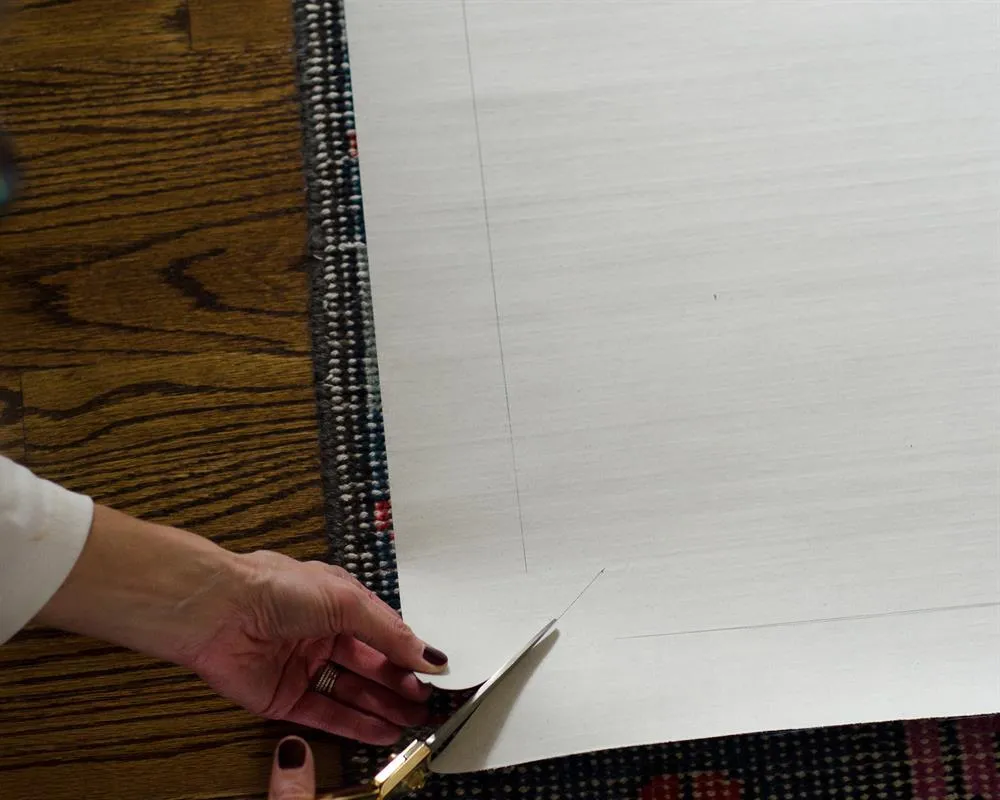
10Apply wallpaper paste
Use a foam paintbrush to apply wallpaper paste to the surface of the wallpaper.
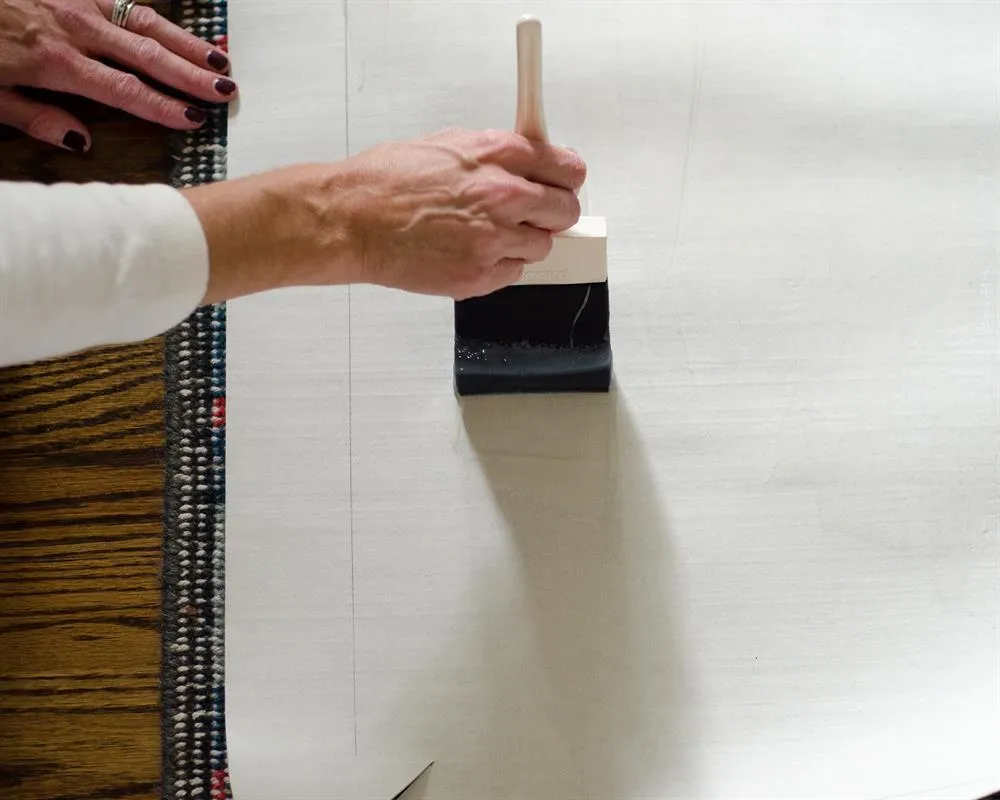
11Smooth wallpaper over shelf
Center the shelf face side down on top of the pasted wallpaper. Flip it over and use a wallpaper smoothing tool to adhere and smooth the wallpaper to the shelf top.
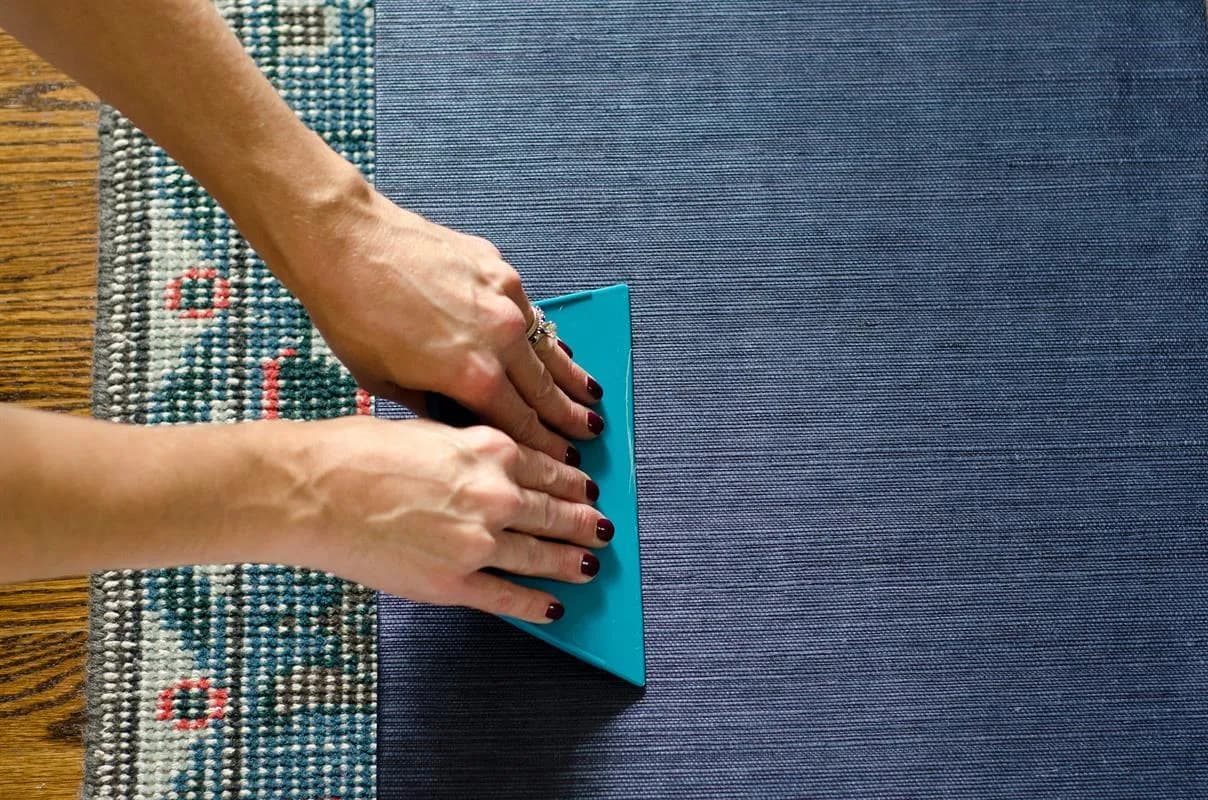
12Staple undersides of paper on shelf
Flip the shelf over so it's upside down. Use the wallpaper smoothing tool to crease and smooth the edges of the paper around the sides of the shelf. Use a staple gun to attach the paper to the undersides of the shelf.
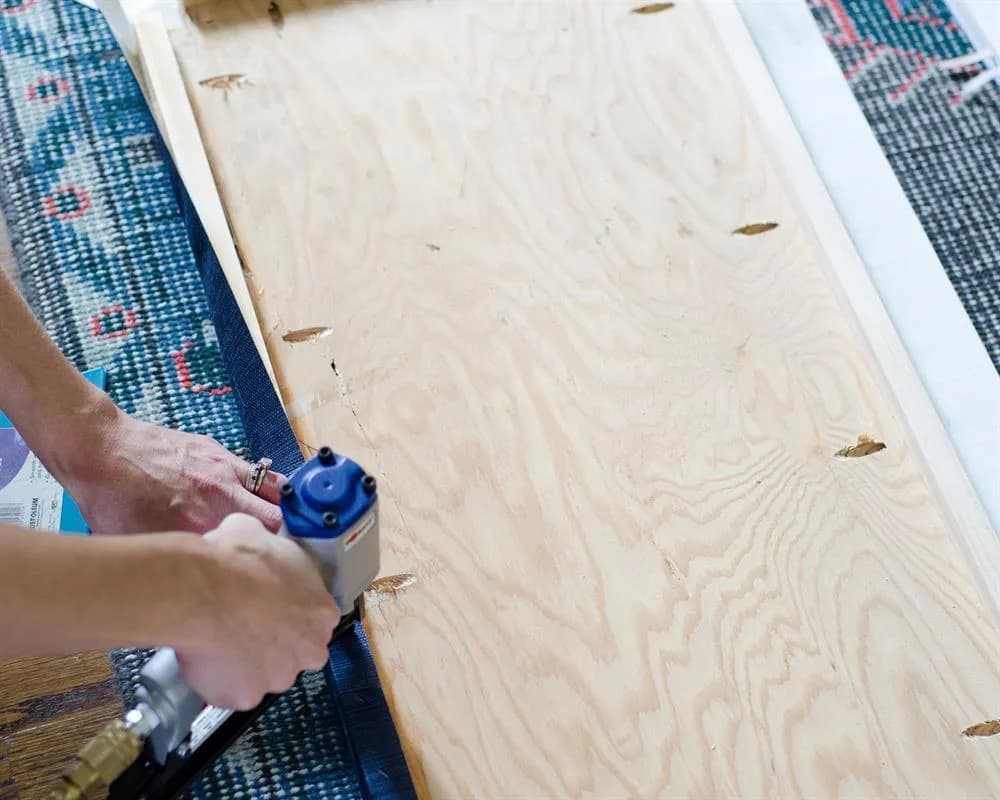
13Finish wallpapering shelf
Finish covering the shelf in wallpaper by folding and creasing the corners and stapling inside the notches. Trim any excess paper so there's not too much bulk inside the notches.
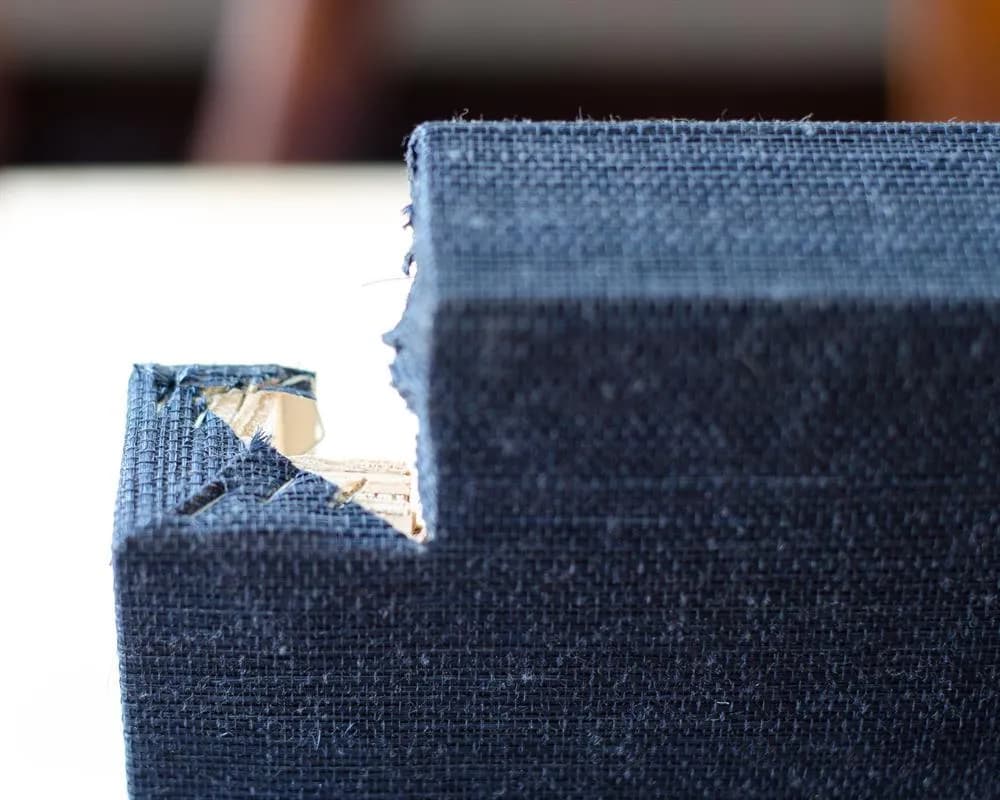
14Trim wallpaper for legs
Cut four pieces of wallpaper to be 7.5" x 34". Place them face side down and cut two of the pieces so there is a 4.5" x 1.5" notch cut out of the left side and a 1.5" x 1.5" notch out of the right side, and the other two pieces with opposite notches (1.5x1.5 on the left and 4.5x1.5 on the right).
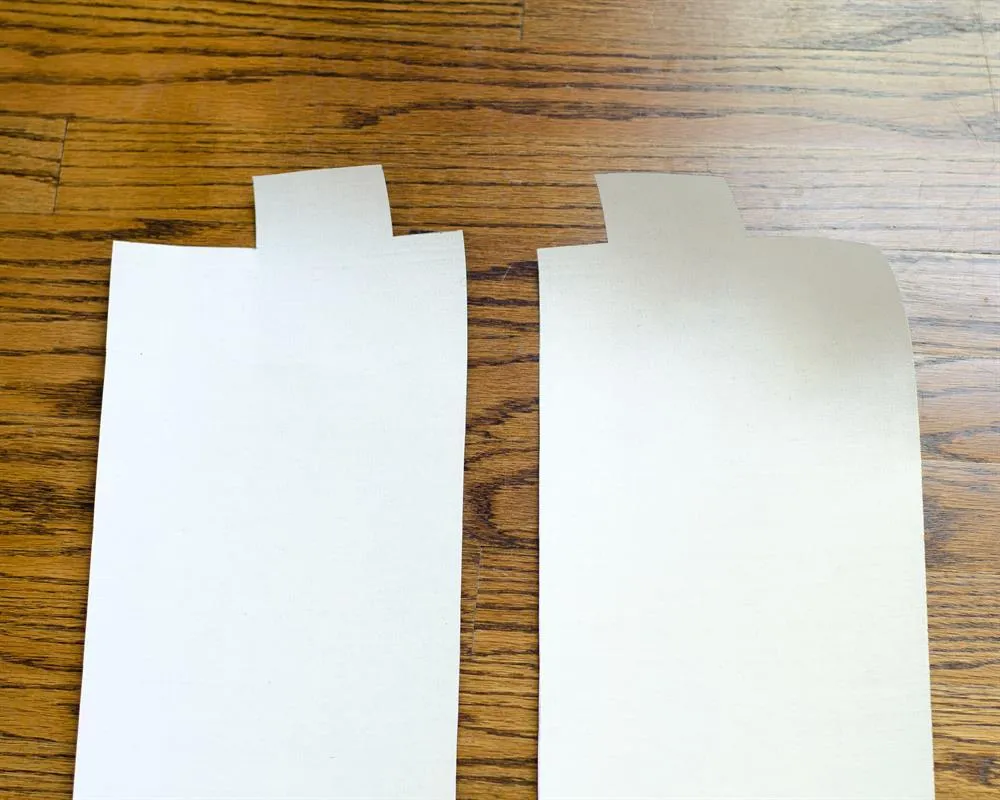
15Staple paper to leg
- Position the table so one of the long sides is in front of you. The papers with the 4.5" notches on the left (when looking at the paper front side up) will go on the right legs when facing you and the papers with the 4.5" notches on the right will go on the left legs when facing you.
- Spread wallpaper paste on one of the pieces of wallpaper.
- Take the longer-notched side of the paper and line the edge up with the inner front corner of one of the legs. The tap in between the notches should be facing the top of the table, not the bottom. Staple the paper to the leg along this inside corner.
16Attach paper to leg
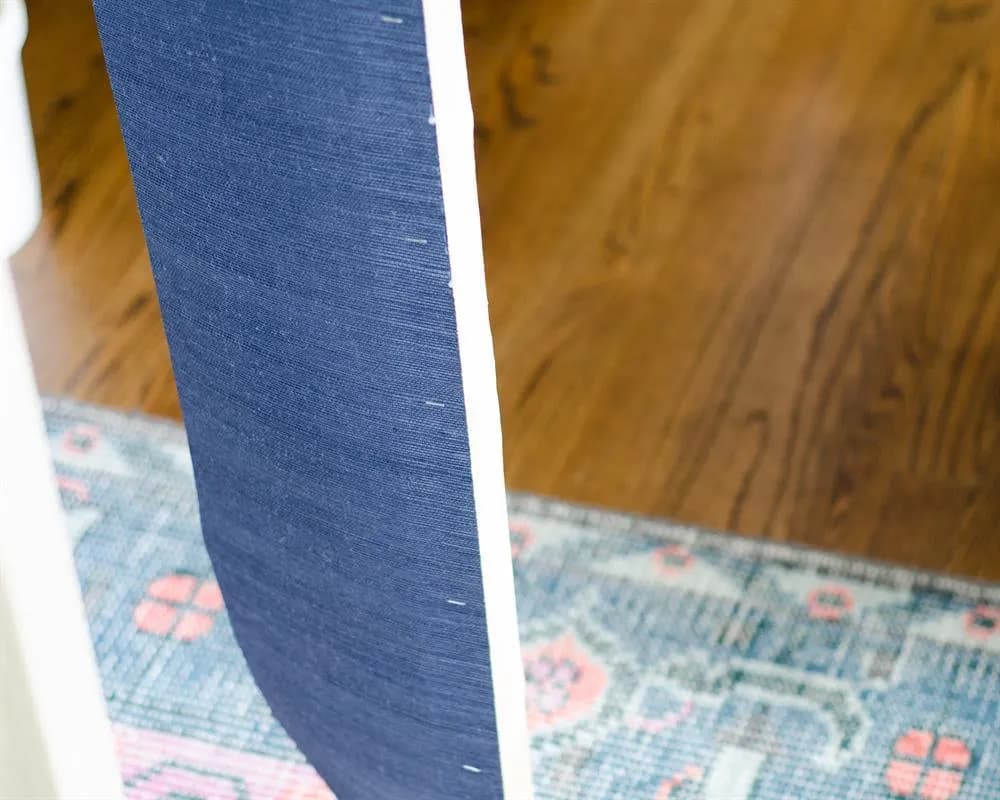
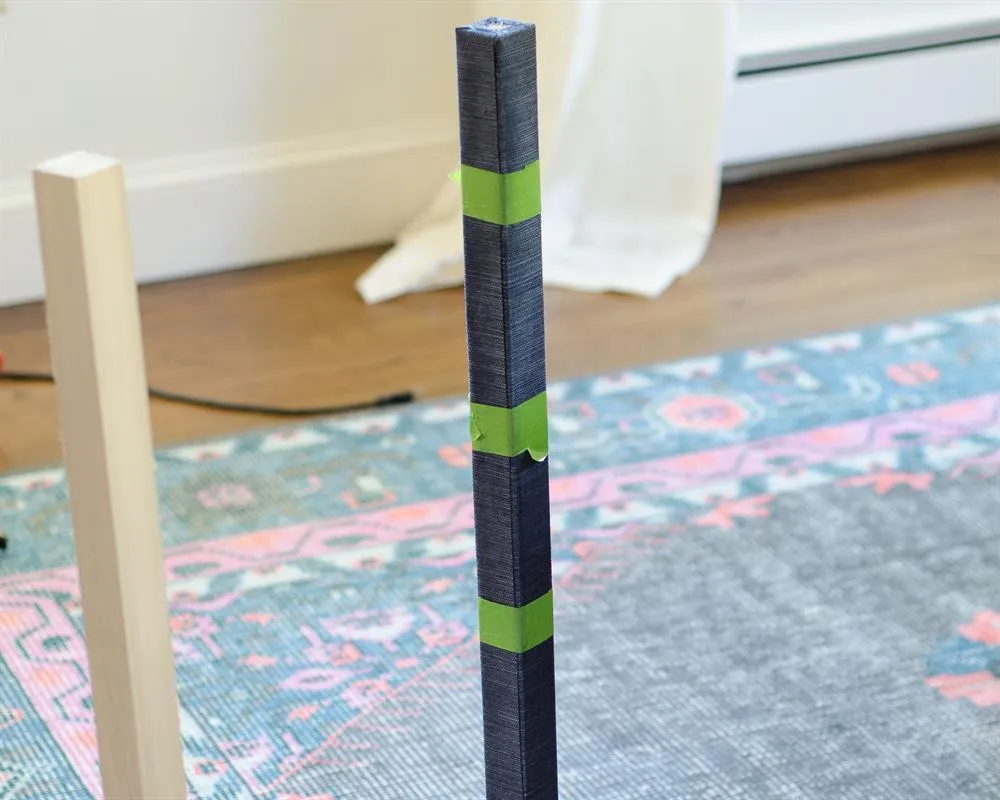
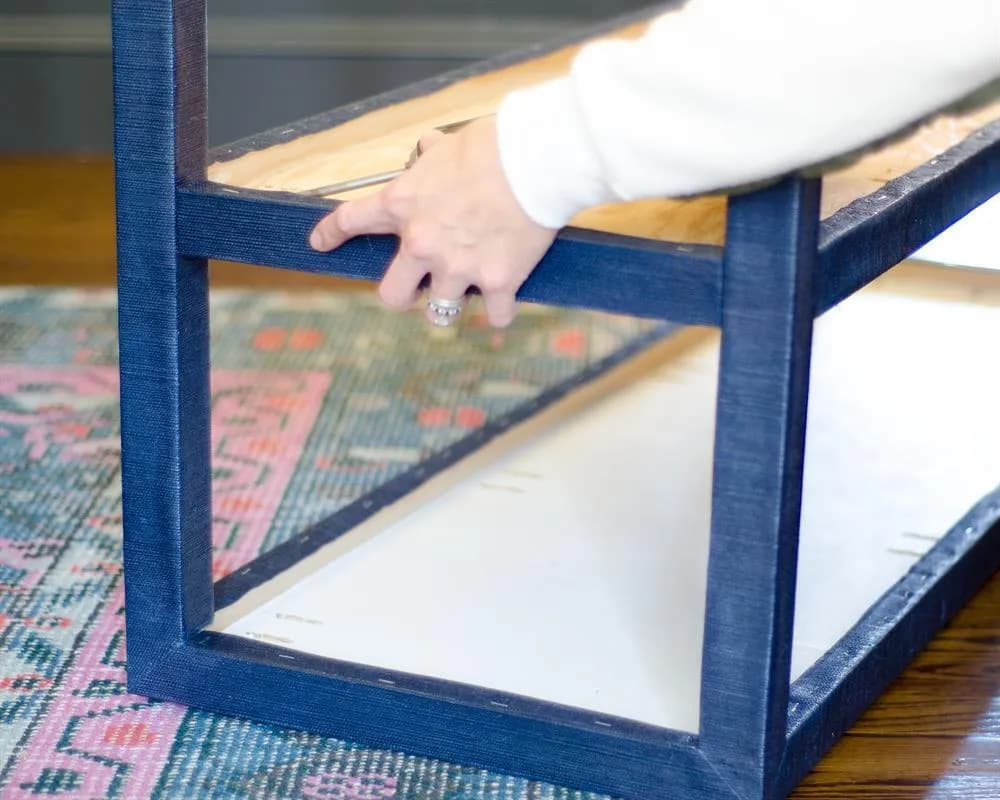
Use the wallpaper smoothing tool to smooth the stapled side of paper, then continue to crease and smooth the paper around the rest of the leg. The final side of the paper will cover the initial stapled side. If the paper is pulling apart at the seam, use painters tape to hold it in place. You may need to smooth the sides several times to get the paste to adhere to the leg. Repeat this process on all four legs.
17Fold bottoms of legs
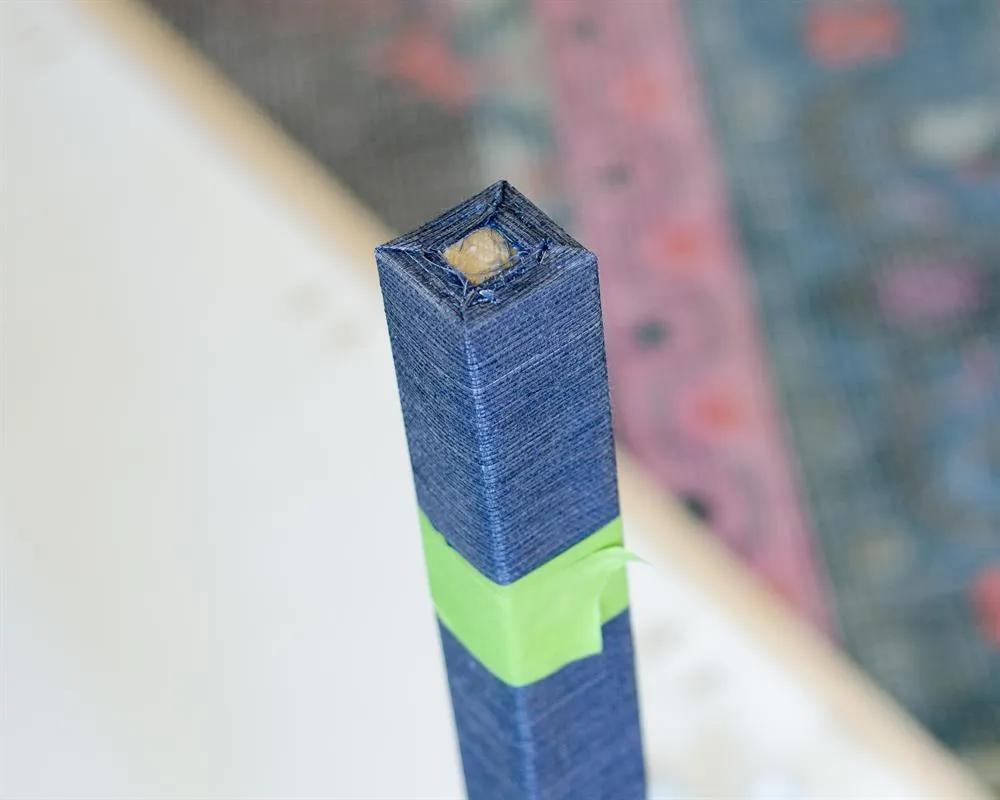
To finish the bottoms of the legs, crease and fold the paper over the bottom edges and staple in place.
18Attach paper to tabletop
- Center the table upside down on the remaining 53" x 21" piece of wallpaper and trace the edges. Use a ruler to mark lines from the outer corners of the paper to the traced table corners, as you did for the shelf.
- Cut along the corner lines.
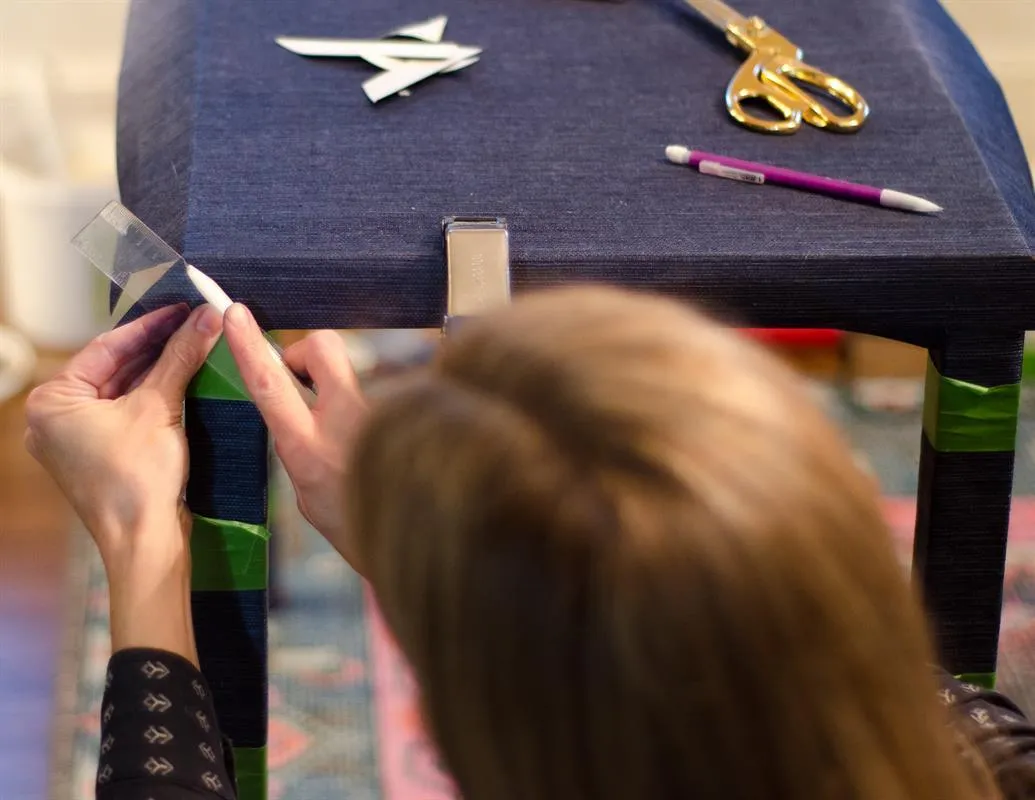
- Spread wallpaper paste on the paper and place it on the table top, then smooth with the wallpaper smoothing tool. Crease the edges and clamp the paper in place, then use a ruler and sharp razor blade to cut a line from the outer corners to the inner corners of the sides.
- Remove any paper cut away with the razor blade, include paper from the legs already attached.
19Attach paper to sides of tabletop
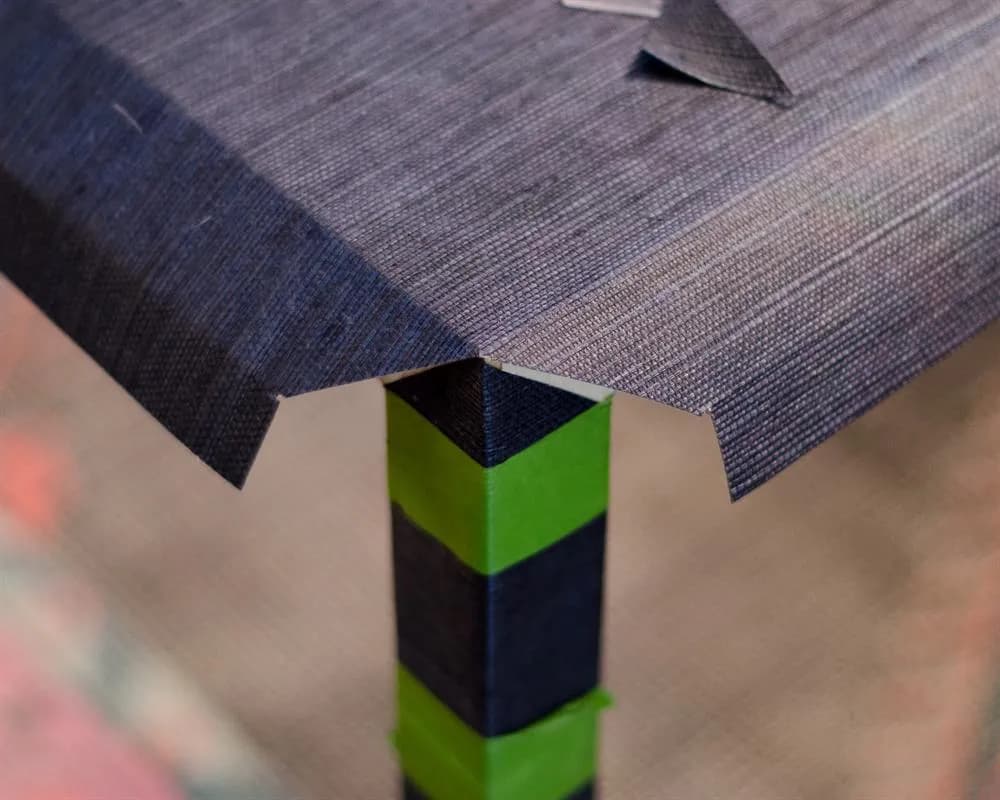
- Trim any excess paper so it looks like the photo.
- Spread additional wallpaper paste along the sides if needed, then use the wallpaper smoothing tool to smooth and attache the paper to the sides of the table.
- Place painters tape over any seams to help hold them down until they dry, if needed.
20Finish attaching paper
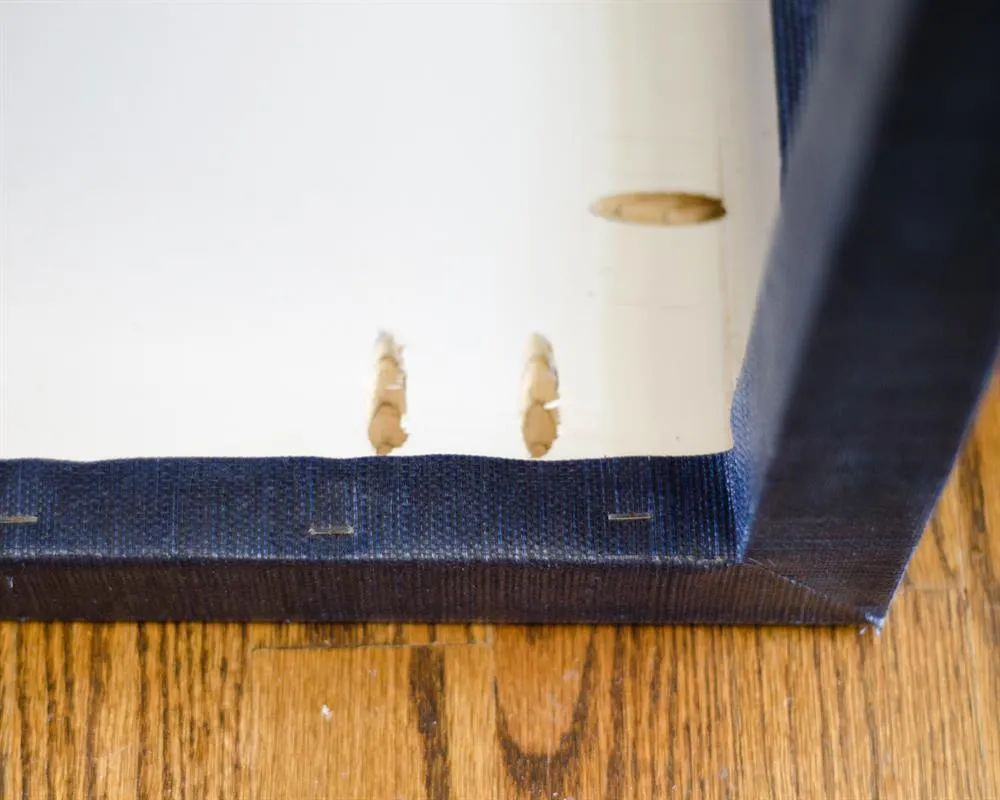
Flip the table upside down and staple the paper to the underside of the tabletop.
21Attach shelf and finish table
Use painters tape to mark 11" down each leg from the top of the table. Use 1" pocket hole screws to attach the shelf to the legs so the top of the shelf falls 11" from the tabletop. To protect the grasscloth, finish by applying 3-5 coats of poly, making sure to follow the directions on the can regarding drying time between coats.
Tags
- Entryway
- Intermediate
Reviews & builds
No reviews yet
Sign in to review this plan or share your build.
No reviews yet. Be the first to build this.